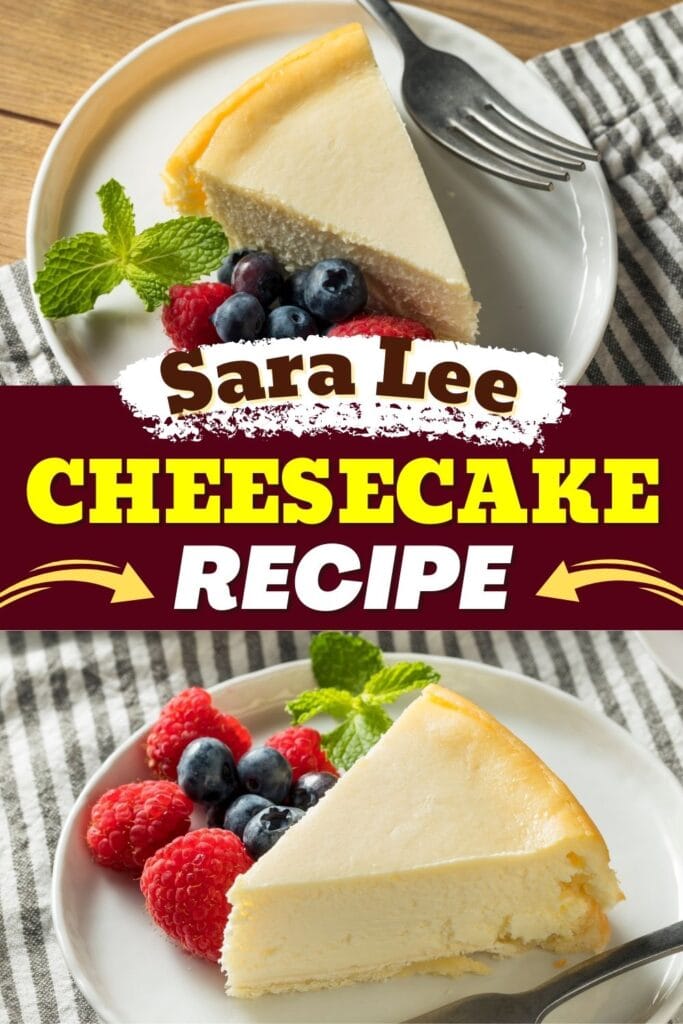
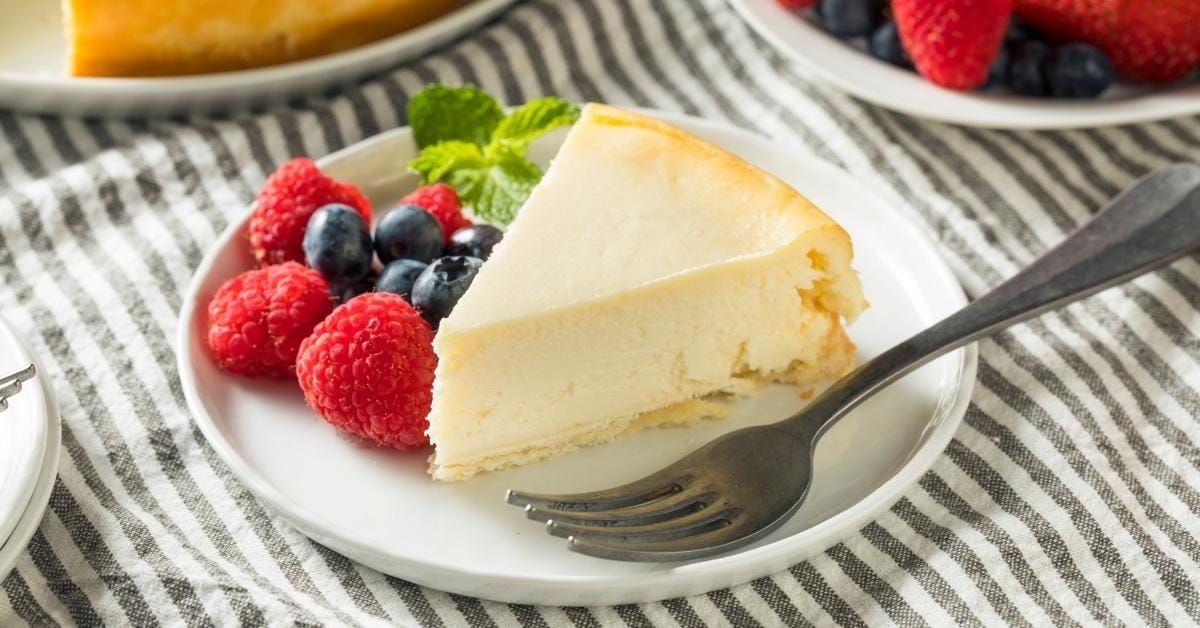
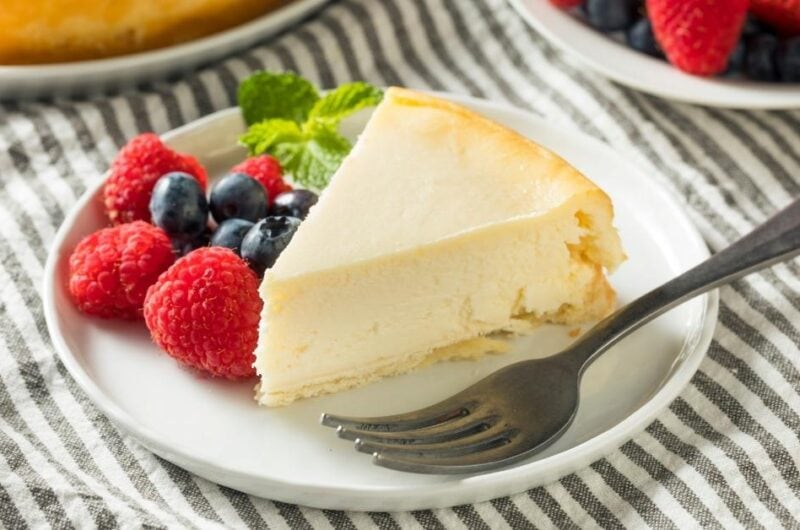
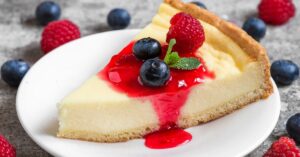
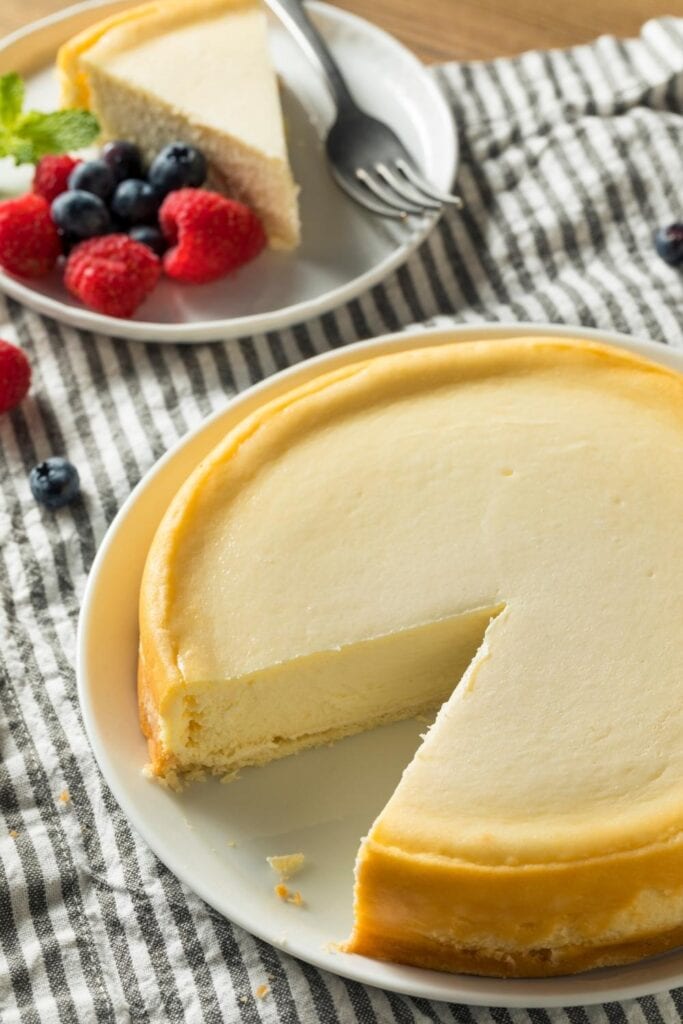
Sara Lee cheesecake is incredibly smooth and creamy from top to bottom!
For a decadent dessert that won’t disappoint, try this copycat recipe.
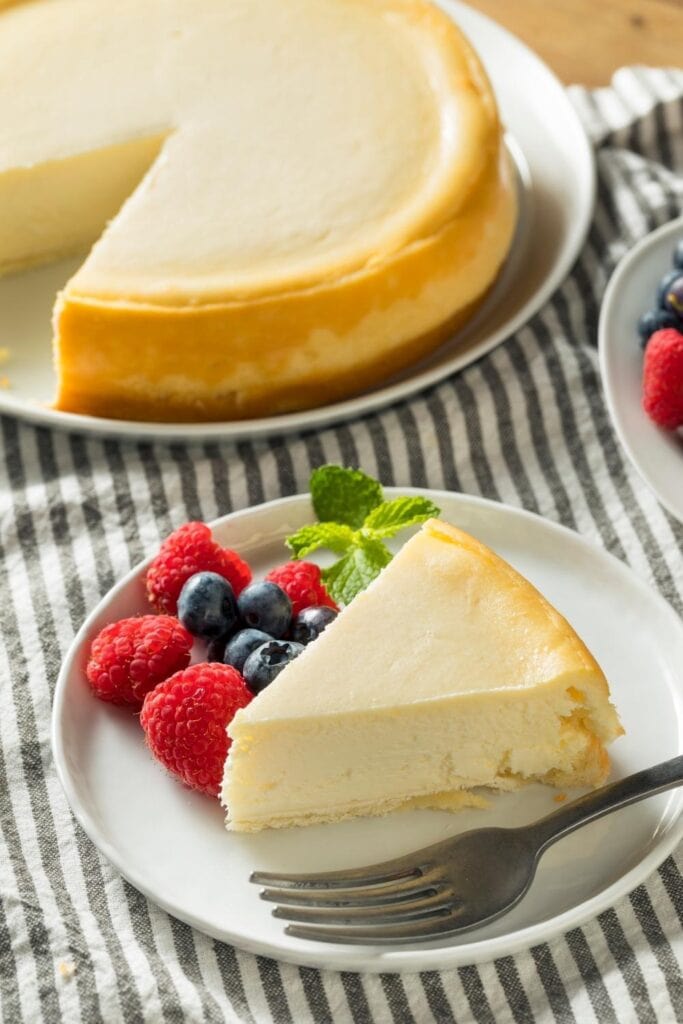
Some may call it boring and basic, but I beg to differ. Sure, it’s simple, but that’s exactly what I love about it!
With a buttery Graham Cracker crust, a silky cheesecake filling, and a tangy sour cream topping, this OG Sara Lee cheesecake is as close to perfect as cheesecake can get.
And since it’s plain, you can jazz it up any way you like with all kinds of delicious cheesecake toppings!
So grab your apron and head to the kitchen because we’ve got a cheesecake to bake.
Sara Lee Cheesecake
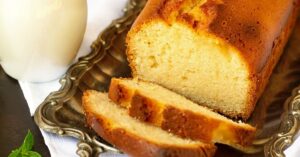
Sara Lee offers over 200 desserts and baked goods, including one scrumptious pound cake I can’t get enough of.
Bu their cheesecake is, without a doubt, my favorite.
It may not be as colorful or decadent as other cheesecakes, but it always hits the spot.
Flavored with freshly squeezed lemon juice, this cheesecake has the perfect balance of sweet and tart.
Topped with nothing but sour cream, it truly is a classic. Better still, it’s a breeze to make.
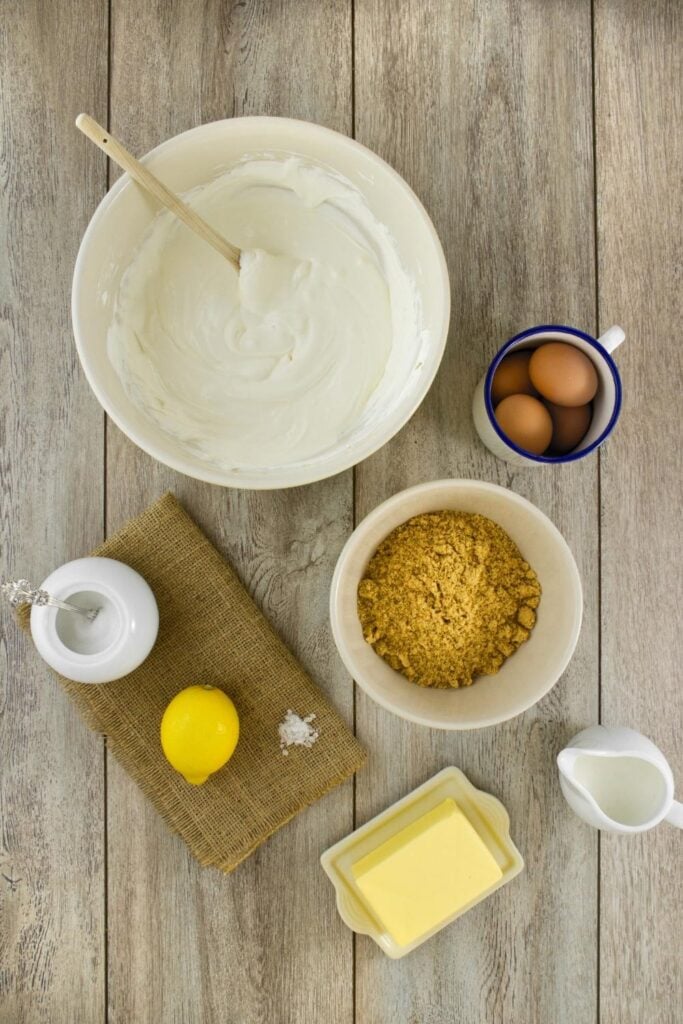
Ingredients
For the Crust:
- Butter – Use melted butter that’s cooled a little. If you add it to the cracker crumbs while it’s still hot, it won’t absorb properly.
- Crushed Graham Crackers – If all you have are whole crackers, that’s fine. Just grind them in a food processor and you’re all set!
- You can also pop them in a sealable bag and pound them into a fine powder with a rolling pin.
- Sugar – To sweeten the crust.
For the Cheesecake:
- Cream Cheese – For the best-tasting cheesecake, use Philadelphia cream cheese. It’s the only brand I trust to consistently deliver smooth and flavorful results – every single time.
- Use a full-fat block of cream cheese, not a cream cheese spread that’s low-calorie (and full of water).
- Sweetened Condensed Milk – This recipe is unique as it uses condensed milk instead of granulated sugar. It makes the cake richer and creamier than you’ll believe.
- Eggs – Use room-temperature eggs – always. Cold eggs won’t incorporate as well, and you’ll likely end up overbeating the batter.
- Lemon Juice – Use freshly squeezed for the best flavor.
- Sour Cream – This is the topping used to make the cheesecake extra smooth and creamy.
- If you want it sweeter, mix in powdered sugar.
- Start with 1/4 cup and add more according to your taste.
How to Make Sara Lee Cheesecake
This recipe is super simple, and the results are fool-proof. One bite and this will be your new go-to cheesecake recipe!
1. Make and bake the crust.
Mix the butter with the Graham Crackers and sugar until it looks like wet sand. Use a fork and be gentle.
Once it’s combined well, add the mixture to a greased and lined 9-inch springform pan.
Bake the crust at 350 degrees Fahrenheit for about 8-10 minutes and then set aside to cool.
2. Make the cheesecake batter.
Beat the cream cheese with an electric mixer at medium speed until it’s soft and creamy.
It’s best to use softened cream cheese here as it’s easier to beat. Still, you’ll want to mix it on its own first to ensure there are no lumps.
Add the condensed milk and beat until combined. This should only take around 30 seconds.
Add the eggs, one by one, and beat for 30 seconds after every addition.
You don’t want to overbeat the batter, so stop beating as soon as the ingredients are well-combined.
(A great way to ensure the eggs incorporate properly is to pre-mix them in a separate bowl. That should help to break down the protein in the egg whites.)
Add the lemon juice and beat again to combine for another 30 seconds.
3. Bake the cheesecake.
Pour the batter into the cooled crust and bake for 50 to 55 minutes, or until it’s set on the sides but still wobbly in the middle.
4. Let the cheesecake cool.
The sad truth about cheesecakes is that you have to refrigerate them overnight before you can eat them.
There’s just no way around it. A freshly baked cheesecake, even when cooled, will still taste eggy.
Let the cheesecake cool at room temperature for 1-2 hours. Then, once cooled, spread the sour cream evenly on top.
Cover the cake with plastic wrap and refrigerate for 8 hours or overnight.
5. Slice, serve, and enjoy!
Carefully detach the rim of the springform pan to release the cheesecake.
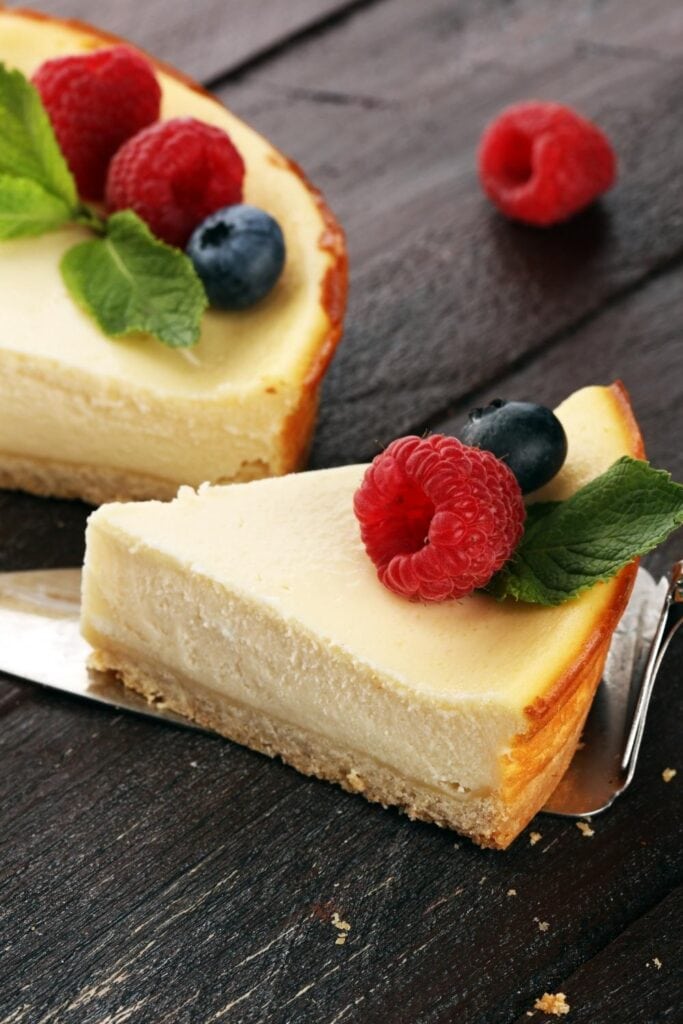
Lift the cake from the bottom of the pan and place it on a serving plate. Slice and serve with the toppings of your choice.
Tips for the Best Cheesecake
Many people are intimidated by cheesecakes because they can go wrong if you don’t follow the steps.
You’ll know what I mean if you’ve ever seen a cheesecake with a big crack in the middle.
But these missteps can be easily avoided! Just read through these tips and you’ll be okay.
- Soften the cream cheese to room temperature before you start. The harder the cheese, the lumpier the batter. I like to get everything out about 30 minutes before I begin.
- If you forget to take the cream cheese out of the fridge early, microwave it on low heat for about 10-15 seconds. Don’t go beyond 15 seconds at a time! Heat the cheese incrementally until soft.
- Make sure the eggs are at room temperature. Again, I take them out about 30 minutes before I start.
- If you forget to take the eggs out early, submerge them in warm water. It should be warm, but not hot.
- Don’t overbeat the cheesecake batter, otherwise, it’ll most likely crack after baking. This is because there will be too much air in the batter which makes it expand in the oven. As a result, it cracks as it cools and deflates.
- Stop beating as soon as the ingredients are well-combined. If you’re unsure, just whisk by hand.
- This recipe uses Graham Crackers for the crust, but you can replace them with other cookies if you want. Gingersnaps, Speculoos, Nilla Wafers, and Oreos are all terrific options.
- Use the back of a measuring cup or glass to press the crust into the pan. This will help to pack it firmly and evenly and keep it from breaking apart.
- Do not bake at a higher temperature hoping for the cake to cook faster. When it comes to cheesecake, you have to go low and slow. A high temperature will almost certainly result in a cracked and dry cheesecake.
- Resist the urge to open the door during baking. This will cause the temperature in the oven to drop, which can also result in a deflated and cracked cake.
- If you’re unsure if the cheesecake is cooked, give it a little jiggle. The edges should stay still, but the middle will move like jelly.
- One sure-fire way to ensure it’s cooked is to open the oven door (just a crack) once the 60 minutes is up.
- Then, turn the oven off and leave it inside for an hour – with the door still open a crack.
- This allows the oven and the cheesecake to cool slowly.
- Allow the cheesecake to cool completely at room temperature before you chill it. Then, cover the pan or wrap it in plastic wrap and refrigerate it for at least 8 hours or overnight. Trust me, it’ll taste so much better the next day.
- Use a sharp chef’s knife to slice the cake. Dip the knife in hot water and wipe it with a kitchen towel in between slices to make smooth and clean slices.
- Storage Instructions:
- Cover leftovers with plastic wrap and refrigerate for up to 5 days.
- To freeze, double wrap it in plastic wrap and foil and place it in a freezer-safe bag.
- Let frozen cheesecake thaw on the counter for 30 minutes and enjoy.
- You can also microwave frozen cheesecake on low power to speed things up:
- 1 slice: 15 seconds
- 2 slices: 25 seconds
- 3 slices: 40 seconds
The Water Bath Method
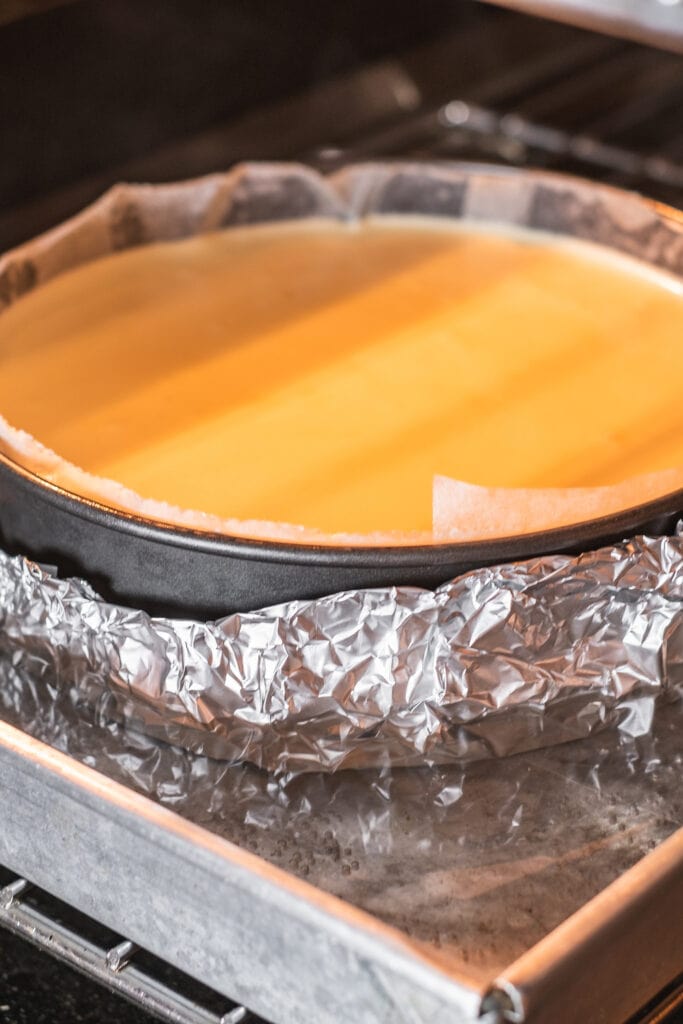
A water bath is a baking method where a cheesecake (and other baked goods) is placed in a bigger pan filled halfway with water.
The water regulates the heat absorbed by the cake, ensuring that it cooks gently and evenly.
This technique results in a smooth and creamy cake with not a single crack in sight.
Some cheesecake recipes call for a water bath, while others don’t. But is it absolutely essential?
As someone who’s baked more cheesecakes than I can count, I personally think it’s the best option.
Using a water bath with a low oven temp guarantees perfect results.
This is especially true if you have an older oven that struggles to maintain temperatures.
The best way to prep for a water bath is with foil. I also like to use plastic roasting bags between layers of foil to ensure nothing seeps through.
Wrap the pan before adding the cracker base, and be sure it goes all the way to the top.
The Best Pan for Cheesecake
The best pan to use when baking cheesecakes is a springform pan. Unlike other cakes, you can’t invert a cheesecake onto a serving plate.
You’ll need a round pan with a removable rim so you can effortlessly release the cheesecake upright.
Because springform pans have a detachable ring, it truly is the best choice.
But, in case you don’t have one and don’t want to invest in one, your next best option is a disposable pan.
Once the cheesecake has cooled, just cut off the edges to release it.
Topping Suggestions
The classic Sara Lee cheesecake uses a sour cream topping, which is great if you want to cover up any cracks.
Just spread the sour cream on top of the cake and it’ll smooth it right up!
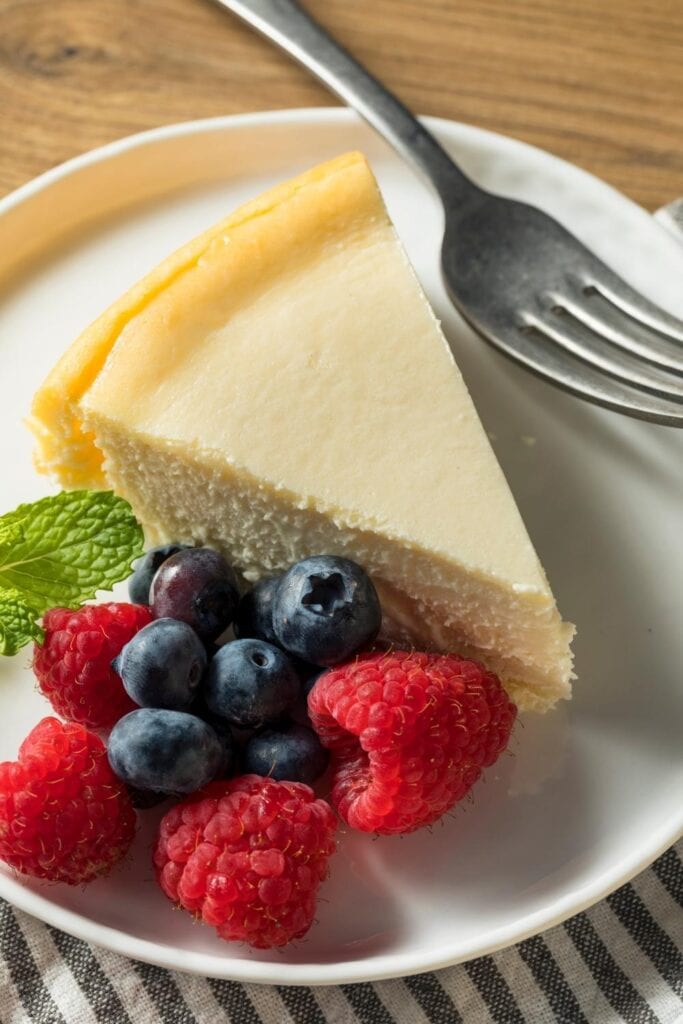
Obviously, though, there are tons of other toppings you can use (as well as or instead of sour cream), and it all depends on your taste preference.
Here are some suggestions:
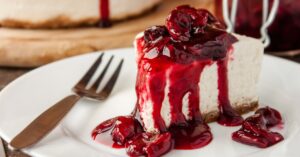
- Fresh fruit/berries
- Pie filling
- Whipped cream with chocolate or caramel sauce
More Cheesecake Recipes You’ll Love
- Eagle Brand Cheesecake
- Philadelphia No-Bake Cheesecake
- No-Bake Oreo Cheesecake
- Strawberry Cheesecake Lasagna
- Cheesecake Brownies
