

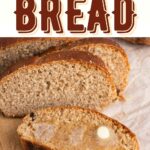
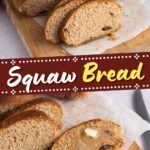
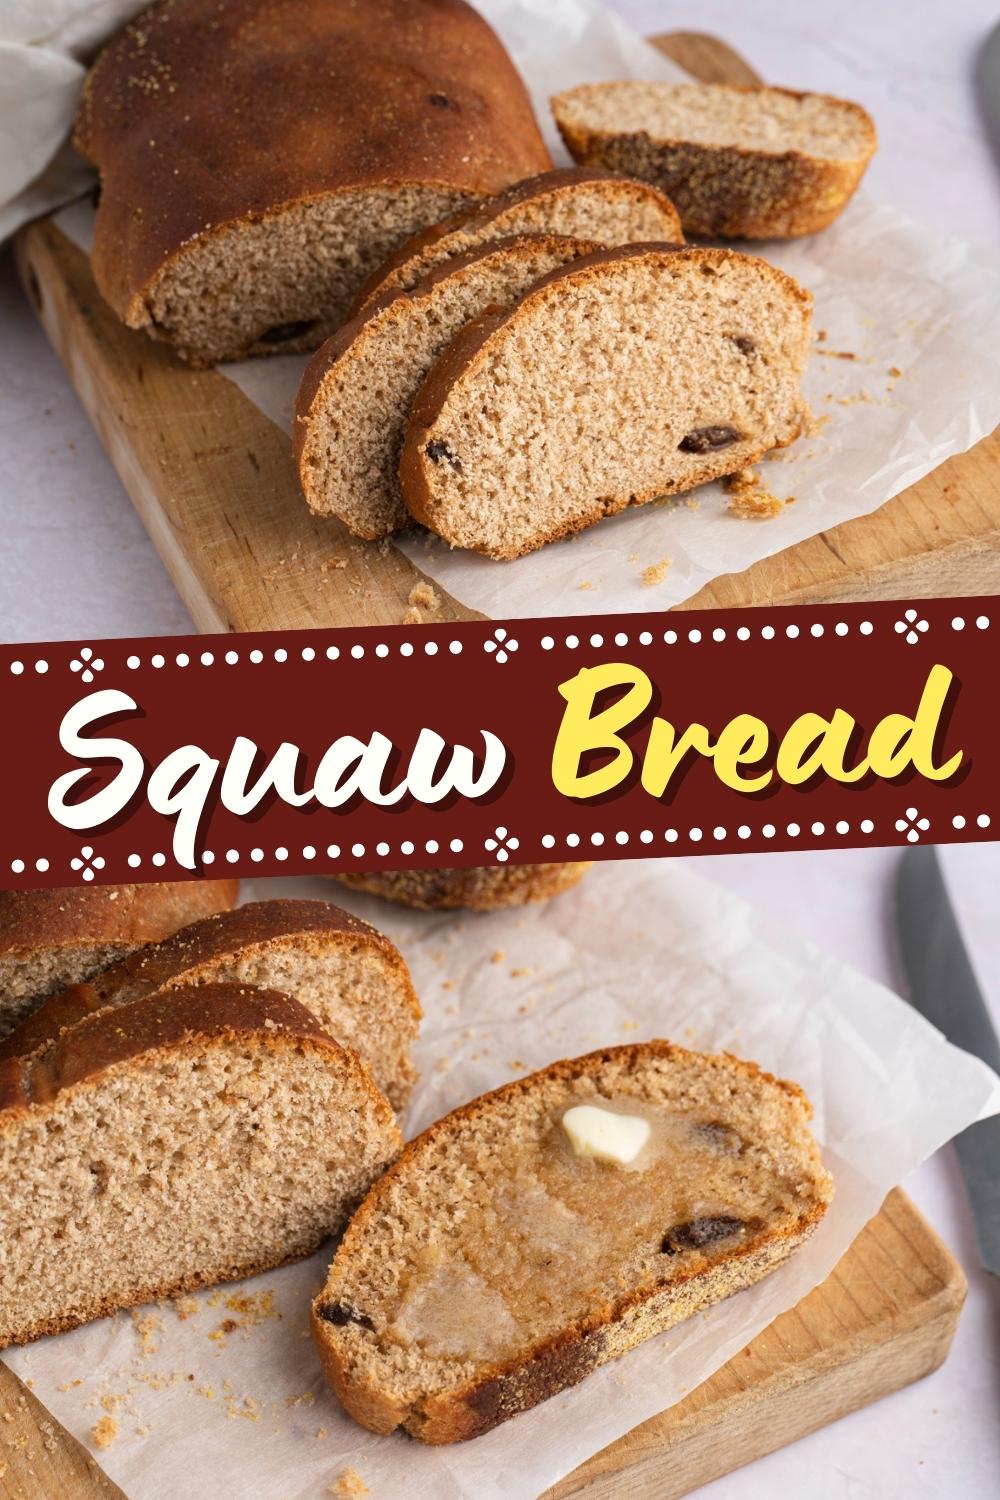
If you’re looking for a healthier alternative to white sandwich bread, try making squaw bread at home!
It's lightly sweet, hearty, and super rich in fiber.

WANT TO SAVE THIS RECIPE?
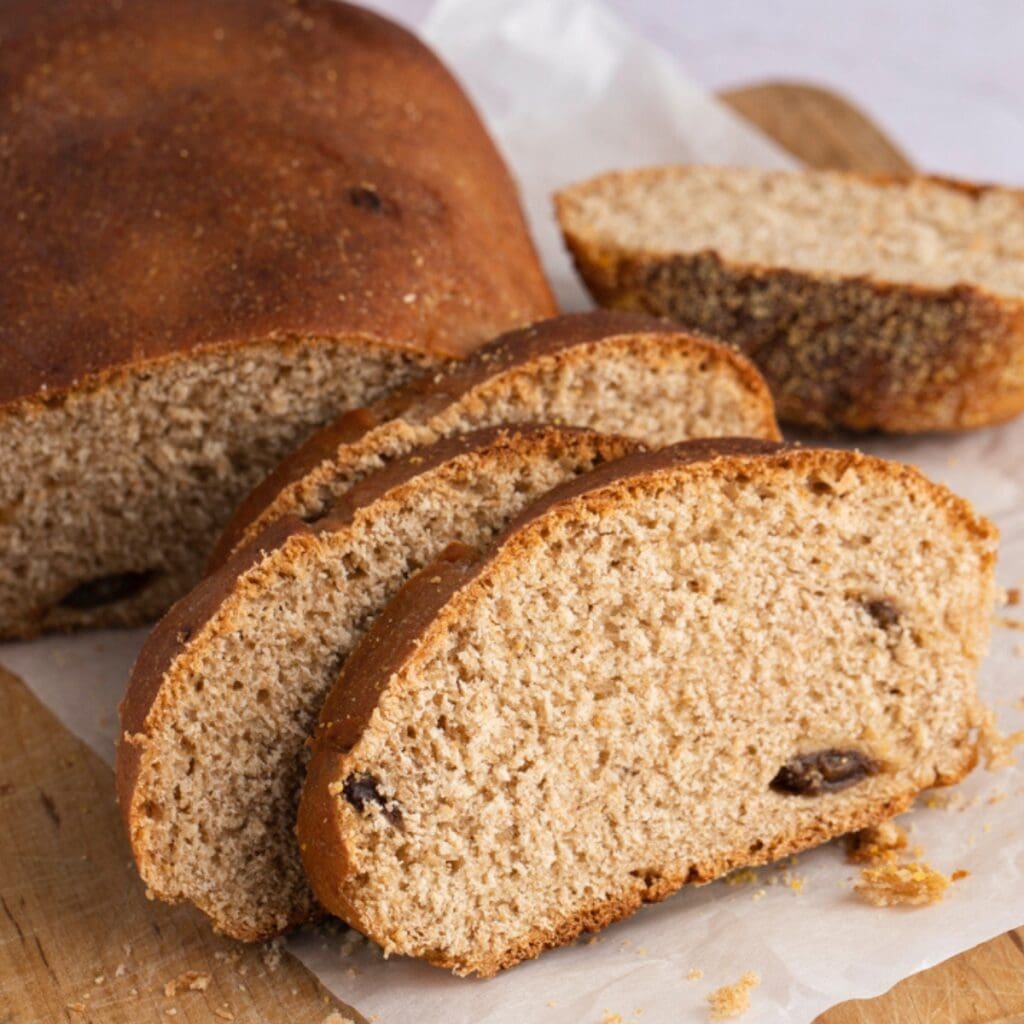
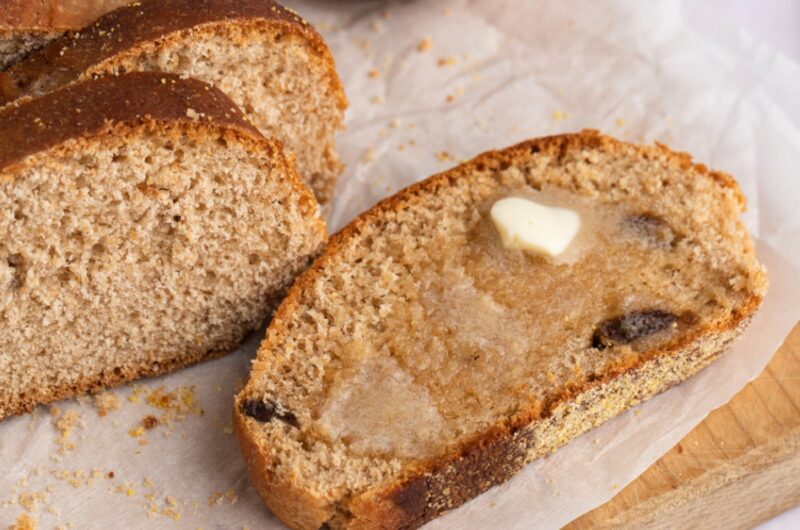
Delicious enough to be eaten on its own, squaw bread is extra special with a thick layer of butter on top.
And because it’s mostly made with whole wheat and rye flours, it’s much more wholesome than regular white bread.
So you can feel good about that morning avocado toast!
One recipe makes four loaves, which means you can enjoy delicious and nutritious multi-grain bread for breakfast, lunch, and dinner all week long.
So, what are you waiting for? Bake squaw bread today!
Best Squaw Bread Recipe
Squaw bread is a multi-grain bread loaf packed with whole wheat and rye.
Traditionally, it's sweetened with molasses, hence its dark brown hue. For this recipe, though, you’ll use honey.
That said, either sweetener works, so you can use molasses if you prefer.
I also add some raisins to mine for added sweetness and texture. If you like, you can add some chopped nuts, too.
Another great option is to cover the top with seeds for added crunch!
What is Squaw Bread?
Squaw bread a simple loaf of rye flour and molasses made by German immigrants in the 1800s.
The recipe was inspired by Native Americans, whom the Germans lived with at the time.
The name of the bread is believed to be a respectful reference to American-Indian women who helped the Germans develop the recipe.
However, many agree that while the name was initially meant to honor Native Americans, its derogatory connotation makes it politically incorrect.
With that in mind, many people refer to it as “fat-free multi-grain bread” or “New World German Brown Bread.”
How to Make Squaw Bread
If it’s your first time making homemade bread, you may find it a little intimidating.
But if you read through the directions, you’ll find that it’s not that hard at all, and it’s mostly just a waiting game.
1. Activate the yeast.
Combine lukewarm water, honey, and yeast in a mixer bowl. Give it a little stir, then let it sit for 5 to 10 minutes or until the mixture foams up.
2. Blend the flavor agents.
Whisk the water, oil, honey, and brown sugar until well blended in a separate bowl.
You can add the raisins at this point for flavor, but if you want the chewy texture, save them for later.
If you do add the raisins, mix this all in a blender to ensure it's smooth.
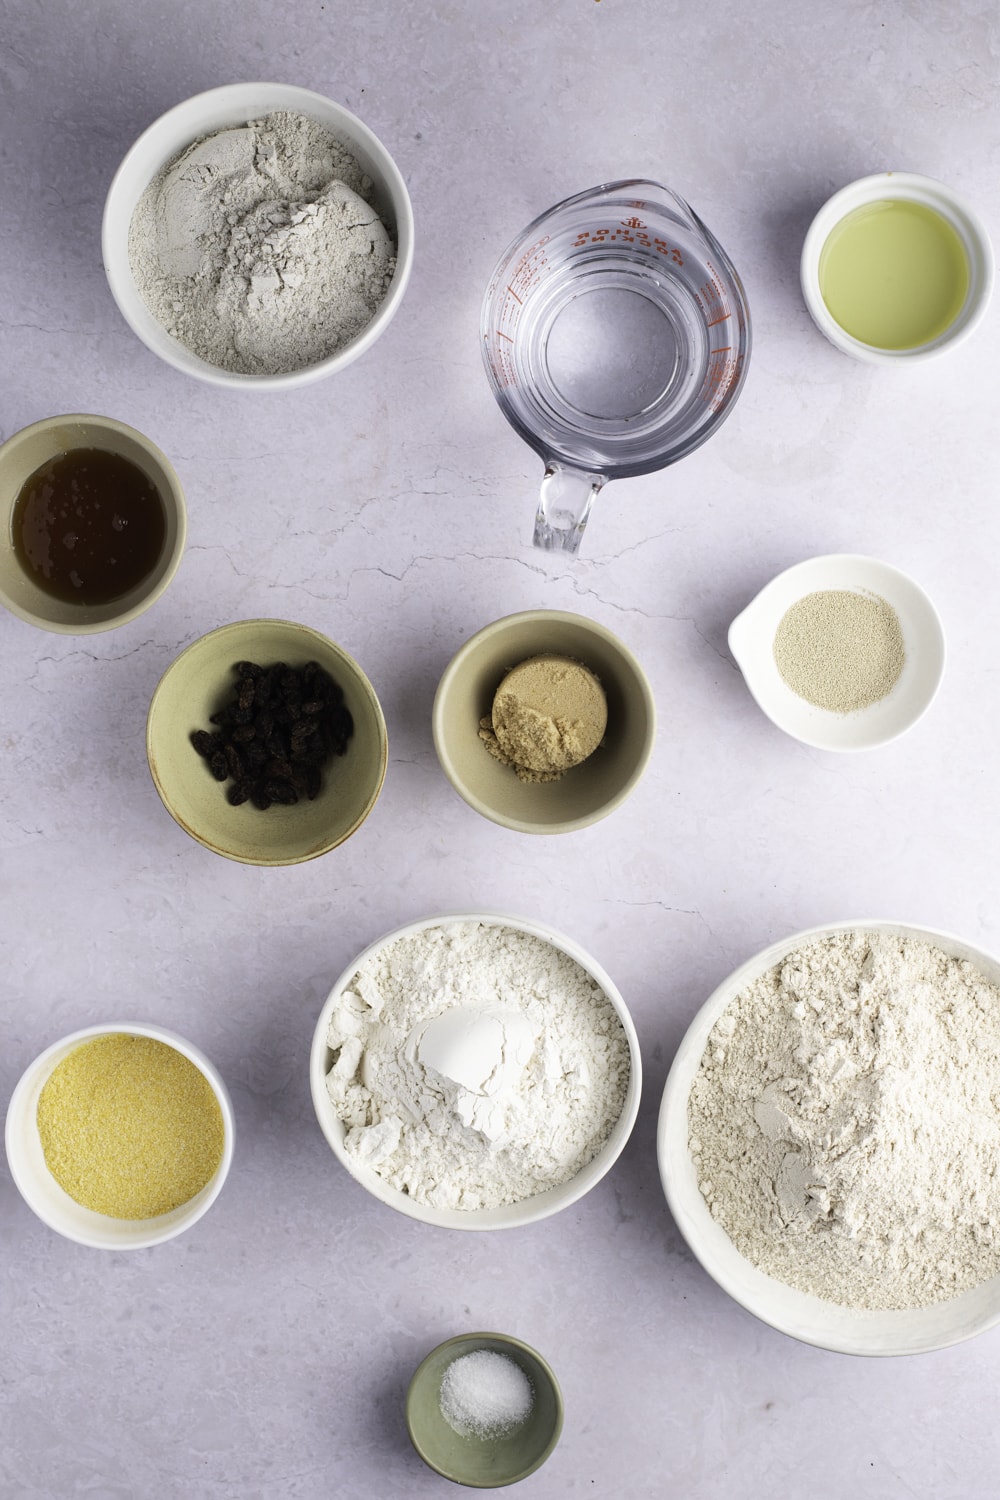
3. Combine the dry ingredients.
In another large bowl, whisk together the powdered milk, salt, and three flours.
4. Combine the three mixtures to form a dough.
Add the honey-sugar mixture to the yeast mixture and half of the dry ingredients mentioned above.
Beat using the dough hook for a minute or two on low.
Add the remaining flours and continue beating until a dough ball forms. It should pull away from the side of the bowl.
5. Knead the dough.
At this point, you can either flour a clean, flat surface and plop the dough onto it.
Or keep working with the dough hook and knead the dough in the mixer.
Whichever method you choose, knead the dough just until it becomes smooth, slightly tacky, and elastic.
Add more flour if necessary (e.g., if the dough is too wet).
6. Let the dough rest (first rise).
Place the dough in a large, greased bowl. Cover it with a damp cloth and let it rest until it doubles in size.
That'll take about 1 1/2 hours, so take this time to Netflix and chill.
7. Punch down the dough, shape it, and let it rest again (second rise).
Punching down dough isn’t just fun to do – it's crucial, too. This step keeps the dough from over-proofing, which can make the bread dense and tough.
To punch the dough, you'll literally punch your fist into the middle to deflate it. Then turn it out onto the surface and gently flatten and fold it.
Divide the punched dough into four pieces, cover them with a new kitchen towel, and let them rest again for 10 minutes.
8. Shape the dough and let it rest one last time (third rise).
Form the dough into loaves, cover them with a kitchen towel, and let them rest for one last time.
This will take another hour, so you can continue watching that movie you put on pause.
9. Bake the bread. Slice and enjoy!
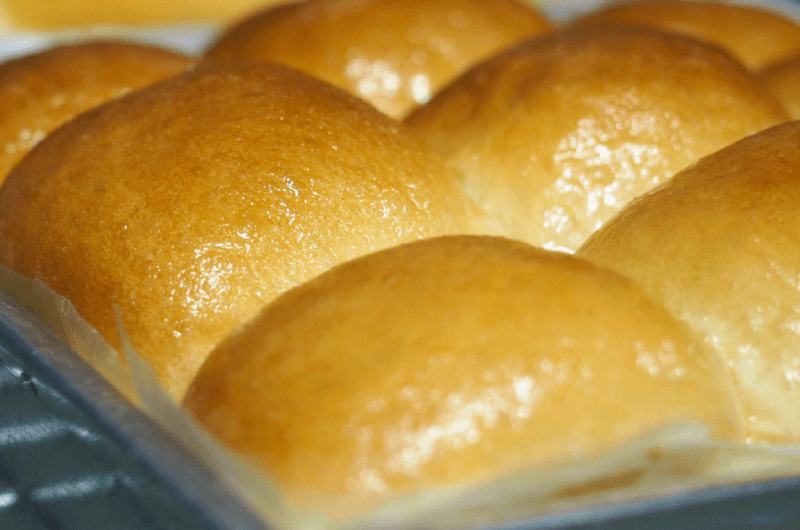
Finally! Bake the loaves for 35 minutes at 375 degrees Fahrenheit (190*C).
When you take it out, brush the bread with melted butter, and voila, you’re done.
Let the bread cool before slicing, and enjoy!

Tips for Making Squaw Bread
- Use room-temperature ingredients, except for the water used to proof the yeast. That should be between 100 and 115 degrees Fahrenheit (35-45°C) to activate the yeast.
- Let the yeast rest in a warm area to help it proof faster. I suggest covering it loosely with plastic wrap too.
- Don’t over-knead the dough; otherwise, the bread will turn out hard on the outside and dry on the inside. Instead, only knead until it's smooth and easy to handle.
- Perform the windowpane test to check if the dough is ready to go.
- Take a small piece of dough and stretch it between your fingers.
- It should be elastic enough to stretch into a paper-thin sheet – like a windowpane – and not break.
- If it breaks, knead some more.
- Perform the windowpane test to check if the dough is ready to go.
- Use the same recipe to make bread rolls. Instead of shaping the dough into loaves, just form them into small round pieces after the first rise.
Storage and Freezing
To Store
Once cooled, store squaw bread loaves in a bread keeper or an airtight container.
They’ll stay nice and tender for about 4 to 5 days at room temperature.
To Freeze
If you plan on keeping squaw bread around a while longer, use the freezer. Here, the loaves will keep well for up to 3 months.
I suggest you slice the bread first before freezing; that way, you can take out a few slices at a time and not have to thaw the whole thing.
To freeze, double-wrap the bread loaves in plastic wrap and place them in a freezer-safe bag. Label the bag accordingly and freeze.
To Reheat
To reheat frozen squaw bread, bake it at 300 degrees Fahrenheit (150°C) for 5 to 10 minutes or until they’re warmed through.
Or, you know, just use the toaster 🙂
More Bread Recipes You'll Love
3-Ingredient Banana Bread
White Lily Cornbread
Pumpkin Zucchini Bread
Condensed Milk Bread
Honey Beer Bread
Squaw Bread (Easy Recipe)
If you’re looking for a healthier alternative to white sandwich bread, try making squaw bread at home! It's lightly sweet, hearty, and rich in fiber.
4
loaves1
hour30
minutes30
minutes1162
kcalIngredients
- For the Yeast
2 (1/4-ounce) packets instant yeast (3 teaspoons)
1/4 cup warm water
1 tablespoon honey
- The Wet Ingredients
2 cups water
1/3 cup oil
1/4 cup honey
1/4 cup brown sugar
1/4 cup raisins
- The Dry Ingredients
2 1/2 cups flour, split in half
3 cups whole wheat flour, split in half
1 1/2 cups rye flour, split in half
1/2 cup powdered milk
1 1/2 teaspoons salt
1/4 cup cornmeal
- Optional Garnish
Melted butter
Instructions
- In the bowl of a stand mixer, add 1/4 cup of warm water and 1 tablespoon of honey. Sprinkle the yeast over the top, then let the mixture sit for 5 to 10 minutes or until it foams up.
(If nothing happens, the yeast is expired, and you'll need to start again.) - Meanwhile, pour the remaining 2 cups of water, oil, 1/3 cup honey, brown sugar, and raisins into a blender. Pulse until smooth and lump-free.
- Whisk together the flours, powdered milk, and salt in a large bowl. Set aside.
- Pour the water, oil, and sugar mix into the stand mixer bowl and whisk for 10-20 seconds to combine with the yeast.
- Add approximately half of the flour mixture to the bowl and use a dough hook to slowly mix until it just starts to come together.
- With the dough hook moving on low, add the rest of the flour. Let it go for about a minute, then turn it to medium speed and beat until the dough pulls away from the side of the bowl.
- Take the dough out of the bowl and gently knead it on a lightly floured surface to ensure it's smooth and elastic. If it's sticky, add a tablespoon of flour and knead until smooth.
- Place the dough in a large, greased bowl and let it rest for 1 1/2 hours (or until it doubles in size).
- Punch down the dough with your hand to deflate it and divide it into 4 pieces. Roll them into rounds, cover them with a clean kitchen cloth, and let them rest for 10 minutes.
- After 10 minutes, form the dough pieces into loaves. Then cover them again with a kitchen towel and let them rise until they double in size (about 1 hour).
- While the dough rests, line 2 baking sheets with cornmeal and preheat the oven to 375 degrees Fahrenheit (190°C).
- After 1 hour, move the loaves onto the baking sheets and bake for 35 minutes, or until the crusts have browned. Brush the hot loaves with melted butter, serve and enjoy!


9 Comments
This looks amazing! I’m trying to make a sourdough version and trying to decide ingredients to use. The raisins sound so yummy! I’m trying to decide whether they’ll be in mine or not. Great tips for making the bread!
can this be baked in bread pans?
Hi Tammy!
I haven’t tried it yet, but I don’t see why not.
You’ll need (probably) 2 9×5-inch loaf pans or 3 8×4-inch pans.
Fill them about 1/2-2/3.
9×5-inch pan: Bake at 350°F (175°C) for 30-40 minutes.
8×4-inch pan: Bake at 350°F (175°C) for 25-35 minutes.
Hope this helps 🙂
can this be cooked in a bread maker?
Hi Linda!
I’ve never tried it in a bread machine, so it would be trial and error.
First, you’ll need to check the flour capacity of your machine.
These are the the most common sizes:
-> 1-pound machine = 2 to 2 3/4 cups flour
-> 1 1/2-pound machine = 3 to 4 cups flour
-> 2-pound machine = 4 to 5 1/2 cups flour
When you know that, you’ll need to adjust the recipe (cut it in half or more) to fit.
Then, use a similar recipe in the guide book, such as a whole wheat loaf. Use that so you know the order in which to add the ingredients.
They won’t be exact, but it will give you a good idea.
(Usually, you add the liquids, then the flours, then the yeast).
From there, I suggest trying it on the basic cycle and seeing how it comes out. If it’s not quite right, you can try it on another setting.
Let me know how it comes out 🙂
Kim
Can this be baked in an Air Fryer. Ilike using the air fryer so as to NOT heat the house up and save Gas.
Chef Swede
Hi there!
I’ve never tried this in the air fryer, but here’s how I would do it:
1. Cut the recipe in half, unless your air fryer is large enough for 4 loaves
(You could also chill the unbaked, risen loaves in the fridge between baking)
2. Preheat the air fryer to 385°F.
3. Carefully transfer 1 loaf into the basket, with parchment underneath, and bake for 20-30 minutes.
I suggest checking it after 20 – the time will depend on how big the air fryer basket is and how close the bread is to the element
I don’t recommend this if the loaf doesn’t have room to grow. You don’t want the top too close to the element as it’ll burn.
Hope this helps. Let me know how it turns out 🙂
For the 1/3 cup oil, can you substitute melted butter?
Hi Sheila!
Yes, you can swap the oil for melted butter.
It’ll make the bread richer, but it might not last as long after baking.
So be sure to eat it within 3-4 days 🙂