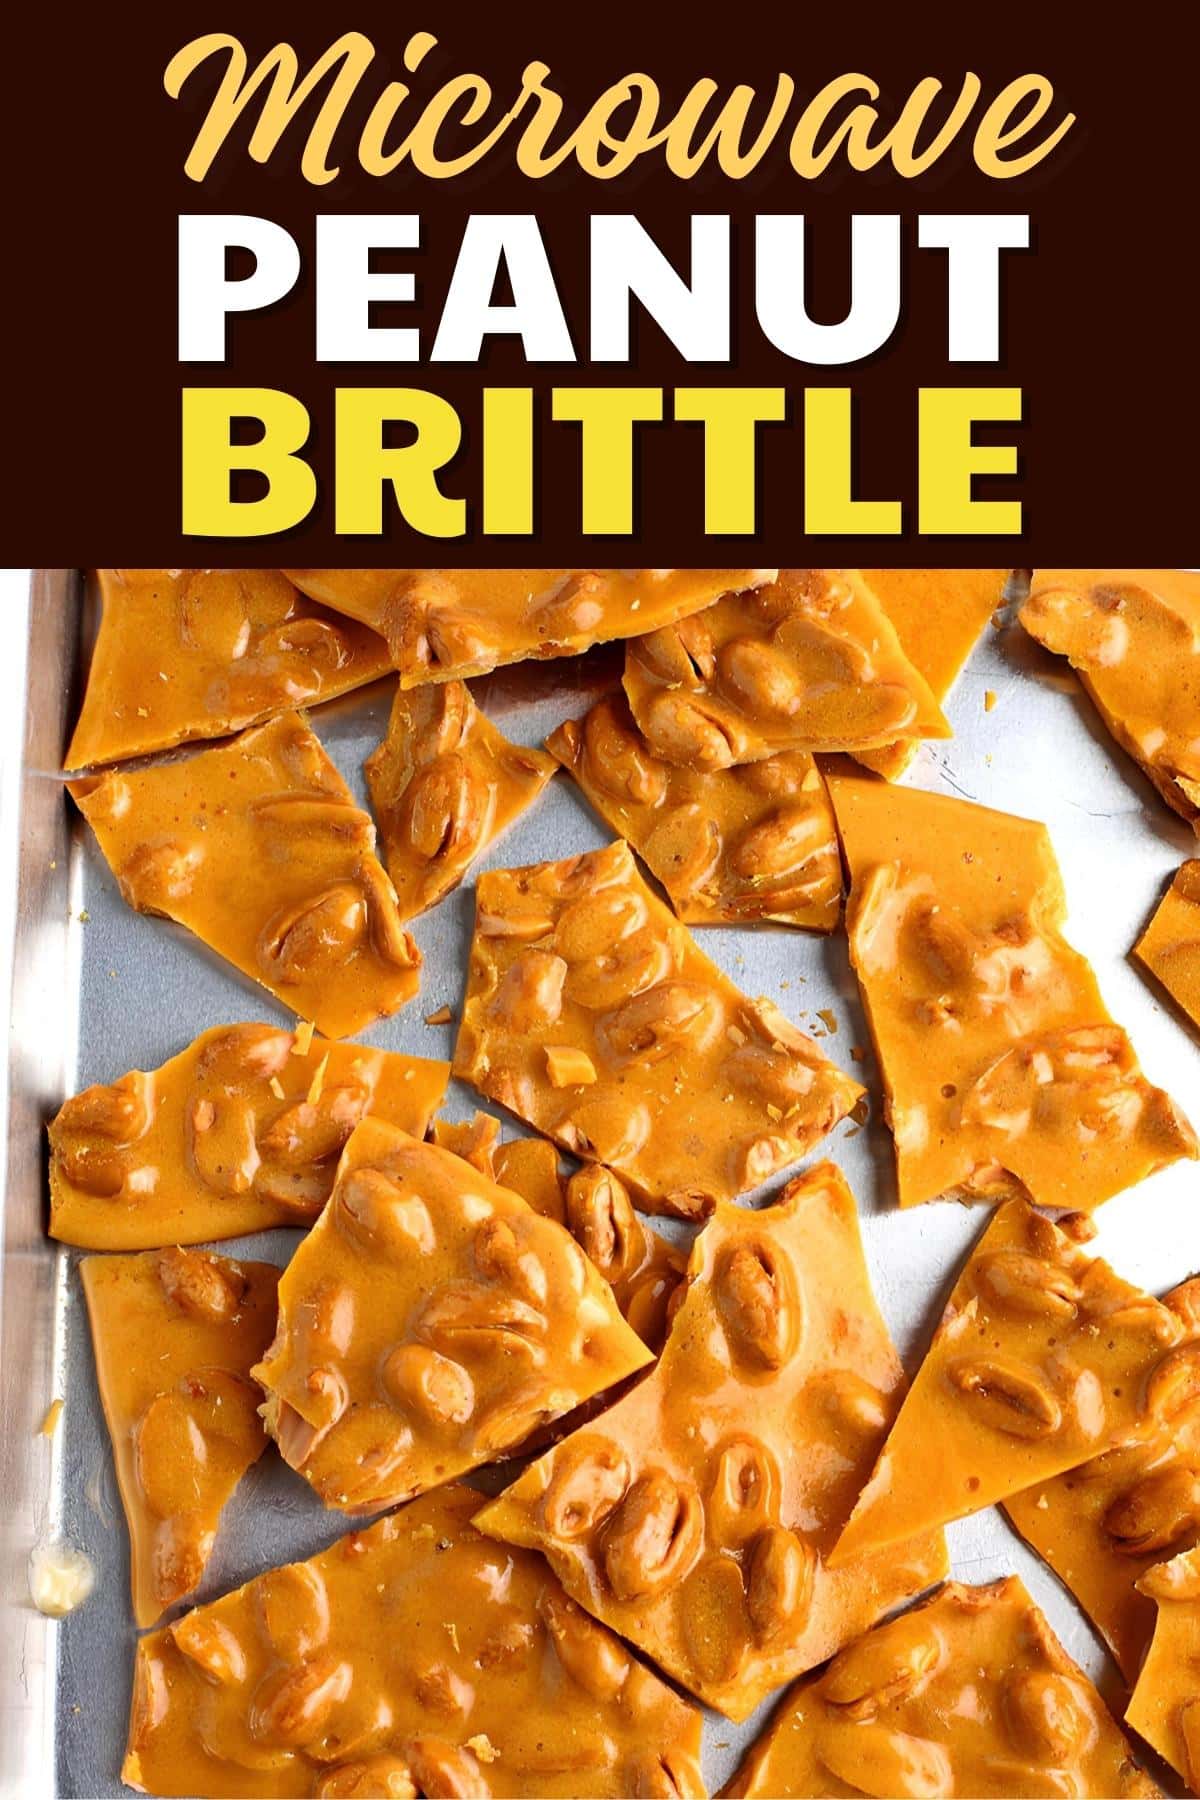
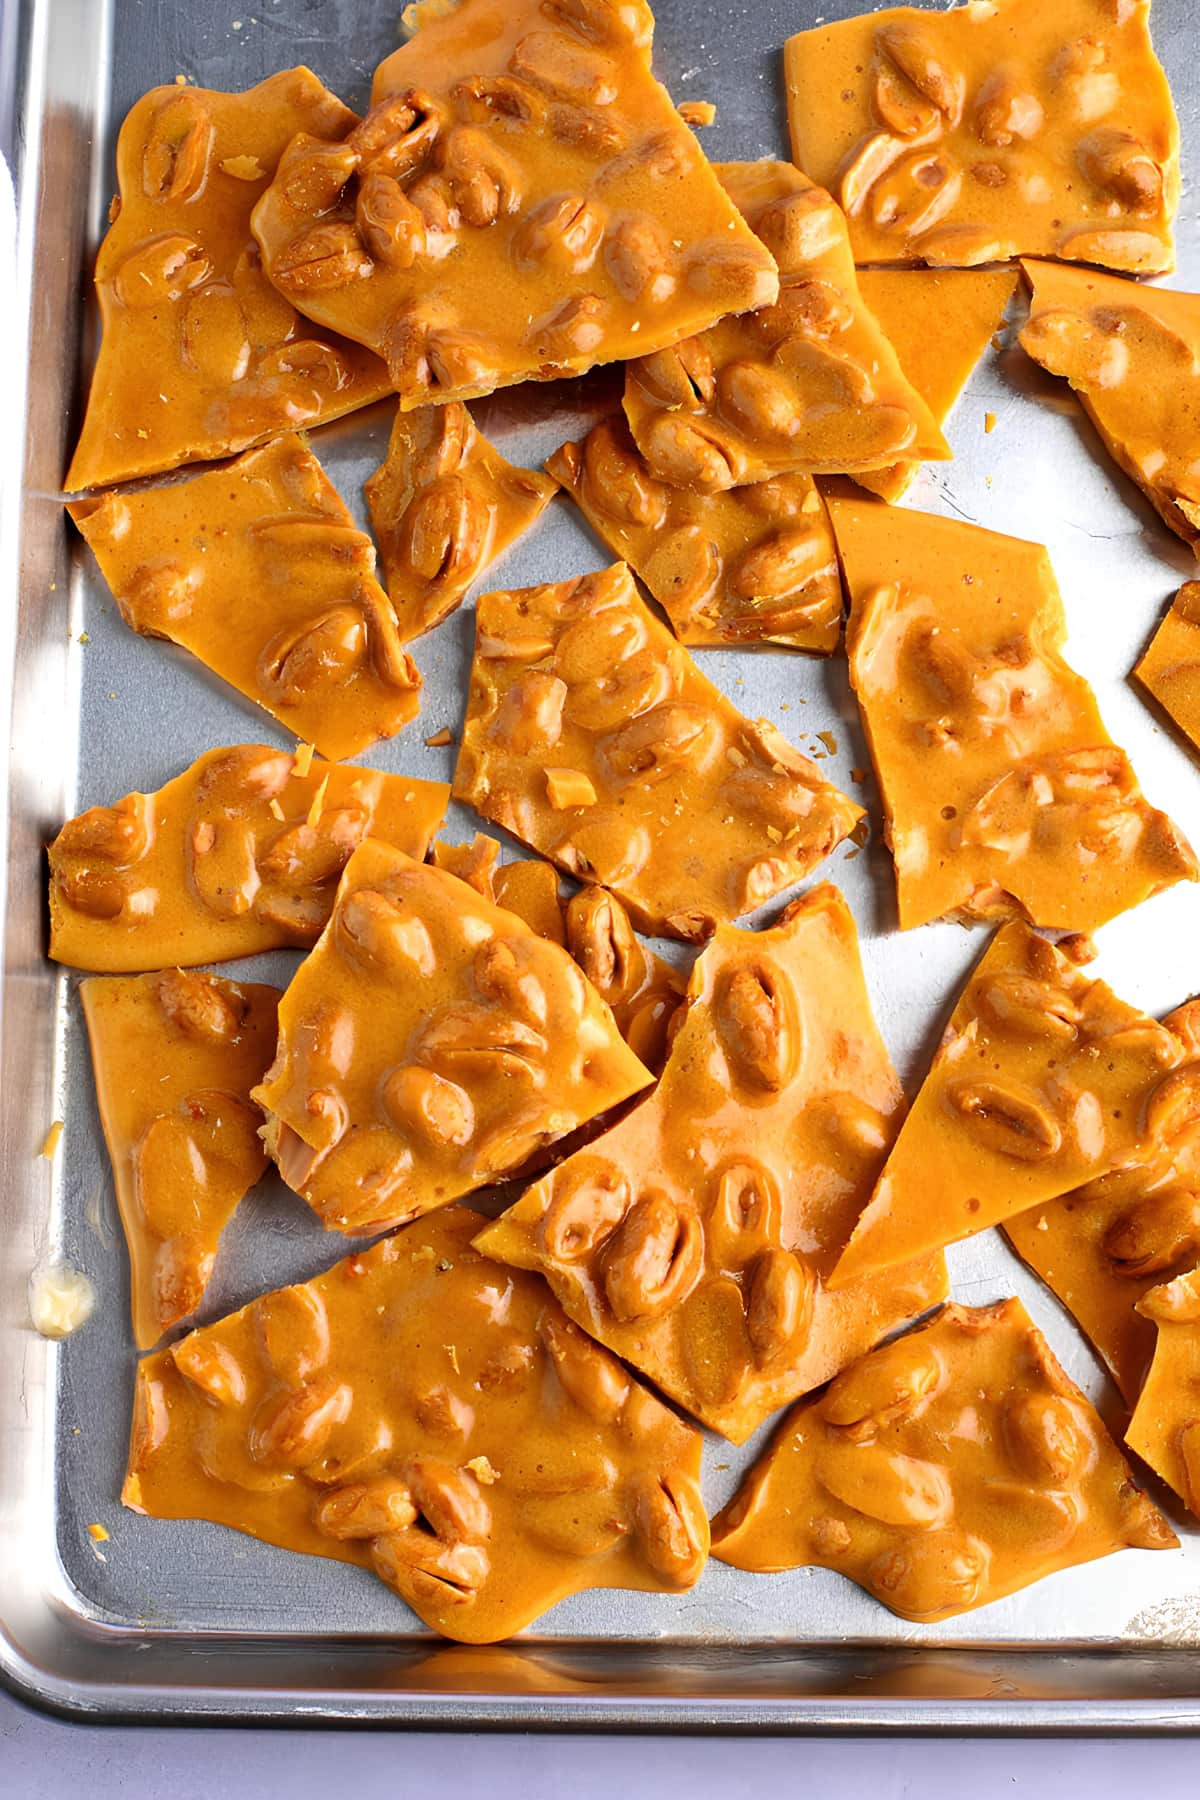
This microwave peanut brittle recipe is quick, easy, and more than just a little addicting. It’s perfect for family get-togethers, gifting, and snacking.
Every bite gives a wonderful contrast of chewy and crunchy, sweet and salty. The combo of tastes and textures is so delightful. It’s like a party in your mouth.
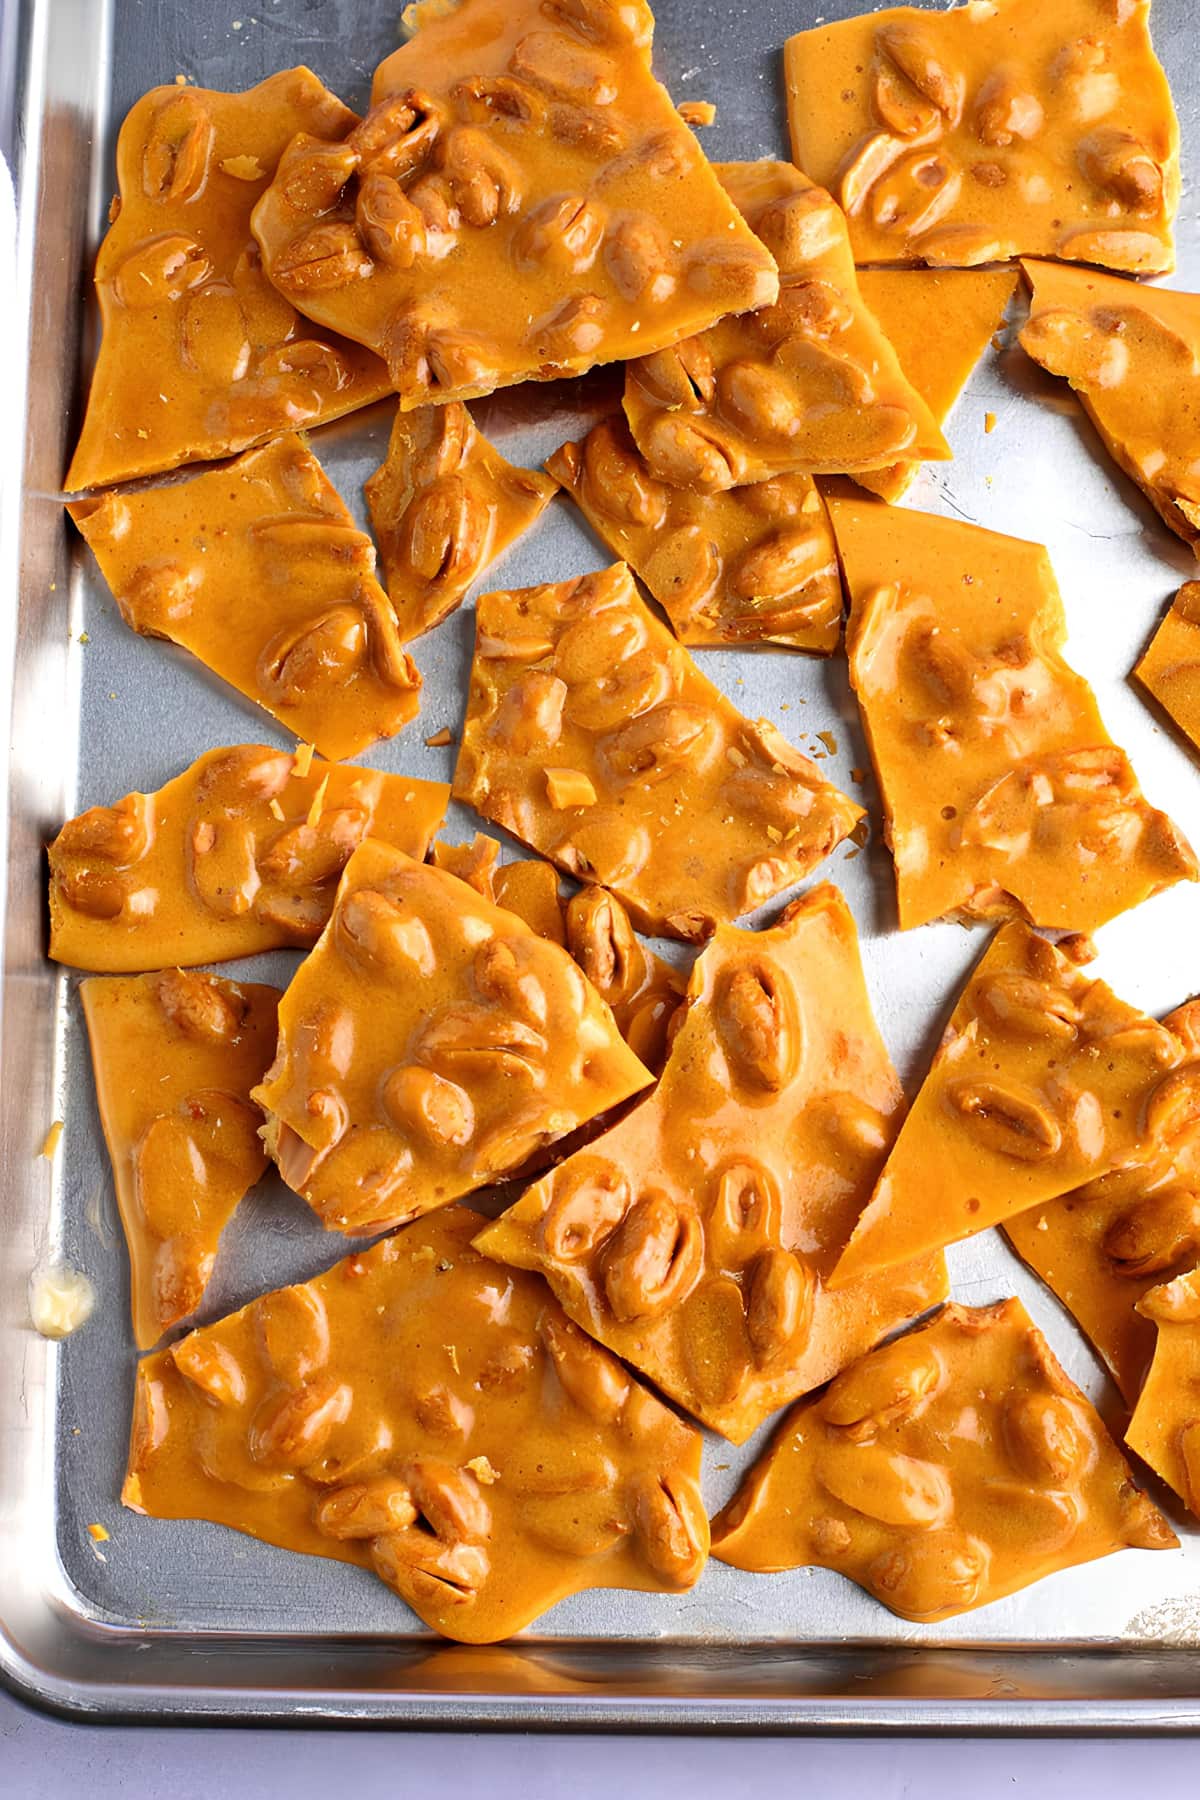
And believe it or not, it isn’t difficult to make! You’ll need six ingredients, common equipment, and less than 30 minutes.
So, get ready to whip up some crunchy, delicious microwave peanut brittle. What you do with it after that – i.e., sharing it or hoarding it — is entirely up to you!
Easy Homemade Peanut Brittle
Peanut brittle tastes great any time of year. However, it always seems to taste a little better around the holidays.
Luckily, this recipe is so simple that you can make it anytime. And yes, that includes during your super busy Christmas season. It’s so simple that it won’t stress you out even then.
You can have it ready in no time. And the most challenging “cooking” you’ll have to do is hit a few buttons on your microwave.
You don’t need any special skills as a baker or candy maker.
So, what are you waiting for? Impress your friends with your skills by making them this seemingly hard-to-make dessert!
By the way, fun fact: One peanut brittle origin story says that the dessert was created by accident!
The story says a Southern woman in the 1890’s accidentally added baking soda to taffy instead of cream of tartar. It turned out totally different from what she had intended.
But, upside! She ended up inventing a whole new dessert.
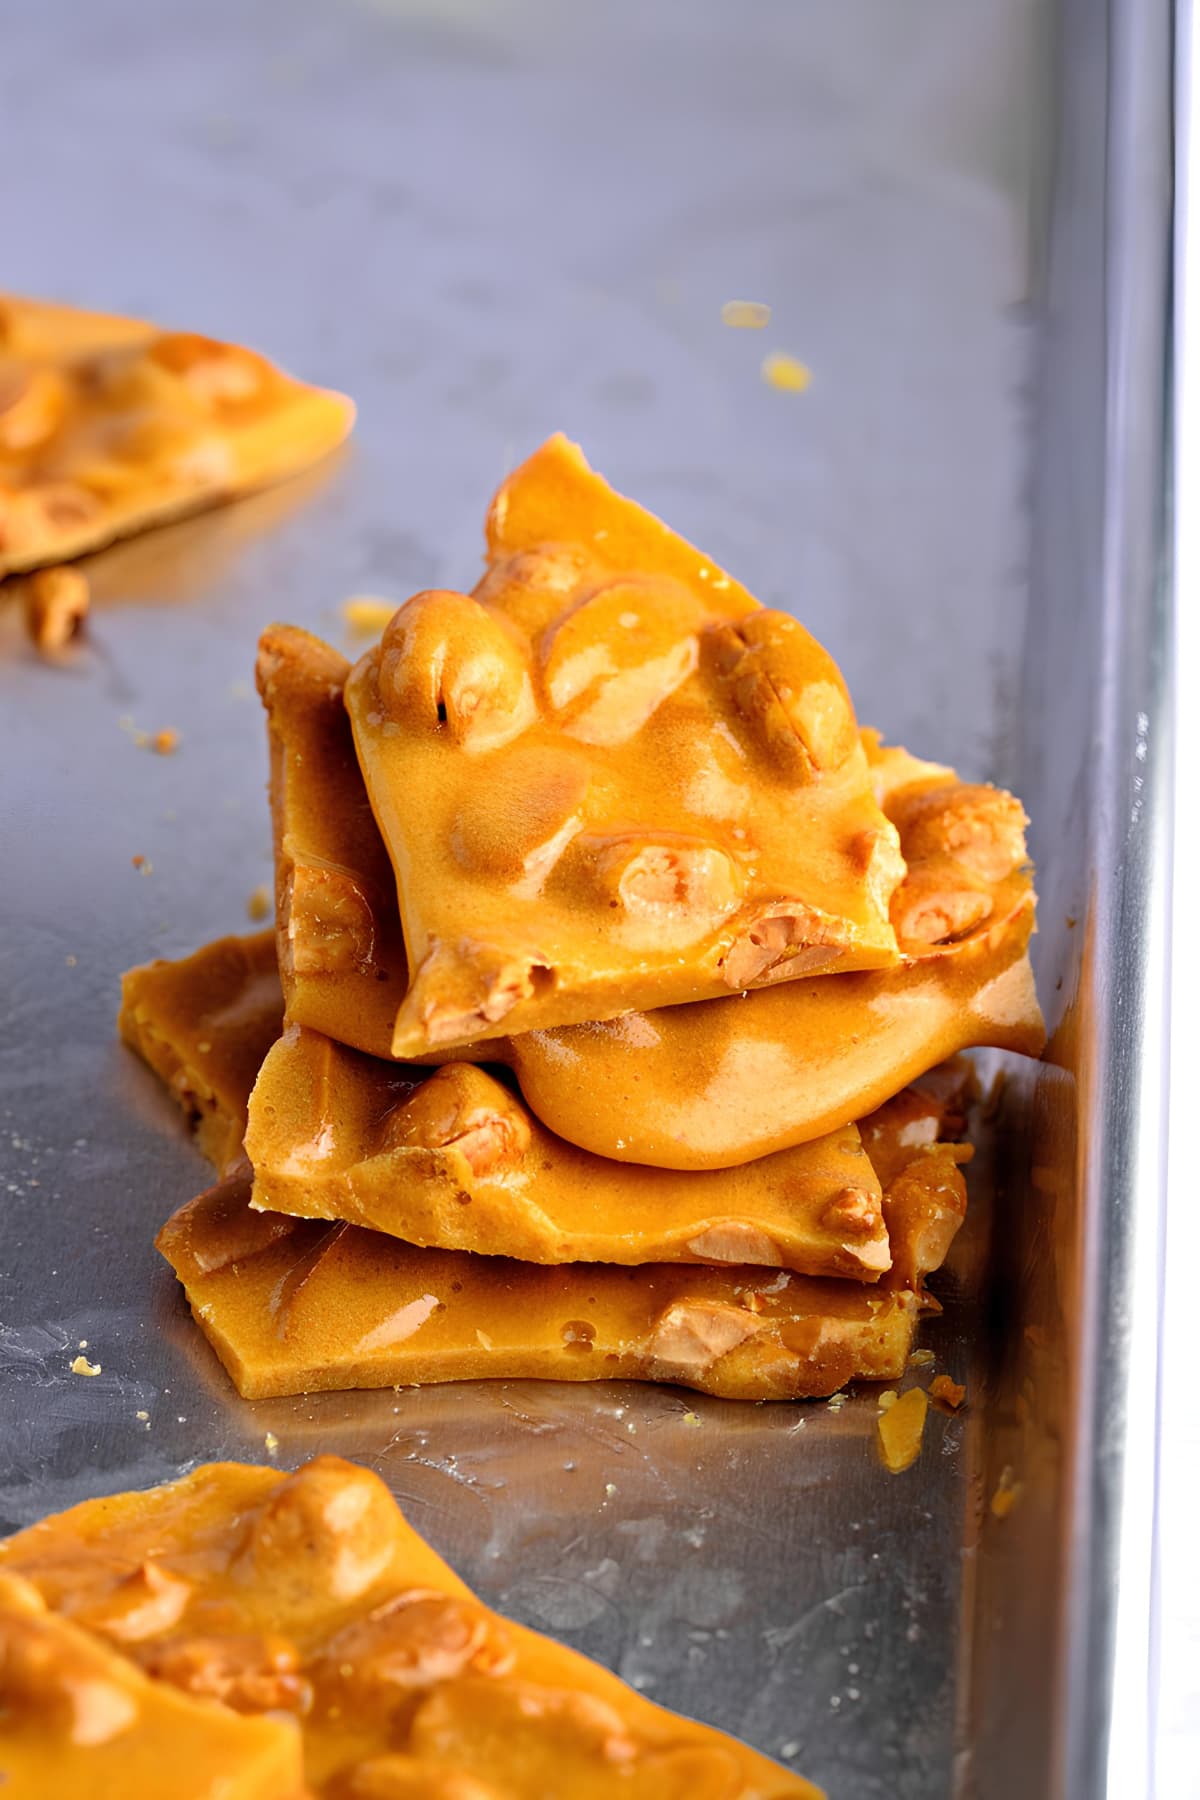
Equipment You’ll Need to Make Microwave Peanut Brittle
As far as equipment goes, you should have all this in your kitchen right now.
- Glass bowl. It has to be microwave-safe. Also, if you have one with a handle – that’ll make your life easier. If not, no worries, some good-old-fashioned oven mitts will do the trick.
- Cookie sheet. Make sure you have this ready before you start cooking. The brittle will harden quickly. So, you don’t need to waste time greasing a cooking sheet once it’s ready to pour.
- Measuring cup/spoon. For measuring, of course!
- Wooden or rubber spatula. You’ll need this for mixing and for spreading the candy onto the cookie sheet. And of course…
- Microwave oven. No further explanation needed.
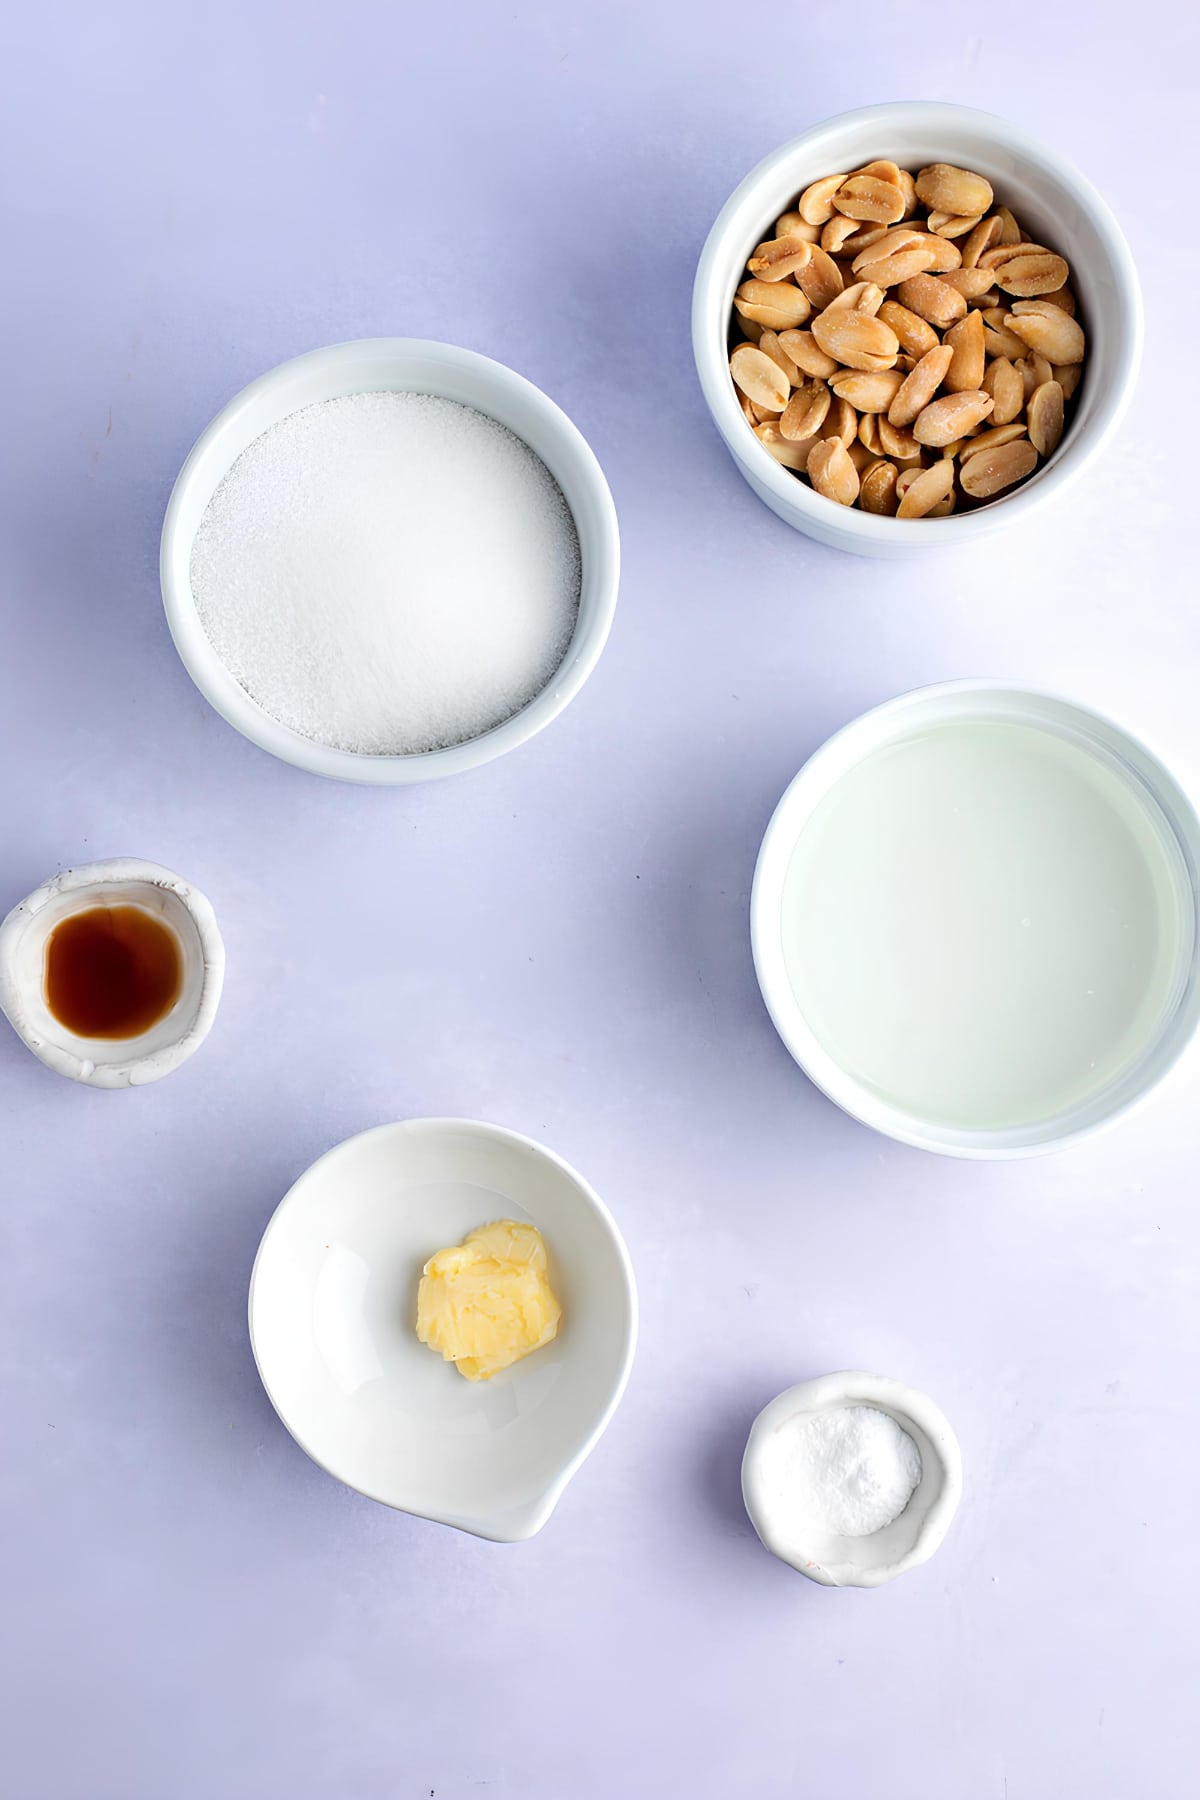
Ingredients
Here are the six ingredients you’ll need:
- White sugar. For sweetness.
- Light corn syrup. For that ooey-gooey, sweet peanut coating.
- Salted peanuts. Raw peanuts will work as well. You could also use roasted peanuts for that extra nutty flavor. Use whole or chopped, depending on your preference.
- Butter (or cooking spray). Things are going to be sticky! So, it’s important to butter or spray anything that’s going to touch the candy. This includes the bowl, cookie sheet, and spatula.
- Vanilla extract. Ever wonder why we always add vanilla extract to all sorts of dessert recipes? Because it enhances the flavors of other ingredients!
- Baking soda. Adding baking soda at the very last minute will create bubbles within the candy. Those bubbles give peanut brittle its crisp texture.
How to Make Peanut Brittle
Now, let’s look at the steps for making this easy microwave peanut brittle.
1. Butter or spray everything! Butter or spray the cookie sheet, bowl, and spatula. Make sure you cover everything.
Otherwise, it’s going to be difficult to remove the hardened sugar from your kitchen wares.
2. Mix the sugar and corn syrup. Combine them in a bowl, and microwave the mixture for 4 minutes.
3. Add the peanuts. Remove the bowl very carefully, using oven mitts for safety. Then, stir in the peanuts with your spatula.
4. Microwave. Return the bowl to the microwave and microwave for another 3-1/2 minutes.
5. Add the vanilla and butter. Remove the bowl from the microwave and stir in the vanilla extract and butter. Then, microwave the candy again for 90 seconds.
6. Add the baking soda. Retrieve the bowl once more. Then, add the baking soda and continue stirring until the candy becomes foamy.
7. Spread. Spread the candy thinly and evenly onto the cookie sheet with the spatula. Do so quickly, as it starts to harden fast.
8. Cool, break, and serve. Let the peanut brittle cool and harden for 2 hours at room temperature.
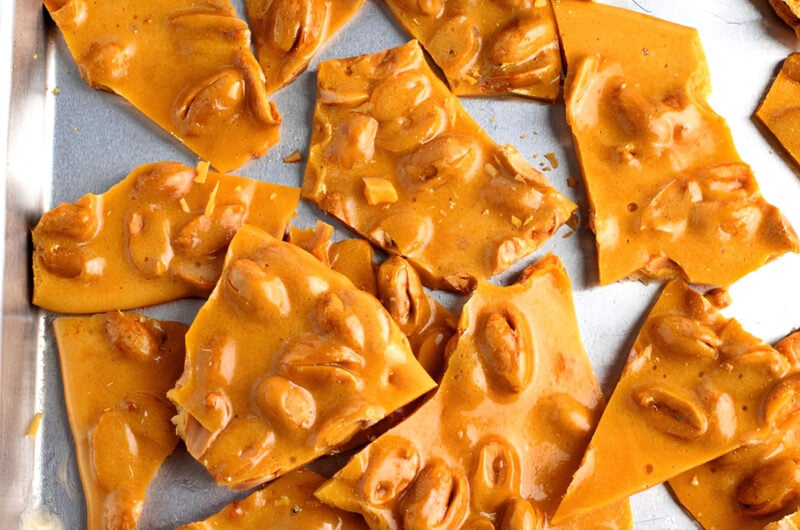
Then, break it into pieces and enjoy!
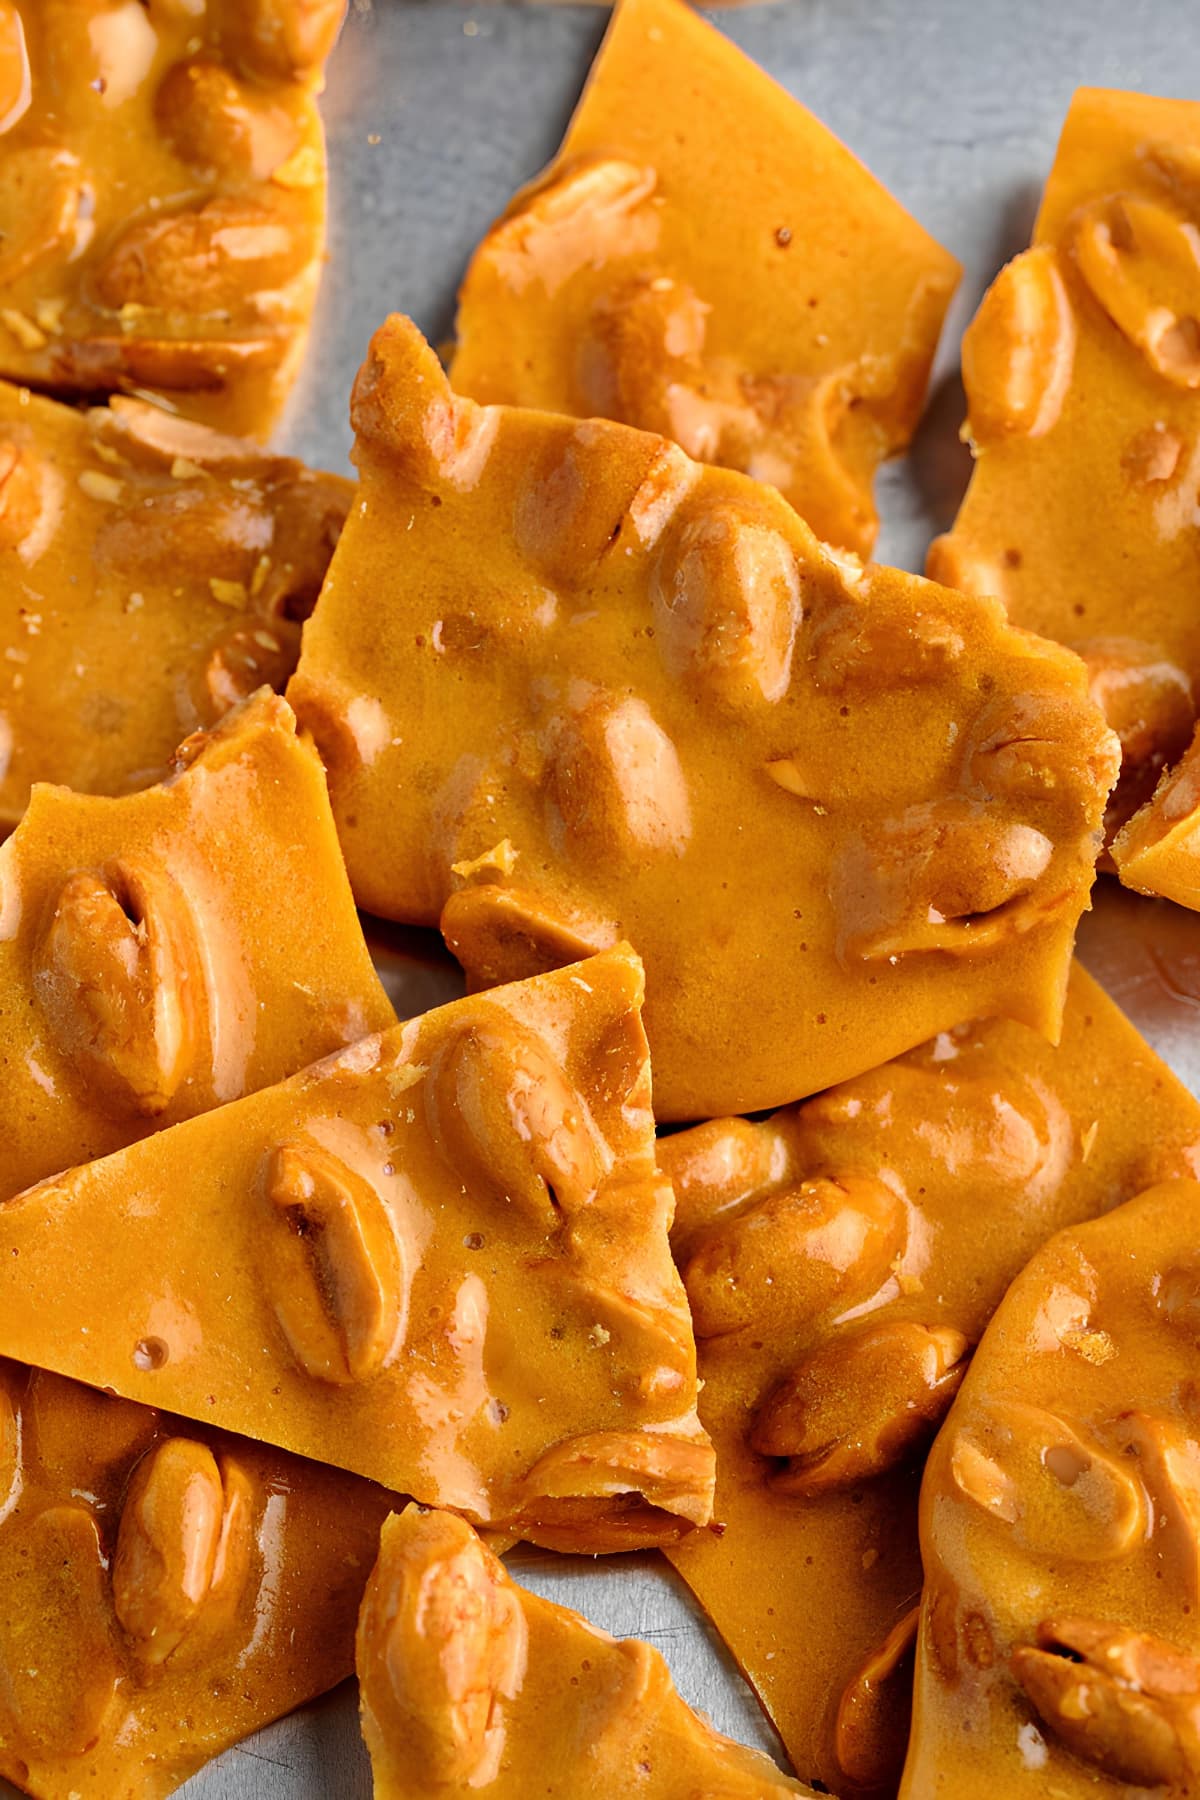
Tips & Tricks for Making Peanut Brittle
Making homemade peanut brittle is one of my favorites because it’s so simple. I love a fool-proof recipe. But here are some quick tips and tricks to keep in mind.
- Prepare everything beforehand. Measure out all the ingredients and grease everything – particularly, the cookie sheet. As I said, it only takes a very short time for the candy mixture to start setting, and if you’re not ready, you might end up with one huge clump of candy!
- The recipe isn’t kid friendly. If your kids like to join you in the kitchen, be careful! The candy mixture is going to be exceedingly hot, so it may not be safe for this particular recipe.
- Remove excess grease with a paper towel. The cooking spray might make your peanut brittle a bit too greasy. If it happens, simply dab the pieces with a paper towel to get rid of the excess oil.
- Clean with hot water and vinegar. Because you’re working with sugar, you’re almost guaranteed to have bits of hard candy stuck in your bowl. To clean, just fill the bowl with hot water, add some dish soap and white vinegar, and leave it for an hour. It will either soften the candy or dissolve it completely, making it easy to scrub off.
How to Store Peanut Brittle
Store the candy in sealable containers. If you’re going to stack them in a pile, place a piece of parchment paper between layers to avoid sticking.
Do not refrigerate. Peanut brittle stays freshest at room temperature. It can actually last for up to 8 weeks if you store it properly!
Conclusion
Peanut brittle is the perfect holiday candy to give to your loved ones. It’s cheap, easy, and so delicious they’ll think it took you hours to make! But most importantly, making something yourself is a wonderful way to show people how much you value their presence in your life. Give this easy recipe a try and let me know how it turns out.








Yummy will be making for Christmas.Thank you.?
Sounds fantastic!!! Can’t wait to make this for holiday gift giving and holiday home entertaining.
Thanks for making such an easy recipe I can make for my mom and dad for Christmas. They’ll think I’m such a good cook hahaha!
Hi Lee, I hope they loved the peanut brittle!
Corn syrup is sooooo bad for a lot of things including arthritis. What could be a substitute?
You could substitute maple syrup or honey for the corn syrup in this recipe. Keep in mind that both will lend their flavors to the final product, though. It should still taste great, just slightly different.