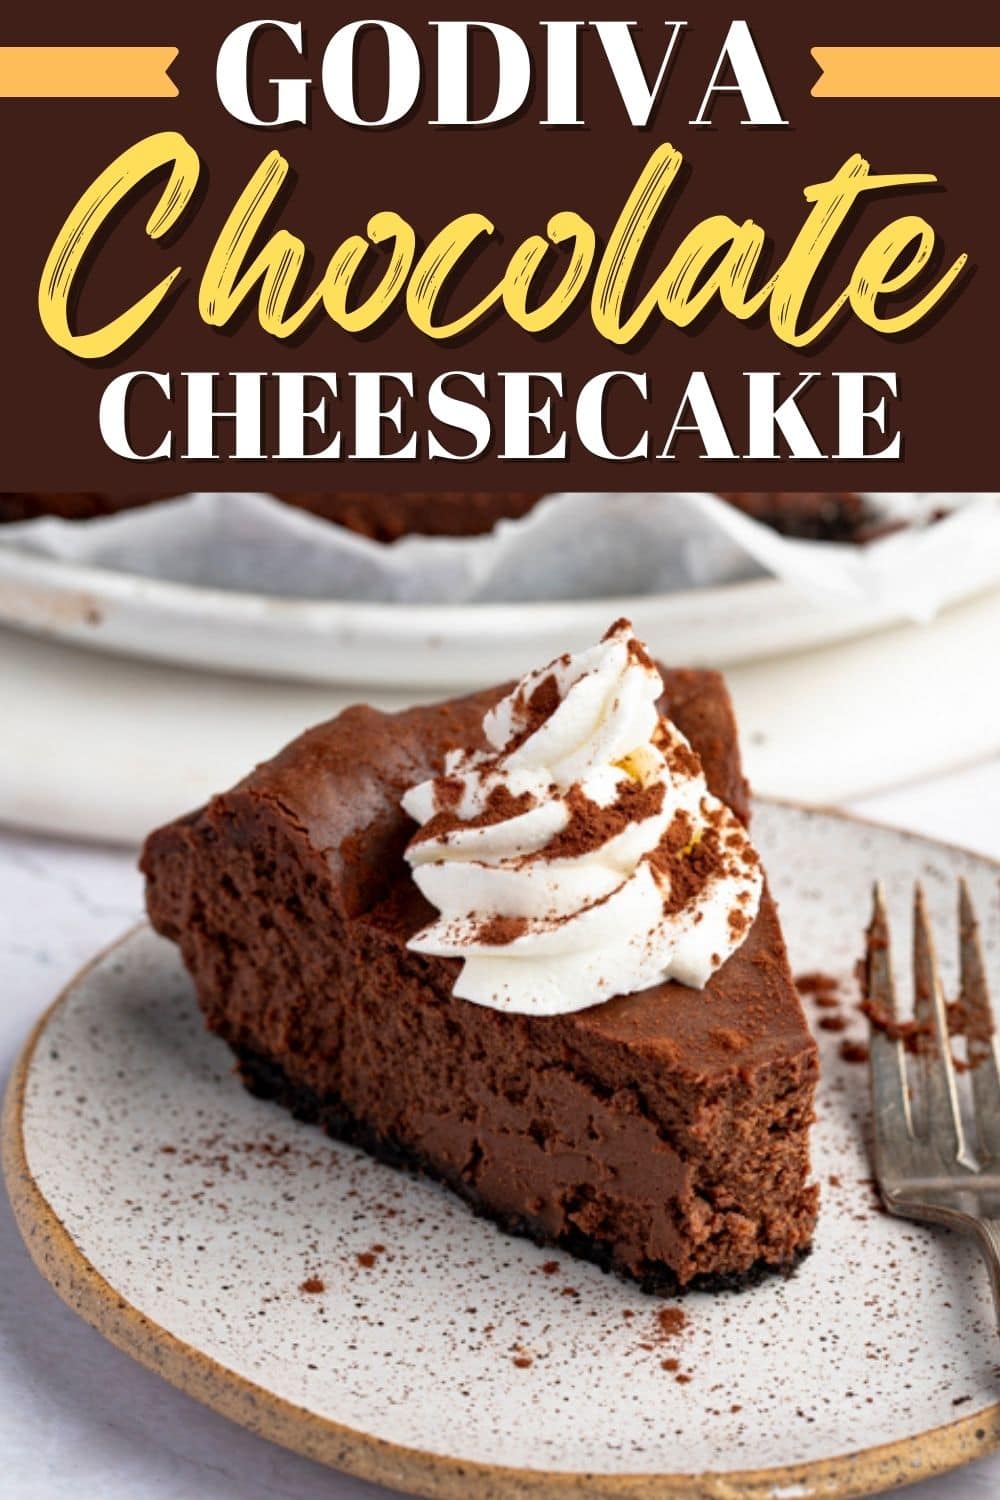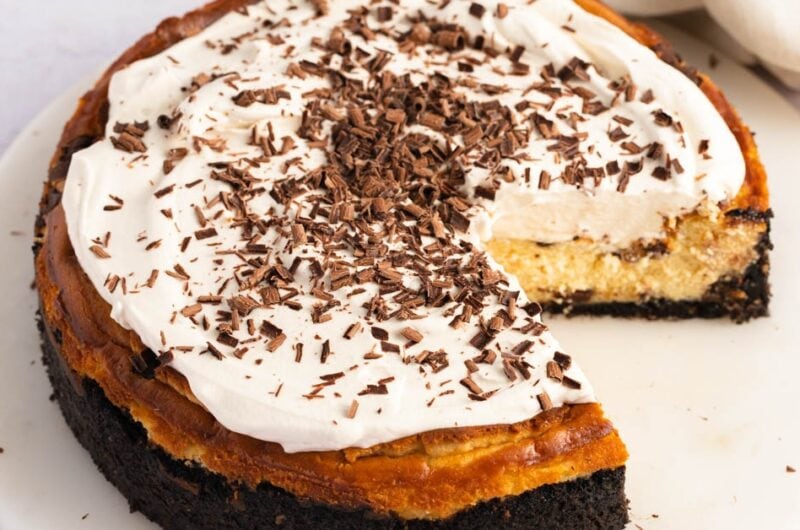


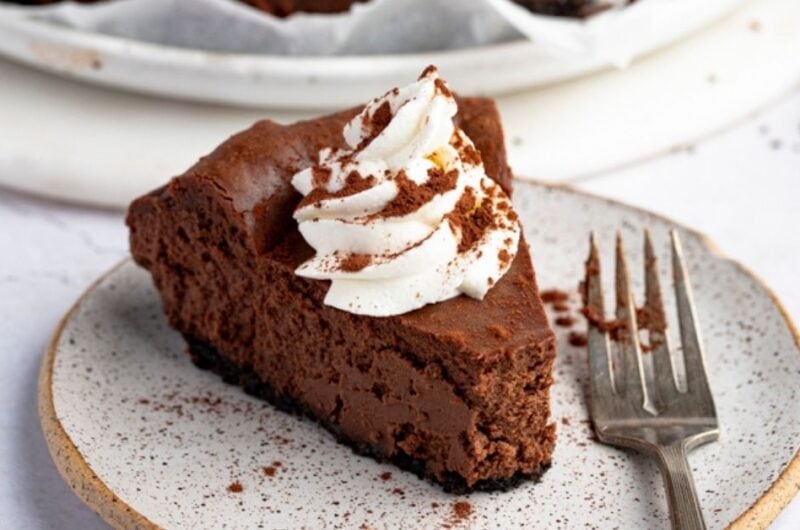
Satisfy your sweet tooth with this decadent Godiva chocolate cheesecake.
It's so good; it’ll give the Cheesecake Factory a run for its money.
WANT TO SAVE THIS RECIPE?
Godiva Chocolate Cheesecake
If you like dessert that's creamy, indulgent, and intensely chocolatey, you’ll definitely want to try this one. It may be a copycat recipe, but I daresay it tastes better than the original.
Being a bit of an addict, you know you can trust me when I say this is one of the best cheesecake recipes I've ever had. It’s smooth and dense with the perfect balance of sweet and bitter.
I should probably warn you, though; this Godiva chocolate cheesecake is dangerous – you won't be able to stop at just one slice.
This copycat recipe is a must-try for diehard chocolate and cheesecake aficionados.
Ingredients
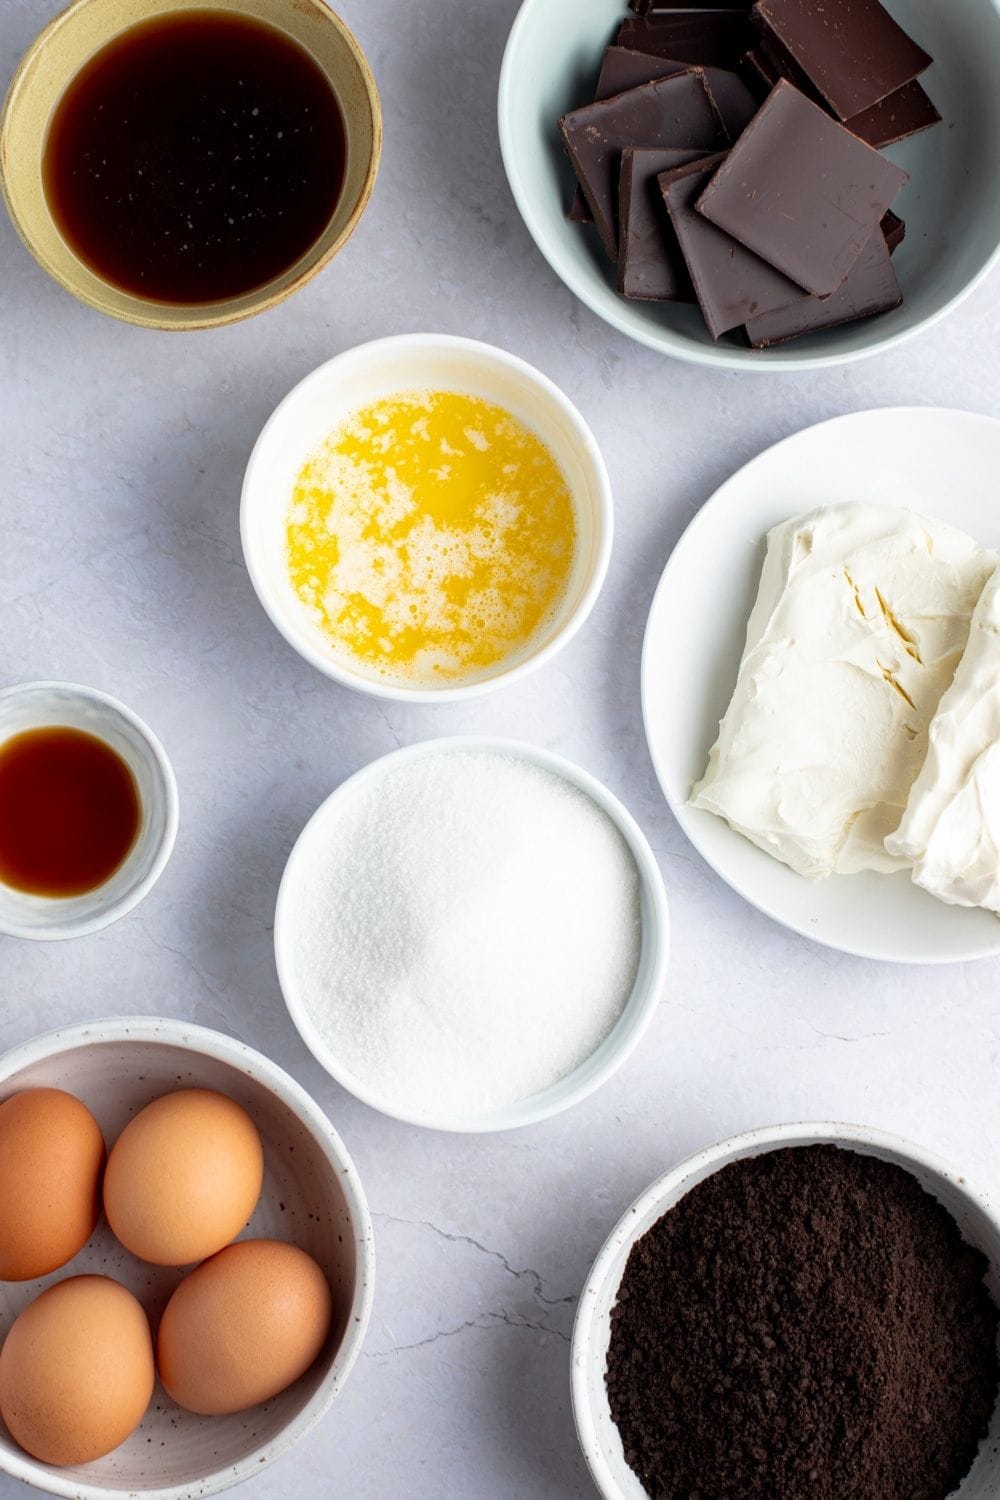
- Crust – you’ll use a mixture of crushed chocolate wafers and unsalted melted butter.
- Granulated Sugar – for sweetness, of course.
- Brewed Coffee – coffee amplifies the flavor of chocolate, making the cheesecake even richer and more delectable.
- Salt – it balances out the sweetness and brings out the flavors of the chocolate at the same time.
- Godiva 72% Dark Chocolate Bars – it’s not called Godiva cheesecake for nothing! For the richest chocolate flavor, opt for Godiva, Lindt, Guittard, or Ghirardelli. I don’t recommend chocolate chips because they tend to have less flavor and a waxy consistency when melted.
- Cream Cheese – the base of every cheesecake. Be sure to use room temperature cream cheese for a smoother, silkier finish. Cold cream cheese will be hard to beat and most likely leave lumps in the batter.
- Eggs – for binding the ingredients together and making the cheesecake rise. Use room temperature eggs as they’ll incorporate easier with the rest of the ingredients.
- Vanilla Extract – flavor enhancer.
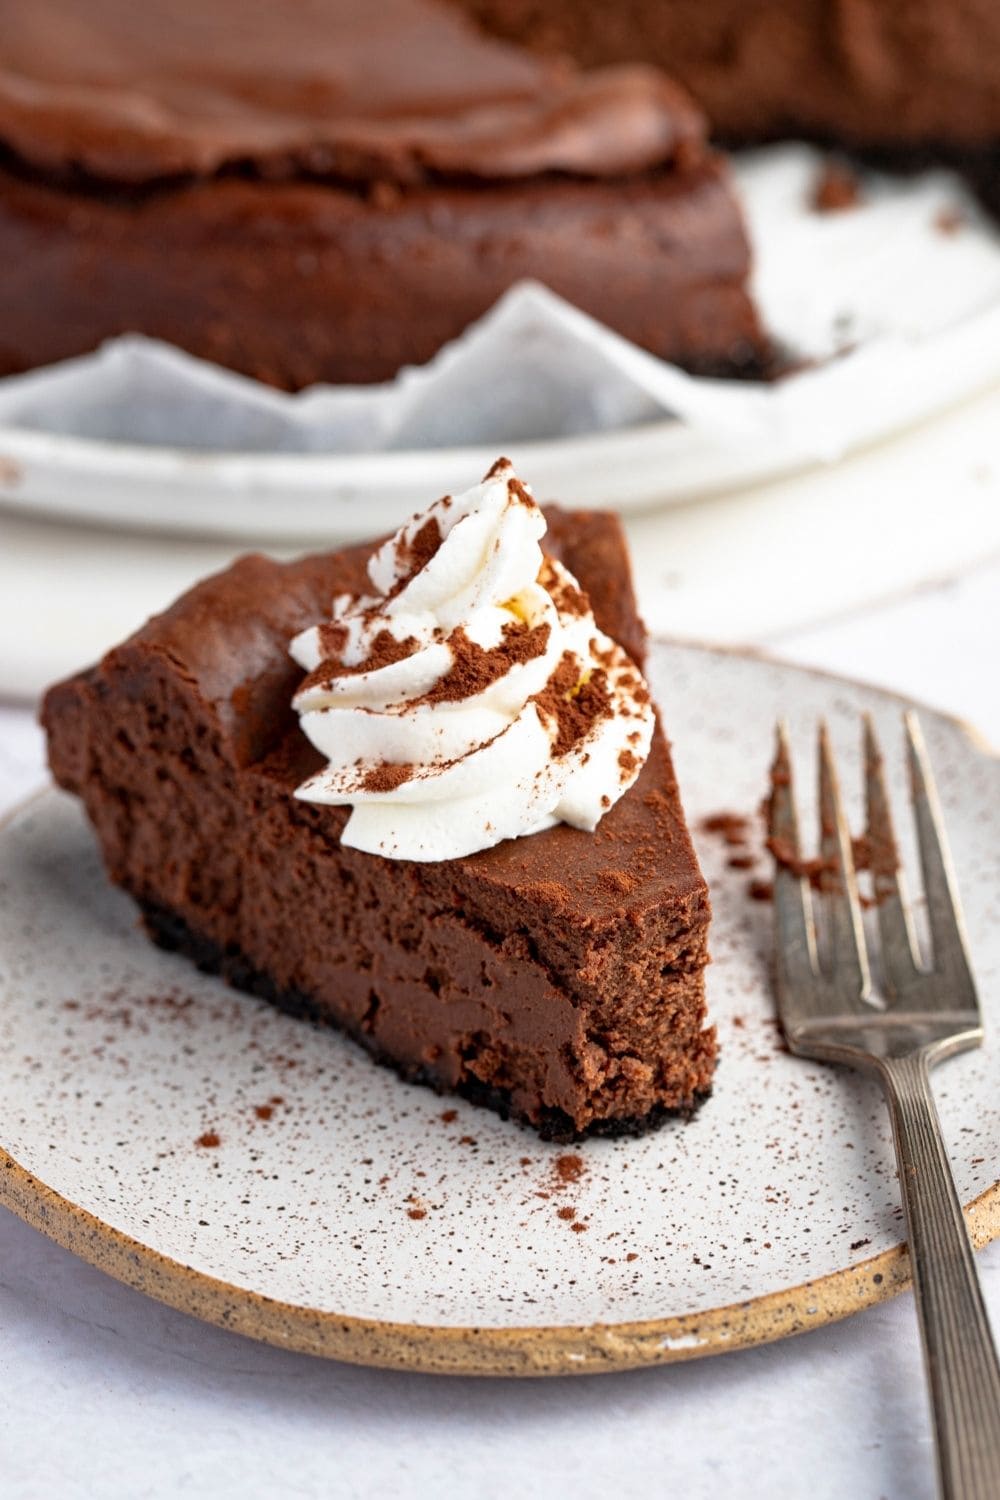
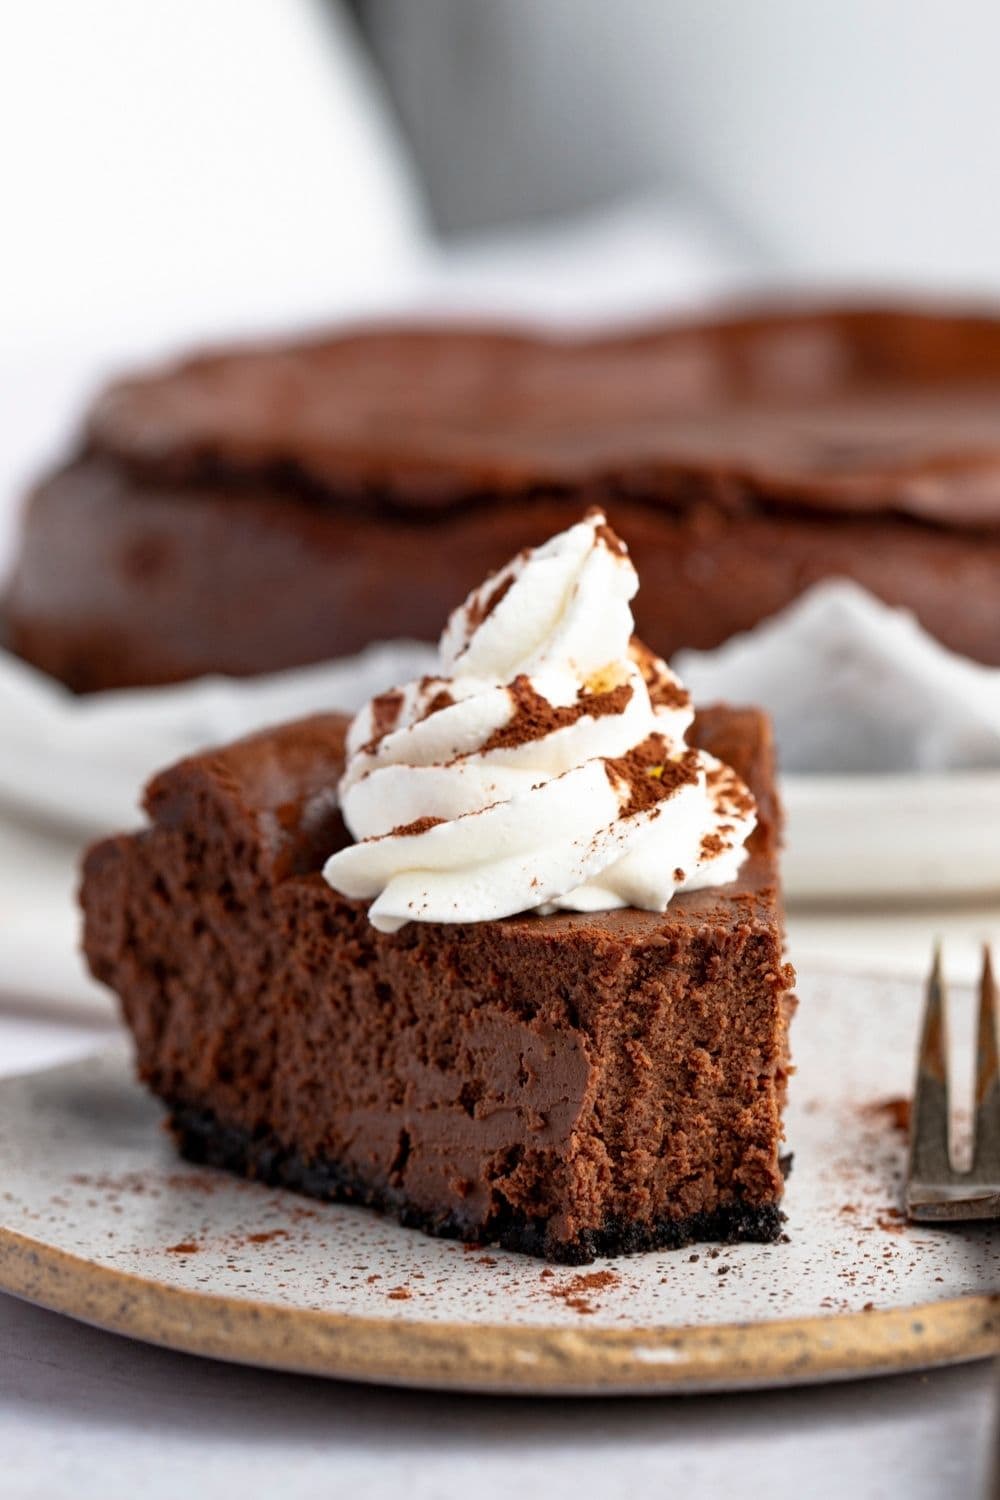
- Whipped Cream and Raspberries – optional, but highly recommended garnish.
Why Use a Springform Pan?
Springform pans are used because they have detachable sides, making them the perfect vessel for crust-based desserts, such as cheesecake.
That's because, unlike other cakes, you can't flip a cheesecake over to get it out of the pan.
The only way to set the cheesecake free is to remove the sides, which is exactly what a springform pan is capable of.
If you don’t have a springform pan, the next best choice is to use a disposable pan. Though they're made with sturdy foil, you can easily cut the side to set your cheesecake free.
Or, you can also line a baking pan with parchment paper, and leave enough to overhang around the sides. Once the cheesecake is cooked, cooled, and set, you can carefully lift it out.
This can be tricky, but with extra care and a set of hands, it can be done.
Tips for Making The Best Cheesecake
My biggest tip for this indulgent dessert is to be gentle with the batter.
You want the cheesecake to be super smooth, which means whipping the cream cheese well.
But you don't want to overdo it, or the finished cake may crack.
I recommend beating it with a paddle attachment so you don't incorporate too much air.
Other than that, here's a few more tips:
- Do not mix hot butter with the crushed wafers. This will just make it greasy. So, be sure to let it cool before making the crust.
- Pack the crust tightly in the pan. Use the back of a glass or a measuring cup to press the mixture into the bottom of the pan.
- Always mix at low speed to incorporate as little air as possible. Stop as soon as the ingredients are well combined. Mixing by hand is the best method.
- Do not overbake the cheesecake. Take it out of the oven once the edges have puffed up and the middle is still jiggly.
- Cool the cheesecake completely before it goes in the fridge. Leave it at room temperature to cool to avoid cracks.
- Let the cheesecake set in the fridge. Six hours works, but overnight is best.
- Cover any cracks with whipped cream. It'll taste the same, and the fluffy white topping looks great.
How to Store
This chocolate cheesecake is so delicious, I doubt you'll have any leftovers. But just in case, here's how to store it:
- To store: Cover leftover cheesecake with plastic wrap or store it in an airtight container. Refrigerate for up to a week.
- To freeze: Wrap it tightly with plastic wrap and foil, label accordingly, and freeze. You can freeze either the entire cake or individual slices.
- To thaw: Transfer cheesecake into the fridge overnight. Never leave it on the counter to thaw.
Should I Bake the Cheesecake in a Water Bath?
To water bath or not to water bath – this is usually the number one question asked when baking cheesecakes.
It's best to bake cheesecake in a water bath as it helps to distribute the heat evenly and prevent cracks.
In addition, water adds moisture to the oven, which keeps the edges from cooking too fast and burning.
With the water bath method, you’ll place the cheesecake pan into a larger pan partially filled with hot water and bake.
This method is perfect if you’re making a New York cheesecake, or if you don’t plan on putting any toppings on it.
An alternative to this is to place the water-filled pan on the rack beneath the cheesecake. It’s not as effective, but it still yields a pretty smooth and silky cheesecake.
Pro-tip: when using the water method, wrap the springform pan in several layers of aluminum foil to prevent the water from seeping into the cheesecake.
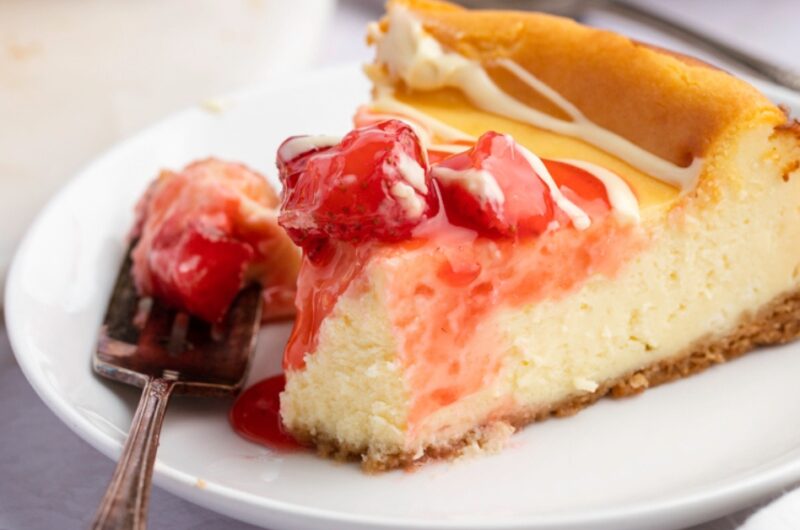
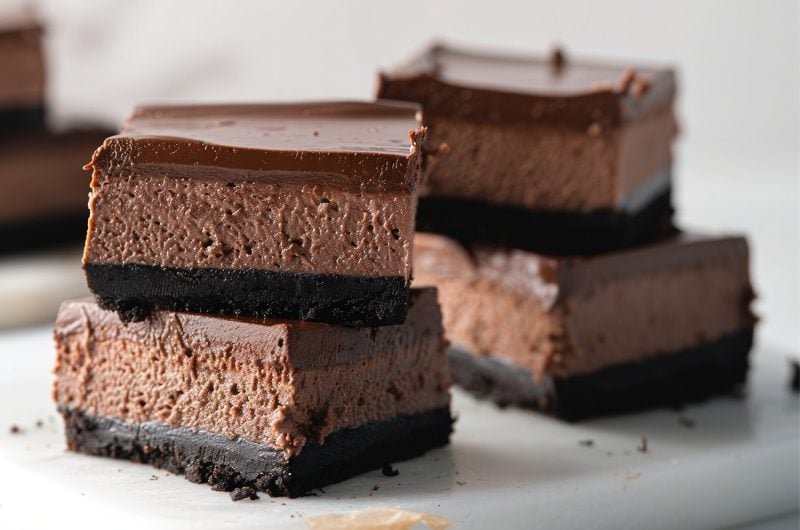
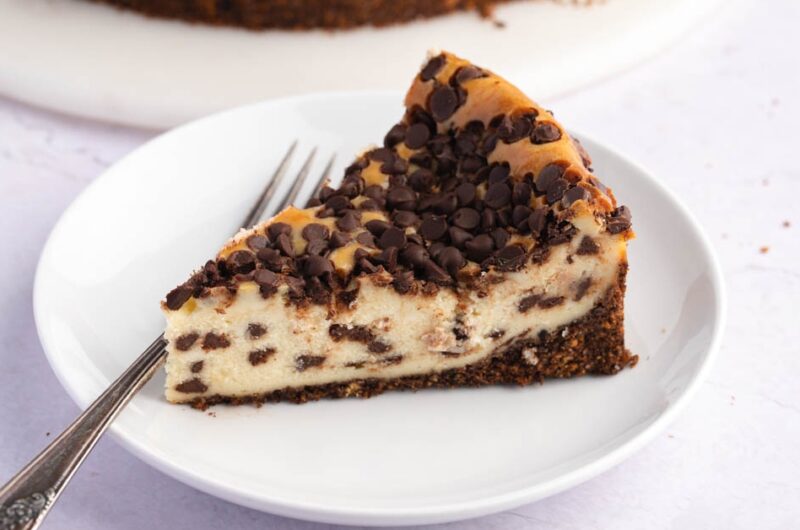
More Cheesecake Recipes You’ll Love
- Philadelphia No-Bake Cheesecake
- No-Bake Oreo Cheesecake
- Oreo Cheesecake Bites
- Cheesecake Brownies
- Double Layer Pumpkin Cheesecake
Godiva Chocolate Cheesecake
Satisfy your sweet tooth with this decadent Godiva chocolate cheesecake. It's so good; it’ll give the Cheesecake Factory a run for its money.
14-16
servings1
hour55
minutesIngredients
1 1/4 cups chocolate wafers (about 20 to 22 wafers), crushed
1/4 cup (1/2 stick) unsalted butter, melted
1 cup and 2 tablespoons granulated sugar, divided
1/4 cup hot, brewed coffee mixed with 1/4 cup very hot water
1/4 teaspoon salt
14 ounces Godiva 72% dark chocolate bars, divided
16 ounces cream cheese, softened
4 large eggs, room temperature
2 teaspoons vanilla extract
Whipped cream, optional
Fresh raspberries
- Optional Vanilla Whipped Cream Topping
1 1/4 cups heavy whipping cream
1 tablespoon granulated sugar
2 1/2 teaspoons vanilla extract
Instructions
- Preheat the oven to 325 degrees Fahrenheit and line the bottom of a 9-inch springform pan with parchment paper.
- In a medium bowl, combine the cookie crumbs, melted butter, and 2 tablespoons of granulated sugar. Firmly press the crust into the bottom of the springform pan, then chill in the fridge.
- Stir together the salt and hot coffee. Set aside.
- Chop 12-13 ounces of the dark chocolate bars into small chunks. Set aside the rest.
- Place the chocolate chunks into a large, microwave-safe bowl. Microwave at 50 to 60% power for 1 minute and stir. Heat in 30-second increments and stir until chocolate is smooth and melted. Cool for 5 minutes.
- Meanwhile, beat softened cream cheese at low speed until smooth and lump-free, about 4 minutes. Gradually add the remaining 1 cup of sugar and beat for 2 minutes or until well-combined.
- Beat in the eggs, 1 by 1, blending well after every addition. Gradually beat in the coffee mixture and vanilla extract. Pour the cooled melted chocolate and mix until combined.
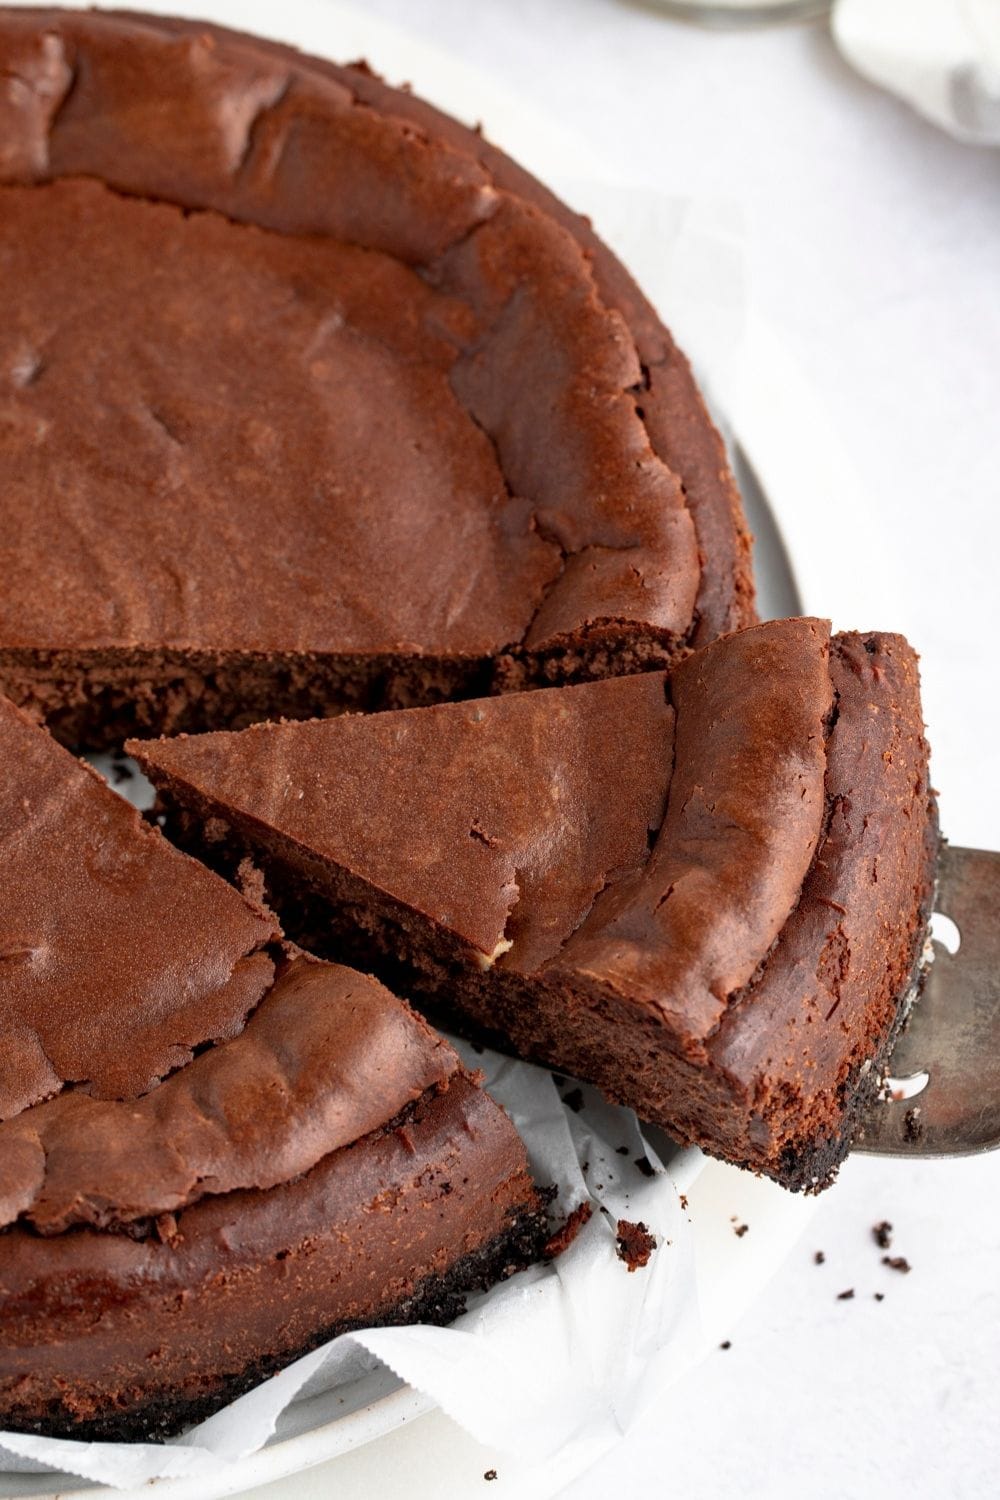
- Pour the batter into the prepared pie crust. Bake for 55 to 65 minutes, or until the cheesecake is puffed in the edges, but still slightly jiggly in the middle.
- Let the cheesecake cool on a wire rack completely. Cover the pan with foil and refrigerate for at least 6 hours.
- Spread optional whipped cream on top and grate the remaining dark chocolate. Or, instead of chocolate, top with fresh raspberries. Slice with a serrated knife and enjoy!
- Optional Vanilla Whipped Cream Topping
- In a large, metal bowl, beat whipping cream at medium speed, gradually adding the sugar and vanilla. Beat just until stiff peak forms, about 2 to 4 minutes.