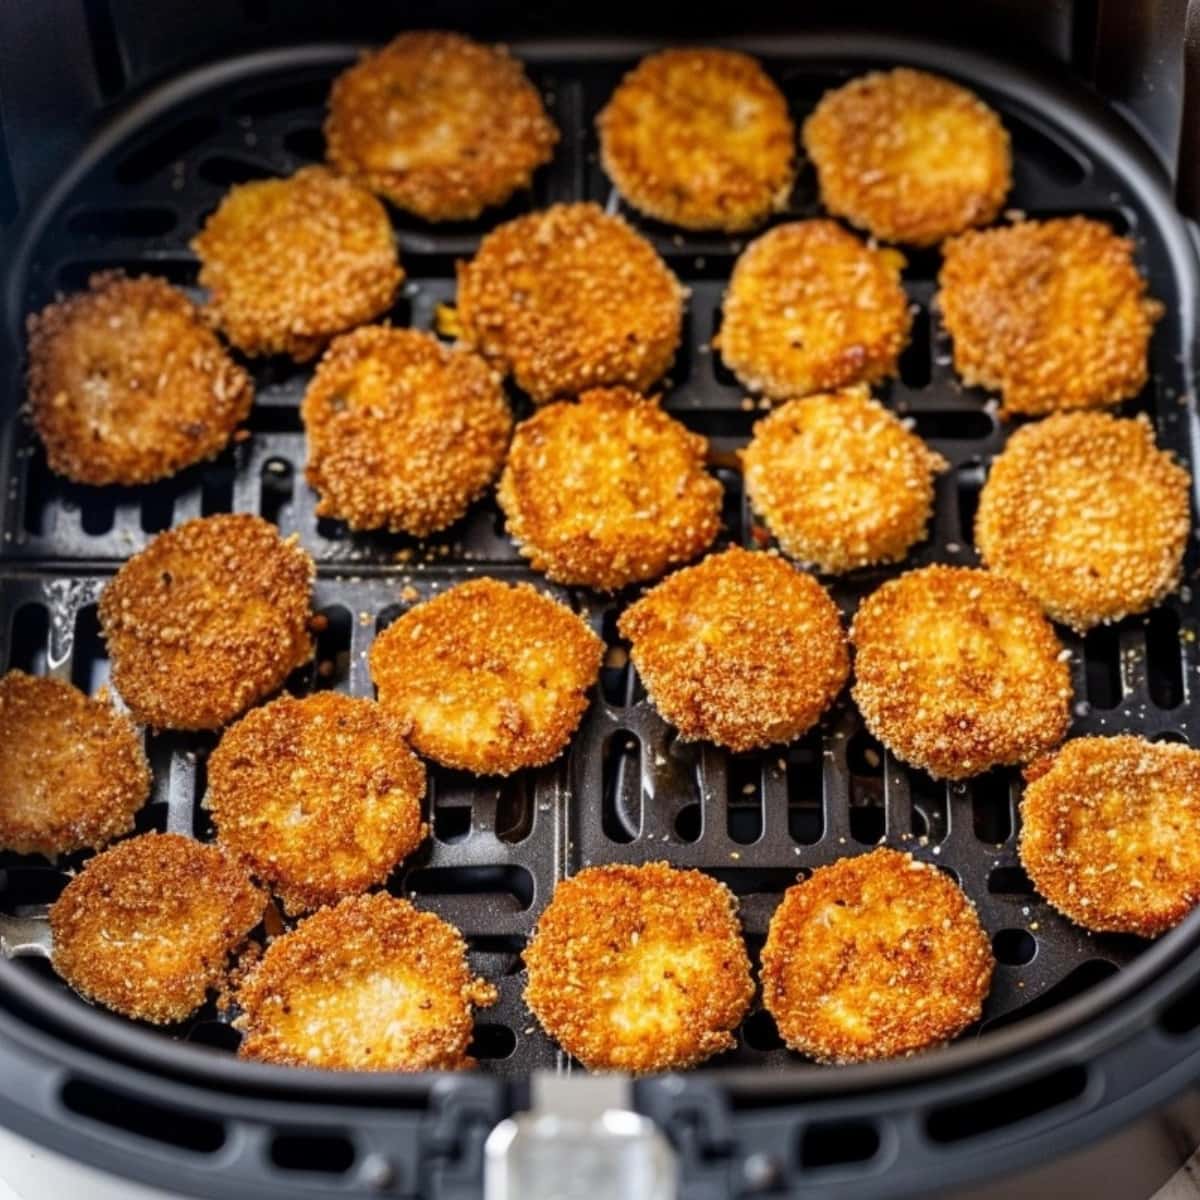
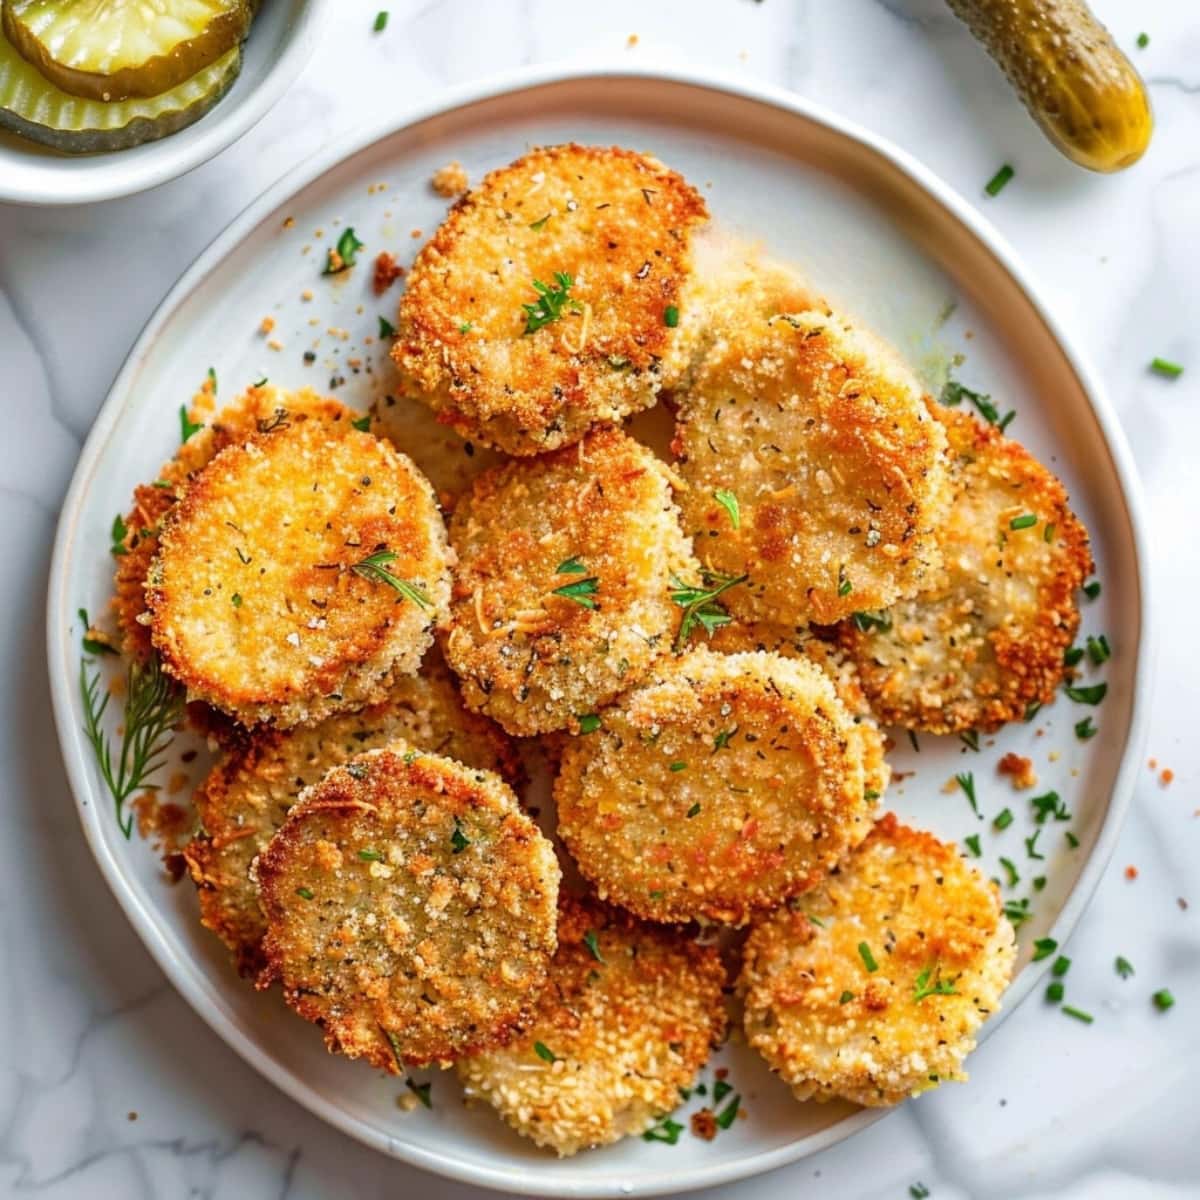
Alright, pickle lovers, listen up! I recently discovered the most amazing snack. These air fryer fried pickles are rocking my world!
They’re savory, tangy, and as a bonus, so easy to make. I’m warning you, These bad babies are seriously addictive.
Using the air fryer keeps the pickles nice and juicy inside while the outside crisps to perfection.
For movie nights, game days, or after school snacks, they simply can’t be topped!

Ingredients
Did I mention air fryer pickles are also budget-friendly? Just check out this inexpensive ingredient list:
- Dill pickle chips – Be sure to get pickle chips, not spears or sandwich slices. It’s much easier to bread and cook the chips. I like the Claussen brand, but any will do.
- Flour – Regular, all-purpose flour is fine. It’ll give you a nice fried crust.
- Seasonings – I use a mix of paprika, garlic and onion powders, salt, and black pepper. You can easily tweak those to adjust to your tastes.
- Eggs – They hold the flour, seasonings, and breadcrumbs in place.
- Breadcrumbs – I always use Panko breadcrumbs because they’re my favorite. Any breadcrumbs will do, though, even homemade ones!
- Cooking spray – Use a non-aerosol cooking spray. Aerosol sprays can damage your air fryer after a while.

How to Make Air Fryer Fried Pickles
Making air fryer pickle chips isn’t difficult at all! Just follow these easy steps:
1. Prep. Preheat the air fryer to 400 degrees and whisk together the flour and seasonings in a shallow bowl. Beat the eggs in a separate bowl, and add the breadcrumbs to a third.
2. Dip. Dip the pickles in the flour mixture, eggs, and breadcrumbs. Coat each pickle thoroughly on all sides.
3. Air-fry. Lightly spray the air fryer basket with cooking spray. Then, spread the pickles out in an even layer inside it.
4. Cook. Cook them for 5 minutes, then flip them and cook them for another 5 minutes. When they’re ready, transfer them to a paper towel-lined plate.
5. Serve. Serve the chips alone or with dipping sauces. Enjoy!

Recipe Tips and Variations
Want to mix things up a little? Here are some of my favorite tips and variations for this recipe:
- Keep ’em nice and dry. If they have juice on them, they won’t get as crispy as they should. Wet pickles can also make it harder for the seasonings and breadcrumbs to stick.
- Try out your tongs. Besides keeping your hands clean, tongs will also prevent burns. Remember, the pickles will be hot when you remove them. Using tongs is safer.
- Go keto-friendly. Use Parmesan cheese and finely ground pork rinds instead of flour and bread crumbs.
- Give them a cheesy finish. Immediately before air-frying, coat the pickles in Parmesan cheese.
- Want a tangier treat? Instead of seasonings, coat the pickles in mustard. (Regular or Dijon is fine.) Then, finish breading them with the breadcrumbs and fry them.

How to Store
Because of their crispy texture, pickle chips are best eaten immediately. But here’s how to store leftovers if you have them:
- To Store: Let the pickles cool fully, then place them in an air-tight container. Put a paper towel between layers to keep them as crisp as possible. Store in the fridge for up to 3 days.
- To Reheat: Toss the chips back in the air fryer and heat them at 400 degrees Fahrenheit. It should only take about 2 to 3 minutes.
What to Serve With Fried Pickles
Fried pickles taste phenomenal on their own, but they’re even better with dipping sauces! Use your own favorite sauces, or try some of these:
- Ranch Dressing
- Southwestern Ranch Dressing
- Garlic Sauce
- Southern Comeback Sauce
- Spicy Mayo
- Bleu Cheese Dip
- Burger King Zesty Sauce

More Air Fryer Recipes
Craving more crispy and delicious air fryer snacks? Here are some of my favorites:
Air Fryer Kale Chips
Air Fryer Apple Chips
Air Fryer Crab Rangoon
Air Fryer Pizza Rolls
Air Fryer Hash Browns


