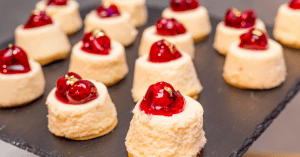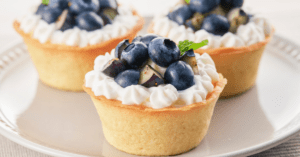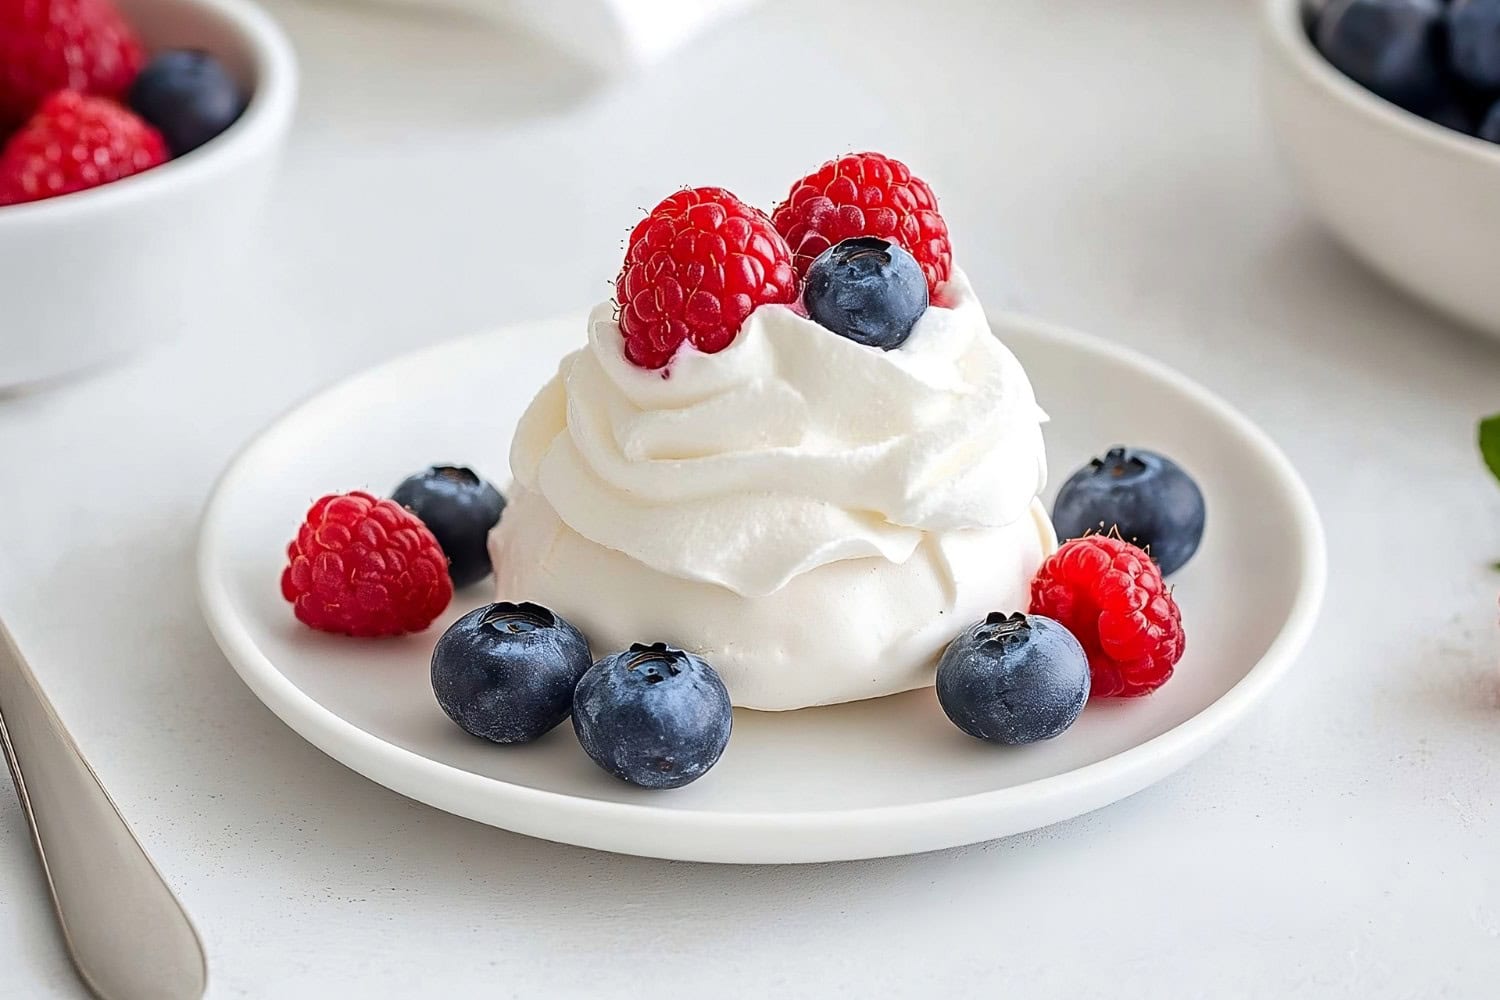
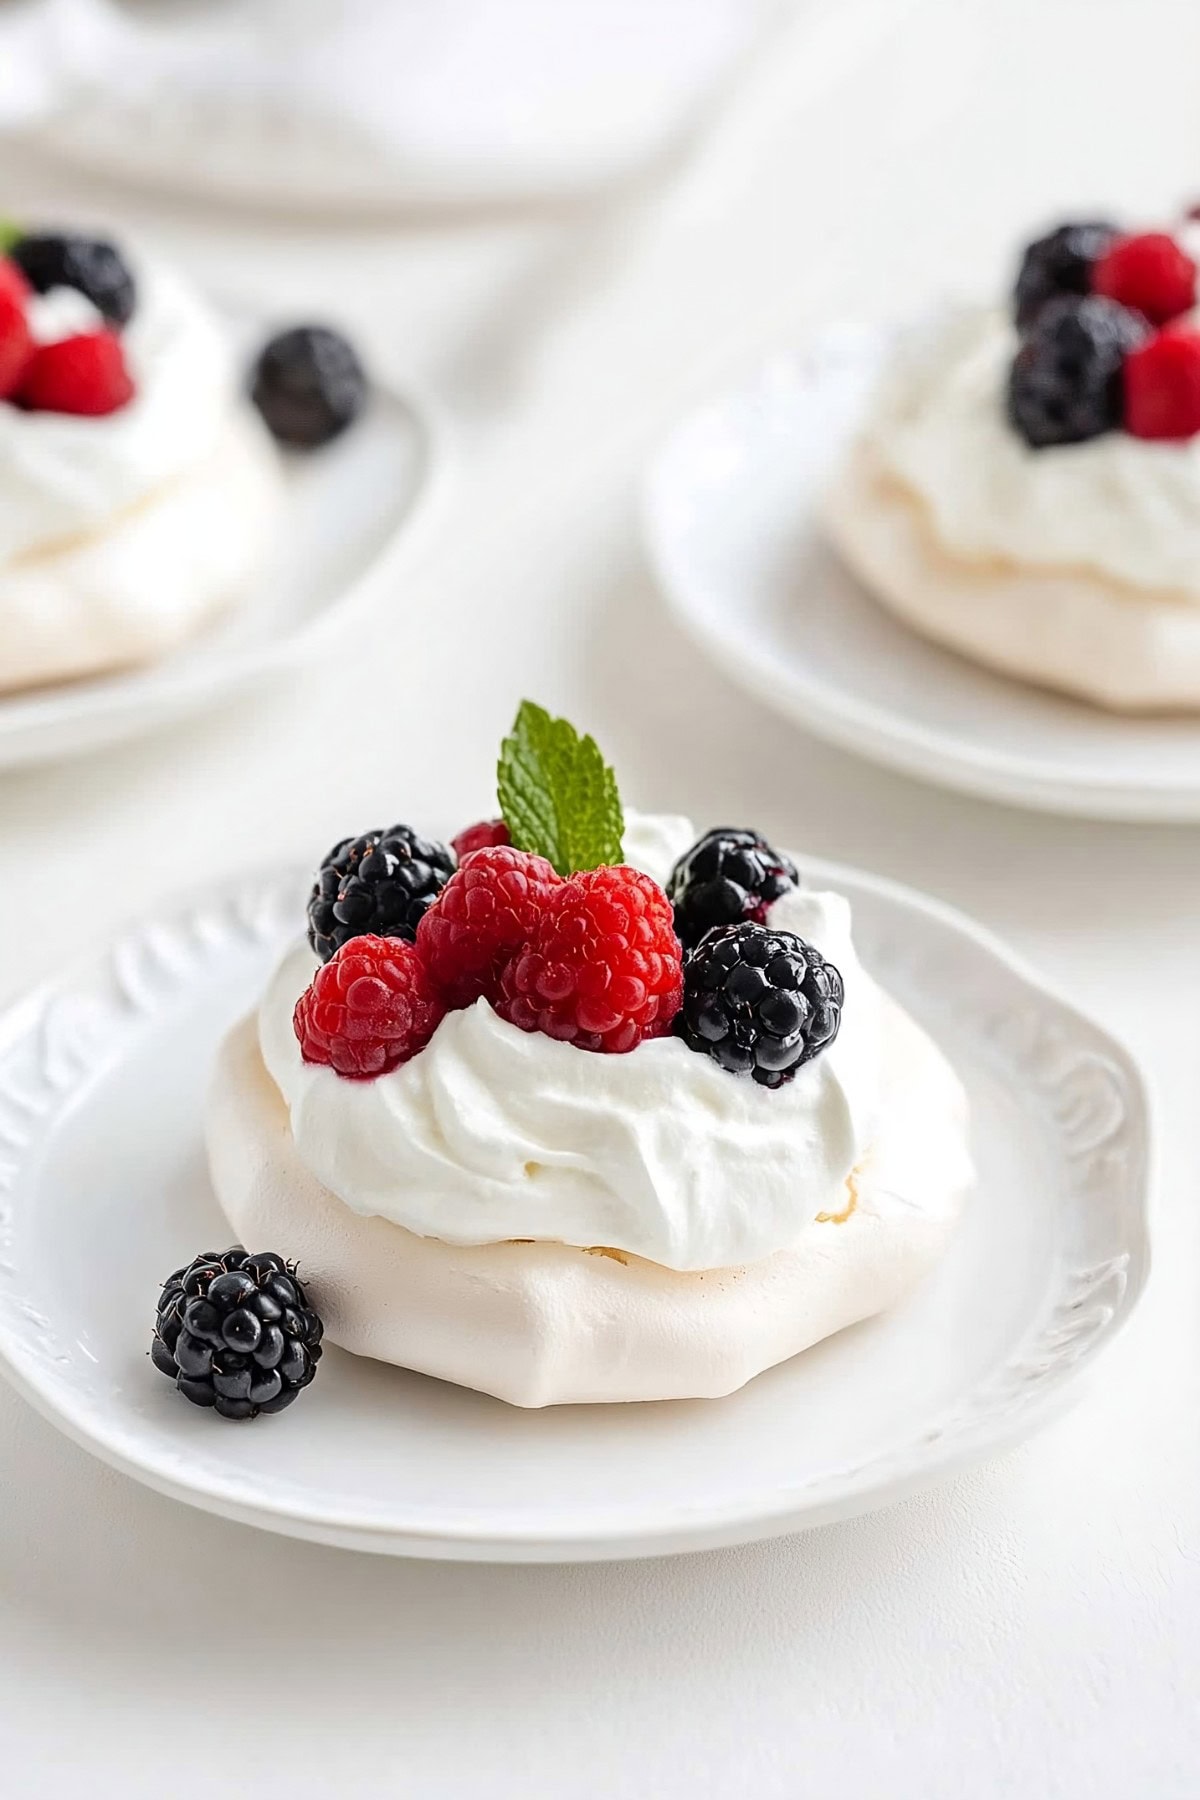
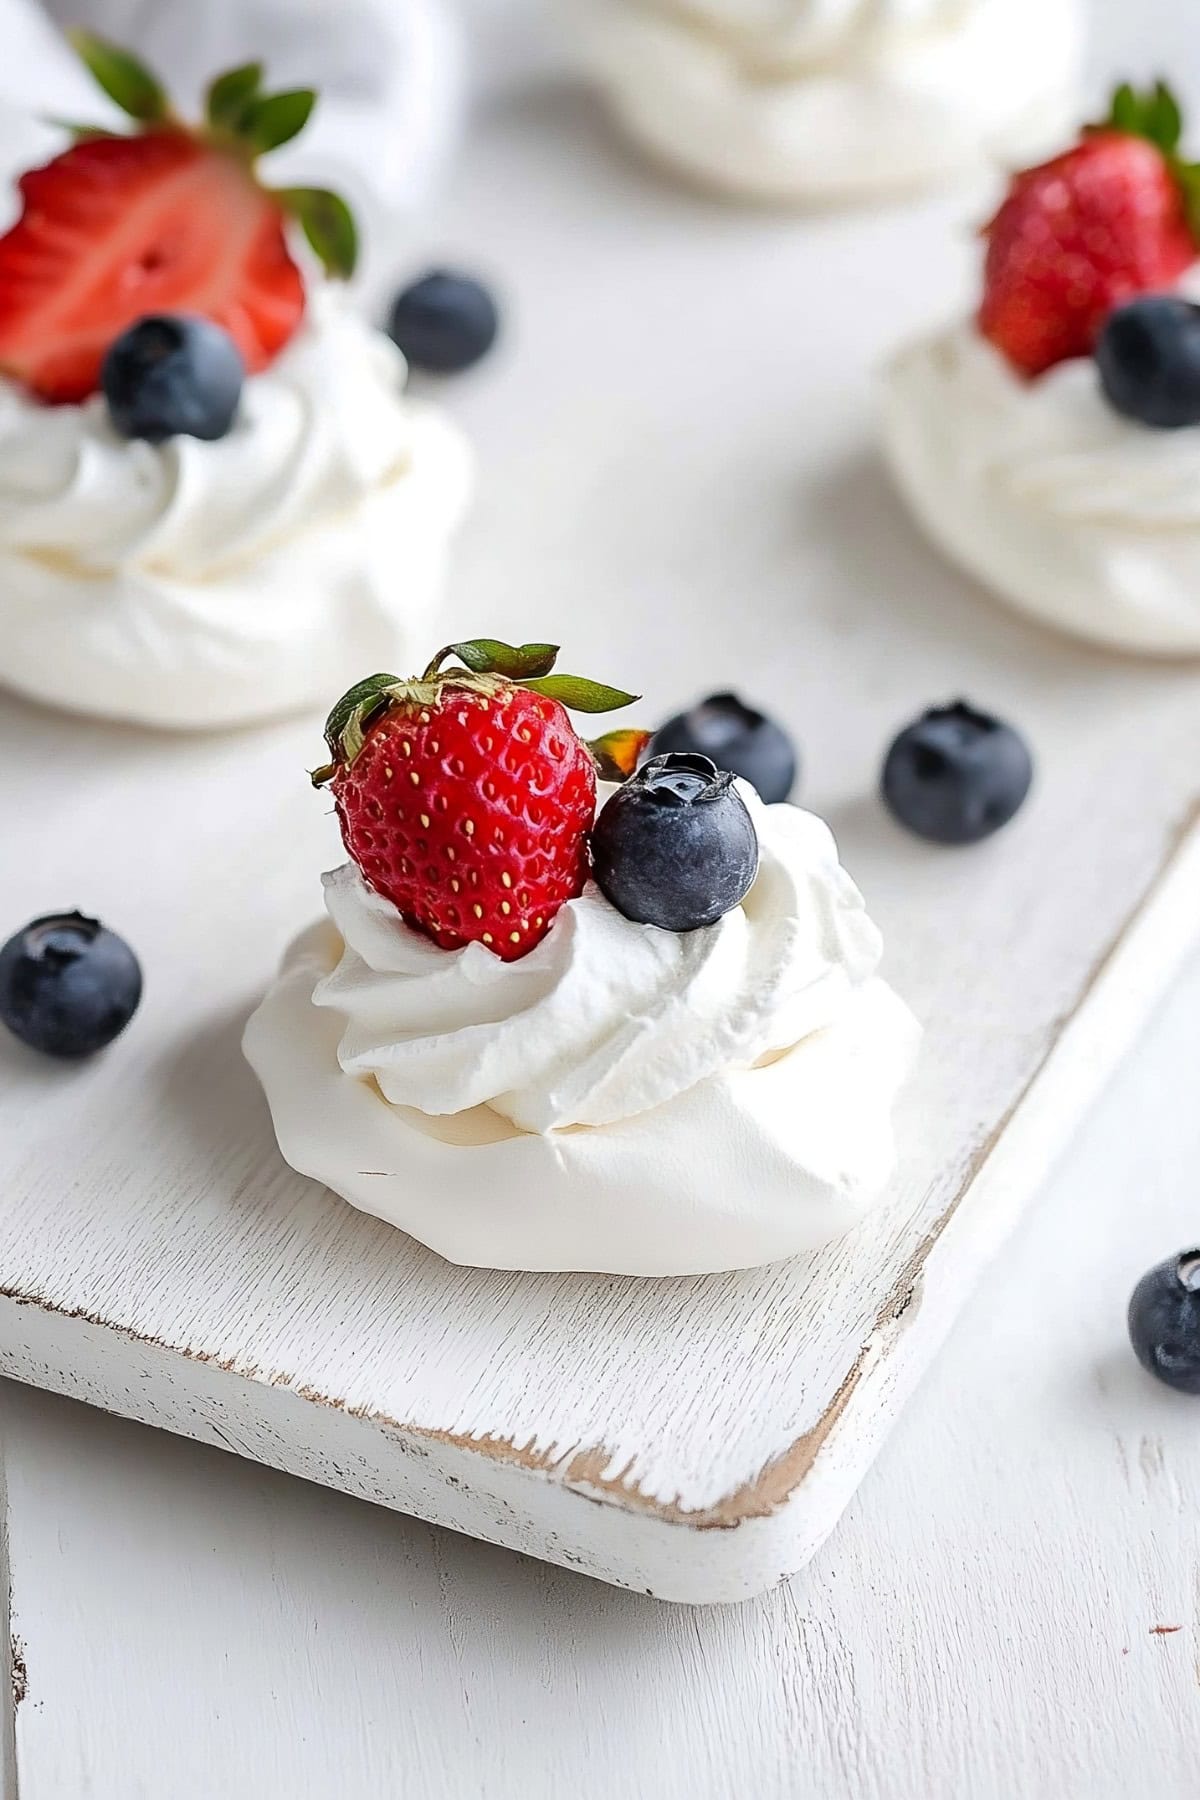
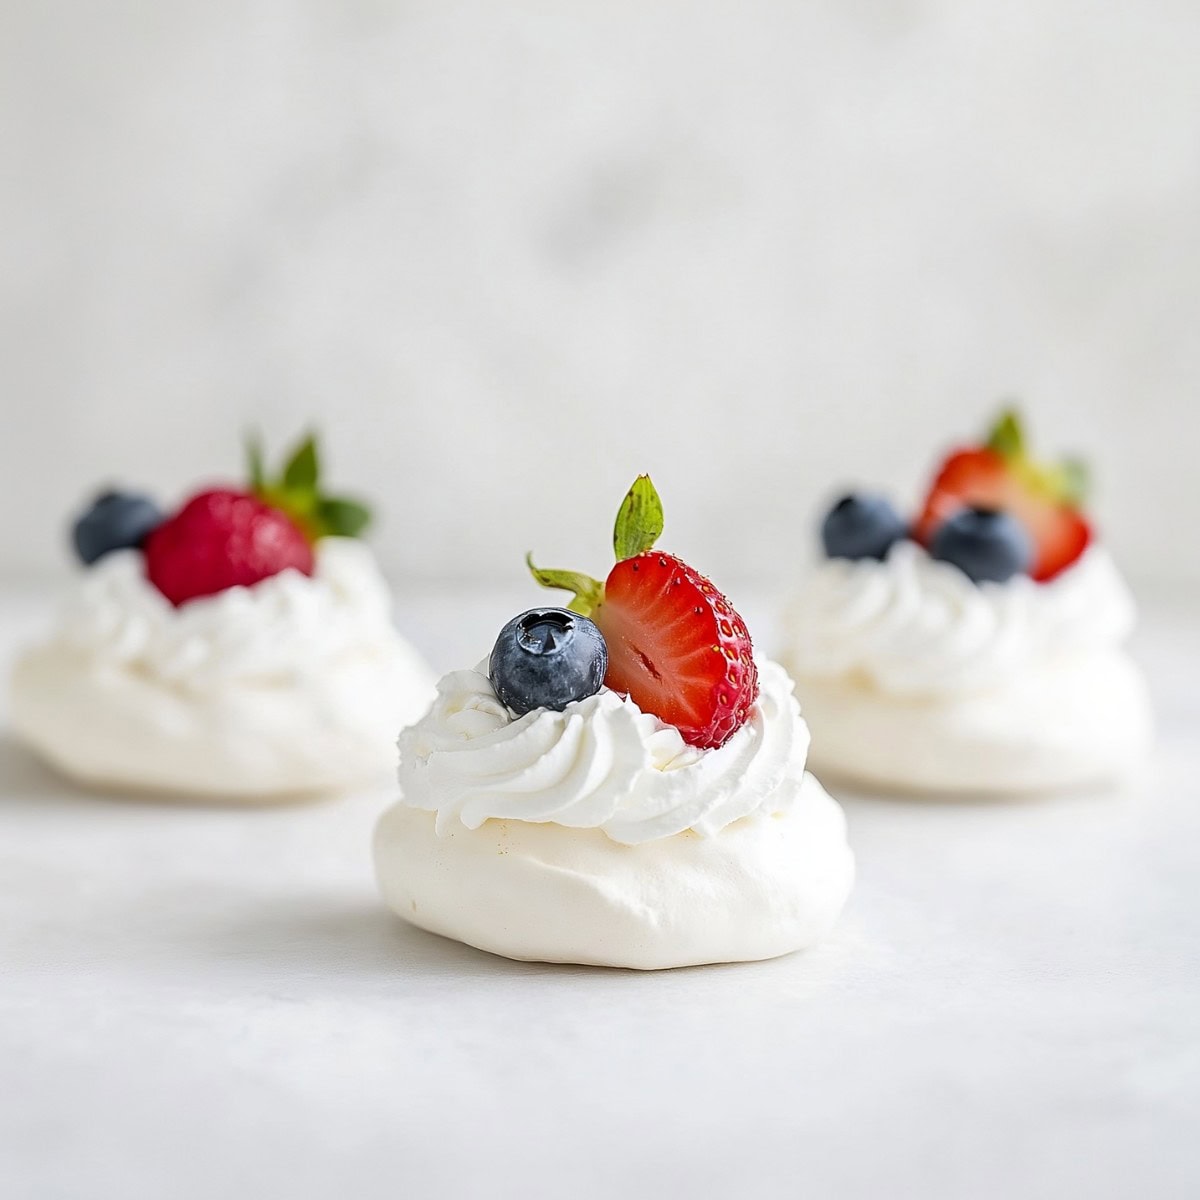
With their crisp shell, chewy interior, billowy whipped cream, and fresh fruit, these mini pavlovas are an elegant dessert that everyone will love.
Not only are they a feast for the taste buds, but they’re also a visual delight. The pure white meringues topped with colorful fruits make them perfect for your next Instagram post.
So go ahead, treat yourself and your loved ones to these little bites of heaven. They’re the perfect way to end any meal or celebration on a sweet note!
Why You’ll Love These Mini Pavlovas
Perfect Individual Portions: Meringue is so easy to make in bulk, and these are the ideal single-serve portions for parties and potlucks.
Elegant Presentation: Whether you add vibrant strawberries, passion fruit, or pineapple, these babies are stunning!
Easy Preparation: Meringue is a cinch to whip up, and with the easy baking method below, they’ll be perfect every time.
Make-Ahead Friendly: The meringue bases will store well for a couple of days, and if you add mascarpone to the whipped cream, you can even prep that a day in advance.
Ingredients
- Egg Whites: The key ingredient that creates the light, airy structure of the pavlova.
- Granulated Sugar: Sweetens the meringue and helps stabilize the egg whites by dissolving into them as they are beaten. Use superfine sugar for best results.
- Cornstarch: Acts as a stabilizer in the meringue, absorbing moisture and helping create a soft, marshmallow-like interior while maintaining a crisp exterior shell.
- White Vinegar: A small amount of acid helps further stabilize the egg white foam and prevents the sugar from weeping out of the meringue.
- Vanilla Extract: Infuses the pavlova with a subtle vanilla flavor that complements the sweetness of the meringue and pairs well with the toppings.
- Heavy Whipping Cream: It creates a rich, billowy topping that balances the crisp meringue shell. For best results, use cream with at least 36% milk fat.
- Powdered Sugar: Sweetens and slightly stabilizes the whipped cream without making it grainy like granulated sugar can.
- Assorted Fresh Fruits: Provide a fresh, juicy contrast to the sweet meringue and cream. Berries, kiwi, mango, and passion fruit are classic toppings.
- Fresh Mint Leaves: An optional garnish that adds a pop of color and fresh flavor to the finished pavlovas.

How to Make Mini Pavlovas
These ethereal meringue nests are a true celebration of texture and flavor.
Crisp on the outside yet delicately soft and marshmallow-like on the inside, they’re the ideal canvas for a cloud of freshly whipped cream and a vibrant array of seasonal fruits.
But as impressive as they look, I swear they’re so easy to make at home.
1. PREP: Preheat the oven to 350°F (175°C) and line baking sheets with parchment paper.
2. BEAT: Whip the egg whites and salt until firm peaks form. Slowly add the sugar and whip until the meringue is stiff and glossy.
3. FOLD: Sift the cornstarch over the meringue, add the vinegar and vanilla, and gently fold until just combined.
4. SHAPE: Pipe or spoon the meringue into mounds and use the back of a spoon to create an indentation in the center.
5. BAKE: Place the trays in the oven, reduce the heat to 225°F (110°C), and bake for 70-80 minutes until dry to the touch. Turn off the oven and cool the pavlovas inside for 3-4 hours or overnight.
6. WHIP: When ready to serve, whip the cold cream, powdered sugar, and vanilla until soft peaks form.
7. ASSEMBLE: Top each pavlova with whipped cream and fresh fruit. Garnish with mint leaves if desired, and enjoy!
Tips For the Best Mini Pavlovas
I’ve always been a fan of full-sized pavlovas, but these mini versions are perfect for parties or when you want a little something sweet without going overboard.
Plus, they’re so fun to customize with your favorite fruits and toppings.
I went with a classic combo of berries, but I’m already dreaming up new variations to try next time.
Need a few tips before you get started? Here’s my top ten:
- Warm egg whites. Ensure the egg whites are at room temperature for better volume and stability when whipping. Avoid carton egg whites, as they don’t whip up as fluffy.
- Clean the bowl. To ensure the meringue whips up properly, use a clean, grease-free bowl and whisk. Wipe them with white vinegar or lemon juice.
- Gradually add the sugar. Add the sugar one tablespoon at a time to ensure it dissolves completely and creates a smooth, glossy meringue.
- Stiff peaks. Beat the meringue until stiff, glossy peaks form and the sugar has fully dissolved, which can take up to 10 minutes. For that reason, it’s best done in a stand mixer.
- Gentle folding. Gently fold in the cornstarch, vinegar or lemon juice, and vanilla extract to avoid deflating the meringue.
- Indent centers. Create an indentation in the center of each meringue to hold the toppings later.
- Low and slow. Bake the pavlovas at a low temperature and then leave them to cool for at least 4 hours. This ensures they are crisp on the outside and soft on the inside.
- Cool completely. Allow the pavlovas to cool completely to prevent cracking.
- Assemble later. Assemble the pavlovas with whipped cream and fruit just before serving to prevent the meringue from getting soggy.
- Topping ideas. Top pavlovas with a variety of fresh fruits like berries, kiwi, mango, passion fruit, or any seasonal fruits. Garnish with fresh mint leaves for added flavor and visual appeal.
How to Store
The difference between pavlovas and meringue nests is the texture.
Pavs should be chewy and marshmallow-like in the middle, whereas meringue nests should be crisp all the way through.
For that reason:
These mini pavlovas won’t store very well, and you shouldn’t make them more than a day or two ahead.
After two days, the chewy center in the pavs will start to deflate.
And you certainly can’t make them up and keep them in the fridge, as the cream will soften the meringue.
Instead, enjoy them right away. Or, make the pavs and cream the day before, then assemble when you’re ready to eat.
More Light Summer Desserts You Have to Try
Eton Mess
Bananas Foster
Baileys Chocolate Mousse
Cheesecake in a Jar

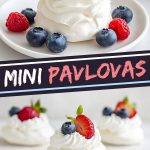
Mini Pavlovas
12-18
servings20
minutes1
hour20
minutes252
kcalWith their crisp shell, chewy interior, billowy whipped cream, and fresh fruit, these mini pavlovas are an elegant dessert that everyone will love.
Ingredients
- For the Meringue
6 large egg whites, room temperature (2/3 cup)
1 pinch salt
1 1/2 cups granulated sugar
3 teaspoons cornstarch
1 1/2 teaspoons white vinegar
1 teaspoon vanilla extract
- For the Whipped Cream
2 cups heavy whipping cream, cold
2 tablespoons powdered sugar
1 teaspoon vanilla extract
- For the Toppings
4-5 cups assorted fresh fruit (berries, kiwi, mango, etc.)
fresh mint leaves for garnish, optional
Instructions
- Preheat the oven to 350°F (175°C) and line 2-3 large baking sheets with parchment paper.
- Make the meringue: In a large, clean bowl, beat the egg whites and salt in a stand mixer or with an electric mixer on high speed until firm peaks form. Continue whisking and add the sugar 1 tablespoon at a time until the meringue is stiff and glossy, about 10 minutes.
- Sift the cornstarch over the meringue, add the vinegar and vanilla, and gently fold until just combined.
- Pipe or spoon the meringue into 12-18 even mounds (depending on the size you prefer) on the prepared baking sheets. Use the back of a spoon to create an indentation in the center of each meringue.
- Put the trays into the oven, close the door, and immediately reduce the heat to 225°F (110°C). Bake for 70-80 minutes or until they are dry to the touch. Turn the oven off and leave the pavlovas to cool in the unopened oven for 3-4 hours or overnight. They should be firm, crisp, and easily peel off the parchment.
- Make the whipped cream: When ready to serve, whip the cold cream, powdered sugar, and vanilla until soft peaks form.
- Top each pavlova with a dollop of whipped cream and fresh fruit. Garnish with mint leaves if desired. Serve immediately and enjoy!
Notes
- For the fluffiest meringue, use room-temperature egg whites.
- Bake the pavlovas at a low temperature for a crisp exterior and marshmallow-like interior.
- Dab some of the meringue under each corner of the parchment to help it stick while baking.