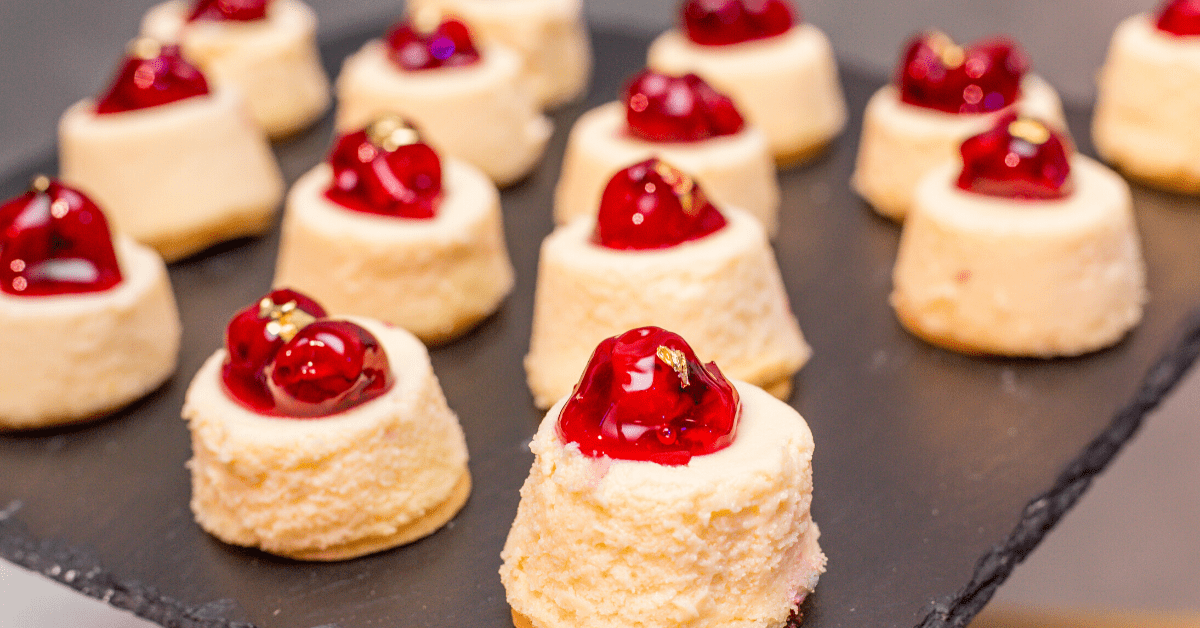


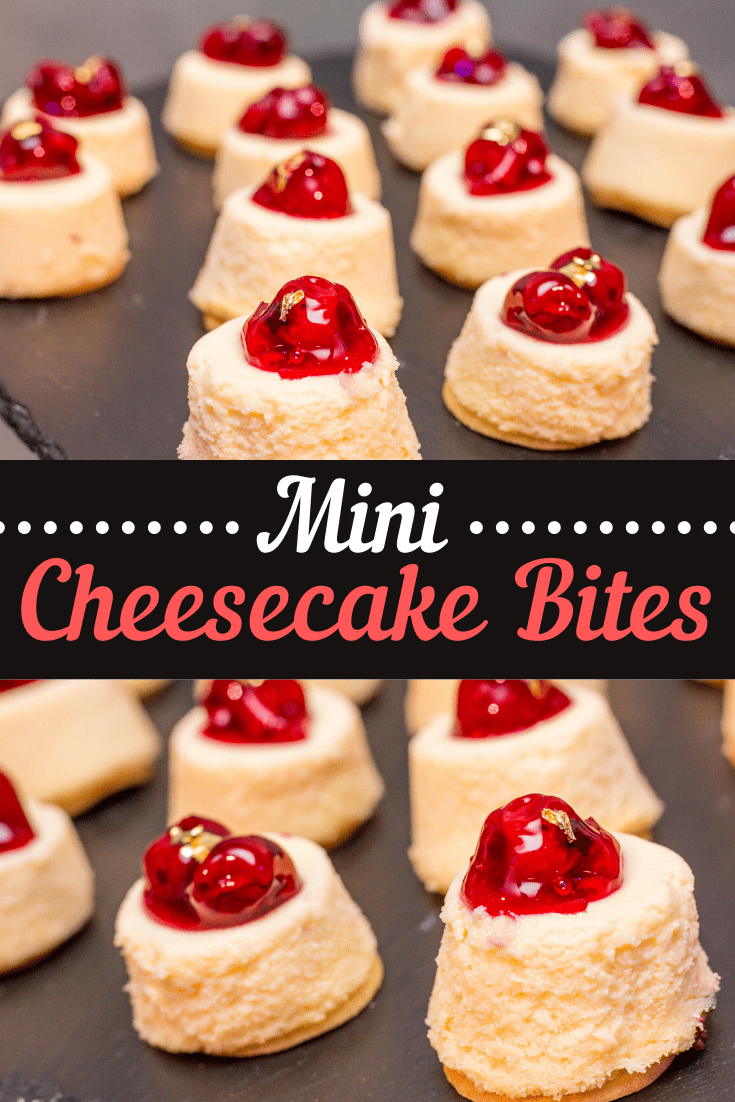
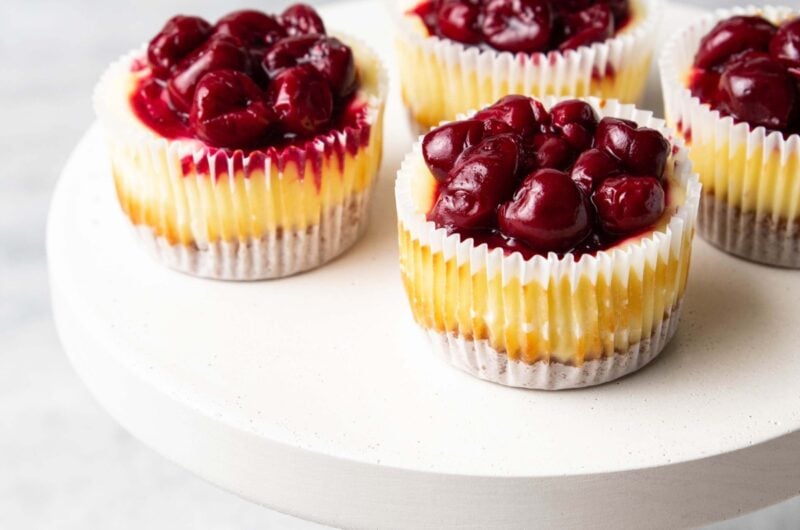
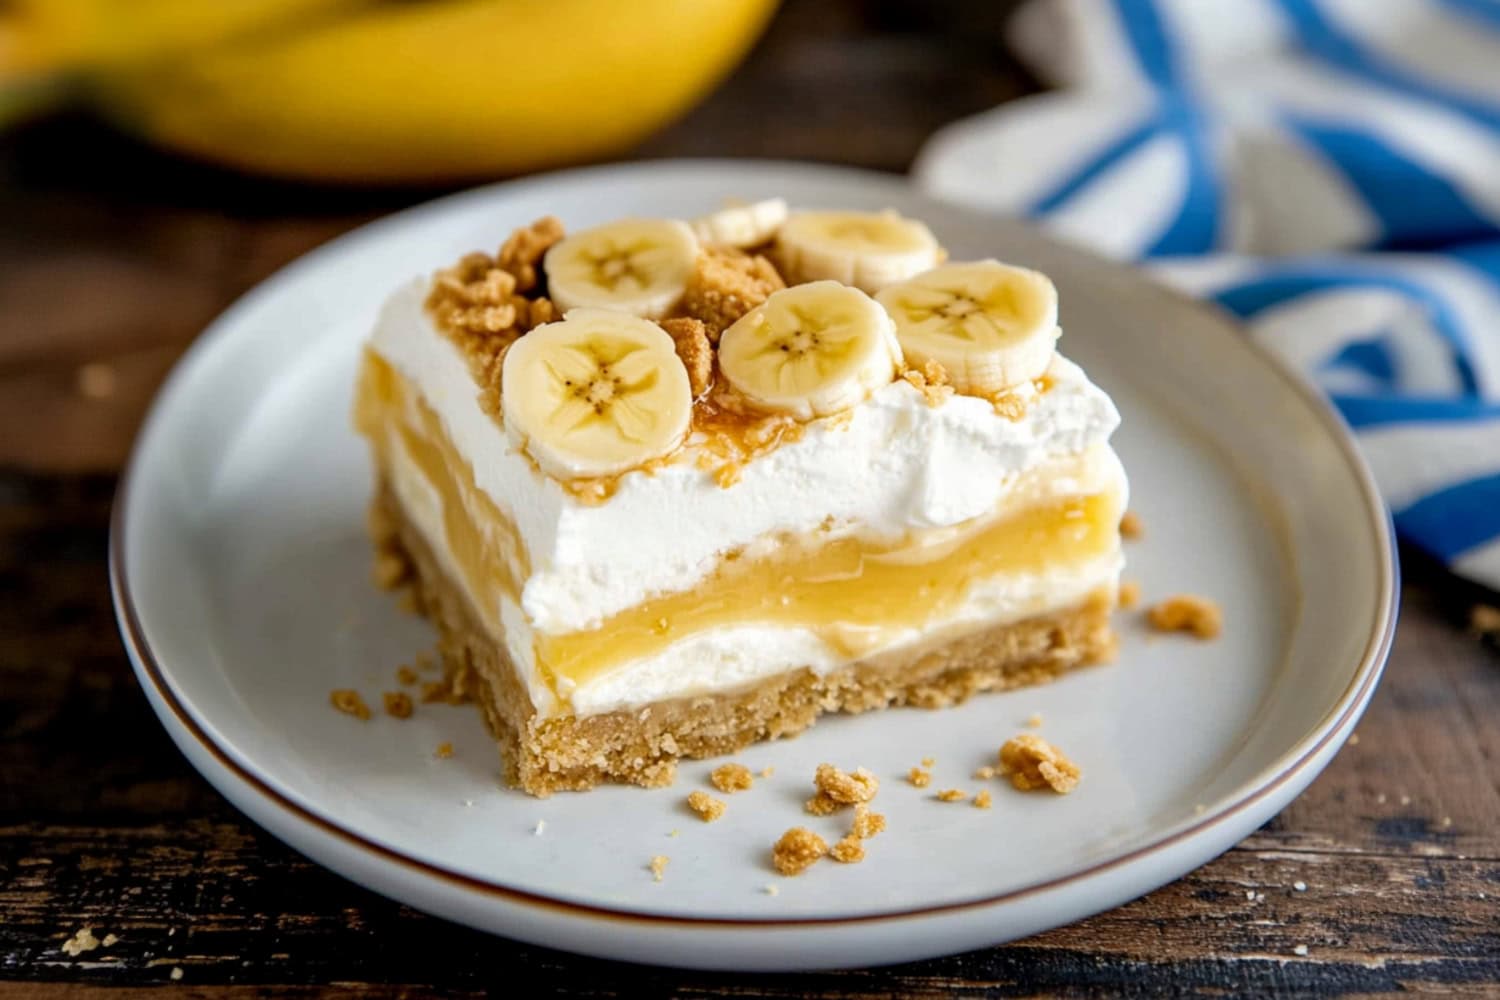
These mini cheesecake bites are insanely rich and creamy.
They're made with a vanilla wafer crust, cream cheese, and your favorite topping. And they're ideal for your next holiday party.
Individual cheesecakes are easy to serve and even easier to eat. So be sure to make extra!
Mini Cheesecake Recipe
These adorable cheesecake bites are made in mini-muffin pans.
That's how you get perfectly portioned servings, making them perfect for holidays, potlucks, and any time you need a quick and easy treat.
Better yet, they're super versatile! Make the base then go nuts with the toppings.
Cherry, strawberry, blueberry, Oreo, and pumpkin are just a few of my favorites.
You'll find 5 different variations and flavor options in the recipe card below. Plus, I'll give you some other ideas in the “Toppings, Flavors, and Variations” section.
WANT TO SAVE THIS RECIPE?
Ingredients
Your exact ingredient list will vary depending on which toppings you use. But here's the basic list (sans toppings):
- Vanilla wafers. These will make up your crust. Crush them in a food processor and press them into the bottom of each muffin tray hole. You can also use graham crackers, Oreos, or various other things.
- Cream cheese. You can't have a cheesecake without cream cheese. I recommend sticking to full-fat blocks.
- White sugar. Sugar helps cut through the cream cheese's tanginess and sweeten the recipe.
- Eggs. Let them warm to room temperature before adding them.
- Vanilla extract. Vanilla is the secret ingredient that makes all the other ingredients taste better.
How to Make Mini Cheesecake Bites
Luckily, mini cheesecakes are much easier to make than their full-sized counterparts.
Follow these steps to prepare and bake them:
1. Get everything ready. Set out the eggs and other ingredients. Preheat the oven to 350 degrees, and add paper liners to your muffin pans.
Toss the vanilla wafers into the food processor and crush them.
2. Make the crust. Place 1/2 teaspoon of the processed vanilla wafers into each paper-lined muffin hole.
3. Make the filling. Combine the cream cheese, sugar, eggs, and vanilla in a large bowl. Beat until the mixture is fluffy and light.
4. Add the filling. Pour the filling on top of the crust in each muffin hole. Leave a slight bit of space at the top.
5. Bake. Bake for about 15 minutes. Then, remove the muffin tins from the oven and let the cheesecake bites cool.
6. Add the toppings. Spoon your desired toppings on top of the cheesecakes. Then, remove them from the muffin tins and enjoy!
Tips & Tricks
I like how these look when you bake them in a muffin tin. But if you don't have one, you can easily make and bake this recipe in a 8×8-inch or 9×13-inch dish.
The smaller pan will yield thicker bites, but you may need more cookies for the base if you go larger (and they'll be thinner).
Either way, I suggest chilling and freezing the cheesecake then cutting it with a sharp knife while it's frozen. That way, you'll get perfect little squares.
Other than that, here's a few more tips:
- Use room temperature ingredients. Chilled cream cheese will cause lumpy cheesecake, while softened cream cheese will give you a smooth, creamy consistency.
- Use an electric mixer. Mix all the cream cheese until its super silky. Then add the sugar, followed by the eggs, one at a time.
- Don't overbake. Bake the batter until the tops and edges look set. The centers should still be soft.
- Fully incorporate the sugar. If your filling has a gritty texture, it means the sugar hasn’t incorporated yet, and you need to mix for another minute or two.
- Use a makeshift piping bag. Pour the batter into a Ziploc bag and cut a small tip at the corner to make a piping bag. This makes it easier to portion the batter.
- Add a teaspoon of lemon juice. A dash of lemon juice in the filling brings the flavors together.
- Allow the cheesecakes to cool fully on the counter. Then pop them in the fridge for at least 4-6 hours to set.
- Chilling overnight is best, and makes removing the paper liners easier.
- Another option is to freeze the cheesecakes so they're solid. That way, they won't get squashed when removing the liners.
Mini Cheesecake Toppings, Flavors, & Variations:
You can top your mini cheesecakes with whatever you like. I wanted to share a few of my favorite topping with you, though.
There are also a couple of crust variations included.
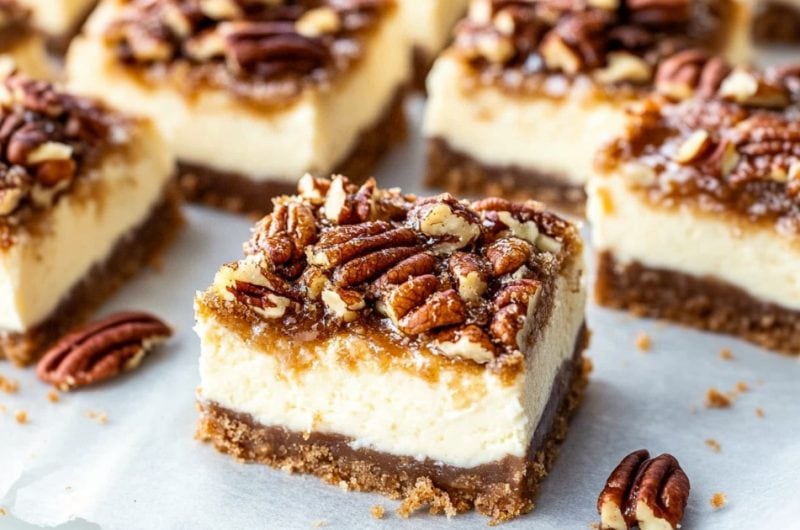
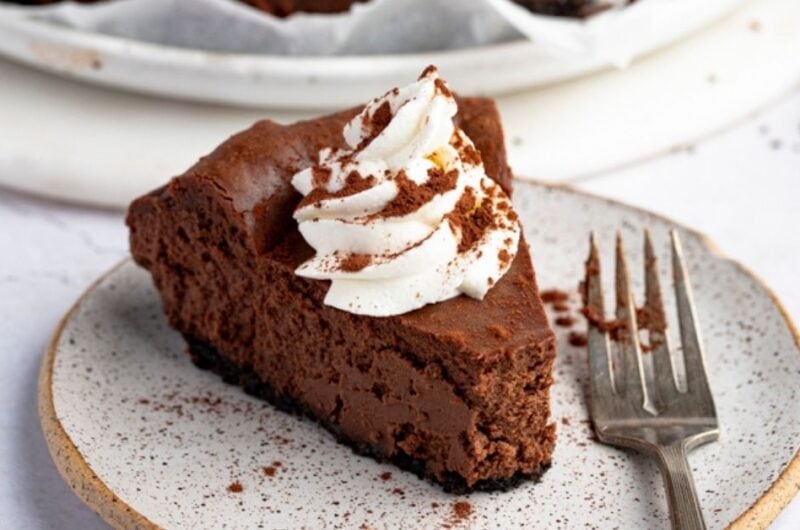
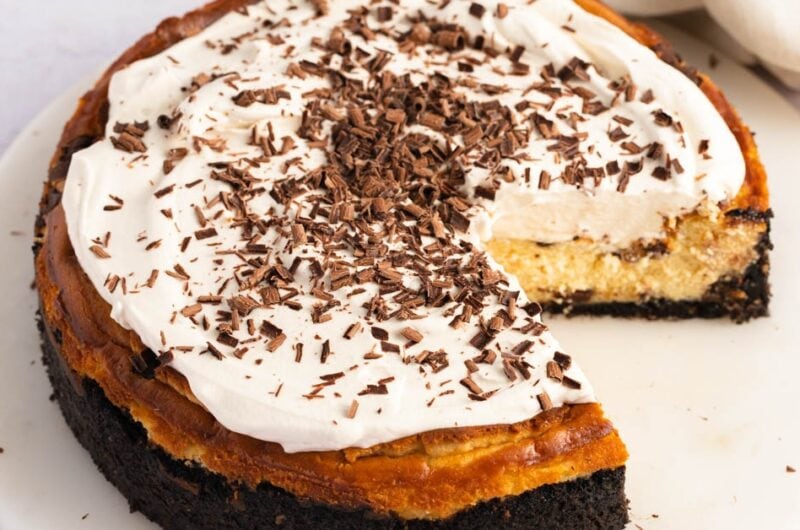
- Chocolate Chip Cheesecake: Use crushed Oreos instead of vanilla wafers for the crust. Then, add 1/2 cup mini chocolate chips to 1/3 of the batter. After baking, top with a little bit of chocolate sauce or chocolate ganache.
- Strawberry Cheesecake: Top with strawberry pie filling and some freshly sliced strawberries.
- Blueberry Cheesecake: Top with blueberry pie filling and some fresh blueberries.
- Mixed Berry Cheesecake: Add 1/2 cup melted white chocolate chips to the batter. Top with seedless raspberry preserves and your choice of fresh fruit.
- M&M Cheesecake: Use crushed Oreos instead of vanilla wafers for the crust. Then, add M&M's for your topping after baking.
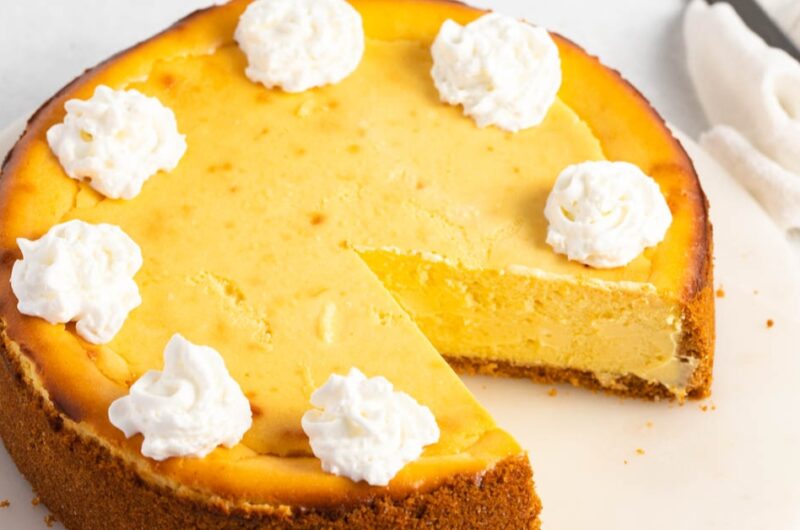
- Pumpkin Cheesecake: Use a graham cracker crust instead of vanilla wafers. Add 7 ounces of pumpkin puree and 1 teaspoon of pumpkin pie spice to the batter. You can also use gingersnap cookies for the crust. Sprinkle some cinnamon on top.
- Hot Chocolate Cheesecake: Add a packet of hot cocoa mix to the batter. Use a graham cracker crust instead of vanilla wafers. After baking, add a little bit of marshmallow fluff and sprinkle some cinnamon on top.
Remember, apart from vanilla wafers, you can also use graham cracker crumbs or crushed Oreos for the crust. (Any crushed cookies, really!)
You may also use whole (instead of crushed) vanilla wafers for an easy and effortless crust.
How to Freeze Mini Cheesecakes
If your family is anything like mine, you won't have any leftovers. But if you do, you can freeze them to extend their life.
Simply place the bite-size cheesecakes in an air-tight container. They last for up to 3 months in the freezer.
However, I don't recommend freezing them with toppings on them.
When you're ready to take them out, just defrost in the refrigerator overnight. You can top them hours before serving.
You can also store leftover mini cheesecakes (with toppings) in the refrigerator for up to 5 days.
Mini Cheesecake Bites {+5 Flavors}
48
servings30
minutes15
minutes95
kcalIngredients
1 (12-ounce) package vanilla wafers
2 (8-ounce) packages cream cheese
3/4 cup white sugar
2 eggs
1 teaspoon vanilla extract
1 (21-ounce) can cherry pie filling
Instructions
- Preheat oven to 350 degrees Fahrenheit. Line miniature muffin pans with paper liners.
- Crush the vanilla wafers. You can use a food processor to make this quick and easy.
- Place 1/2 teaspoon of the crushed vanilla wafers into each paper cup.
- In a large mixing bowl, beat cream cheese, sugar, eggs and vanilla until light and fluffy. Pour this batter into each mini muffin liner. Leaving just a little bit of space at the top.
- Bake for 15 minutes. Cool. Top with a teaspoonful of your favorite topping! You can use cherry pie filling, strawberry pie filling, chocolate sauce, salted caramel sauce, and a variety of fresh fruits. Mix and match to your hearts desire.


9 Comments
if i use graham crackers that are already crushed, how many would i have to use for the crust?
Do you remove the paper liners before placing them on a platter to serve?
That’s entirely up to you, Irene! It’s just an aesthetic choice. I typically remove them if I’m not in a hurry because it looks nicer. But if I AM in a hurry, I just leave them on. I’ll also leave them on if I’m taking them for work or church or something. Just seems more “hygienic” that way.
The picture looks like full Nilla wafer cookies on the bottom of the cheesecakes. The directions say to crush them and put them in the bottom of the pan. If you crush them, will they stick together without melted butter?
Hi Lydia, you can certainly use a little melted butter to help bind the crushed wafers together if you prefer. Plus, it will add a little more flavor.
Hi Kim,
Thanks a lot for explaining Christmas Sugar Cookies. I live in India so I am planning on purchasing an oven first and baking Holi,Diwali, Durga Puja, Kali Puja, Shivratri, Janmastami based sugar cookies! Thank you once again!
This looks so yummy. I can’t wait to make them
Tried this recipe at Christmas. Excellent. My favourite Starbucks coffee is a Vente, Quad, Caramel Macchiato. Gets me going in the morning!
I hope to try one of these recipes this week.