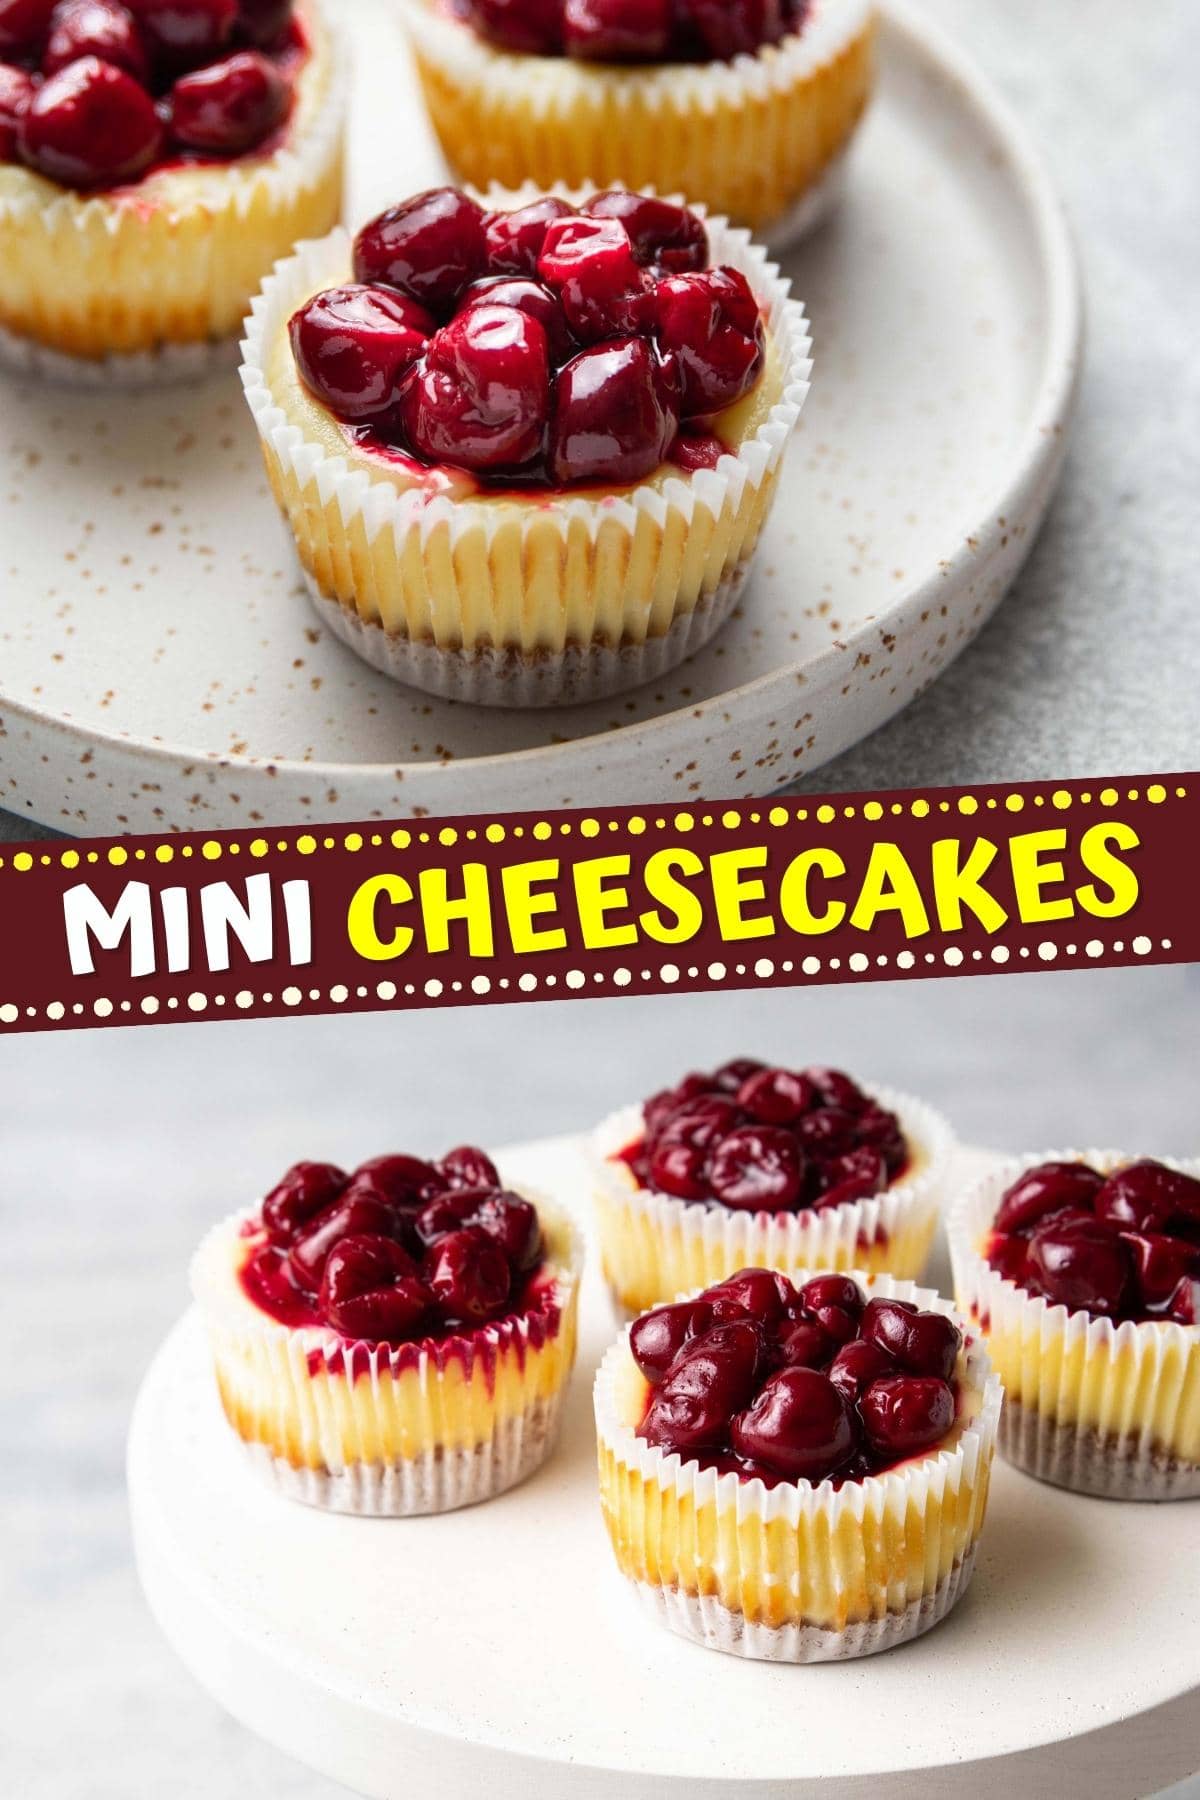
Mini cheesecakes are the perfect treat for any occasion.
If you want to wow a crowd, these tiny desserts will leave a lasting impression.
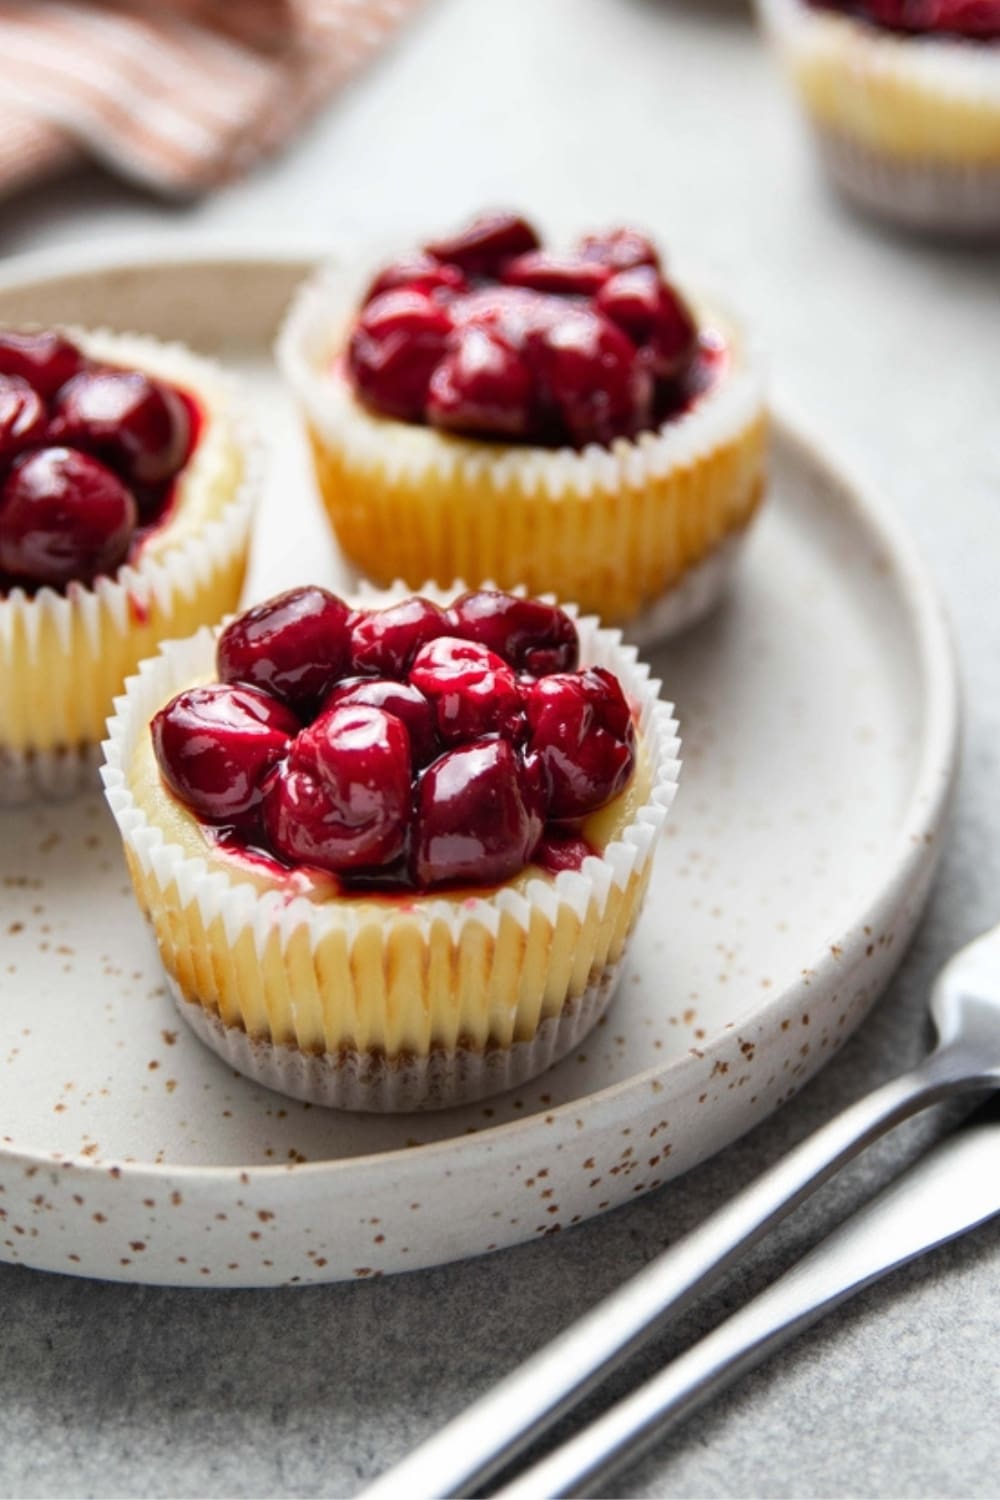
They are easy to make, portable, sweet, and totally delectable.
With a variety of flavors and toppings to choose from, the possibilities are endless. But don’t sit on the recipe’s cherry pie topping.
Get ready to indulge in rich and creamy mini cheesecakes! You won’t be able to get enough of these little bites.
Mini Cheesecakes
Mini cheesecakes are bite-sized treats the whole family will love. Each one bursts with creamy, sweet, and tangy deliciousness!
These minis have all the flavor of a full-sized cheesecake without the guilt of overindulgence.
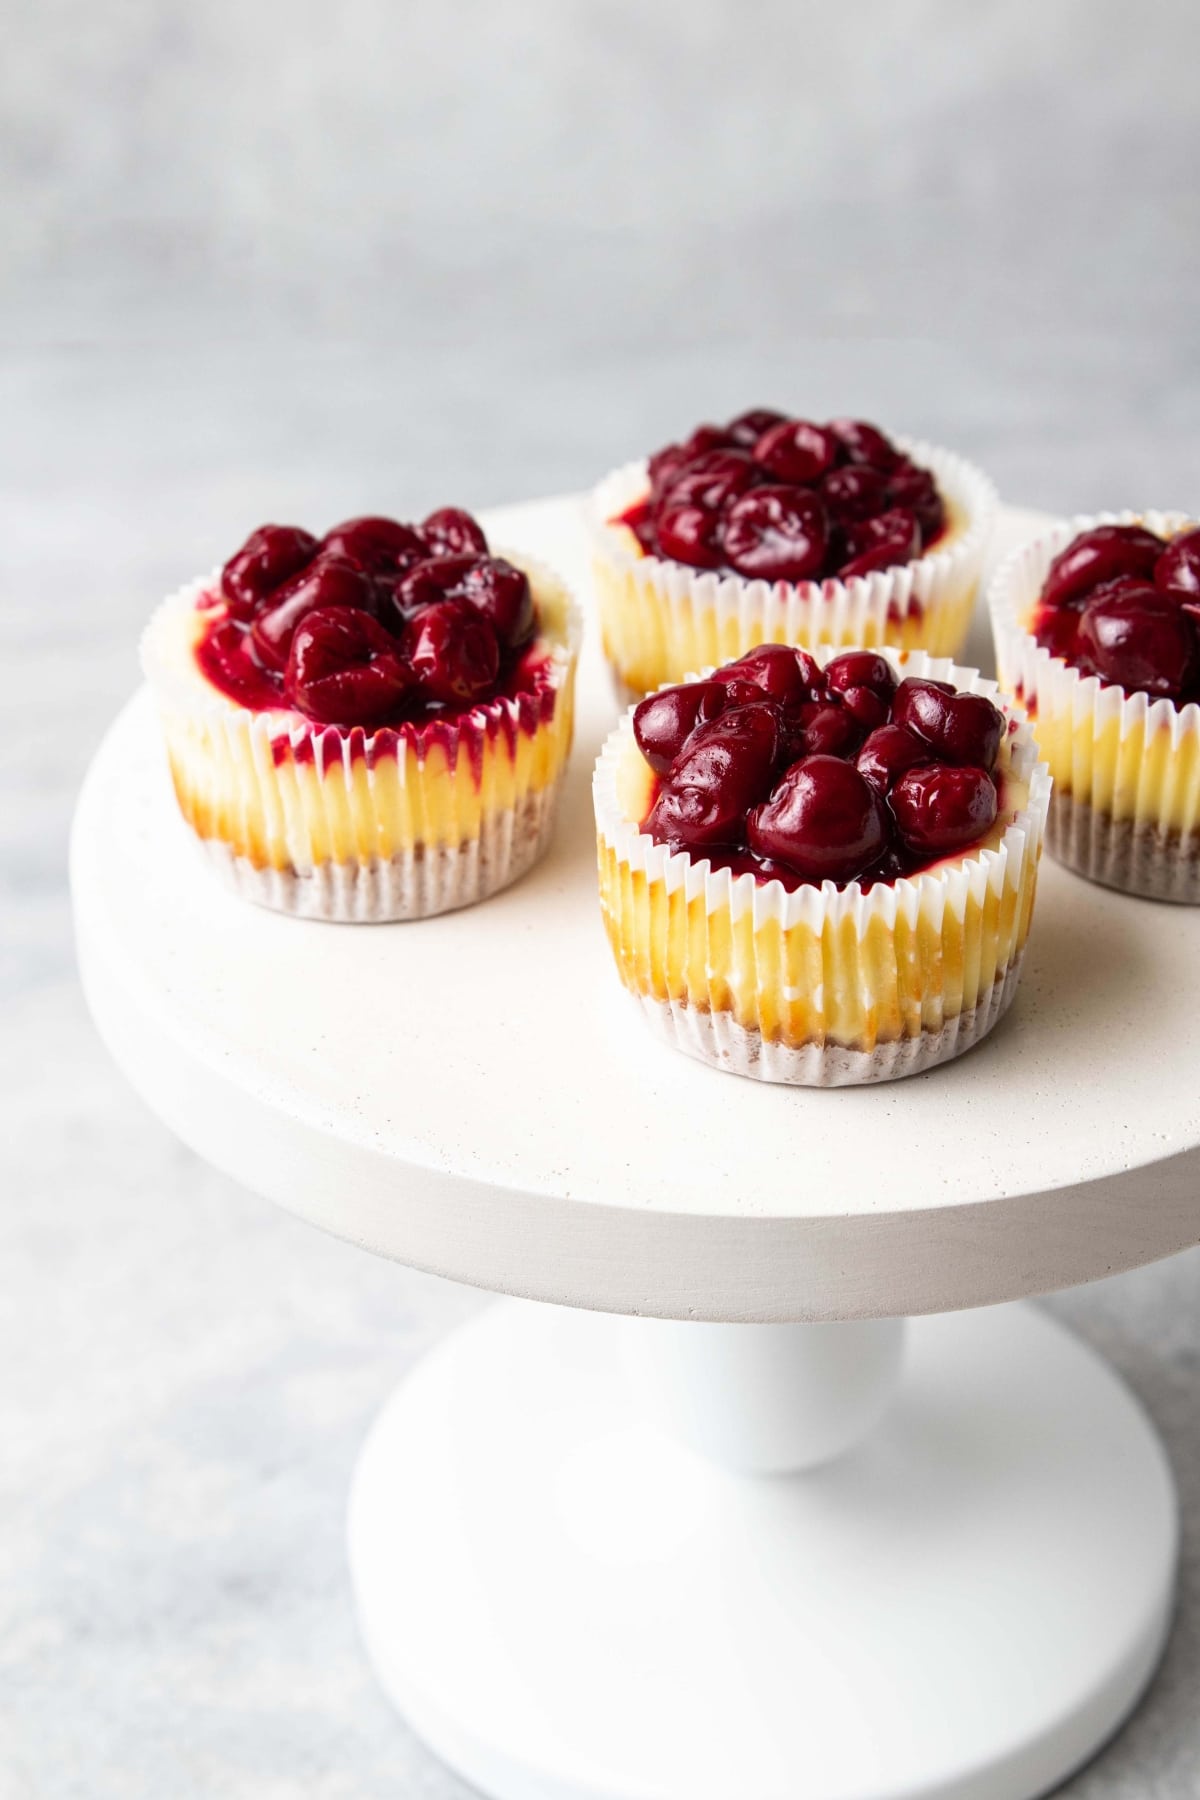
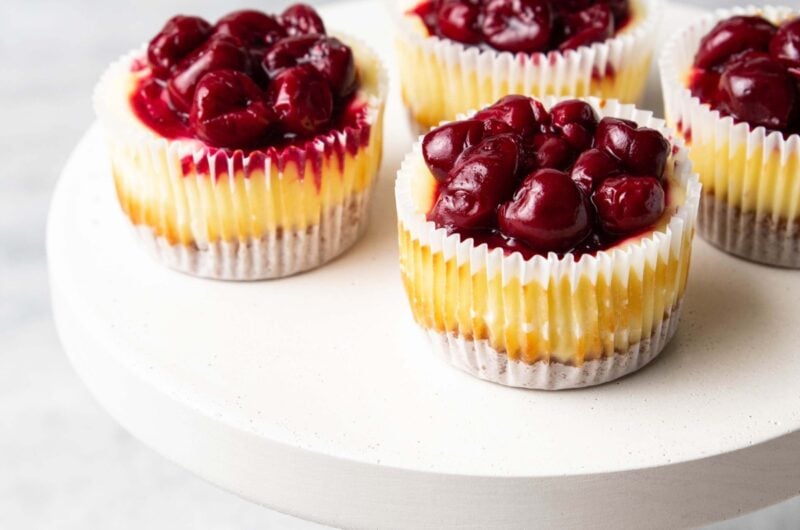
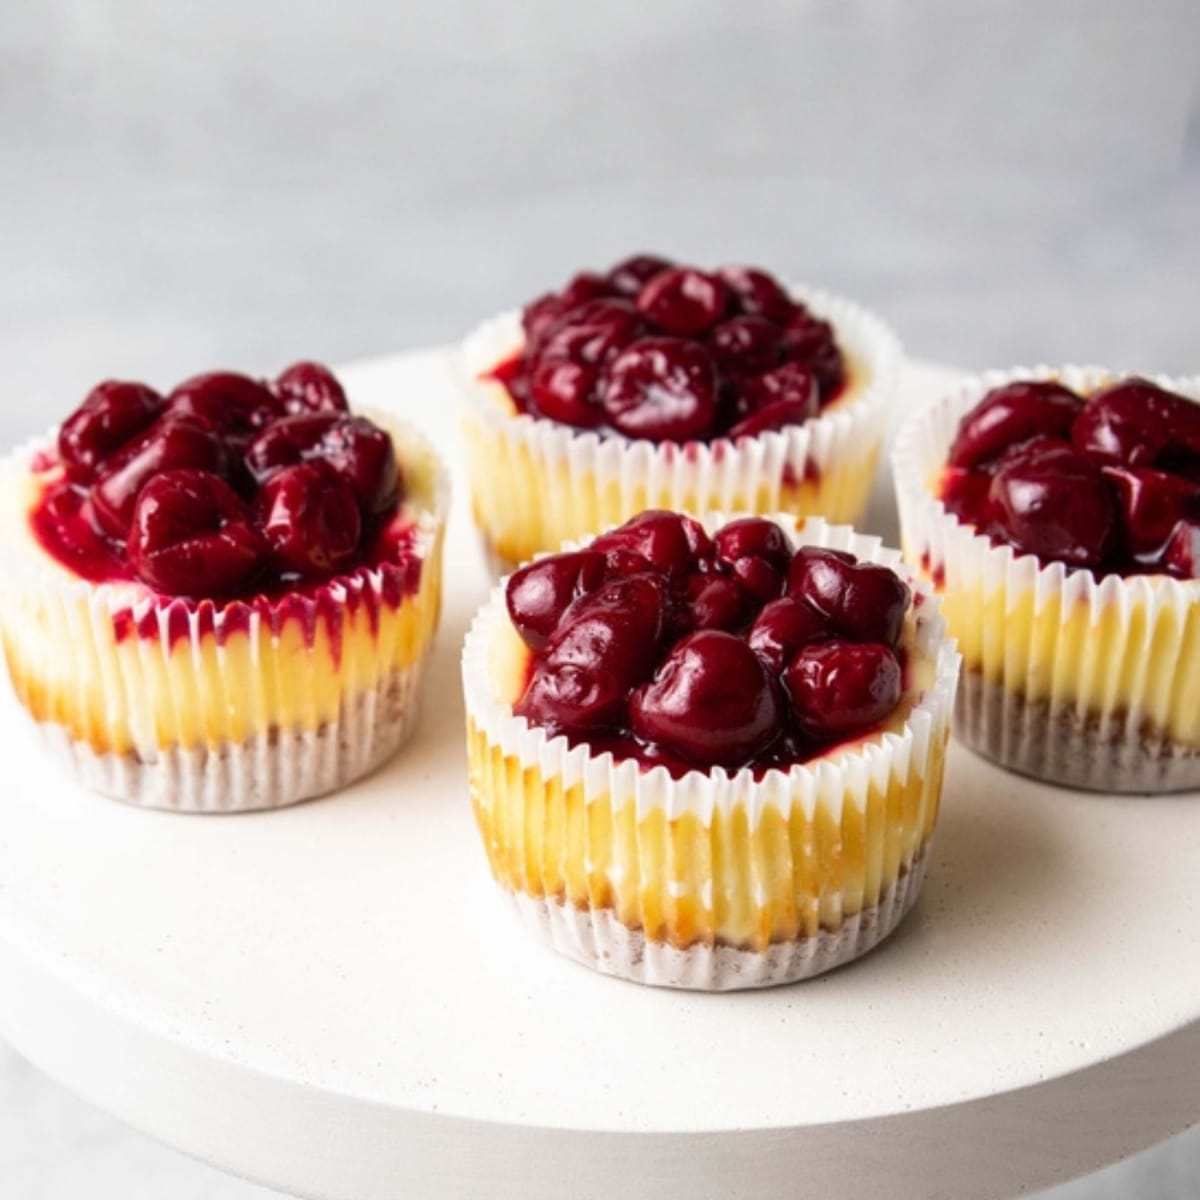
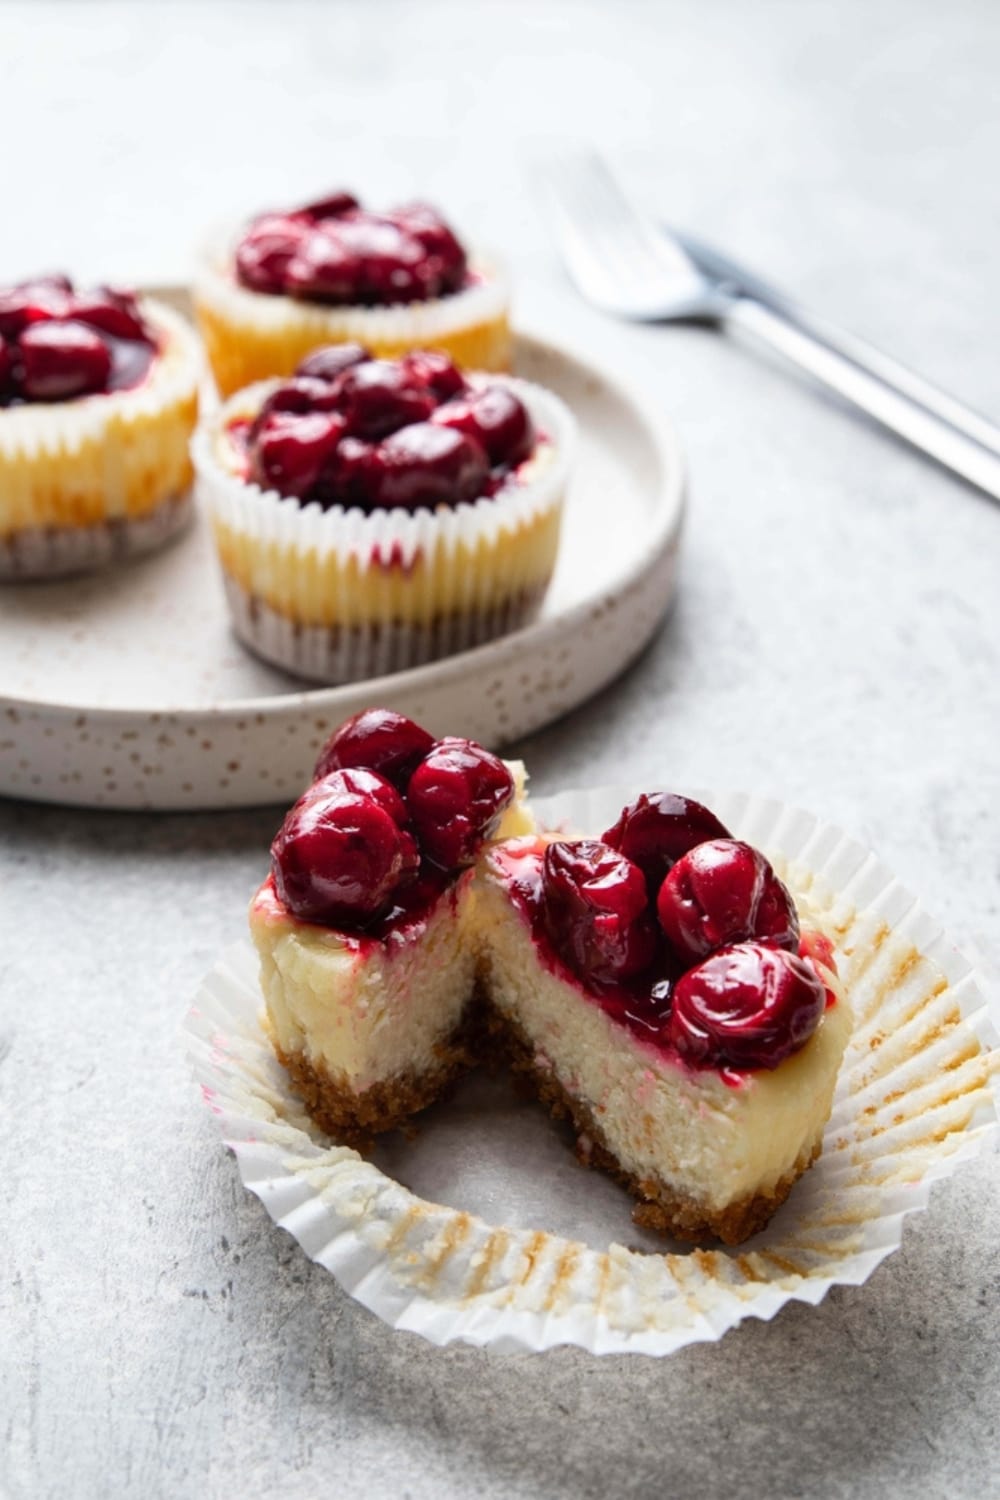
They feature rich, velvety filling atop a crisp, buttery crust and cherry pie topping.
(Don’t like cherries? No worries. The topping options are endless.)
Honestly, the mini cheesecake is the perfect dessert for any occasion.
These little wonders will satisfy any sweet tooth craving. And they are ideal for solo enjoyment, dinner parties, potlucks, and barbecues!
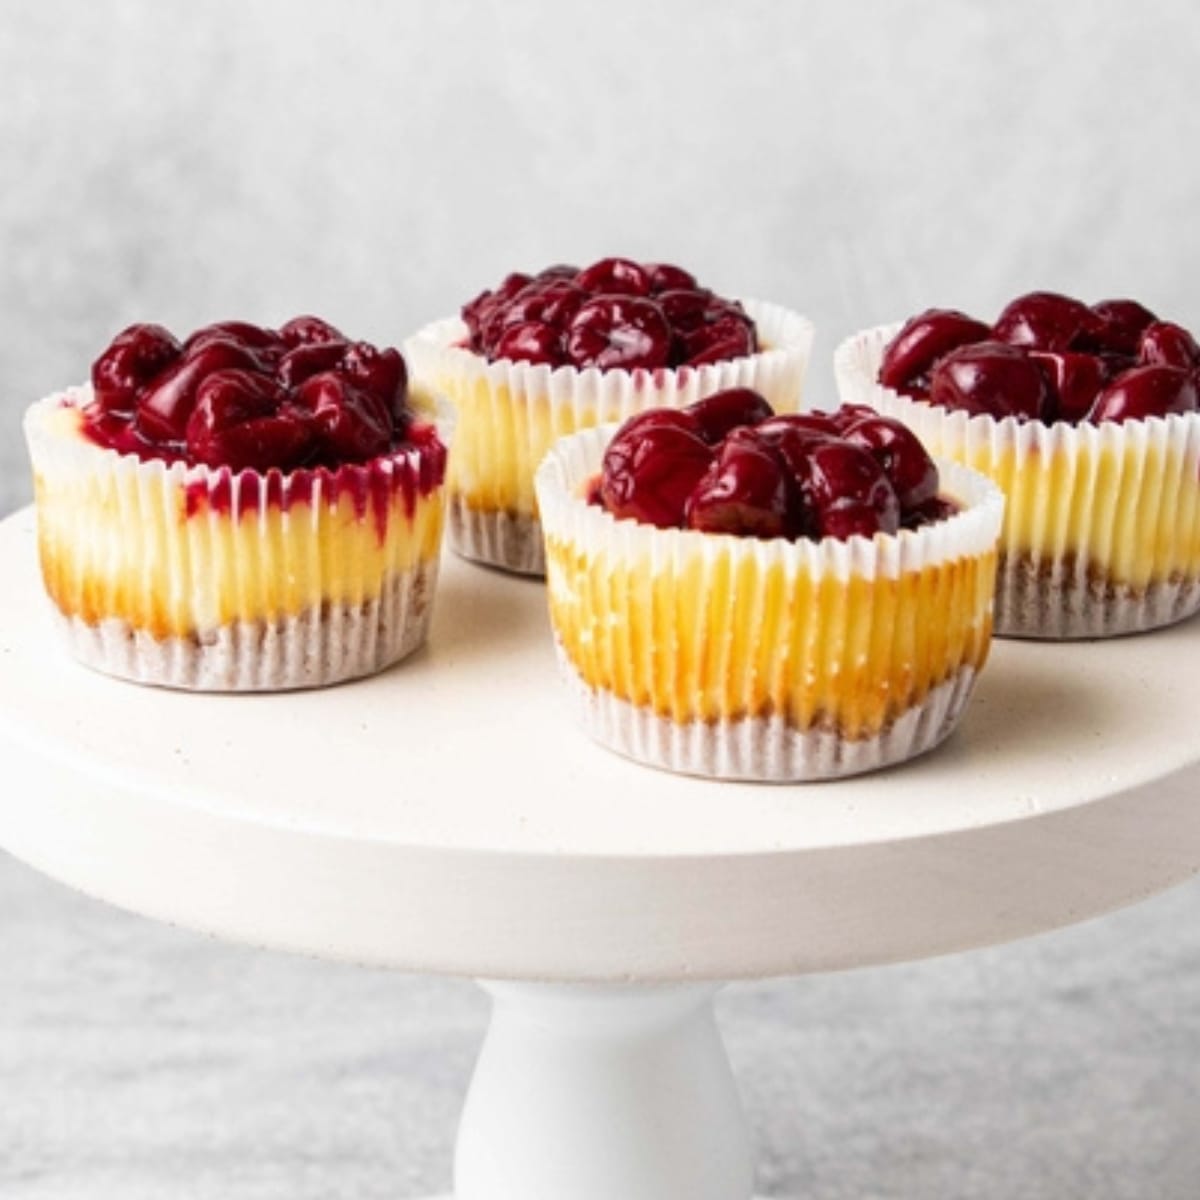
Ingredients
- Vanilla Wafers – Vanilla wafers are extra sweet and crunchy, perfect for the crust. They add a special something-something.
- But you can use graham crackers in a pinch.
- Cream Cheese – You can’t really have cheesecake without cream cheese. It creates the most luxurious flavor and texture.
- You can use cottage or ricotta cheese as a substitute.
- White Sugar – Sugar sweetens the filling and aids in developing a rich flavor. Use honey or pure maple syrup as a healthier substitute.
- Eggs – Eggs act as a binder and give the cheesecake structure. Applesauce or cornstarch can replace the eggs.
- Vanilla Extract – Vanilla extract adds a distinct flavor to the filling.
- Try maple or almond extract for a different flavor profile!
- Cherry Pie Filling – Cherry pie filling is the perfect topping for these mini cheesecakes.
- If you’re not a fan of cherries, check out the other topping ideas below.
How to Make Mini Cheesecakes
Step 1: Prepare the Base
Preheat your oven to 350 degrees Fahrenheit (175 degrees Celsius).
Take two 24-cup miniature muffin tins and line them with paper liners. Line each cup for easy removal later on.
Crush vanilla wafers into fine crumbs.
Sprinkle about 1/2 teaspoon of crushed vanilla wafers into each paper cup. Use a spoon to flatten the wafers into a crust.
Step 2: Mix the Batter
Add cream cheese, sugar, eggs, and vanilla extract to a mixing bowl. Beat the mixture until it is airy.
Step 3: Fill the Liners
Spoon the batter on top of the crust in each liner. Disperse the mixture evenly between the miniature muffin cups.
Take care to fill each cup evenly to maintain consistent portion sizes. The recipe makes enough batter to fill each cup (almost to the brim).
Step 4: Bake and Serve
Place the mini cheesecakes into the oven and bake for 15 minutes.
Monitor them so they don’t overbake. Remove them from the oven when the cheesecake is almost set. The center should have a slight jiggle.
If you let them set completely, they will be overbaked.
Once baked, let them cool down. You can leave them in the tray at room temperature. Or remove them and place them on a wire rack.
Once cooled, it’s time to serve these delectable treats.
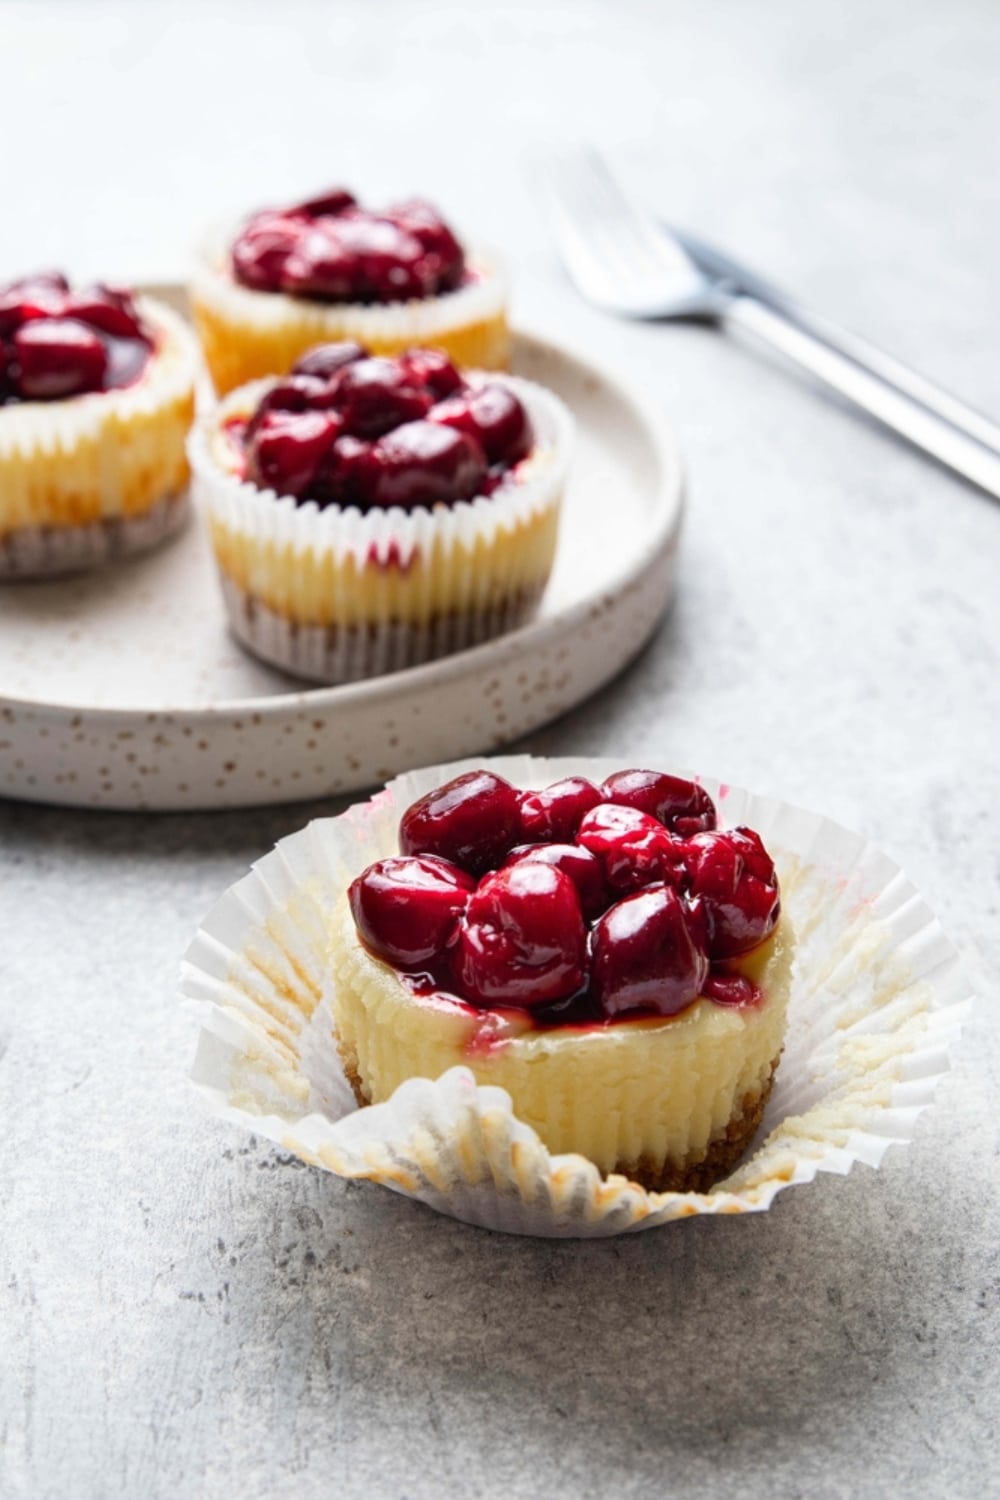
Top each mini cheesecake with cherry pie filling, and enjoy!
Tips for the Best Mini Cheesecakes
- Use a water bath: To prevent the mini cheesecakes from cracking, consider using a water bath during baking.
- Place the (filled) cupcake pan in a larger baking dish with 1-3 inches of hot water. This creates a gentle and moist heat environment.
- Add flavors and toppings: You can add fresh fruit, chocolate ganache, caramel sauce, or a dollop of whipped cream. Delicious!
- Chill: Once baked, let them cool completely at room temperature before transferring them to the refrigerator.
- Remove from the pan carefully: Use a small offset spatula or butter knife to gently loosen the cheesecakes from the pan. If you use liners, they should come out easily.
Topping Ideas
- Chocolate Ganache: This classic, creamy topping will take your mini cheesecake up a notch! You can make the ganache using dark or semi-sweet chocolate chips, heavy cream, and butter.
- Heat milk over medium-low heat until it is warm to the touch. Pour it over the chocolate chips and mix. Add the butter and mix.
- Salted Caramel Sauce: Add a bit of sweetness and saltiness to your mini cheesecakes. You can make the sauce using butter, brown sugar, heavy cream, and salt. Or get it from the store.
- Whipped Cream: You can never go wrong with whipped cream. Use an electric mixer to whisk heavy cream, sugar, and vanilla until it reaches stiff peaks.
- Fresh Fruit: Try using berries, sliced kiwi, mangoes, peaches, or other seasonal fruits. You can even top them with edible flowers for added decoration!
- Nuts: Top them with chopped nuts such as almonds, walnuts, pecans, or pistachios.
Variations
Chocolate Mini Cheesecakes:
- Add melted chocolate or cocoa powder to the cheesecake batter for a rich chocolate flavor.
- Consider using a chocolate cookie crust instead of the traditional graham cracker crust.
- Top with chocolate ganache, shavings, or a drizzle of melted chocolate.
Fruit Swirl Mini Cheesecakes:
- Swirl in fruit puree or jam into the cheesecake batter before baking. My favorite options are raspberry, strawberry, or blueberry.
- Or, layer fruit compote or pie filling on top of the cheesecake batter before baking.
- Garnish with fresh fruit slices or whipped cream.
Salted Caramel Mini Cheesecakes:
- Incorporate salted caramel sauce into the cheesecake batter for a sweet and salty combination.
- Consider using a caramel cookie crust or pretzel crust for added flavor.
- Drizzle more salted caramel sauce on top. Sprinkle a pinch of sea salt as a finishing touch.
How to Store & Freeze
Storing Mini Cheesecakes:
Let the mini cheesecakes cool. You can store them in the cupcake tins or individually.
- Tray- Cover the pan tightly with plastic wrap or aluminum foil.
- Individual– But you can store them individually as well. Wrap each cheesecake in two layers of plastic wrap.
Want to stack the cheesecakes? You can do that!
- Place a layer of parchment or wax paper between each cheesecake to prevent sticking.
- And if you want to stack the trays, you can do that, too. Just place the parchment between trays.
Store mini cheesecakes in the fridge or freezer.
Refrigerating Mini Cheesecakes:
Refrigerate the mini cheesecakes in an airtight container for 4-5 days in an airtight container. You can store the entire tray in the fridge as well.
Keep them away from foods with strong odors or anything that may affect their taste.
Freezing Mini Cheesecakes:
Let the cheesecakes cool. But DO NOT add any toppings yet. It’s best to add those right before serving.
Wrap each mini cheesecake in two layers of plastic wrap. Ensure you wrap each cheesecake tightly to prevent freezer burn.
Place the wrapped mini cheesecakes in a freezer-safe container or freezer bag. Label the container with the date for reference.
Freeze the mini cheesecakes for 2-3 months.
Thawing Mini Cheesecakes:
Transfer the frozen cheesecakes from the freezer to the refrigerator.
Allow the cheesecakes to thaw slowly in the refrigerator overnight or for several hours.
Ready to serve? You can add any desired toppings or garnishes before serving. And enjoy!
