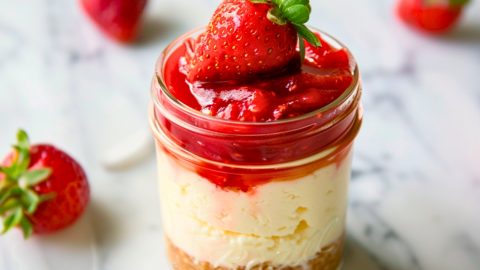


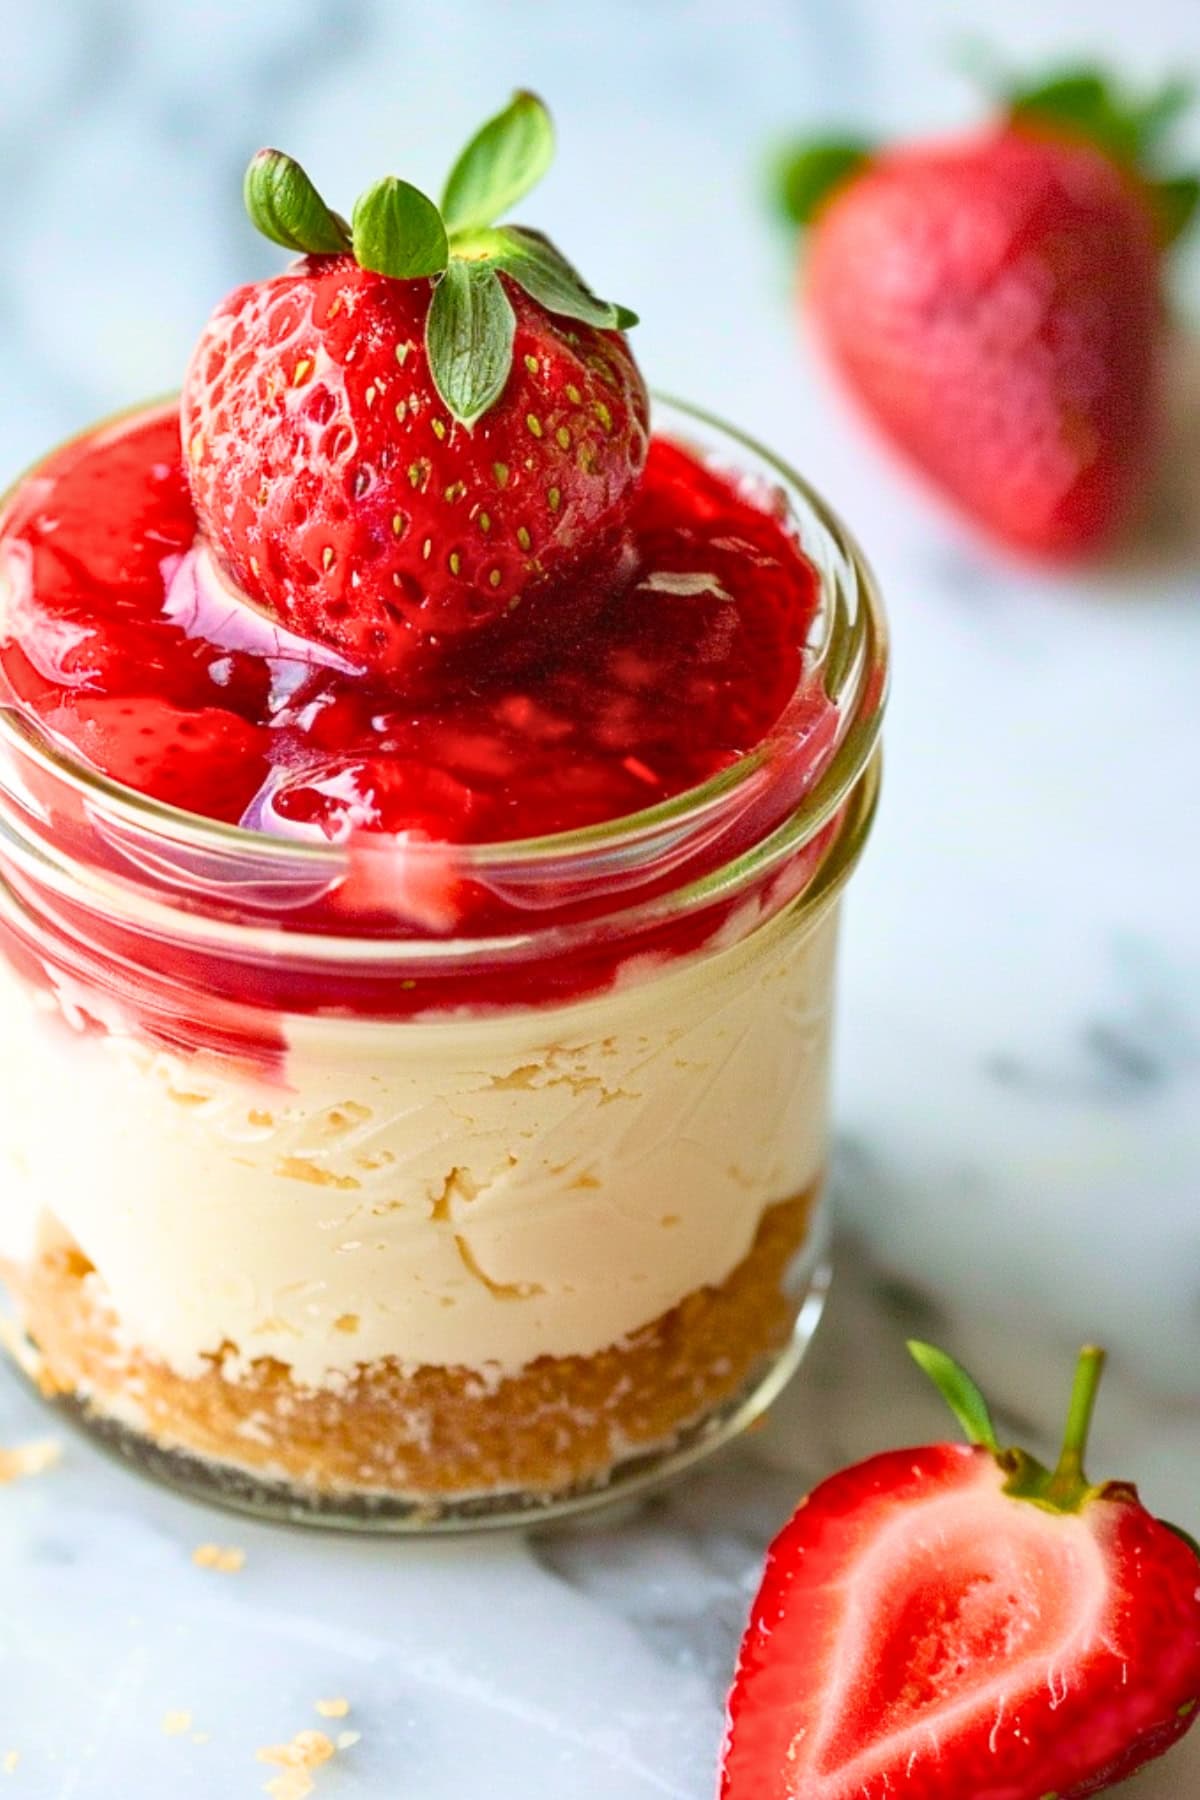
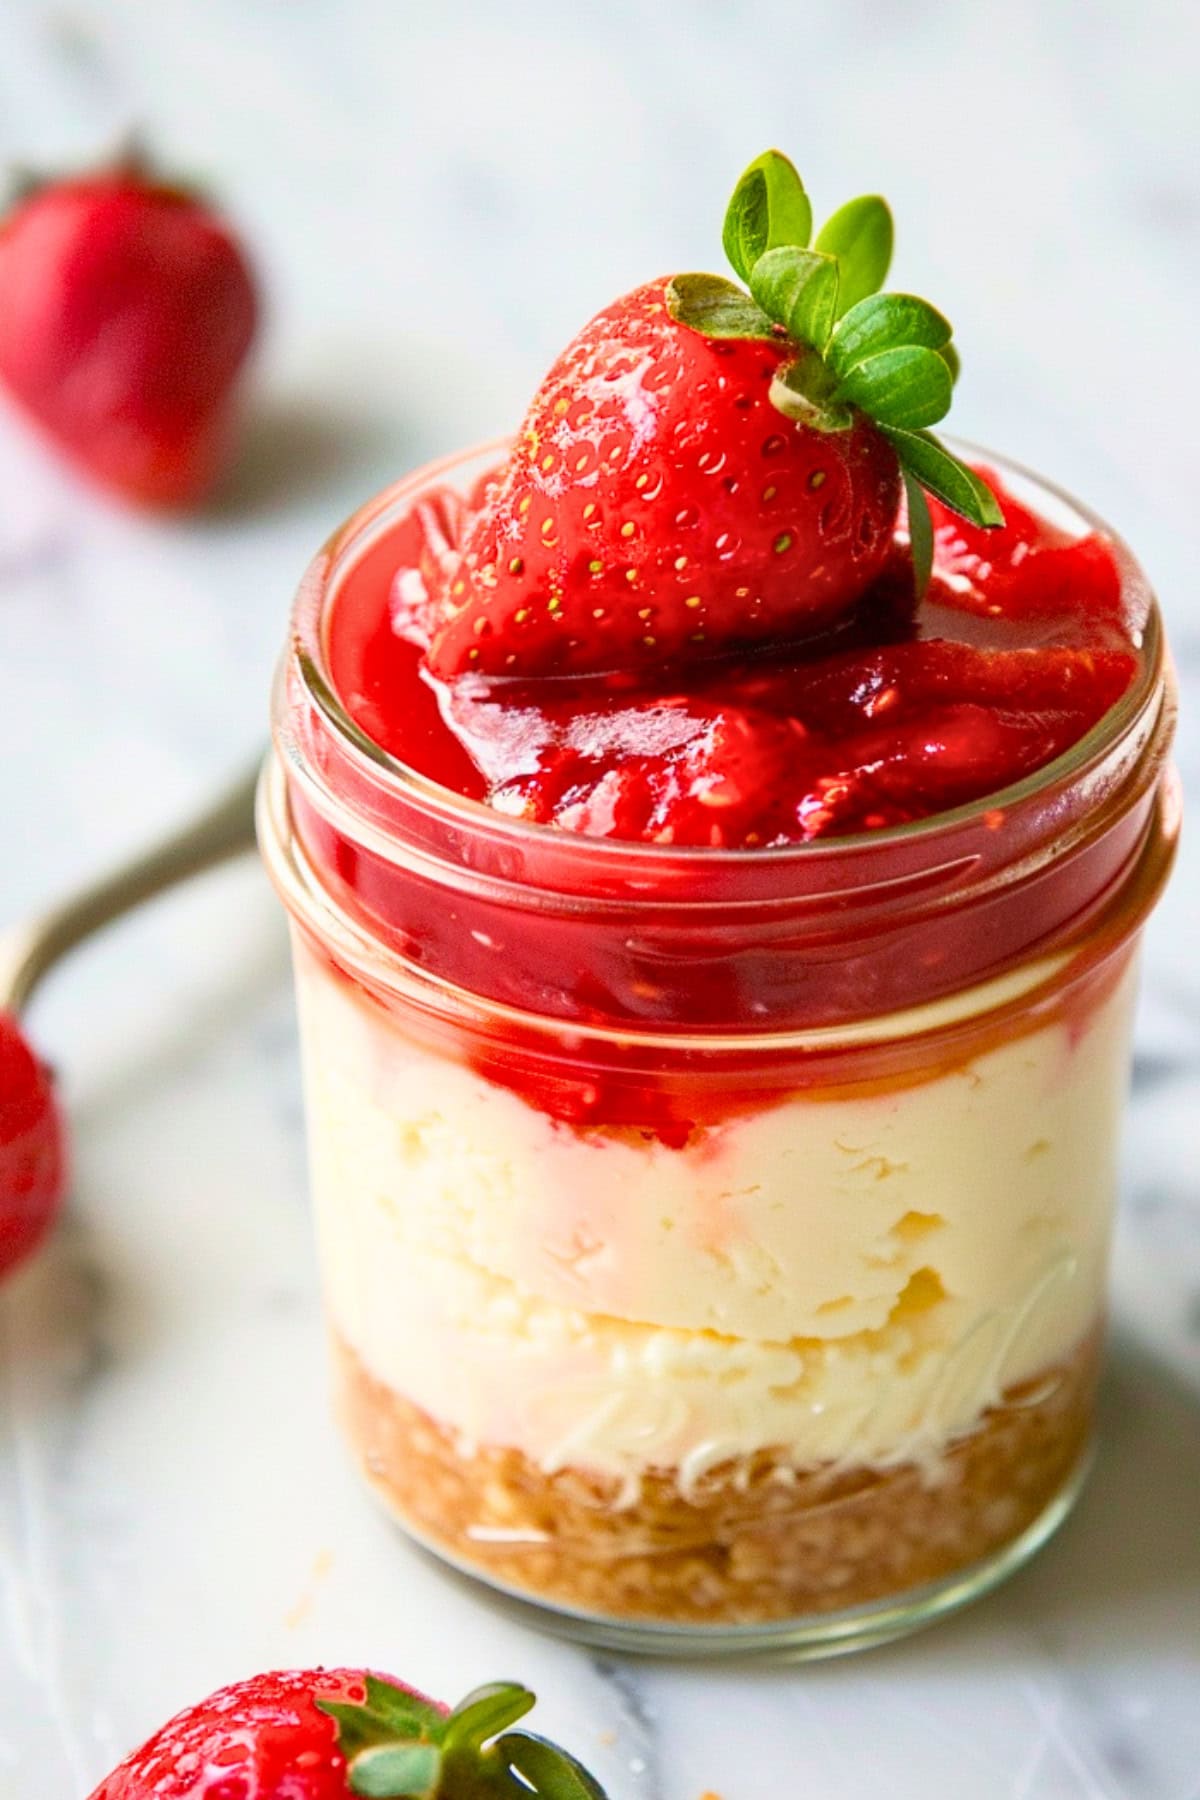
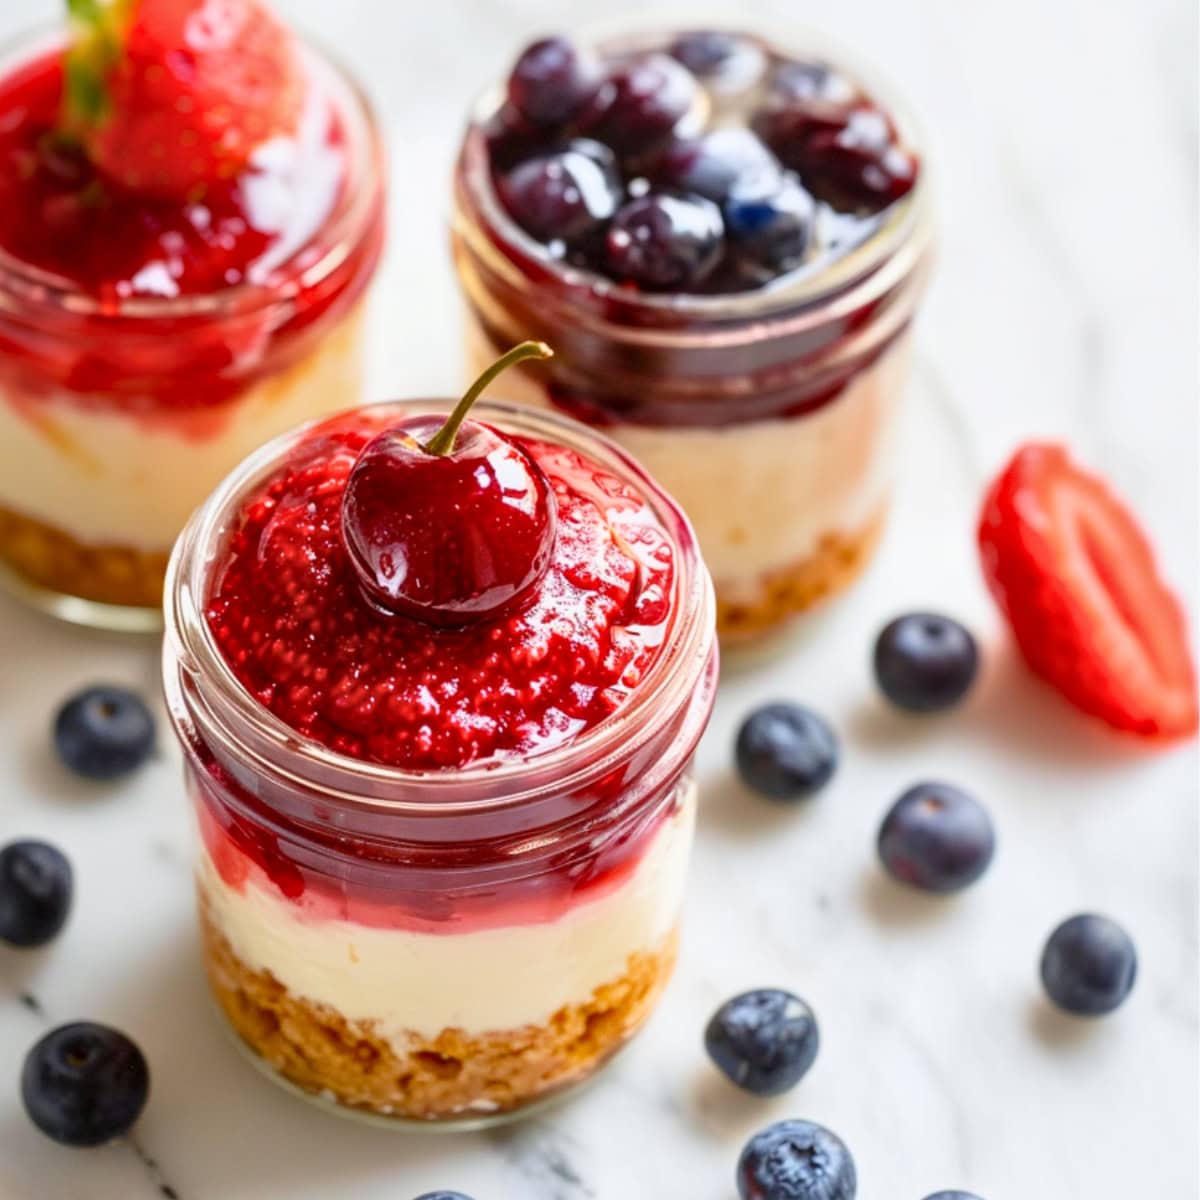
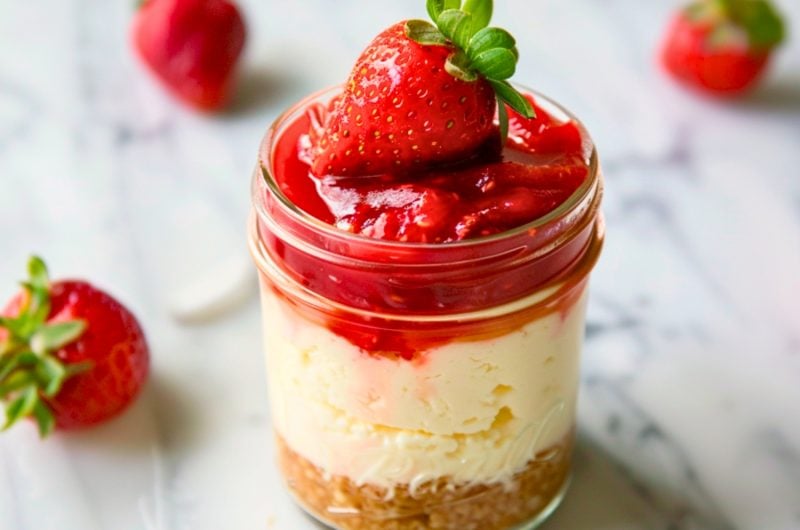
This easy, no-bake recipe combines a buttery graham cracker crust with a smooth, creamy cheesecake filling. I call it cheesecake in a jar!
Topped with fruit, these cute, single-serving cheesecakes are perfect for any occasion.
Customize the toppings to your liking. Sometimes, I like pie fillings, fruit, and even chocolate and caramel!
Served chilled, they’re a refreshing treat both kids and adults will love. Every time I serve these, they disappear in minutes!
WANT TO SAVE THIS RECIPE?
Why You’ll Love This Cheesecake in a Jar
Perfectly Portable: These individual desserts are easy to transport and serve. They’re perfect for non-kitchen meals like backyard BBQs, picnics, or lunch boxes.
Totally Customizable: Top each jar with different fruit fillings. You can customize each treat specifically for your guests’ tastes.
Portion-Controlled: If you’re an over-indulger (like me), these little guys are perfect. They'll keep you from going overboard with the sweets.
Giftable Goodies: They're perfect for gifting. Just add some ribbons and tags, and voila! Instant adorable gift for any occasion!
Ingredients
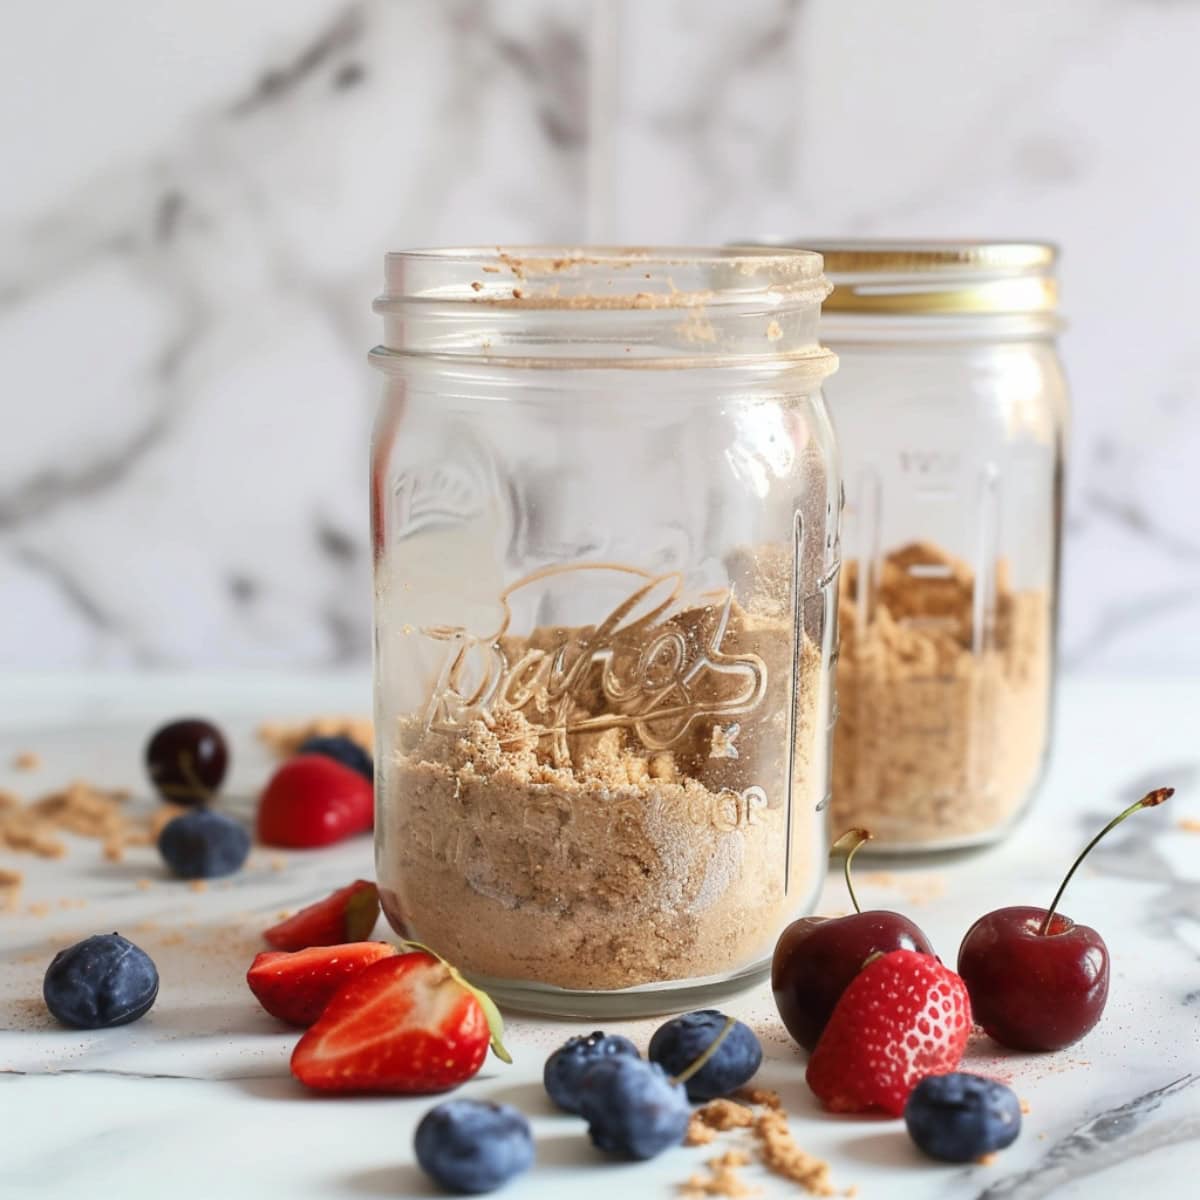
- Graham Cracker Crumbs: These buttery, honey-kissed crumbs are the base of your mini cheesecakes.
- Unsalted Butter: Mix this with the crumbs to create a rich, crumbly crust. I prefer unsalted butter, as the filling is tangy and salty enough.
- Granulated Sugar: It dissolves easily into the crumbs and butter, sweetening the crust as it does.
- Cream Cheese: Set it out early so it softens to room temperature. It’s the main component of the velvety, creamy, fluffy filling.
- Plain Full-Fat Greek Yogurt: Add a little to the cream cheese to lighten the filling. It’ll still taste fantastic but will be more refreshing.
- Fresh Lemon Juice: A squeeze of fresh lemon juice brightens the overall flavor and helps balance the sweetness.
- Vanilla Extract: A simple flavor enhancer and aromatic.
- Heavy Whipping Cream: When whipped to cloudlike peaks, cream gives the filling an airy, mousse-like texture.
- Pie Filling: For the topping. You can use cherry, blueberry, or strawberry, as you prefer. These jewel-toned dollops of fruit are the perfect finishing touch.
How to Make Cheesecake in a Jar
Want to make these decadent and totally delightful desserts for yourself? Just follow these simple steps:
1. Make the crust. Mix the graham cracker crumbs, butter, and 2 tablespoons of sugar in a bowl. Then, spoon the crust into the jars and tamp it down.
2. Make the filling. Beat the softened cream cheese in a bowl until smooth. Then, add the yogurt, lemon juice, vanilla, and 1/3 cup sugar. Mix well. Use a separate bowl to whip the heavy cream into stiff peaks. Then, gently fold these into the filling.
3. Pipe into jars. Transfer the filling to a piping bag and pipe it evenly on top of the crust in each jar.
4. Chill. Transfer the jars to the refrigerator for at least 2 hours to allow the filling to set.
5. Top and serve. Immediately before serving, top each jar with the pie filling of your choice. Then, serve and enjoy!
Tips for the Best Cheesecake in a Jar
I’ve included a few tips and variations for you to try, as well:
- Don't forget to clean and dry! Jars that aren’t cleaned properly can alter the taste of your cheesecake. Also, dry them out thoroughly. Otherwise, the excess moisture can ruin the texture.
- Be choosy with cream cheese. Get a block, not a spread. Full-fat cream cheese provides the best taste. And remember to let it warm to room temperature first!
- Be gentle. When combining the whipped cream and cream cheese, be exceptionally gentle. Don’t mix them forcefully or quickly, as this will make the mixture dense and flat.
- Don’t have a piping bag? You can use a Ziploc bag with the corner cut out instead. It’s both budget-friendly and effective.
- Have fun with fillings. This recipe uses plain cheesecake filling. However, you can use flavored Greek yogurt to tweak each treat’s taste.
- Change up the crust. I love graham cracker crusts, but I sometimes get bored with them. Try different options, such as Oreo or gingersnap crumbs.
- Go wild with toppings. Use fresh fruit, fruit compote, caramel sauce, chocolate glaze, whipped cream, and more! Don’t be afraid to sprinkle crushed candy, nuts, or pretzels on top!
How to Store
Remember, these little jars of yum are excellent make-ahead desserts. They also store just as easily.
To Store: Seal the jars tightly. Then, refrigerate them for 5 to 7 days.
To Freeze: If you plan to freeze the mini cheesecakes, do so before adding the toppings. Seal or wrap them tightly with plastic wrap. Then, freeze for 1 to 3 months.
To Thaw: Let frozen cheesecakes in a jar thaw in the fridge overnight. Then, add your desired toppings and enjoy!
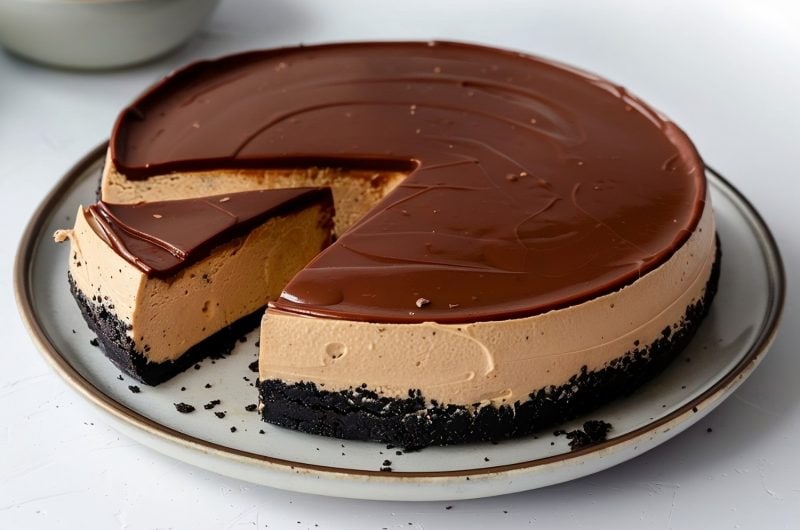
More Cheesecake Recipes You Have to Try
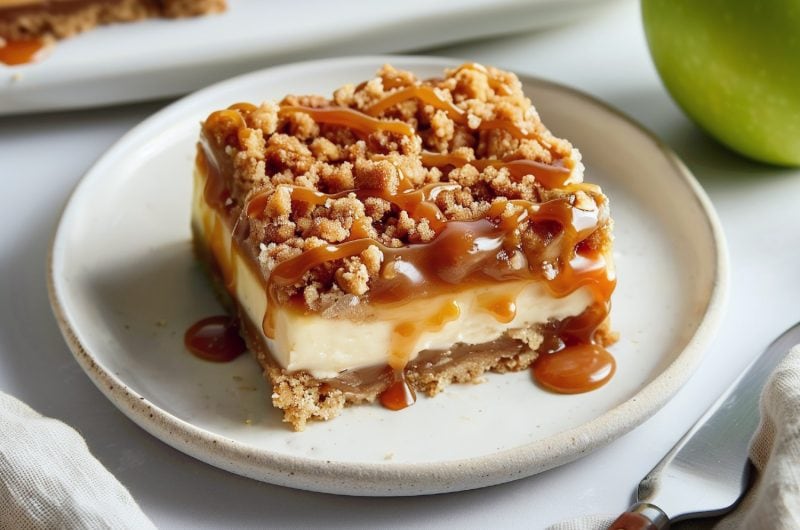
Caramel Apple Cheesecake
Chocolate Chip Cheesecake Cookies
Strawberry Cheesecake Dump Cake
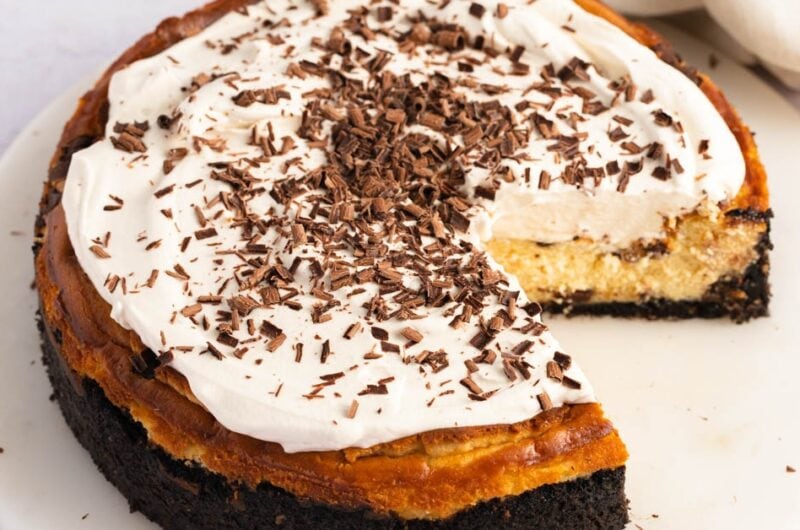
No-Bake Pumpkin Cheesecake
Cheesecake in a Jar
This recipe for cheesecake in a jar is the ultimate individual dessert! And since the recipe is no-bake, it's so easy to put together.
6
servings15
minutes503
kcalIngredients
1 cup graham cracker crumbs
2 tablespoons unsalted butter, melted
1/3 cup + 2 tablespoons granulated sugar, divided
8 ounces cream cheese, softened to room temperature
2/3 cup plain full-fat Greek yogurt
1 tablespoon fresh lemon juice
1 teaspoon vanilla extract
1 cup heavy whipping cream, cold
cherry, blueberry, or strawberry pie filling (for topping)
Instructions
- In a bowl, mix together the graham cracker crumbs, melted butter, and 2 tablespoons of sugar until well combined. (The mixture should resemble wet sand.)
- Spoon approximately 2 tablespoons of the mixture into the bottom of 6 8-ounce Mason jars. Use a small glass to tamp down the crust.
- In a large bowl, beat the softened cream cheese until smooth and creamy. (About 2-3 minutes.) Add 1/3 cup sugar, Greek yogurt, lemon juice and vanilla. Mix until well blended and no lumps remain.
- In a separate bowl, whip the cold heavy cream to stiff peaks. Gently stir the whipped cream into the cream cheese mixture until combined.
- Transfer the cheesecake filling to a piping bag or large zip-top bag with the corner snipped off. Pipe the filling evenly into the jars over the crust, filling to just below the top of the jar.
- Refrigerate the cheesecake jars for at least 2 hours or overnight to allow the filling to set up.
- When ready to serve, top each jar with a spoonful of cherry, blueberry, or strawberry pie filling. Serve chilled, and enjoy!


1 Comments
After you refrigerator the cheesecake in the jar can you put fruit and lid on top and refrigrate again with fruit on top?