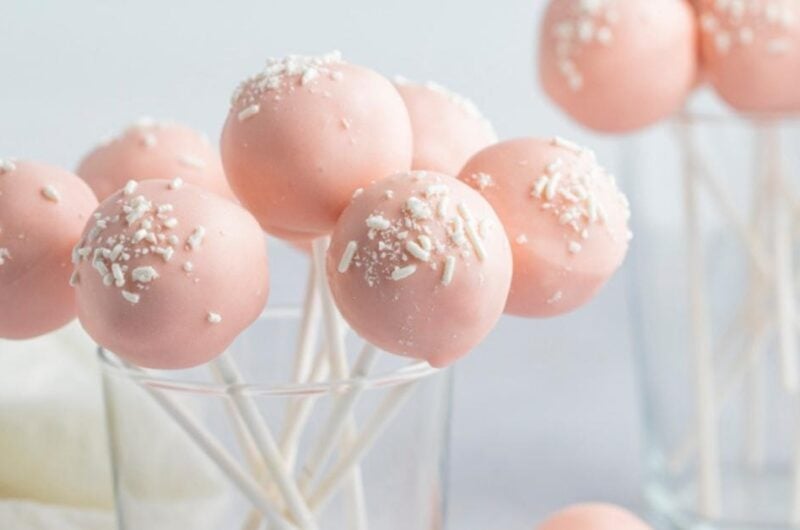


‘Tis the season to be…grumpy? Not with these whimsical Grinch cake pops!
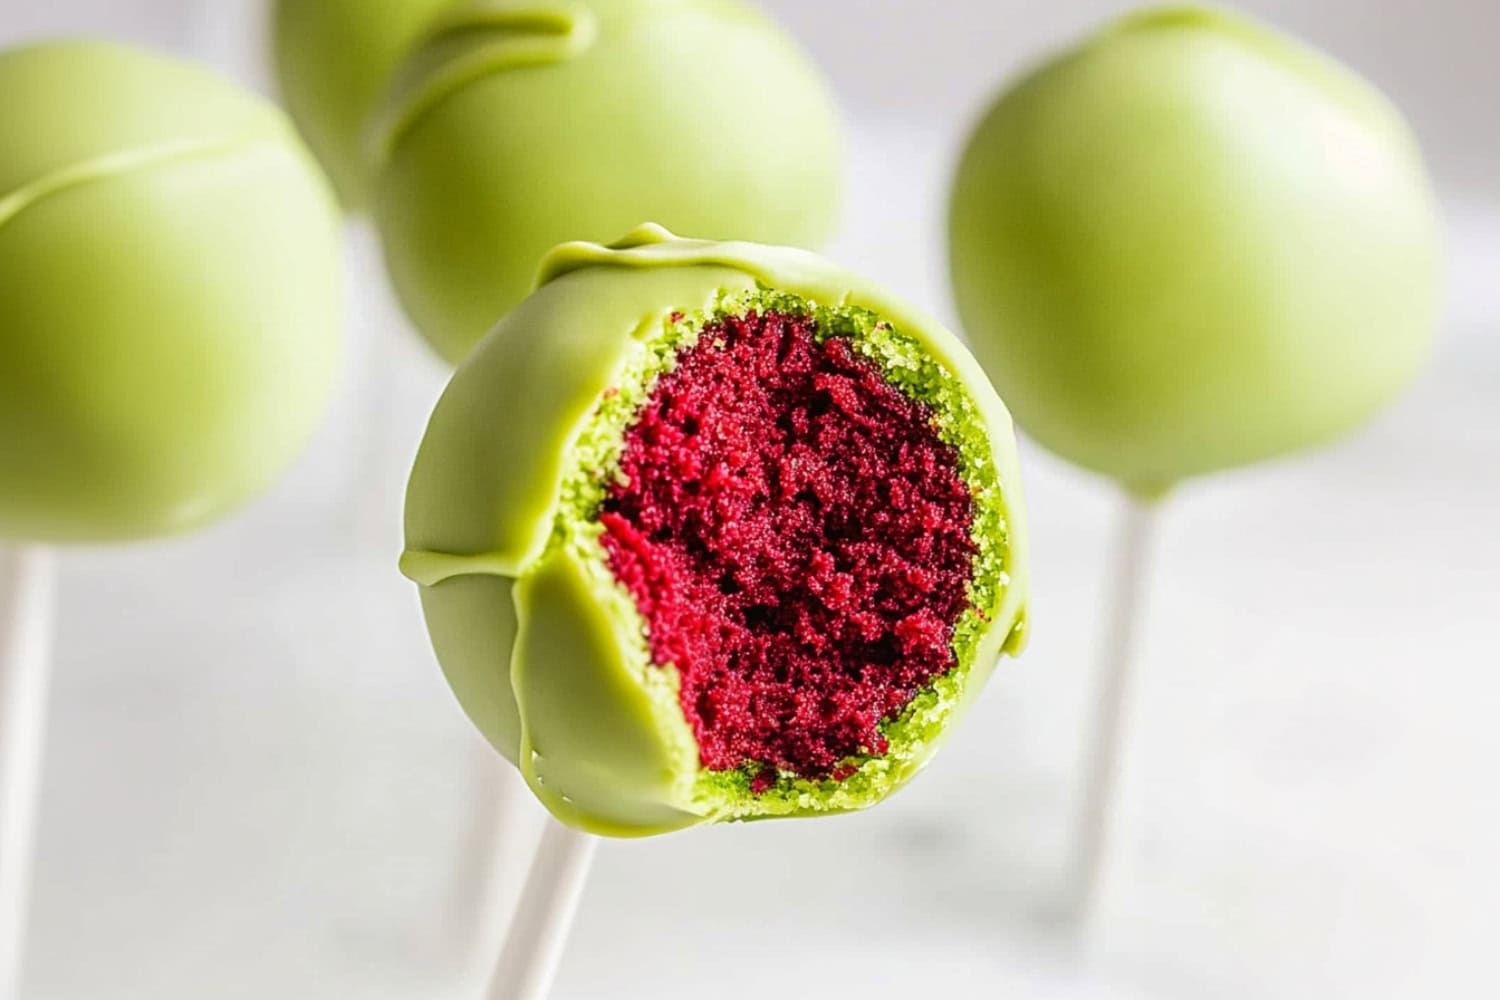
Inspired by Dr. Seuss’s infamous character, these vibrant green treats transform classic red velvet cake into bite-sized holiday magic.
Each pop features a tiny red heart that’ll make your own heart grow three sizes.
They’re perfect for holiday parties, cookie exchanges, or brightening a gloomy winter afternoon.

WANT TO SAVE THIS RECIPE?
Why You’ll Love These Grinch Cake Pops
Kid-Friendly Fun: The playful design and bite-sized format make these treats perfect for little hands. Plus, the beloved Grinch theme adds an element of whimsy the kiddos will love.
Festive Visual Appeal: These Grinch cake pops are a showstopper at holiday party. Kids and adults alike will appreciate their vibrant green coating and cute red heart.
Perfect for Gifting: Individually wrapped or beautifully arranged, these cake pops make charming, homemade holiday gifts.
Ingredients
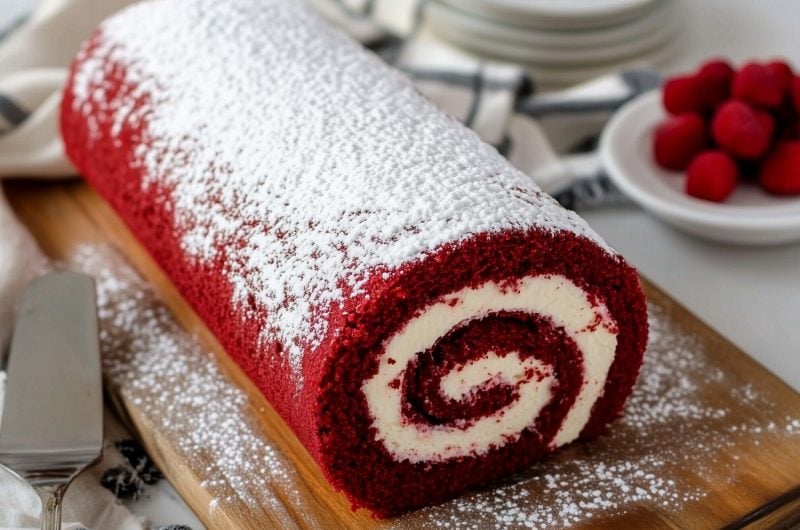
- Red Velvet Cake Mix: The base of the pops. Its rich, velvety texture and festive red hue is perfect for the Grinch theme.
- Eggs, Oil, & Water: Essential ingredients to prepare the cake mix. Use the box for guidance.
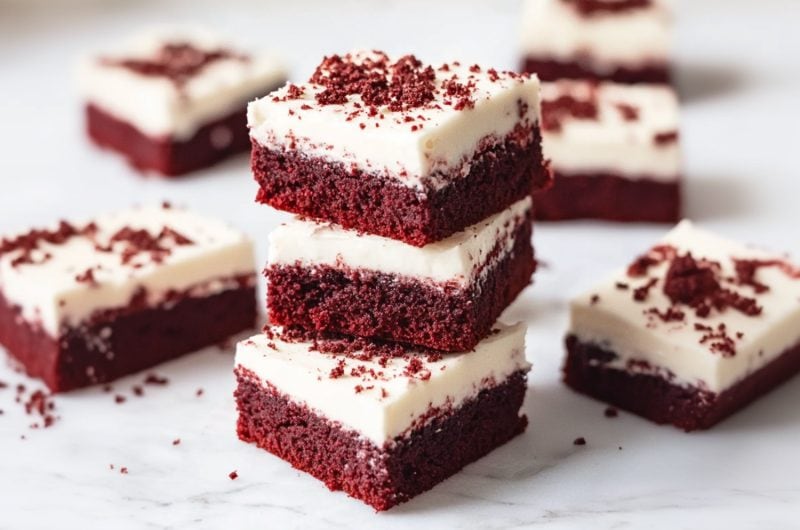
- Cream Cheese Frosting: A quick mix of cream cheese, powdered sugar, and salt to make a moldable dough.
- Green Candy Melts: Use light or vibrant green as you prefer. These will give the cake pops their signature Grinchy finish.
- Vegetable Shortening: Mix it with the candy melts for a smooth, easy-to-dip coating.
- Red Candy Hearts: A charming, decorative touch symbolizing the Grinch’s heart.

How to Make Grinch Cake Pops
At their core, cake pop recipes are all the same – even ones as cute as these.
You just bake, mix, shape, and decorate! Easy peasy.
Here’s a brief overview of the steps:
1. PREHEAT the oven to 350°F and bake the red velvet cake according to the package instructions. Let cool completely.
2. BEAT the cream cheese, powdered sugar, and salt until smooth.
3. CRUMBLE the cooled cake into fine crumbs in a bowl. Gradually mix in the cream cheese frosting until moldable.
4. ROLL into 1-tablespoon balls, place on a parchment-lined baking sheet, and chill for 10–30 minutes.
5. MELT the candy melts in a microwave-safe bowl, stirring in the vegetable shortening for smooth dipping.
6. DIP the cake pop sticks into the melted candy, insert into the chilled cake balls, and freeze for 10–15 minutes.
7. COAT each cake pop by dipping into melted candy, tapping off excess, and setting upright in a stand.
8. DECORATE with stripes or red candy hearts (optional). Let set fully. Enjoy!

Tips for the Best Grinch Cake Pops
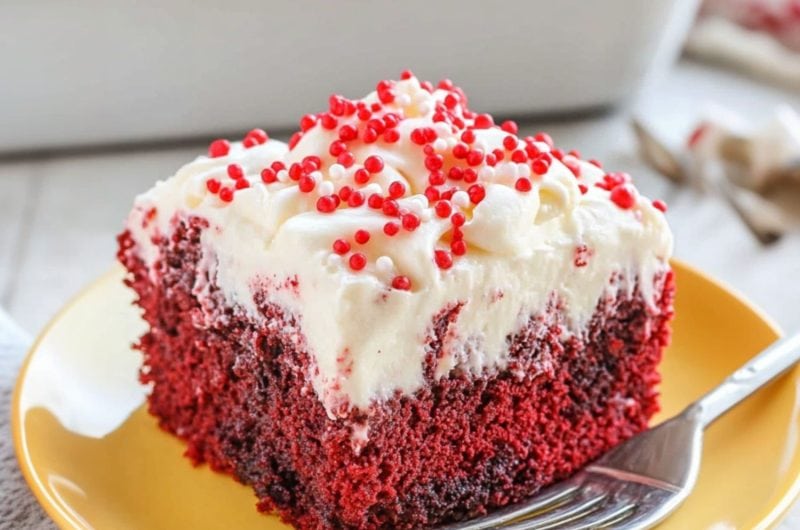
These fun cake truffles bring a playful twist to traditional Christmas desserts.
Their striking appearance captures the spirit of Whoville while delivering the irresistible combination of rich red velvet cake and smooth cream cheese frosting.
Check out these tips for success, then let's get to it!
- Let the cake cool completely. If it’s still warm when you crumble it, it’ll be sticky and uneven.
- Add the frosting gradually. Don’t just dump it all in at once. If you add too much, the mixture will be too wet. Start with 3 tablespoons and adjust as needed.
- Remember to chill. Refrigerate the cake pops for 30 minutes or freeze for 10 minutes to ensure they stay together. If you skip this step, they may fall apart when you dip them.
- Work smarter, not harder. Cake pops will soften quickly at room temperature, so work in batches. Keep some in the fridge while you work on the others. This will keep all pops as firm as possible while dipping.
- Save time with store-bought cake. I like boxed mixes because I always have them on hand, but you can totally buy a fully baked cake if you prefer. Or make it yourself if you prefer.
- Don’t be afraid to experiment. Use different cake mixes, such as vanilla or chocolate, incorporate spices for a unique flavor twist, or use other colors of candy melts for different holidays.

How to Store
Cake pops store and freeze nicely. So be sure to keep any leftovers for later.
To Store: Place the cake pops in an airtight container, separating layers with parchment paper. Refrigerate for up to 1 week.
To Freeze: Wrap the pops individually in plastic wrap. Freeze for up to 1 month in a freezer-safe container.
More Grinch Inspired Treats for The Holidays
Grinch Dip
Grinch Cookies
Grinch Punch
Grinch Popcorn
Grinch Cake Pops
These festive Grinch cake pops combine moist red velvet cake, creamy frosting, and a bright green coating for a holiday treat worthy of Whoville!
24
servings25
minutes25
minutes226
kcalIngredients
1 (15.25-ounce) box red velvet cake mix (plus the ingredients listed on the box)
4 ounces cream cheese, softened
1 1/2 cups powdered sugar
pinch salt
2 (12-ounce) packs light green candy melts (see note)
1 teaspoon vegetable shortening
cake pop sticks
red candy hearts
Instructions
- Preheat the oven to 350°F. Make and bake the red velvet cake mix using the ingredients and instructions listed on the box. Let the cake cool completely before moving on.
- In a medium bowl, beat the cream cheese, powdered sugar, and salt until smooth and creamy.
- In a separate bowl, crumble the cooled cake into fine crumbs. Add the sweetened cream cheese a little at a time, mixing with a spatula after every addition. If the mixture is too dry to hold together, add more frosting, 1 tablespoon at a time, until the mixture reaches a moldable consistency.
- Portion the mix into 1 tablespoon-sized balls, roll until smooth, and arrange on a parchment-lined baked sheet. Freeze for 10 minutes or refrigerate for 30.
- Place the candy melts in a microwave-safe bowl. Melt them according to the package instructions or in 30-second intervals, stirring well between each spin. When fully melted, stir in 1 teaspoon of vegetable shortening for easier dipping.
- Remove the cake balls from the freezer and roll them again to remove any uneven spots. Then, dip the tip of a cake pop stick into the melted candy coating and insert it halfway into a chilled cake ball. Repeat with the remaining sticks and cake balls.
- Return the cake pops to the baking sheet and freeze for 10-15 minutes to secure the sticks.
- Transfer the melted candy to a tall glass or jar (reheat if needed). Carefully dip each cake pop into the glass until fully covered. Gently tap the stick against the side of the container to remove excess coating and place the cake pop upright in a styrofoam block or cake pop stand.
- Let the candy coating harden completely, then pipe stripes of green over the surface with the remaining candy coating (optional). Alternatively, press a red candy heart onto each cake pop while the coating is still wet. Enjoy!
Notes
- Add the frosting gradually – a little goes a long way. To test, spoon some into your palm and roll it into a ball. If it holds its shape, it's ready!
- Work in batches, keeping some pops refrigerated until ready to coat.
- If you can't stand the coated cake pops upright, place them on a parchment-lined baking sheet with the stick standing up. They're extra cute with a mini red ribbon.
Nutrition
- Total number of serves: 24
- Calories: 226kcal
- Fat: 11g
- Saturated Fat: 5g
- Cholesterol: 28mg
- Sodium: 186mg
- Carbohydrates: 29g
- Sugar: 23g
- Protein: 2g
- Vitamin A: 97mcg
- Calcium: 35mg
- Vitamin K: 6mcg