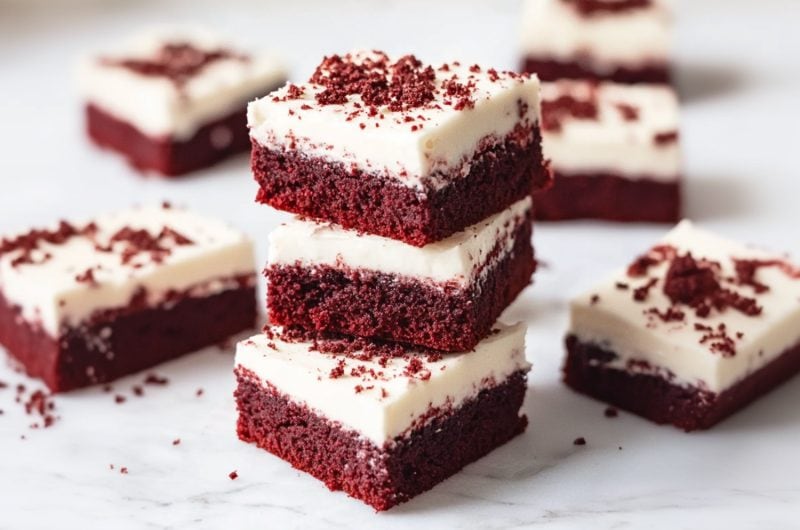
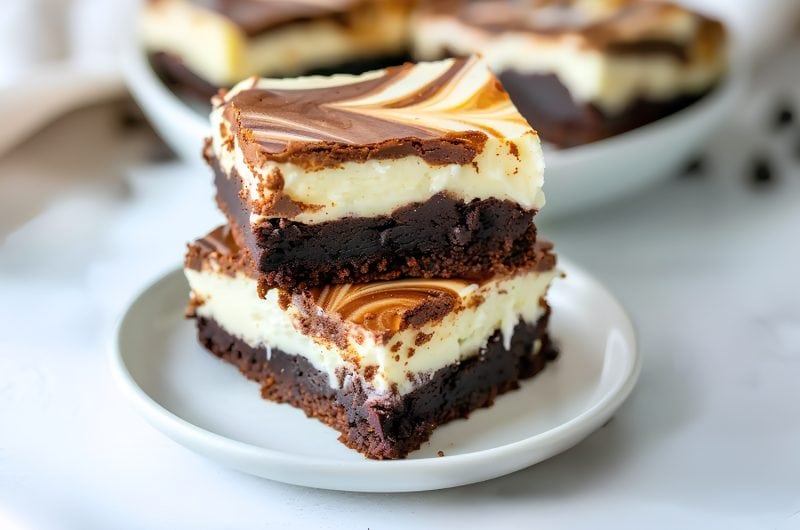
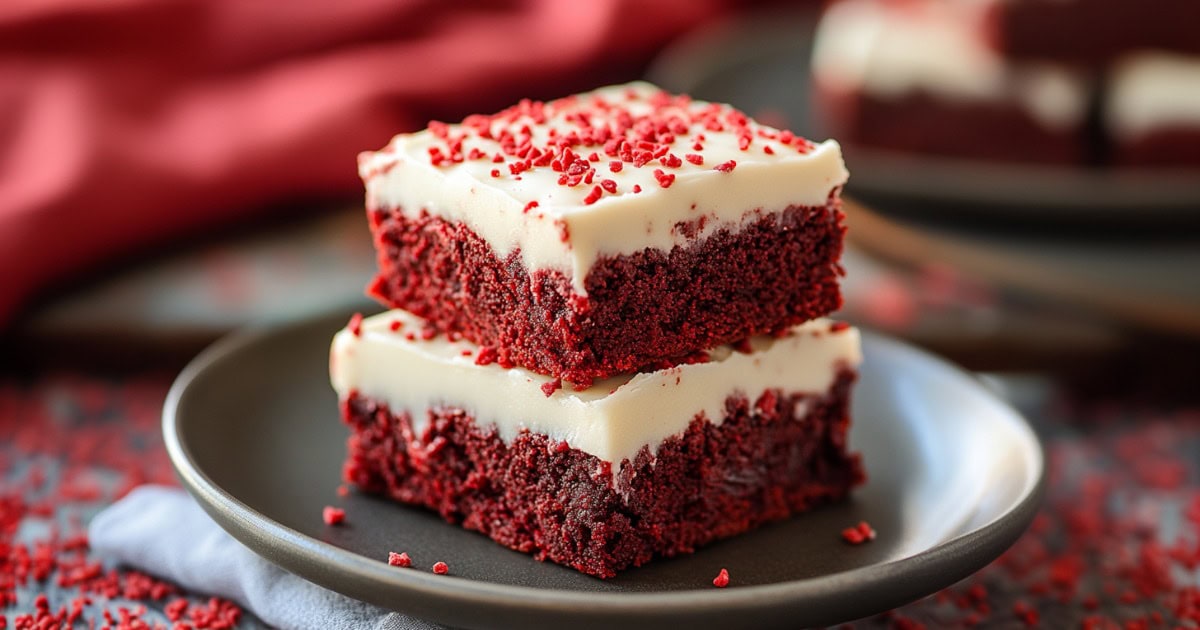
I’ve always had a soft spot for red velvet, but these red velvet brownies with cream cheese frosting? They take it to a whole new level.
The brownie is dense and chocolatey but not too rich, with a stunning crimson color.
And then there’s that cream cheese frosting. It’s creamy, tangy, and fabulously sweet.
Red Velvet Brownies are pure indulgence. And they're perfect for holiday gatherings, potlucks, special occasions, or as a weekend treat.

WANT TO SAVE THIS RECIPE?
Why You'll Love These Red Velvet Brownies with Cream Cheese Frosting
Decadent Taste: These brownies offer a perfect balance of fudgy chocolate and tangy cream cheese frosting. They’re irresistibly indulgent with every bite.
Soft and Fudgy Texture: With a hint of cocoa and a moist, dense crumb, every bite is melt-in-your-mouth delicious.
Perfect for Entertaining: With their elegant appearance and rich flavor, these brownies are guaranteed to impress guests.
Easy to Make: With simple ingredients and clear steps, this dessert is as fun to bake as it is to eat!
Ingredients
- Unsalted Butter & Oil: Add richness and moisture to the brownies, creating a fudgy texture. You'll use butter in the frosting, too.
- Granulated & Light Brown Sugar: Granulated sugar provides sweetness and structure. Light brown sugar adds moisture and a slight caramel flavor.
- Eggs: Bind the ingredients and contribute to the brownies' structure, giving them a soft, chewy texture.
- Salt & Vanilla Extract: Enhance the overall flavor of the brownies and frosting, adding warmth and depth.
- Red Food Coloring: Gives the brownies their signature red velvet hue. Use gel for the most vibrant color.
- White Vinegar: Helps intensify the red color and reacts with the baking powder for a slight rise.
- All-Purpose Flour & Cornstarch: Provides structure and helps ensure a tender crumb.
- Unsweetened Cocoa Powder: Adds a rich chocolate flavor.
- Cream Cheese Frosting: The combination of cream cheese and butter creates a smooth, tangy frosting. Powdered sugar adds sweetness, while vanilla extract enhances flavor.

How to Make Red Velvet Brownies with Cream Cheese Frosting
Rich, fudgy brownies meet the classic red velvet flavor, topped with a silky-smooth layer of cream cheese frosting.
Sounds heavenly, huh?
And yet, they're a breeze to make at home! Here's how:
1. PREHEAT the oven to 325°F and line a 9×9-inch baking pan with parchment paper.
2. WHISK the melted butter, oil, granulated sugar, and brown sugar in a large bowl until smooth.
3. ADD the eggs, yolk, vanilla, and vinegar, whisking after each addition. Remove 1/4 cup batter, mix in food coloring, then stir back into the batter.
4. COMBINE the flour, cocoa powder, cornstarch, and salt in a separate bowl. Add to wet ingredients and mix just until no streaks of flour remain.
5. POUR the batter into the pan, spread evenly, and bake for 25-30 minutes. Cool completely in the pan.
6. BEAT cream cheese and butter until smooth. Gradually add powdered sugar, then mix in vanilla and salt until fluffy.
7. SPREAD frosting over cooled brownies and garnish as desired. Enjoy!

Tips For the Best Red Velvet Brownies with Cream Cheese Frosting
These are the kinds of brownies that make you want to eat dessert first.
Whether you’re making them for a special occasion or just because (which is totally valid), they’re guaranteed to impress.
But before you get mixing, be sure to read these tips!
- Use room-temperature ingredients. This makes the batter and frosting smoother and easy to mix, resulting in a better texture.
- Use gel food coloring. Gel food coloring is more concentrated than liquid, so you’ll need less to achieve a vibrant red color. Less food coloring means you won’t alter the texture or taste of the batter.
- Why vinegar? You don't need vinegar for this recipe since brownies are meant to be dense and fudgy. But it will amp up the color.
- Cool completely before frosting. Let the brownies cool entirely before adding the cream cheese frosting. If they're warm, the frosting will melt and slide off.
- Garnish ideas. Sprinkle red velvet crumbs, chocolate shavings, red sprinkles, or a dusting of cocoa powder on top.
- Variations and add-ins. Add white chocolate chips or a cheesecake swirl for extra richness. You can also swap the cream cheese frosting for chocolate ganache or buttercream.

How to Store
Every bite of these babies delivers a perfect balance of chocolate and vanilla, with a stunning crimson color that makes these beauties absolutely Instagram-worthy.
Trust me, they'll fly off the plate!
But if you happen to have a piece or two leftover, here's what to do:
To Store: Store the brownies in an airtight container in the fridge for up to 5 days. Place a sheet of parchment paper between layers to prevent sticking.
To Freeze: Wrap individual unfrosted brownies tightly in plastic wrap, place them in a freezer bag, and freeze for up to 3 months. Frost after thawing overnight in the refrigerator.
More Red Velvet Desserts You'll Love
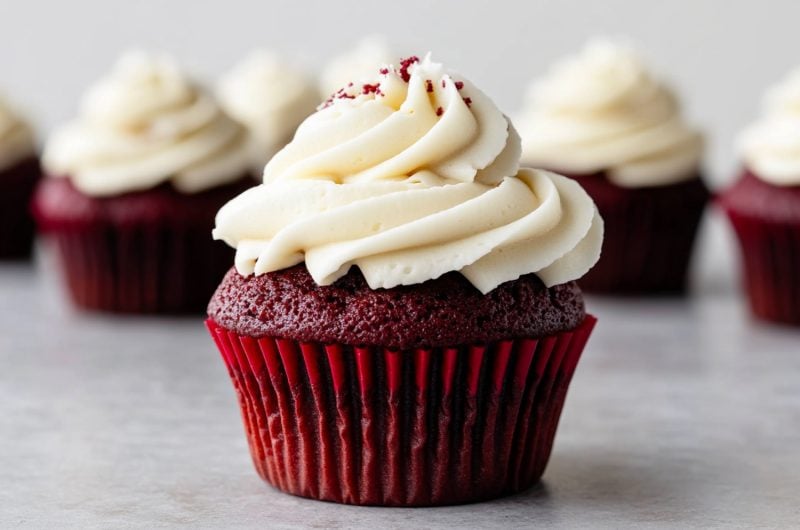
Red Velvet Cupcakes with Cream Cheese Frosting
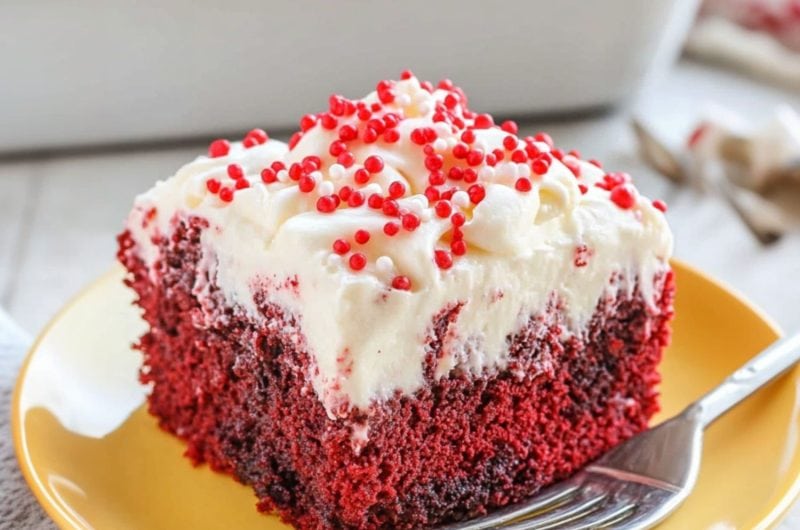
Red Velvet Poke Cake
Red Velvet Whoopie Pies
Red Velvet White Chocolate Chip Cookies
Red Velvet Brownies with Cream Cheese Frosting
These red velvet brownies with cream cheese frosting are rich and fudgy, with the perfect balance of sweetness and tang. They're totally irresistible.
12
servings20
minutes25
minutes406
kcalIngredients
- Red Velvet Brownies
1/3 cup unsalted butter, melted and cooled
1/3 cup vegetable oil
3/4 cup granulated sugar
1/2 cup light brown sugar, packed
3 large eggs + 1 egg yolk
1 teaspoon vanilla extract
1 teaspoon white vinegar
red food coloring, liquid or gel (see note)
3/4 cup all-purpose flour
1/4 cup unsweetened cocoa powder
1 tablespoon cornstarch
1/2 teaspoon salt
- Cream Cheese Frosting
8 ounces cream cheese, softened
1/4 cup unsalted butter, softened
4 cups powdered sugar, sifted
1 teaspoon vanilla extract
pinch salt
Instructions
- Preheat the oven to 325°Fahrenheit. Line a 9×9-inch baking pan with parchment paper and set aside.
- Make the Brownies: Add the melted butter, vegetable oil, granulated sugar, and brown sugar to a large bowl. Whisk vigorously until smooth.
- Add the eggs, yolk, vanilla extract, and vinegar one at a time, whisking well after each addition.
- Remove about 1/4 cup of batter to a small bowl. Whisk in the food coloring until evenly blended. Return to the large bowl and stir gently to combine.
- In a separate bowl, whisk the flour, cocoa powder, cornstarch, and salt. Add the flour mixture to the batter and stir gently by hand just until no streaks of flour are visible.
- Pour the batter into the prepared pan and spread it evenly. Bake for 25-30 minutes, or until a toothpick inserted into the center comes out with a few moist crumbs. Cool completely in the pan before frosting.
- Make the Frosting: In a large bowl, beat the cream cheese and butter until creamy and smooth. Slowly blend in the powdered sugar one cup at a time, mixing well after each addition.
- Beat in the vanilla extract and salt until the frosting is fluffy.
- Spread the cream cheese frosting over the cooled brownies in an even layer. Optionally, garnish with sprinkles, chocolate shavings, or a dusting of cocoa powder.
- Use a sharp knife to cut the brownies into squares or rectangles. Serve and enjoy!
Notes
- I recommend using gel food coloring as it won't affect the texture of the batter. A little goes a long way, so start with a small amount – about 1/4 teaspoon.