


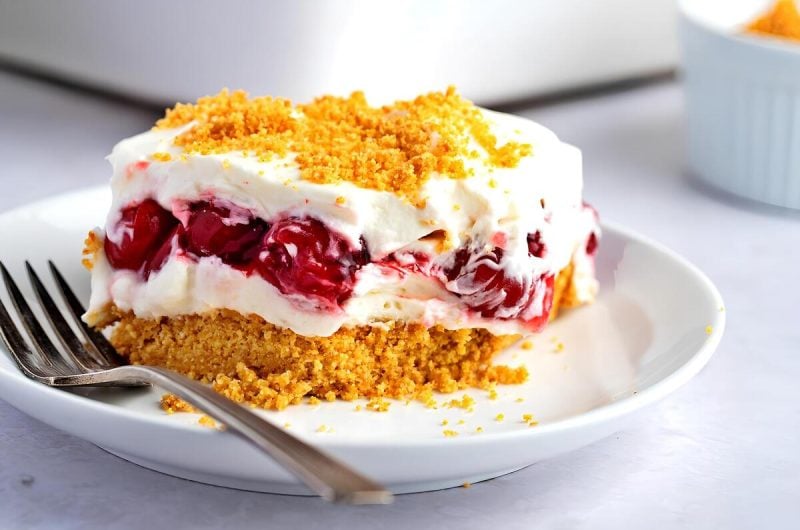
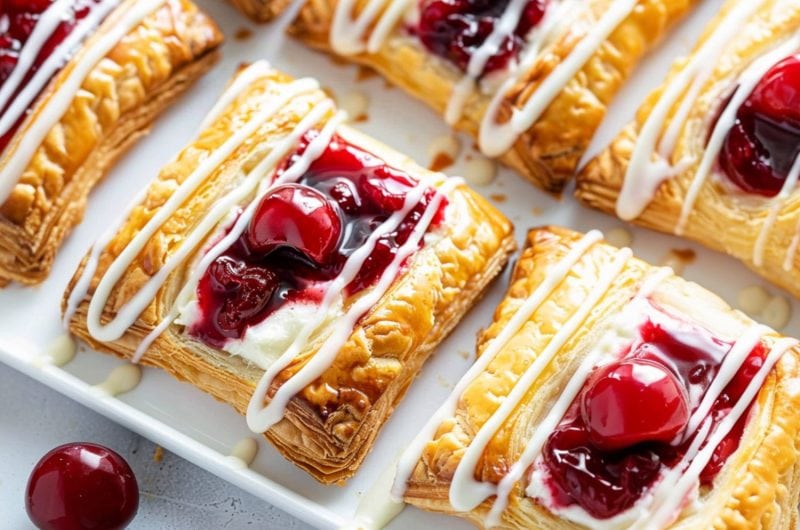
Can’t decide between cheesecake and cherry pie? Make ‘em both with cherry yum yum!
This dessert mash-up features a cherrific pie filling, luscious cream cheese layer, and a buttery graham cracker crust. It’s to die for!
WANT TO SAVE THIS RECIPE?
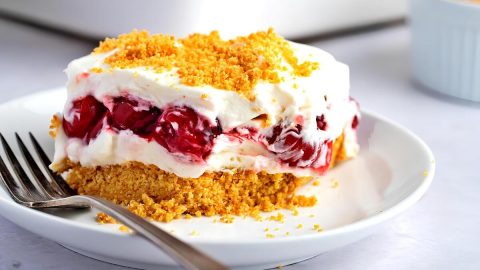
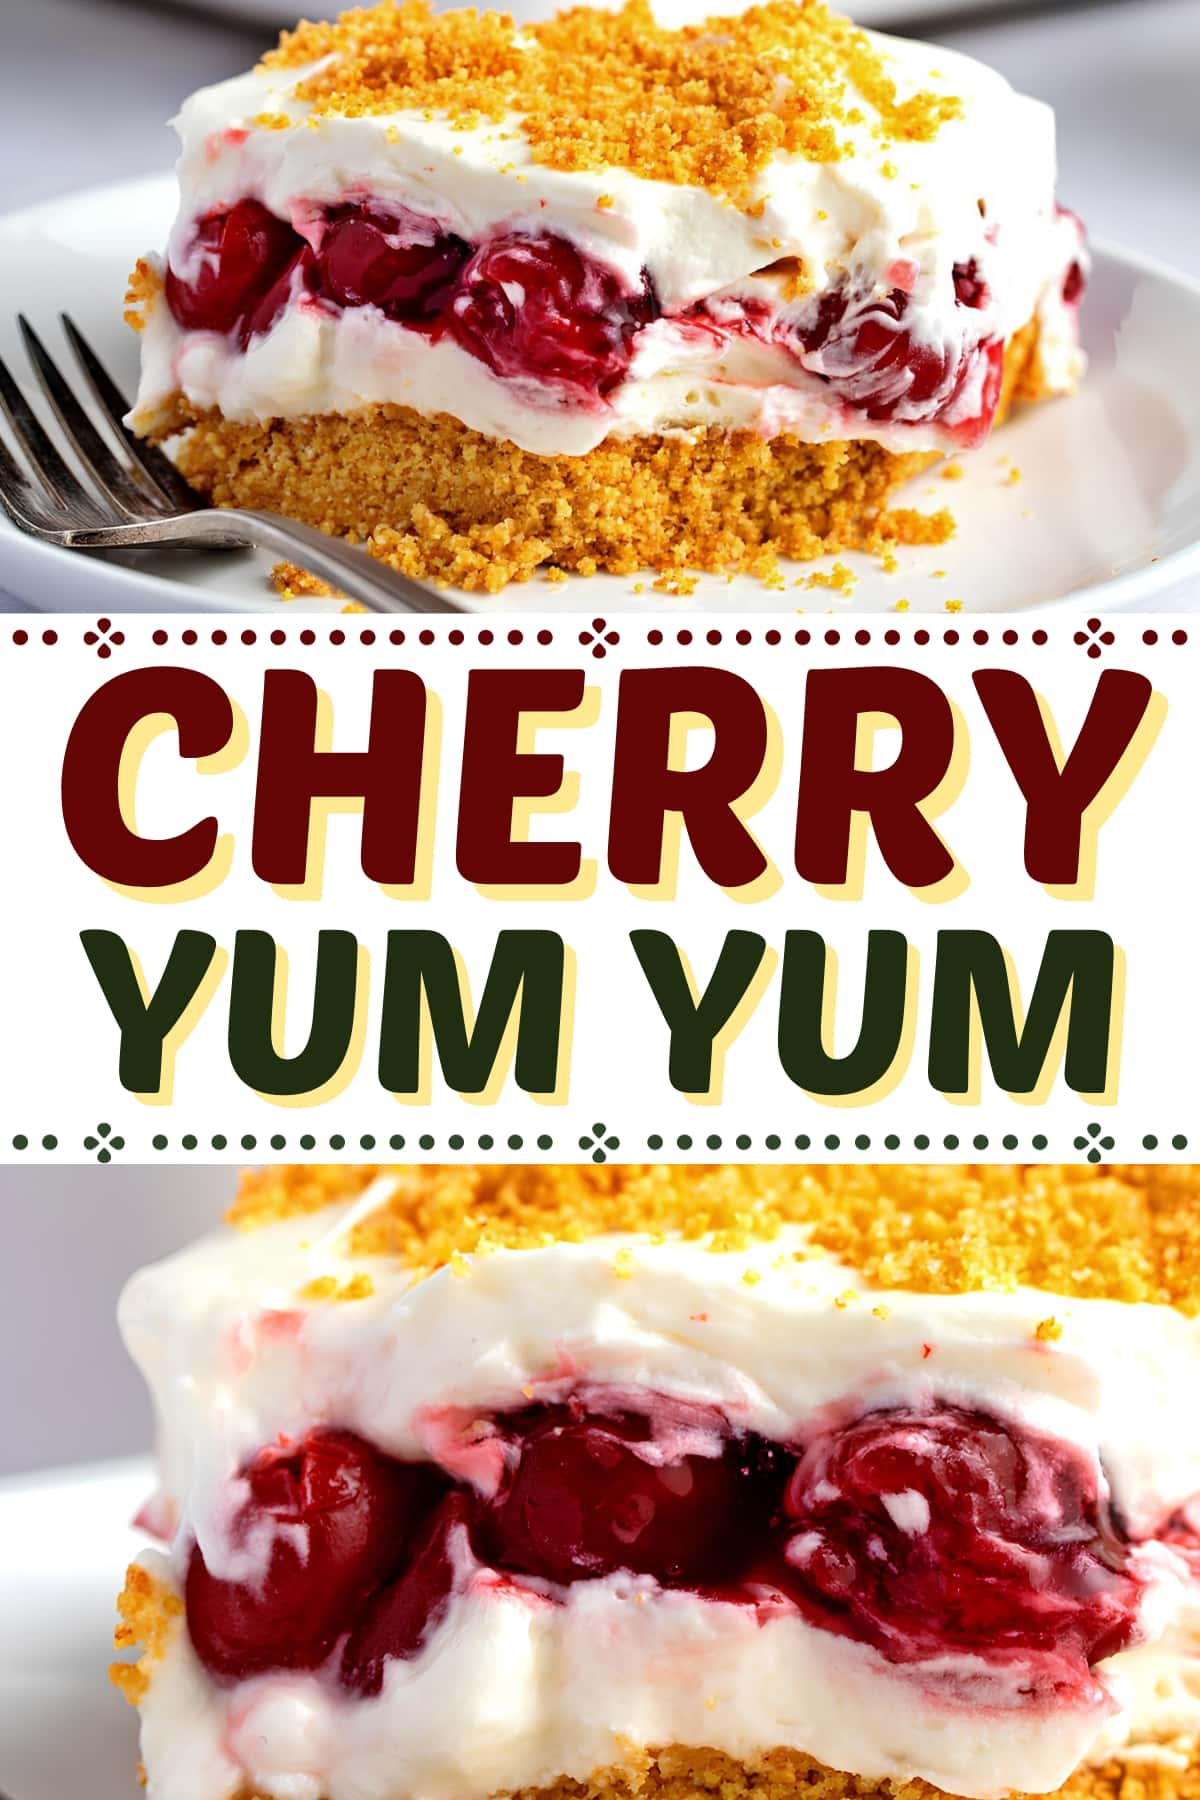
Cherry Yum Yum
Cherry yum yum is a no-bake dessert with a cherry and cream cheese filling.
Part pie, part cheesecake, the combo is genius!
Okay, it's not entirely no-bake. The pie crust does call for 10-15 minutes of baking.
But this layered dessert is such a breeze that it’s as easy as pie!
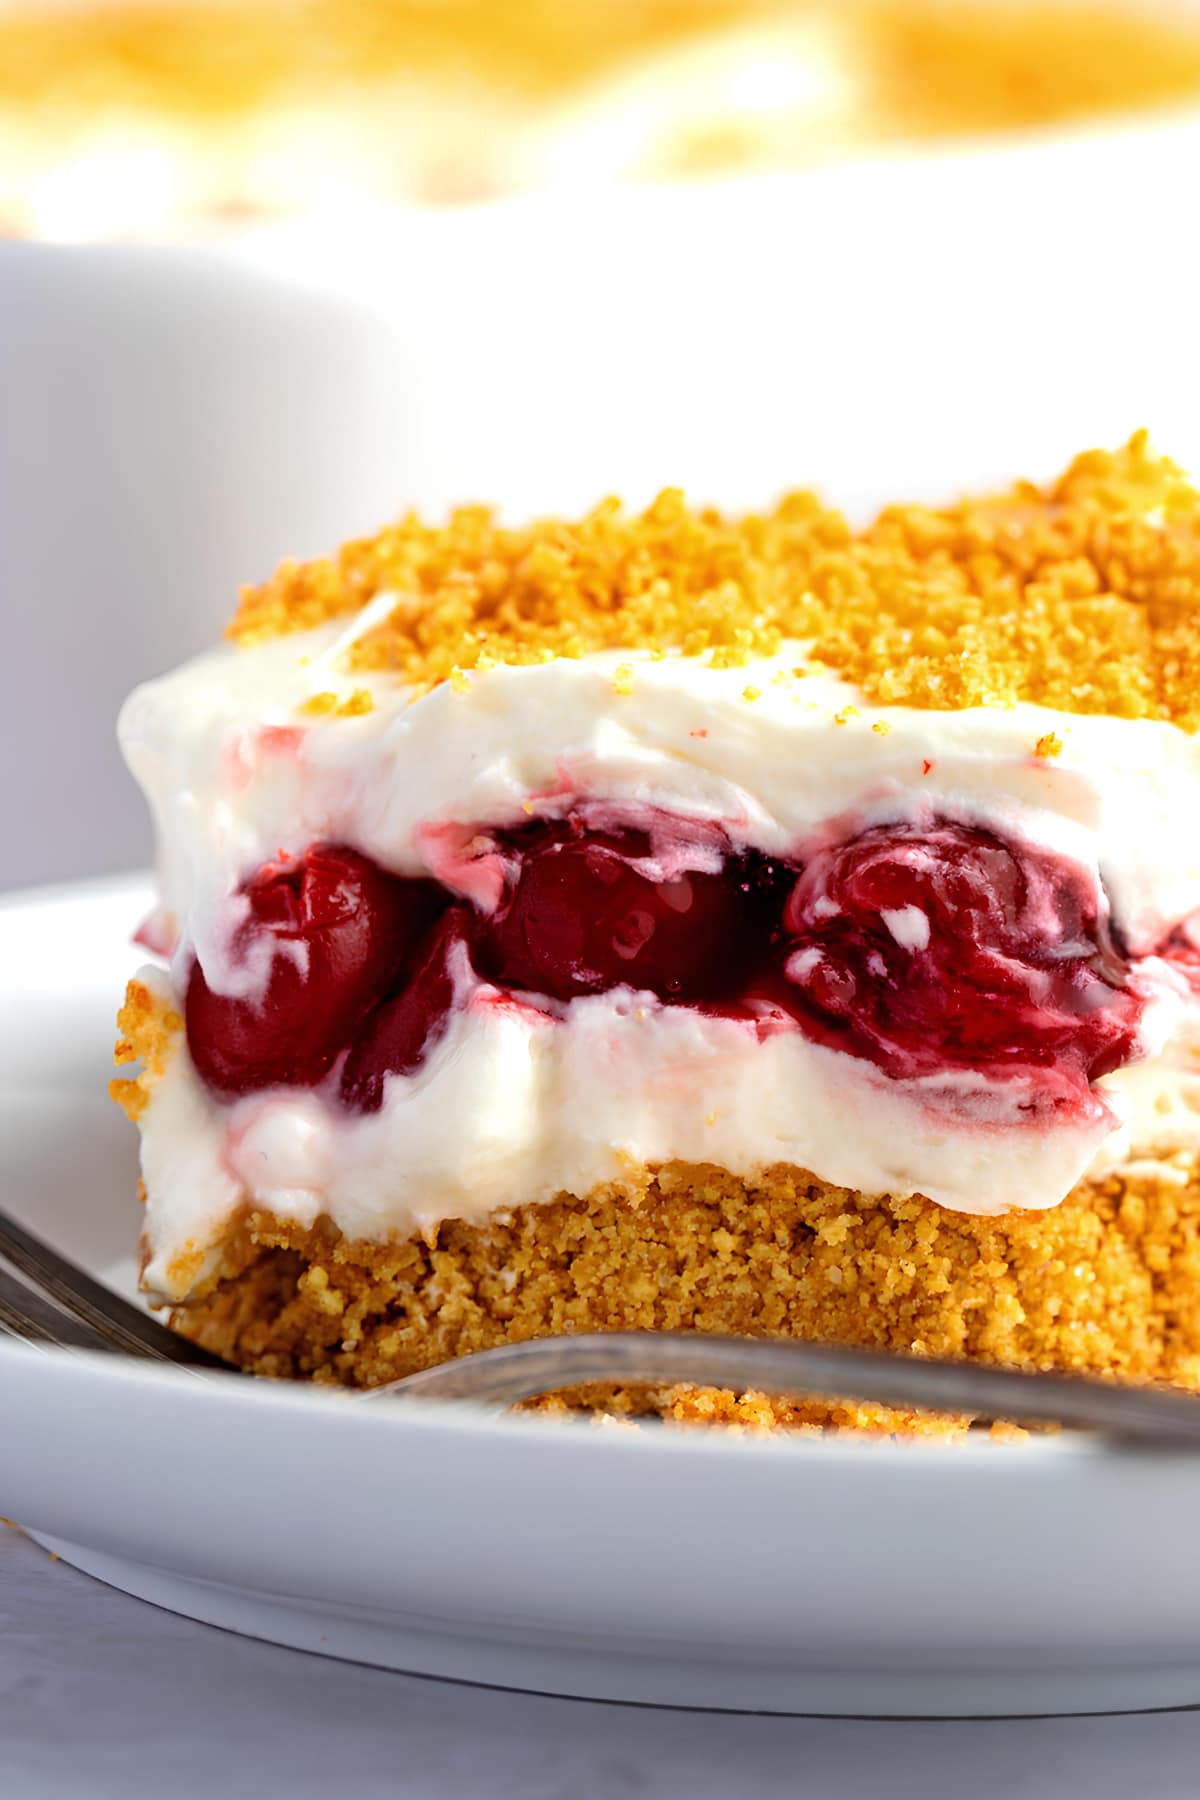
The medley of sweet, buttery, tart, and crunchy is exceptional. Whoever coined it “cherry yum yum” was right. This dessert is doubly delicious!
Ingredients
Cherry yum yum has two components: the crust and the filling. It sounds like a lot of work, but trust me, it’s so easy.
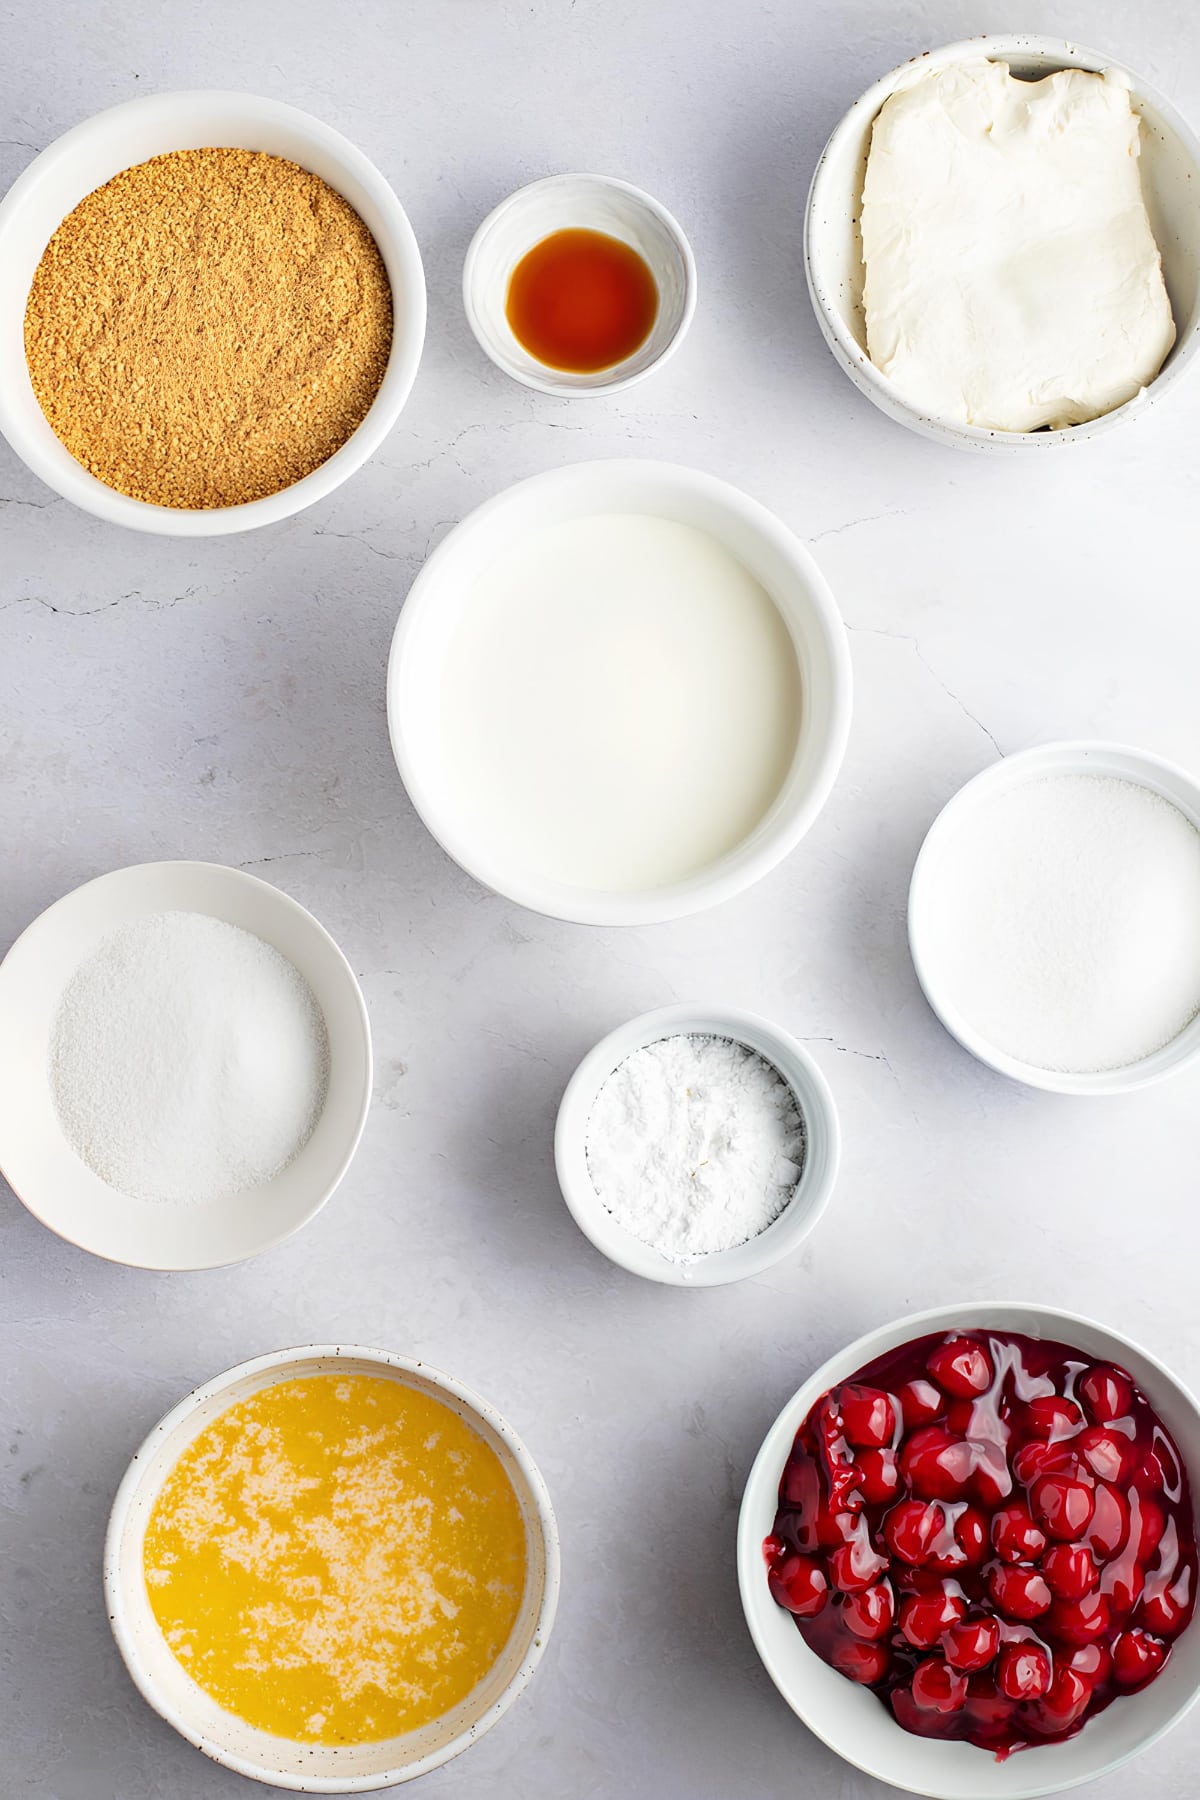
Here’s what you'll need:
For the Crust
- Butter. Specifically, melted butter. It saturates the dry ingredients, giving you a stable, buttery crust that will hold the pie together nicely.
- Graham Crackers. The base of the crust. Either crush them yourself or buy the crumbs. If you're an avid baker, I highly recommend pre-crumbed!
- Granulated Sugar. For a touch of sweetness.
- Chopped Pecans. For a crunchy, nutty crust. There's no need to toast in advance since you're baking the crust, anyway.
For the Filling
- Whipped Topping. For a light and airy filling.
- Cream Cheese. For an ultra-creamy crust with a hint of tartness.
- Powdered Sugar. To sweeten up the filling. You won't cook the filling, so stick to powdered sugar. Granulated sugar will make the filling gritty.
- Canned Cherry Pie Filling. It’s not called “cherry yum yum” for nothing!

Tips for the Best Dessert
Cherry yum yum is one of the simplest desserts to make. Still, I have some tips to make it absolutely stunning.
- Soften the cream cheese. Let it sit at room temperature for 30 minutes, then slice it into cubes. It’s a simple trick for a smooth, lump-free filling.
- Let the cake cool before slicing. I let it chill for at least 4 hours. Overnight is even better. If you don’t let it cool, the pie won’t set.
- Bake for a crunchier crust. About 20 minutes in the oven at 350 degrees Fahrenheit will do the trick.
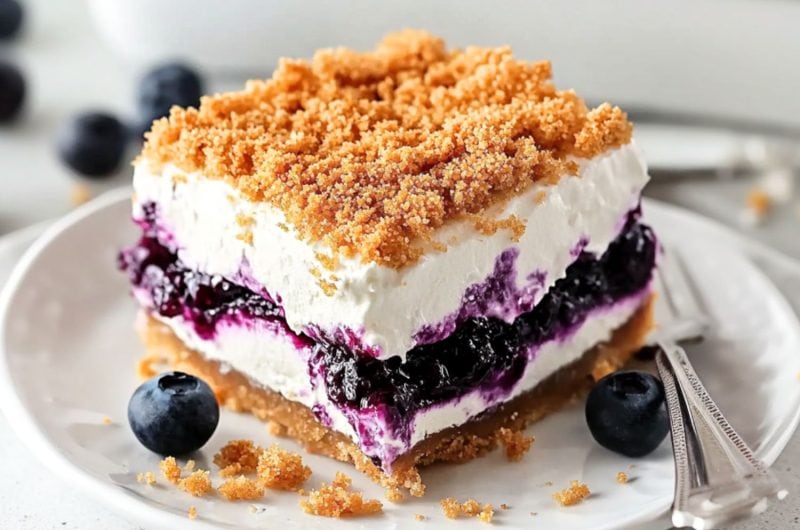
- Mix up the fruit filling. Cherry pie filling is standard, but other berry fillings work great, too. Blueberry, strawberry, and mixed berry are all must-tries.
- Create a thicker filling. Double the cream cheese and whipped cream topping for a thicker, more luscious filling.
- Make a guilt-free version. Just use light Cool Whip, low-fat cream cheese, and Splenda for the creamy filling.
- Give it a tropical twist. Line the crust with sliced bananas. It adds another layer of sweet, fruity goodness.
- Swap pecans for other nuts. Almonds, walnuts, macadamias, and cashews all make great alternatives. You can also add almond extract to the cream filling for a nuttier twist.
Can I Use Homemade Whipped Cream?
Absolutely! Sure, it may not be as stable as Dream Whip or Cool Whip, but hey, fresh is always best.
Here’s how to make your own whipped cream:
- Place 1 cup of whipping cream, 2 tablespoons of granulated or powdered sugar, and 1/2 teaspoon of vanilla extract in a bowl.
- Beat the ingredients with an electric mixer on medium-high speed until stiff peaks form, about 3 to 4 minutes.
To ensure maximum fluffiness, use cold whipping cream.
You'll also want the bowl and the mixer attachments to be cold, so pop those in the fridge for at least 30 minutes before whipping.
Alternative Crust Options
We are using a crunchy and buttery pecan crust for this pie, but these alternatives work just as beautifully:
- Honey graham cracker crust. Crushed honey graham crackers add another layer of flavor you'll love.
- Chocolate Oreo crust. Use crushed Oreos instead of graham crackers for a fun chocolate and cherry dessert!
- Nilla Wafer crust. Use the same ingredients but swap the crackers with crushed Nilla Wafers. Shortbread cookie crumbs work, too!
If you still can't get enough cherries after trying this dessert, check out these other incredible cherry desserts!
How to Store Cherry Yum Yum
If you happen to have leftovers, you can refrigerate or freeze them.
That said, I don’t recommend freezing the dessert with the cherry filling. It will become watery when you thaw it. So, just add it before serving.
To Store: Covered leftovers in plastic wrap, then refrigerate. They will stay fresh for 2-3 days.
To Freeze: Cover the pie (without the cherry filling) with plastic wrap and foil. Freeze it for up to 3 months. Before serving, add the cherry pie filling.
More Creamy Desserts You'll Love
Frog Eye Salad
Banana Milkshake
Sugar Cream Pie
Old-Fashioned Hot Milk Cake
Cherry Yum Yum
Cherry yum yum is a cross between cheesecake and cherry pie that's to die for! Learn how to make this easy recipe, plus, get tips for the best dessert.
24
servings30
minutes371
kcalIngredients
3 1/2 cups graham cracker crumbs (one 14-oz box)
3/4 cups melted butter
2 tablespoons granulated sugar
3/4 cup finely chopped pecans, optional
2 (1.3-ounce) envelopes whipped topping mix
2 (8-ounce) packages cream cheese, softened
4 cups powdered sugar
1 (21-ounce) can cherry pie filling
Instructions
- Preheat the oven to 350 degrees Fahrenheit.
- For the crust, mix the graham cracker crumbs with the melted butter and sugar. Reserve 1/4 cup for the top, then mix in the chopped nuts, if using. Press the mixture into a 9×13-inch baking dish and bake for 10-15 minutes. Set aside to cool.
- Prepare the whipped cream according to the package instructions.
- Combine the softened cream cheese and powdered sugar in a large bowl. Beat with an electric mixer at medium speed until smooth.
- Gently mix in the whipped cream with a spatula until just combined.
- Spread half of the creamy filling over the cooled crust. Spread the cherry pie filling evenly over the cream, followed by the rest of the fluffy cream cheese.
- Refrigerate for at least 4 hours and top with the reserved cracker crumbs before slicing. Enjoy!
Notes
- The calories listed are an estimate based on 24 servings. They include the pecans.
- If you can't find Dream Whip, use 2 (8-ounce) tubs of Cool Whip instead and add as much as you need to make it thick but spreadable.


7 Comments
REMOVE THE DAM POP-UPS!!
Dream whip isn’t available anymore in my area…..could Cool Whip be used as a replacement? If so, how much would I need to use?
Hi Cheryl! Yes, you can use Cool Whip instead, but it depends on how thick you want the filling to be.
I recommend grabbing two 8-ounces tubs, add one and see how it is. Also, give it a taste. Then add more as needed.
I used both tubs because I like it fluffy. But if you want a thicker, cheesecake-like filling, you might only need one.
Hope this helps!
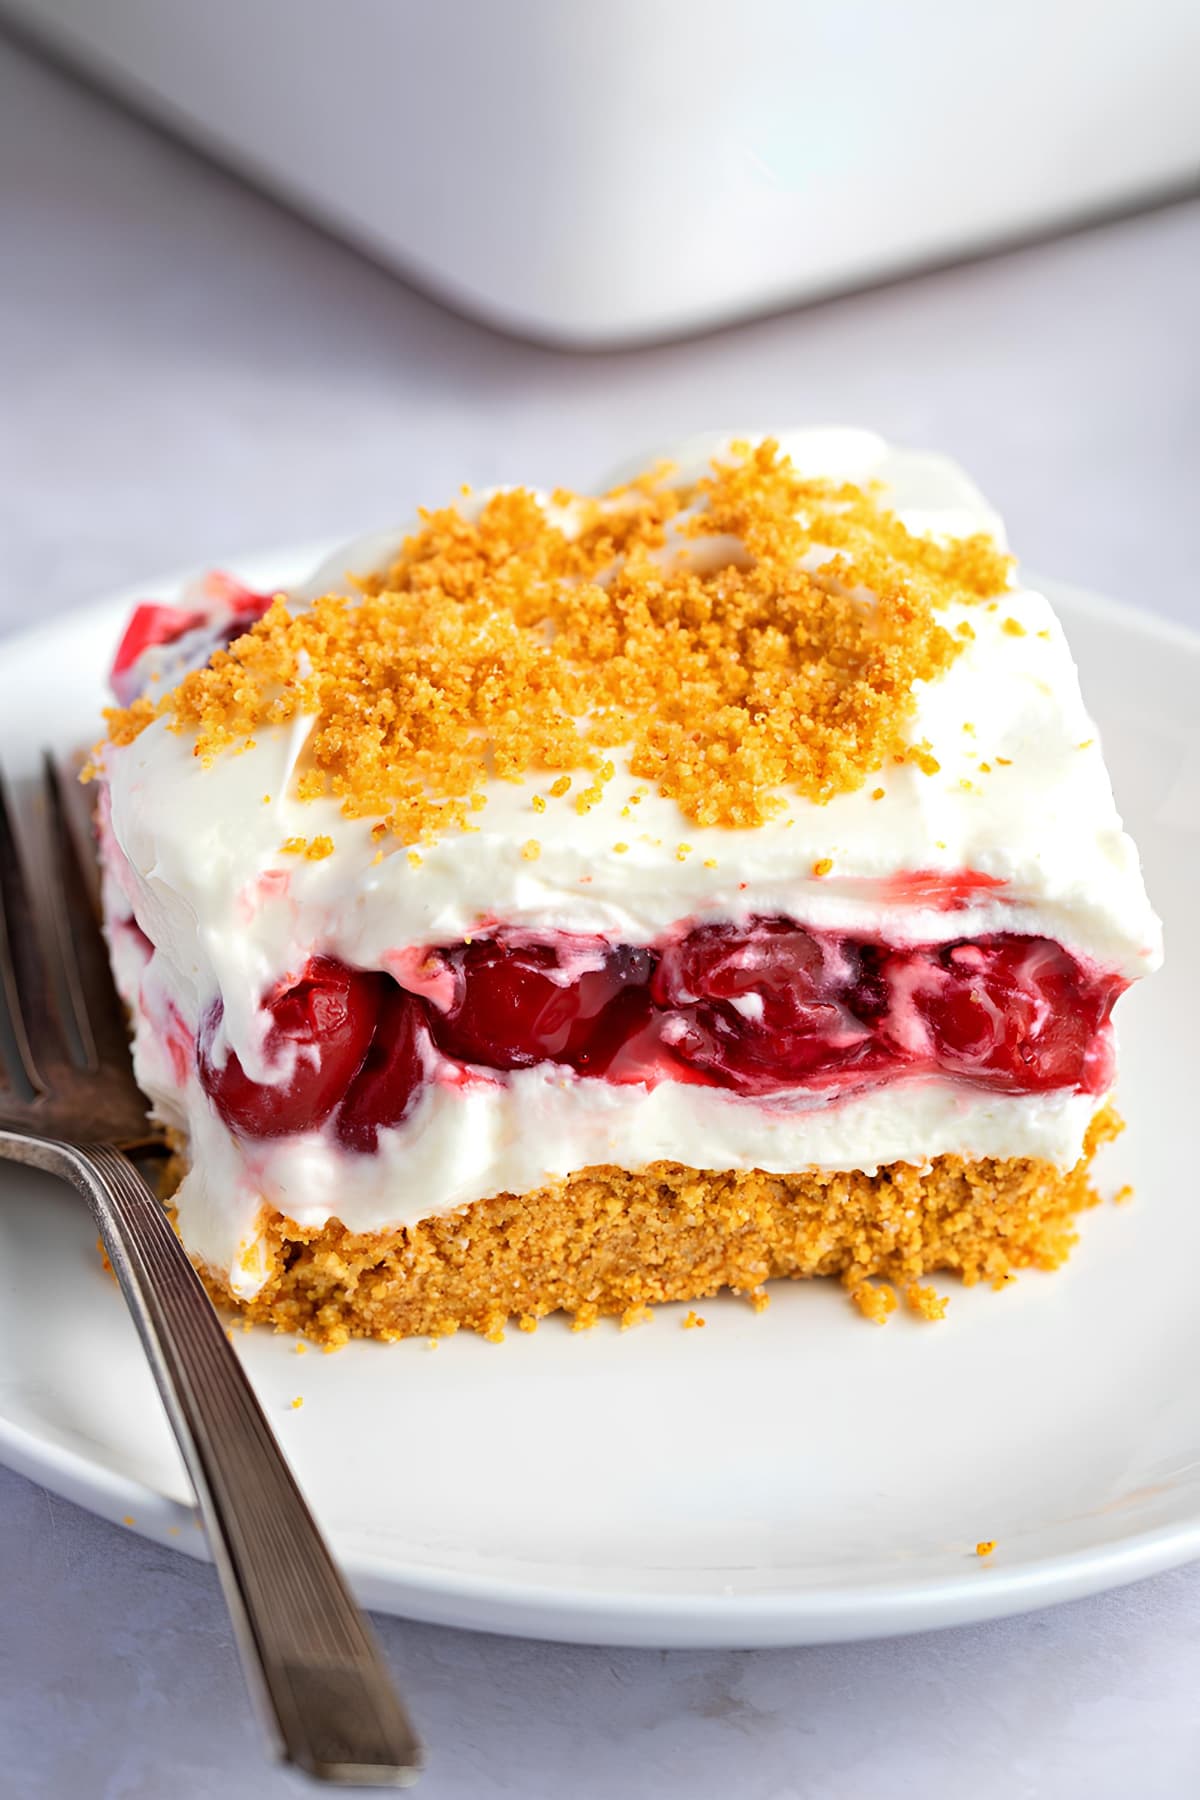
Hi, Kim – The the picture of the dish shows a white topping that isn’t called out in the recipe. Is that plain whipped cream or another layer of the cream cheese layer?
Hi Jennifer! The top layer is the same sweet cream cheese filling. You can use half the amount listed and just have one layer, but it’s extra sweet and creamy with 2!
There wasn’t any box for me to put my email address!
I would like to have that recipe!!!
sue22548@aol.com
Thank you!!
I took care of that for you, Susan! You should have it in your inbox now. 🙂