


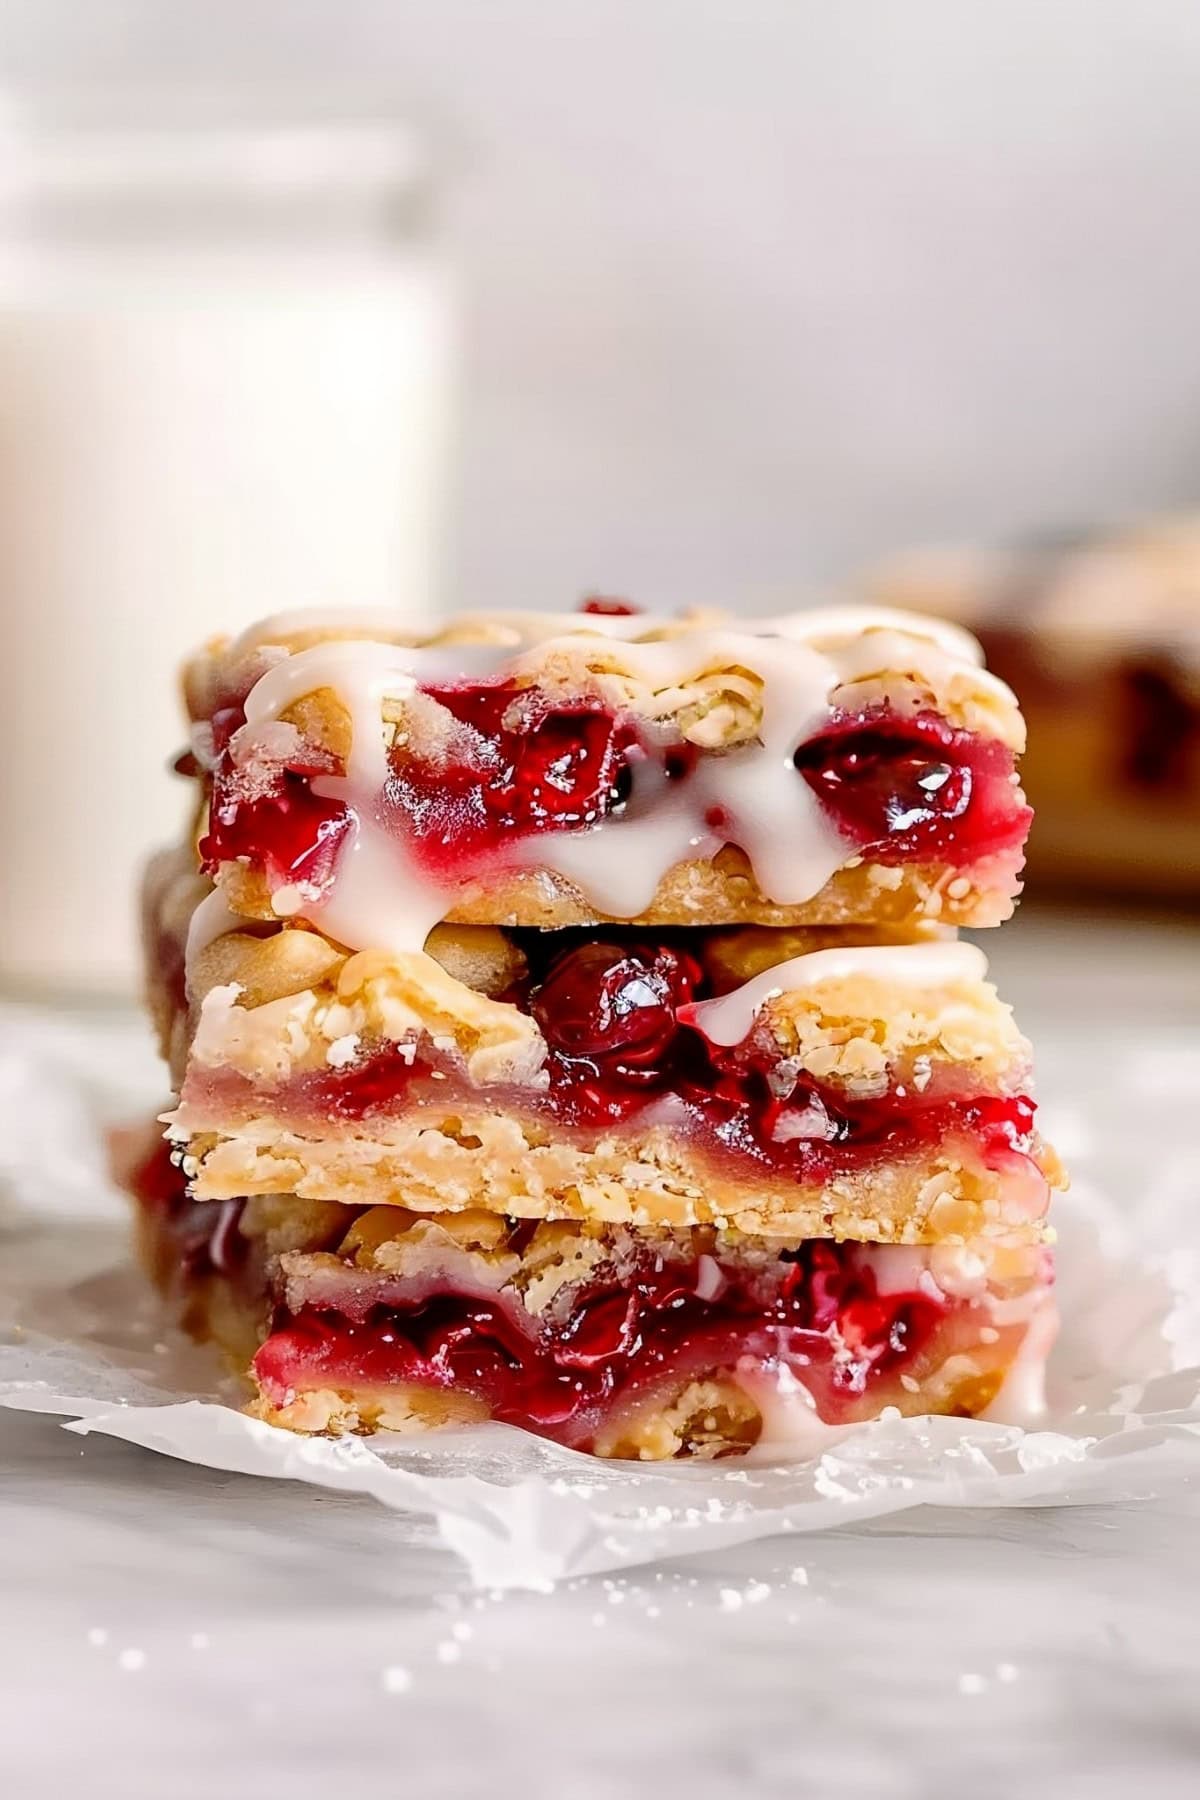
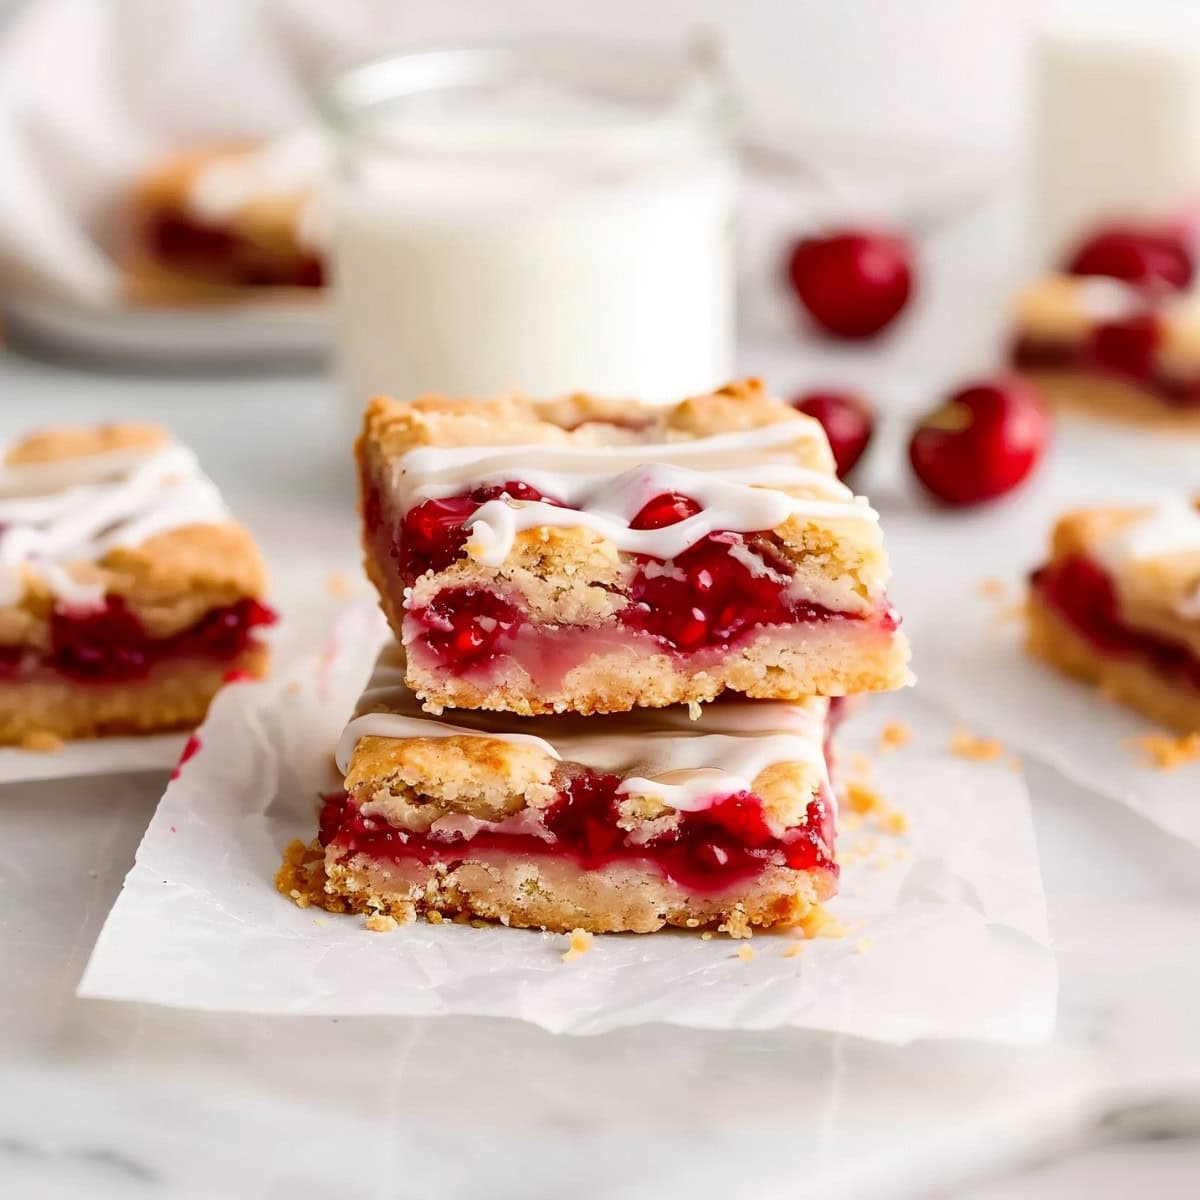
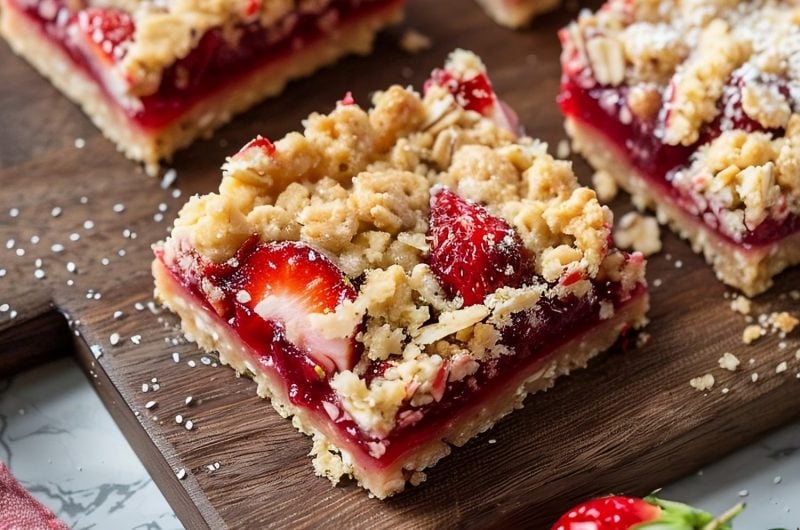
Cherry pie bars are my new favorite dessert obsession!
I mean, what's not to love about a thick, buttery base topped with the most luscious cherry filling you've ever tasted?
As a bonus, they come together so easily with just a few simple ingredients. The hardest step is waiting for them to cool before devouring them!
I topped mine with a sweet almond glaze for the perfect finishing touch.
WANT TO SAVE THIS RECIPE?
Why You'll Love These Cherry Pie Bars
Crowd-Pleaser: These portable bars are always hit at parties and potlucks.
Nostalgic Treat: Savor the comforting, old-fashioned flavors of cherry pie in a convenient, handheld bar.
Easy to Make: There’s no fussy pie crust or lattice top required. These bars come together with just a few simple steps.
Freezer-Friendly: They freeze beautifully for a future dessert craving or last-minute contribution.
Ingredients
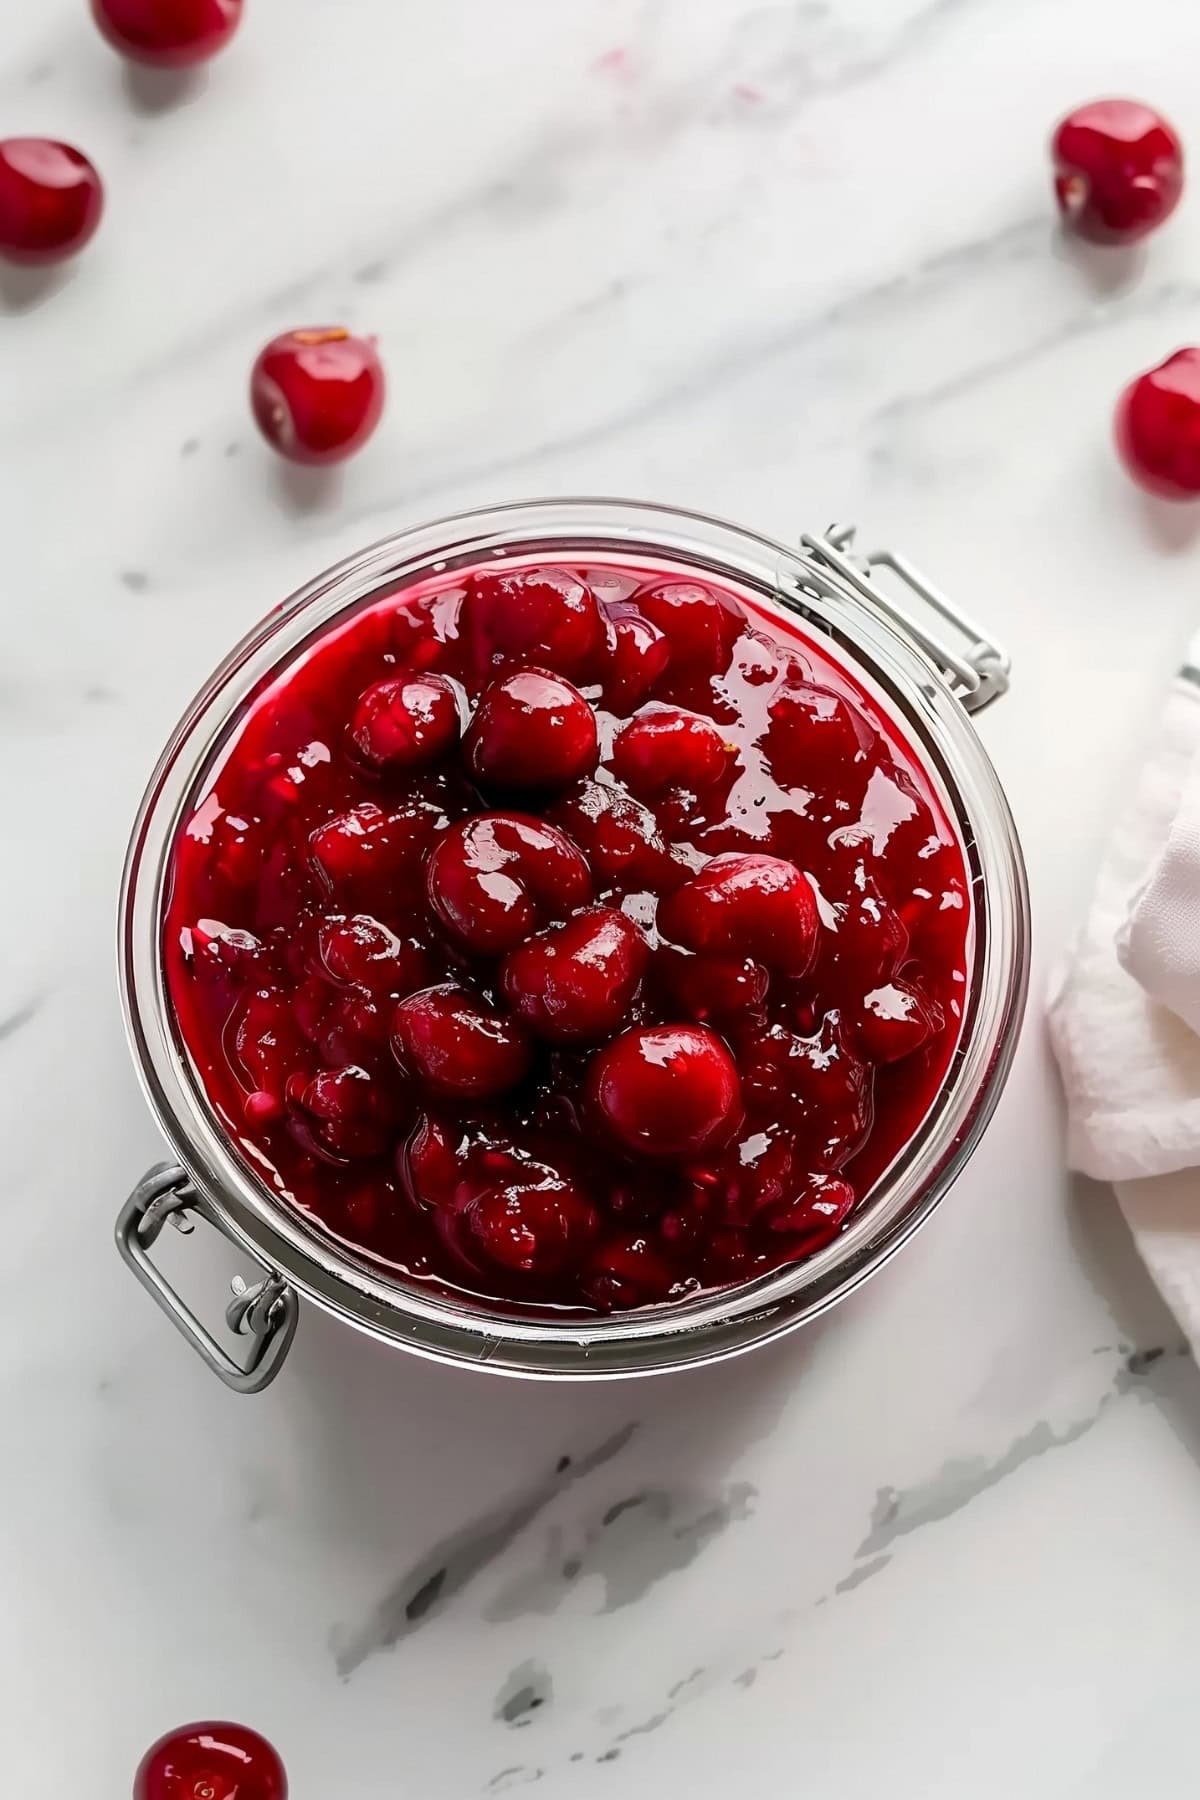
- Cherry Pie Filling: It’s packed with juicy fruit for the ultimate cherry flavor bomb.
- Unsalted Butter: Creamy, rich butter lets the cherry shine as the star ingredient.
- Granulated Sugar: To balance the tart cherries and create a tender crumb.
- Salt: It enhances flavors and cuts through the sweetness.
- Vanilla Extract: Just a little adds so much flavor.
- Almond Extract: It brings a nutty aroma and makes the cherry flavor pop.
- All-Purpose Flour: To give the bars their sturdy, yet tender texture.
- Powdered Sugar: It dissolves for a silky, sweet glaze.
- Milk: To the glaze to a perfect, drippy consistency.
How to Make Cherry Pie Bars
Craving something rich and sweet without the hassle? These cherry pie bars are just the thing!
The recipe given makes a tasty shortbread-like crust. But I also have instructions for something softer, if you prefer.
Here's how to make them:
1. Prep the pan. Preheat the oven to 350°F. Grease a 9×13-inch baking pan and line it with parchment.
2. Make the dough. In a large bowl, mix the dry ingredients for the base, then cut in the butter. Mix until crumbly then add the egg. Mix briefly to combine (it should not be a smooth dough).
3. Assemble the bars. Press about 2/3 of the dough evenly into the prepared pan and bake for 8-10 minutes. Top with the cherry pie filling and the remaining crumble, then bake again for 20-25 minutes. Cool completely on a wire rack.
4. Make the glaze. For the glaze, whisk the powdered sugar, extracts, and enough milk to reach the desired consistency. Drizzle the glaze over the cooled bars.
5. Serve the bars. Cut into squares and serve.
Tips for the Best Cherry Pie Bars
Follow these tips for the very best treats.
- Temperature is key. Use cold butter and eggs for the best results.
- Don't overmix! Mix the crust dough just until combined to avoid a tough texture. It should be crumbly but hold together when pressed in your palm.
- Try a stick-free trick. Line the baking pan with parchment paper. Leave an overhang on the sides for easy removal and slicing of the bars.
- Want a softer crust? Beat 1 cup butter with 2 cups sugar. Blend in 4 eggs, followed by 3 cups flour. Spread into the base and dollop the rest on top. Bake for 30-35 minutes. (This is an alternative crust option for anyone looking for a cake-like finish. Want the cookie crust? Stick with the recipe card!)
- Leave them alone. Allow the baked bars to cool completely, at least 1 hour, before slicing for clean cuts and set filling. Refrigerate to speed up cooling.
- Select a serrated knife. Slice the bars with a serrated knife, wiping the blade clean between cuts for tidy squares.
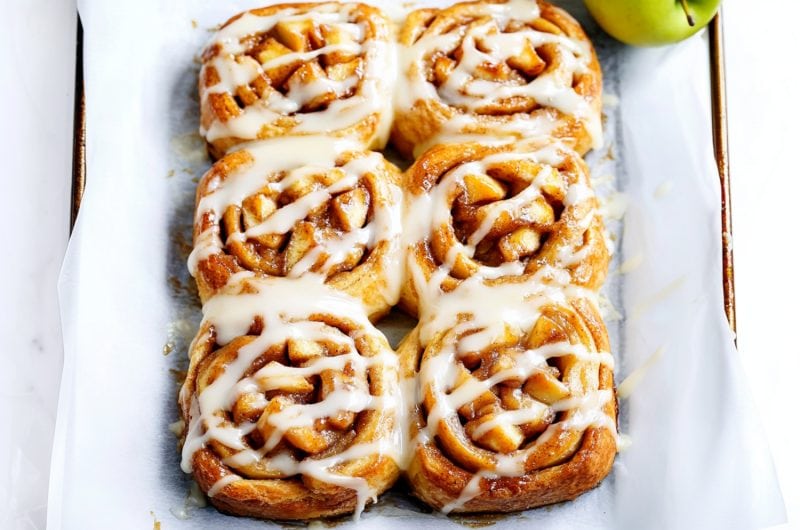
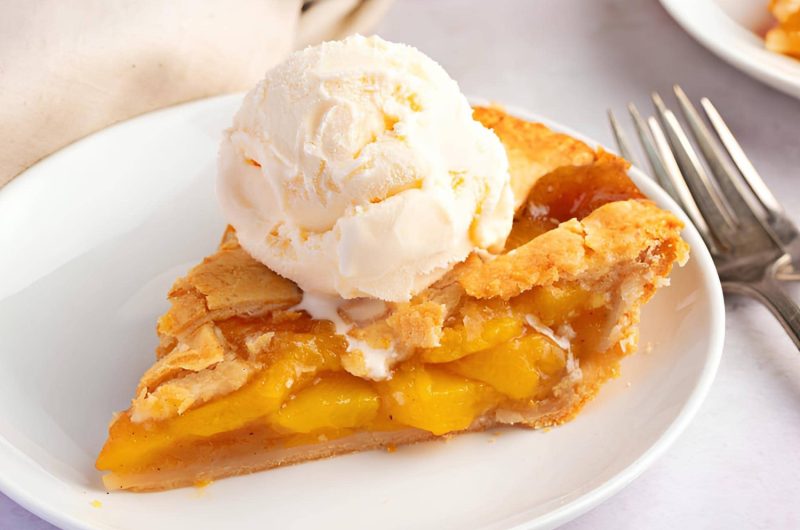
- Try fun variations. Try different pie fillings like apple, blueberry or peach. Use lemon extract instead of almond for a different flavor profile. Or add chopped nuts or oats to the crumble topping for texture.

How to Store
Here’s how to keep your bars fresh so they’re ready for any party!
To Store: Keep the bars in an air-tight container in the refrigerator for up to 5 days. Allow them to come to room temperature before serving for the best texture and flavor.
To Freeze: Wrap the bars tightly in plastic wrap and place them in a freezer-safe container or bag for up to 3 months. Thaw overnight in the refrigerator and bring to room temperature before serving.
More Tasty Pie Bars We Adore
Key Lime Pie Bars
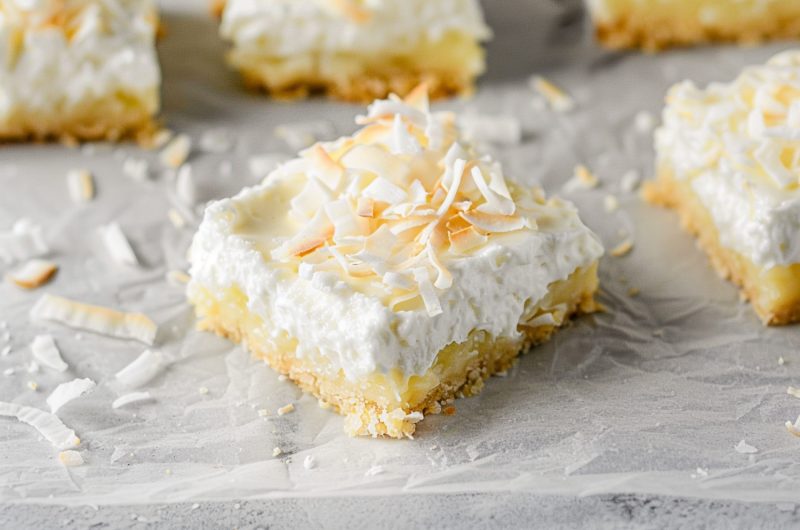
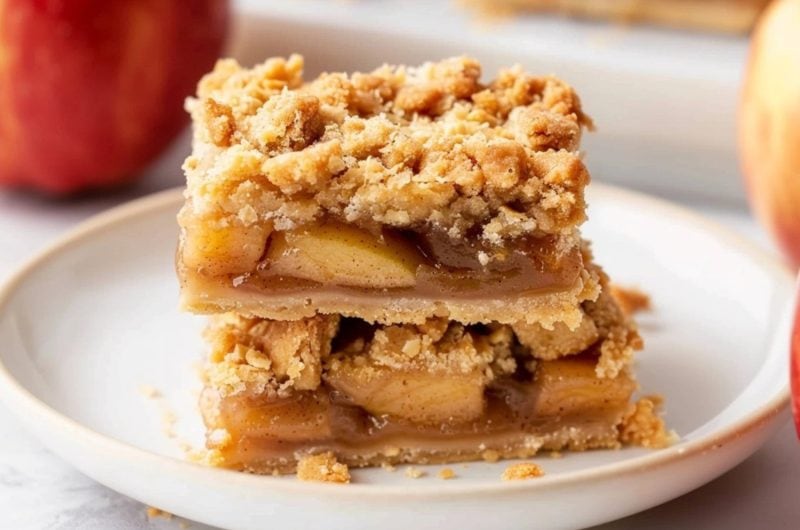
Apple Pie Bars
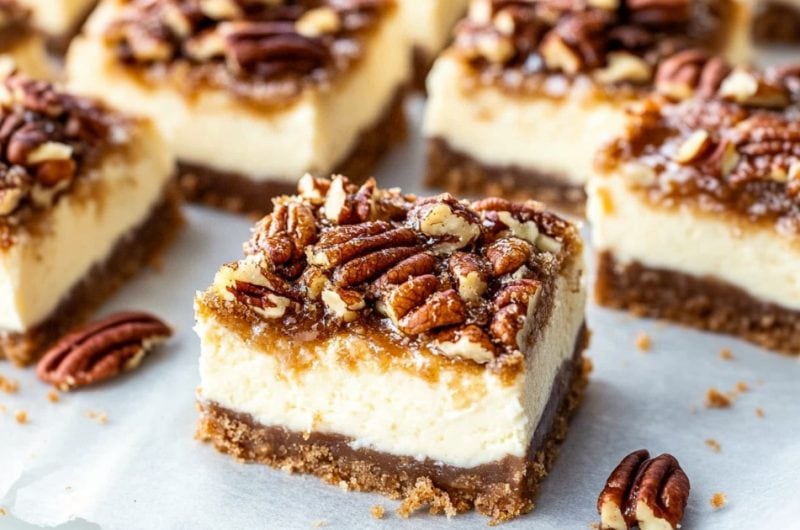
Pecan Pie Bars
Strawberry Slab Pie

Cherry Pie Bars
These homemade cherry pie bars are such a delightful treat! The combo of the buttery crust and cherry filling is sweet, decadent, and irresistible.
12
servings10
minutes35
minutes522
kcalIngredients
3 cups all-purpose flour
1 cup granulated sugar
1/2 tablespoon cornstarch
1 teaspoon baking powder
1/2 teaspoon salt
1 cup unsalted butter, cold
1 large egg
1 (21 ounce) can cherry pie filling
- Glaze:
1 cup powdered sugar
1/2 teaspoon vanilla extract
1/2 teaspoon almond
2-3 tablespoons milk
Instructions
- Preheat the oven to 350°F. Grease a 9×13-inch baking pan and line it with parchment paper Set aside.
- In a large bowl, whisk the flour, sugar, cornstarch, baking powder, and salt to combine.
- Add the butter and cut it in with a pastry cutter or rub in your fingers until crumbly.
- Add the egg and mix until just combined. The dough should be crumbly but hold together in your hand when pressed.
- Press about 2/3 of the dough evenly into the prepared pan and bake for 8 minutes,
- Remove the dish from the oven and pour the cherry pie filling evenly over the top. Sprinkle the remaining crust crumbs evenly on top.
- Bake for 20-25 minutes or until golden brown and bubbly. Let cool in the pan.
- For the glaze, whisk the powdered sugar, vanilla and almond extract, and enough milk to reach the desired consistency. Drizzle over the cooled bars.
- Cut into squares, serve, and enjoy!
Notes
- Don't overmix the dough or it will become tough. Mix just until combined and still crumbly.
- Feel free to use your favorite pie filling: blueberry, apple, peach, etc. all work well.
- For a fancy drizzle, put the glaze in a Ziploc bag, snip off the corner, and pipe it over the bars.


74 Comments
I used 23 ounces of fresh cherries (removed stems & pits = 21 ounces) + 1T granulated sugar in place of the pie filling and it worked great. The dough was very dry (maybe related to high elevation?) but eventually turned into a nice shortbread consistency. My family liked them and went back for seconds.
Can I use a smaller pan?
I’m making the dough recipe Do you spread the dough or just leave the dollops?
I’ve made them a few times, I love them! Cherry is a favorite flavor and this hits the spot. Thanks for the recipe.
Can I use salted butter
I have some dried tart cherries. How would I substitute these for the canned cherry pie filling?
I’ve made this recipe several times using the cherry pie filling. I have never been asked for the recipe so much. Today I’m trying it with raspberry, but I’m sure it’s just as good with other fruits. This is always been a crowd pleaser.
Is it one egg or 4? First list of ingredients list 4, second set of instructions state 1..
Hi Reba!
The recipe in the card at the bottom of the post is for a shortbread/cookie style crust. Like you see in the images. It calls for 1 egg.
The recipe using 4 eggs is an alternative crust option for anyone looking for a more cake-like finish. That’s why it’s in the Tips section.
You can choose which texture you prefer. Hope this helps!
can I substitute apple pie filling
Hi Ralph, yes, you can substitute apple pie filling for the cherry pie filling! To enhance the flavor, you can add a little cinnamon or vanilla extract, which both complement the flavor of apple nicely.
Hi can you use almond flour instead of all purpose?
Hi Joanne, yes, you can substitute almond flour or another flour of your choice to suit your preferences. Just keep in mind that the flavor might change slightly. I hope you enjoy them!
I’m going to try it with puff Pastry dough.
looking forward to this
sounds awesome
so easy! love it.
my husband will love these!
I love cherry anything
can you use 1 tsp of vanilla instead of 1 half almond and 1/2 vanilla?
Hi Debra!
Yes, that would be totally fine 🙂
I can’t wait to try these!
Very good! Sorority sisters liked it! Easy to do!
These bars are SO tasty!
Easy to make and oh so good!
I will be making again.