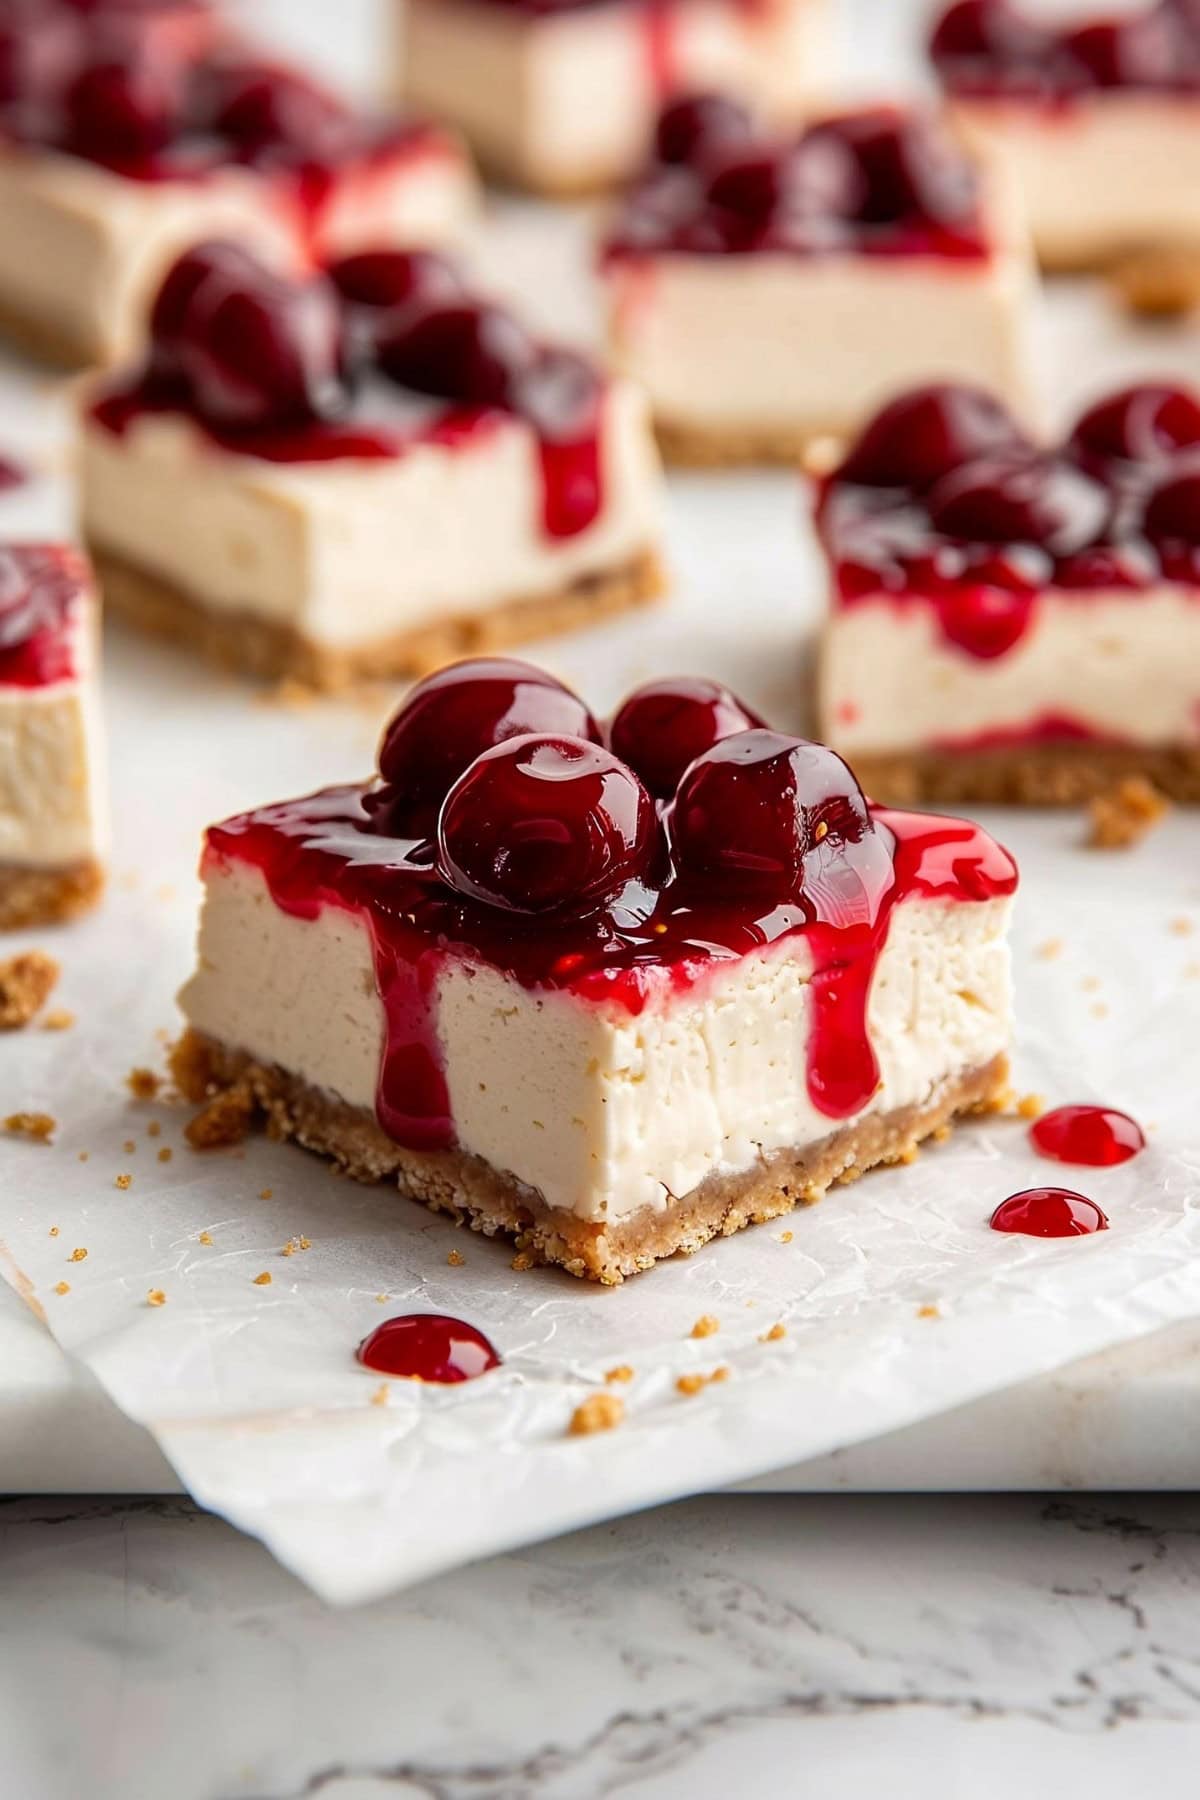
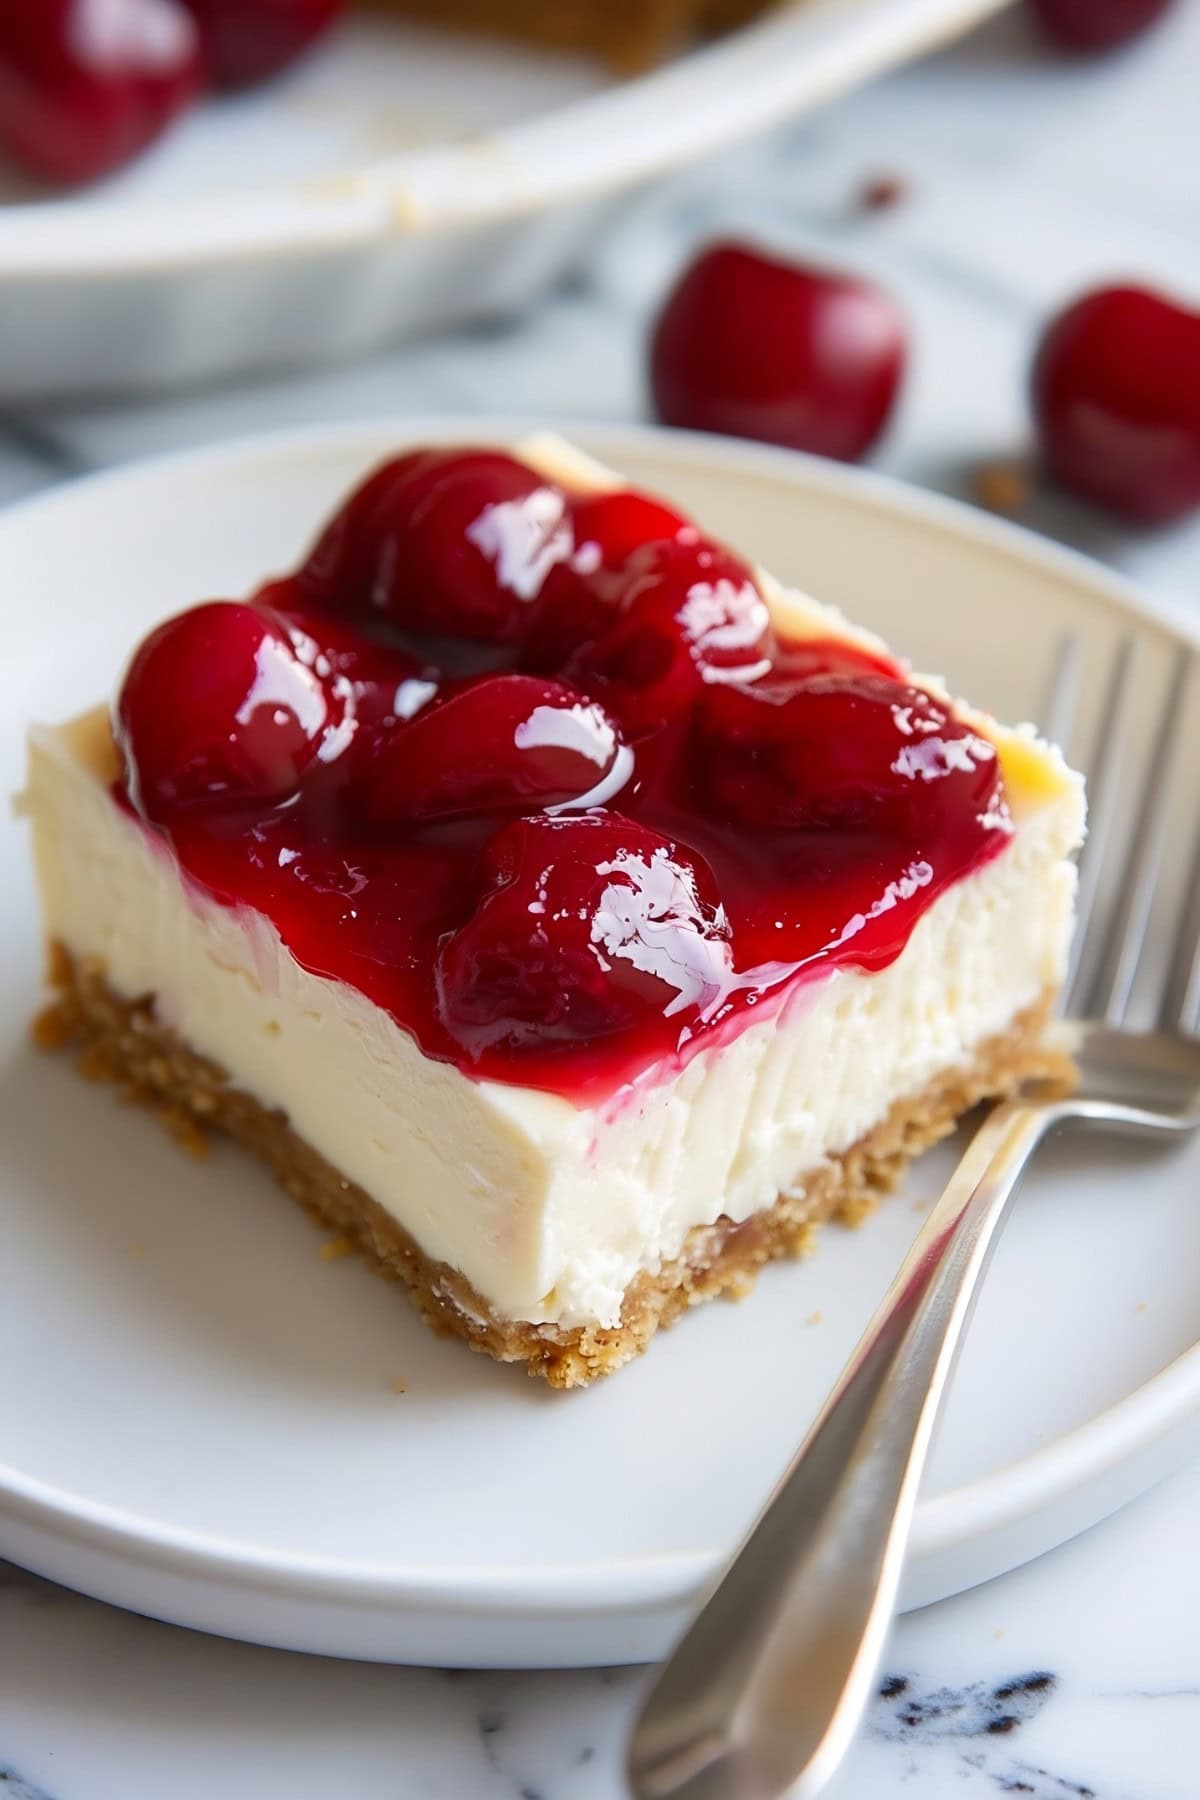
These cherry cheesecake bars are my secret weapon when I want to impress at a family gathering—or when I need a quick and easy sweet treat.
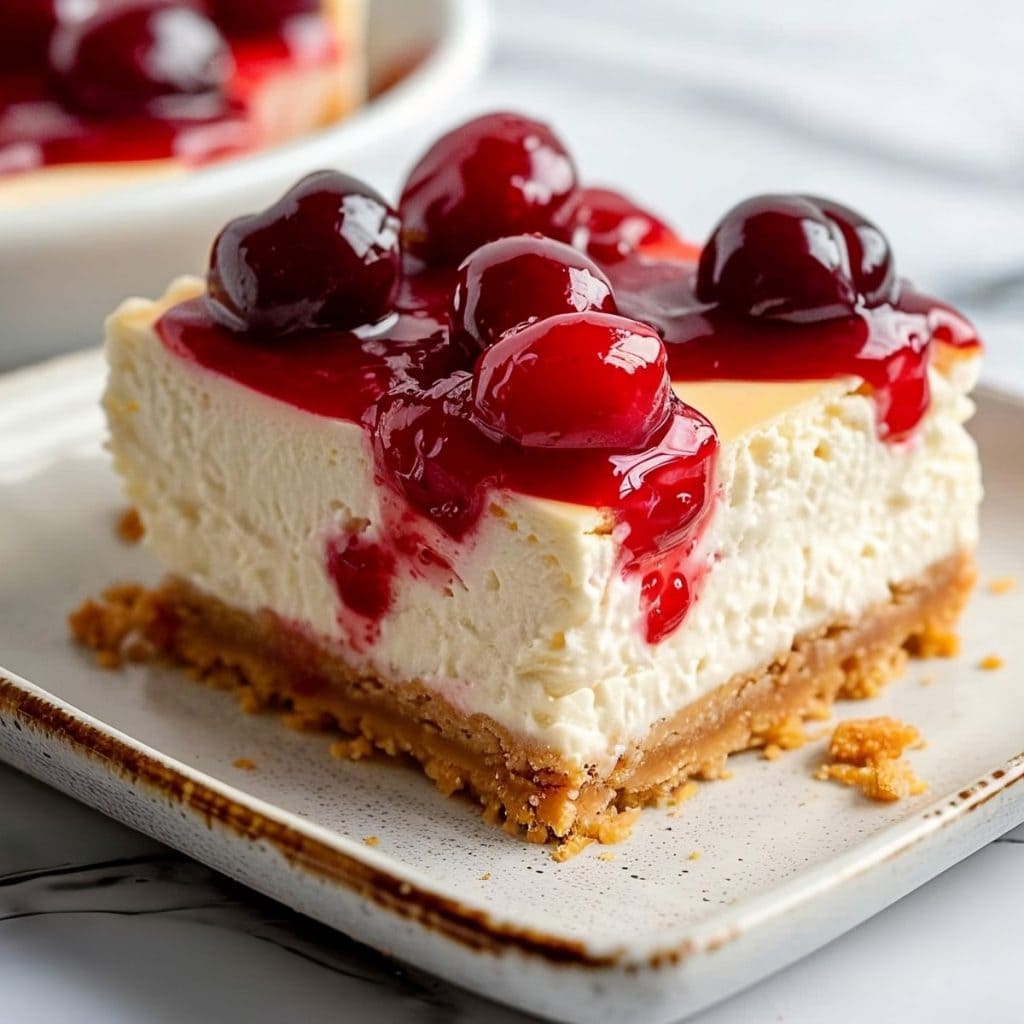
The creamy cheesecake filling is smooth and velvety, paired with a buttery crunch from the homemade graham cracker crust.
And the cherry topping? The burst of tartness from the cherries perfectly complements the sweetness of the cheesecake.
WANT TO SAVE THIS RECIPE?
I’m always looking for ways to make dessert a little more fun, and these bars do just that.
I love that they’re so easy to make, too! You get all the deliciousness of a classic cheesecake without the need to fuss with a springform pan.
The hardest part is waiting for them to chill so you can dig in.
Once you try them, you’ll see why they’ve become one of my go-to desserts.
Ingredients You'll Need
For the Crust:
- Graham Cracker Crumbs: The base of the buttery crust. Finely crushed graham crackers provide a sweet, nutty flavor and sturdy foundation.
- Granulated Sugar: It adds sweetness to both the crust and cheesecake filling. Its fine crystals dissolve easily for a smooth texture.
- Unsalted Butter: It binds the crust ingredients together. Using unsalted lets you control the salt content of the recipe.
For the Cheesecake Filling:
- Cream Cheese: The key ingredient for classic cheesecake flavor and creamy texture.
- Granulated Sugar: Adds an extra hint of sweetness.
- Large Eggs: They provide richness and help the cheesecake filling set up properly as it bakes.
- Vanilla Extract: It enhances the overall flavor of the cheesecake with its warm, complex notes. For these bars, I like to get fancy and use Madagascar Bourbon Vanilla Extract for the best flavor.
- Salt: A pinch balances the sweetness and heightens all the flavors in the filling.
For the Cherry Topping:
- Cherry Pie Filling: A quick and convenient fruit topping adds bright color and juicy cherry goodness. My favorite for this recipe is Baker’s Corner More Fruit Cherry Pie Filling from Aldi. It’s packed with cherries, so you get a real bang for your buck!
How to Make Cherry Cheesecake Bars
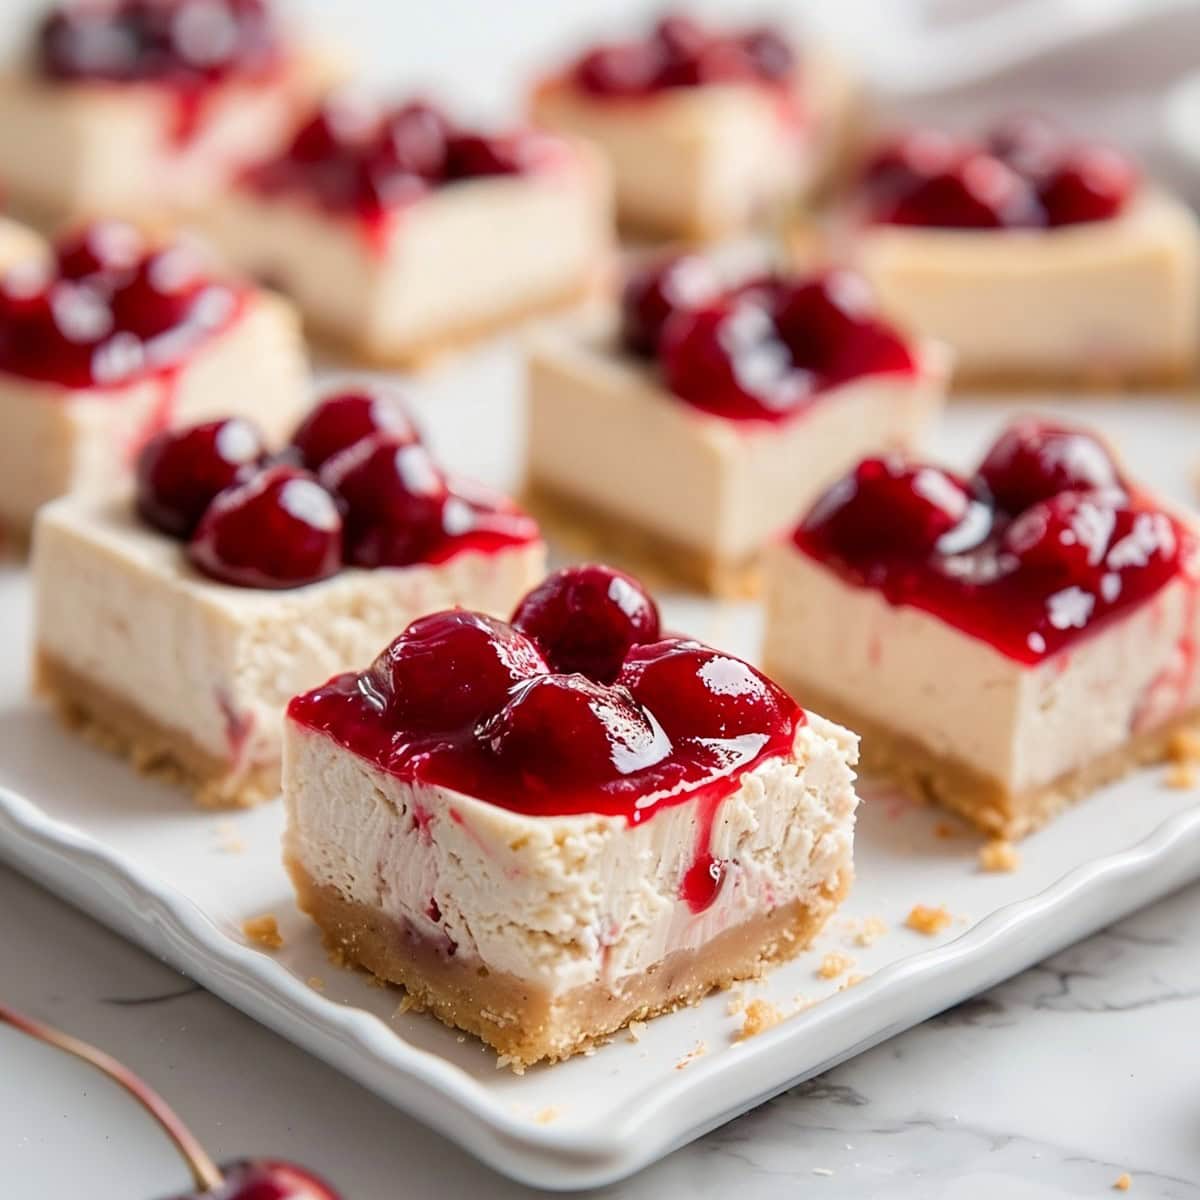
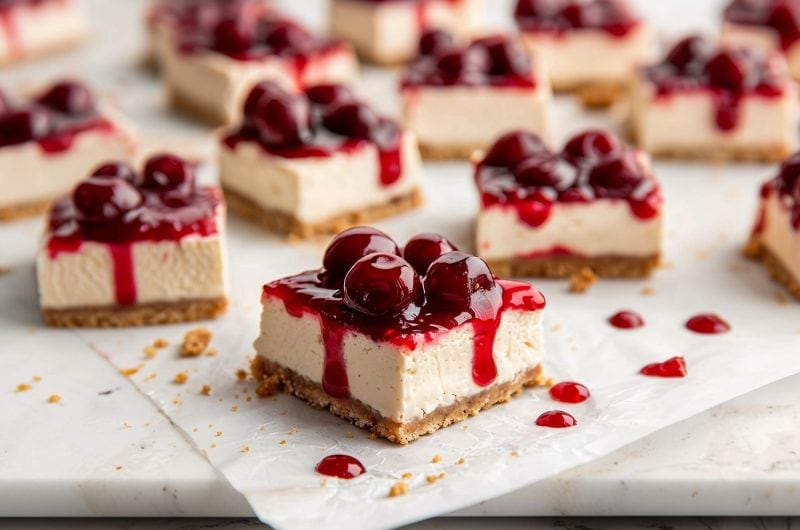
Making these bars is so much easier than traditional cheesecake. Plus, they make 24 servings, so if you show up to the party with 23, no one will notice!
I may or may not be guilty of sneaking a few for myself before taking them to a party. Here's how I make them:
1. Prep the oven. Preheat the oven to 325°F. Line a 9×13-inch baking pan with parchment paper, leaving an overhang on the sides.
2. Make the crust. Mix the graham cracker crumbs, sugar, and melted butter until combined. Press the mixture evenly into the prepared pan. Bake for 10 minutes. Set aside to cool.
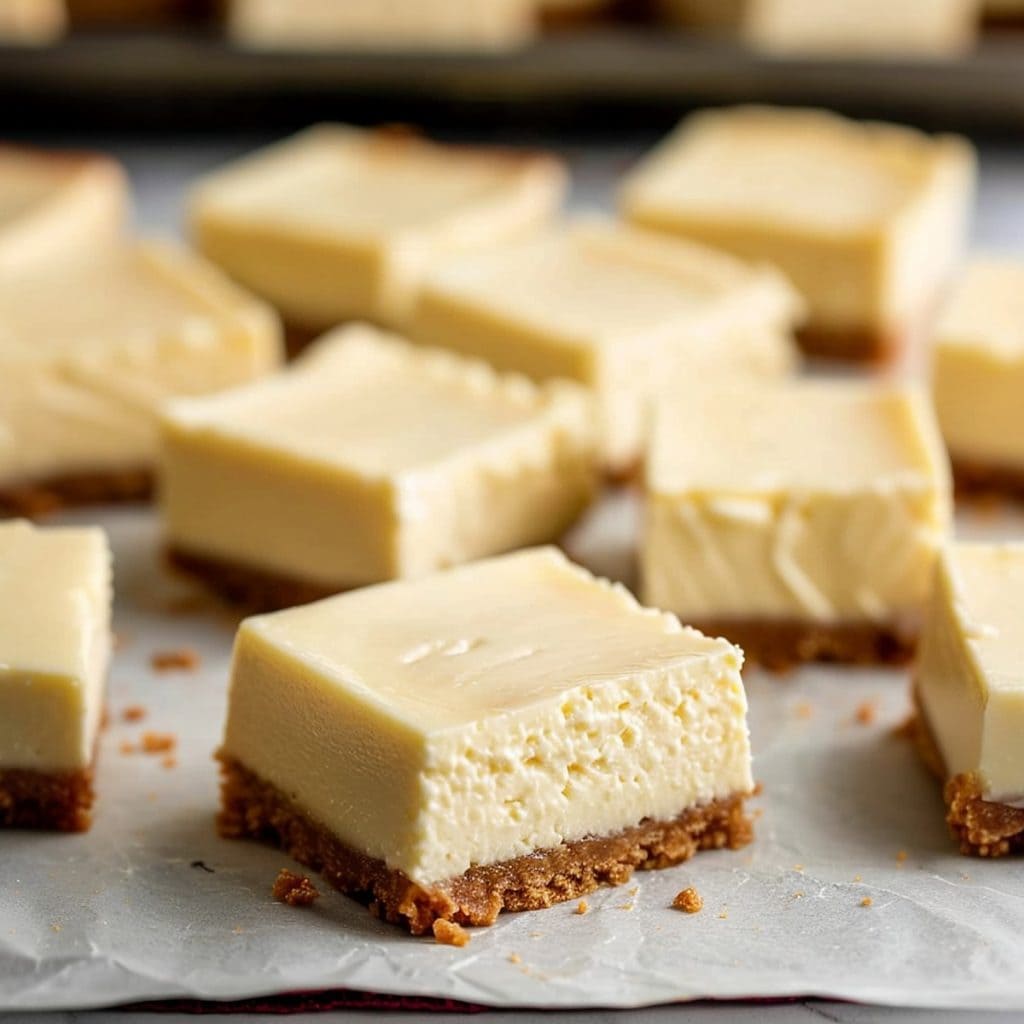
3. Prepare the filling. In a large bowl, beat the softened cream cheese and sugar with an electric mixer until smooth and creamy, about 2 minutes. Add the eggs one at a time, mixing on low speed after each addition. Mix in the vanilla and salt until just combined. Do not overmix.
4. Add the filling. Pour the cheesecake filling over the cooled crust, spreading evenly.
5. Bake the cheesecake. Bake for 35-40 minutes until the edges are set, but the center is still slightly jiggly.
6. Cool and chill. Cool completely at room temperature, then refrigerate for at least 4 hours or overnight.
7. Add topping. Before serving, spread the cherry filling evenly over the chilled cream cheese layer.
8. Serve. Use the parchment paper overhang to lift the bars out of the pan. Cut into squares and serve chilled.
Tips for the Best Cherry Cheesecake Bars
I’ve made Cherry Cheesecake Bars enough times to know a few tricks that make them absolutely irresistible!
- Room temperature is key. Be sure the cream cheese is fully softened to room temperature for a smooth, lump-free filling. I've made the mistake of trying to blend cold ingredients before, and it was very frustrating!
- Don't overmix! Mix the cheesecake batter until just combined, especially after adding the eggs. This will avoid incorporating too much air, which can lead to cracking.
- Give ‘em a bath. Consider baking the cheesecake bars in a water bath to provide gentle, even heat and prevent cracking and overbaking.
- Try fresh cherries. For a from-scratch cherry topping, simmer 4 cups pitted cherries, 2/3 cup sugar, and 1/4 cup cornstarch until thickened. Cool before spreading on the bars.
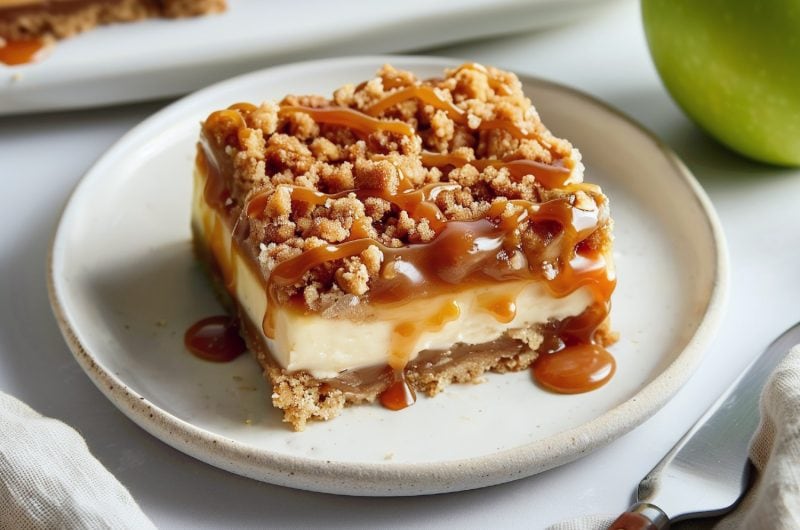
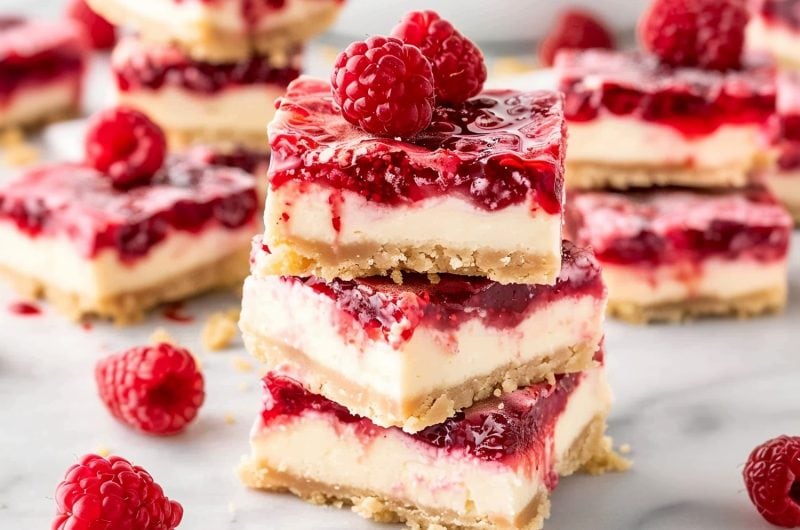
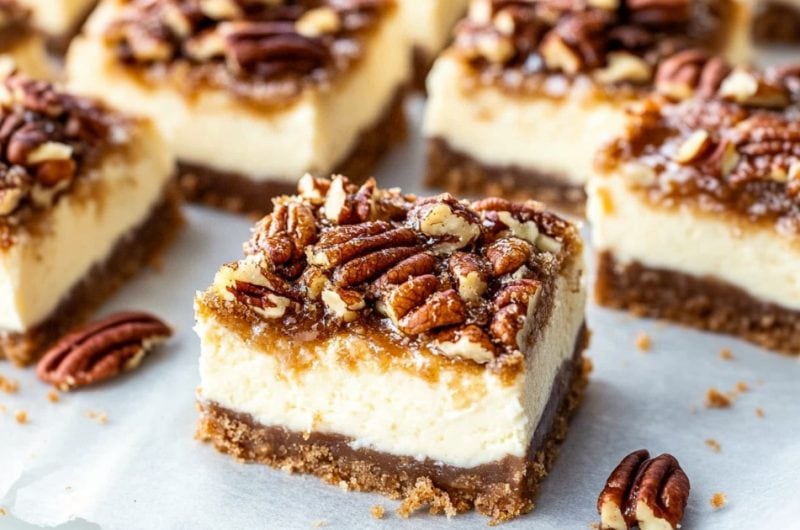
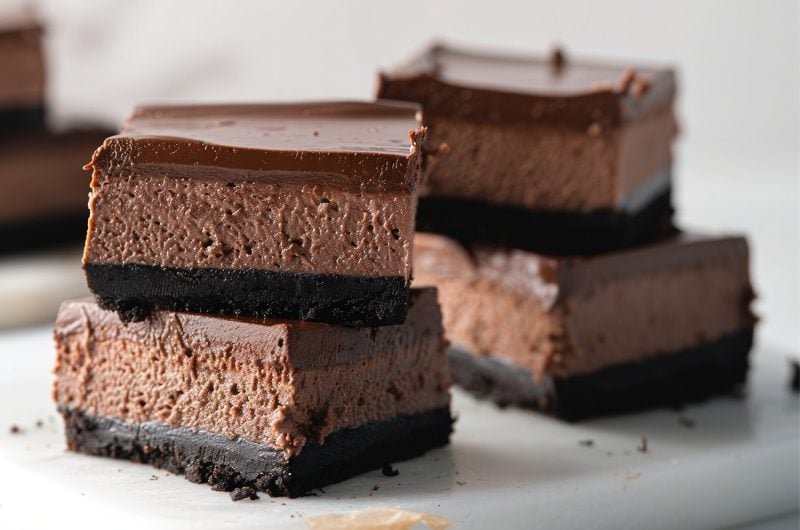
- Experiment and have fun. Try different crusts like Oreos or Biscoff cookies, and toppings like other fruit, chocolate ganache, caramel sauce, or whipped cream for tasty variations. Trust me- you'll want to try that Biscoff cookie crust!
How to Store
These bars don't last long in my house. If you happen to have any leftovers and want to them nice and fresh, follow these storage tips.
To Store: Cover the pan tightly with plastic wrap or aluminum foil and store in the refrigerator for up to 5 days. Allow the bars to come to room temperature for about 30 minutes before serving.
To Freeze: Wrap the entire pan tightly in a layer of plastic wrap followed by a layer of aluminum foil and freeze for up to 3 months. Thaw the frozen bars overnight in the refrigerator before topping with cherry pie filling and serving.
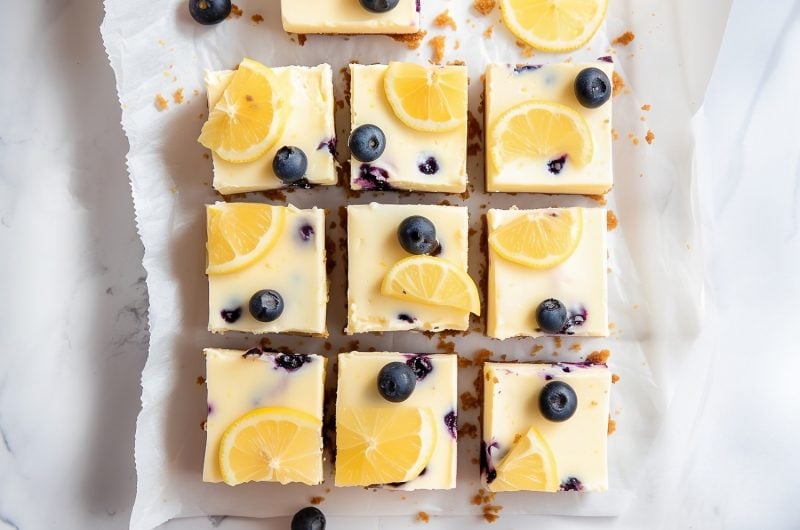
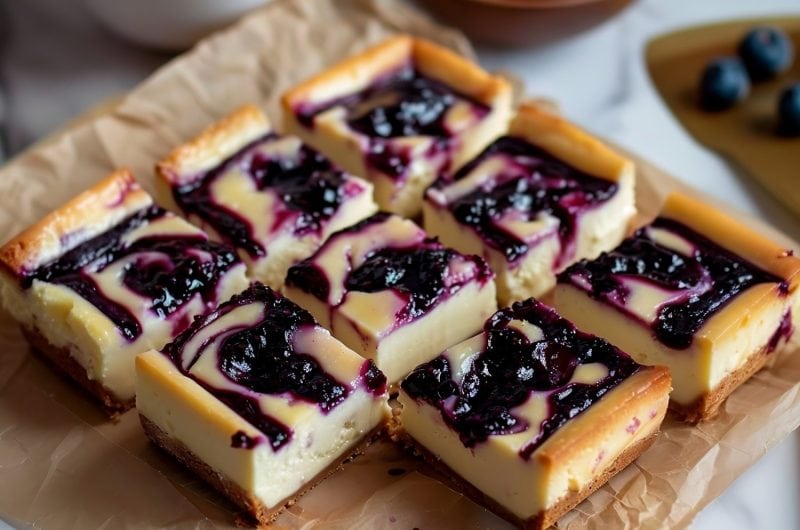
More Easy Cheesecake Recipes to Try
Cherry Cheesecake Bars
These old-fashioned cherry cheesecake bars are too good to pass up! They're rich, creamy, and oh-so-dreamy!
24
servings10
minutes50
minutes189
kcalIngredients
- For the Crust:
2 cups graham cracker crumbs (about 16 full sheets)
1/4 cup granulated sugar
1/2 cup (1 stick) unsalted butter, melted
- For the Cheesecake Filling:
16 oz (2 blocks) cream cheese, softened to room temperature
2/3 cup granulated sugar
2 large eggs
2 teaspoons vanilla extract
1/4 teaspoon salt
- For the Cherry Topping:
1 can (21 oz) cherry pie filling
Instructions
- Preheat the oven to 325°F. Line a 9×13-inch baking pan with parchment paper, leaving an overhang on the sides.
- Make the crust. Mix graham cracker crumbs, sugar, and melted butter until combined. Press the mixture evenly into the prepared pan. Bake for 10 minutes. Set aside to cool.
- Make the cheesecake filling. In a large bowl, beat cream cheese and sugar with an electric mixer until smooth and creamy, about 2 minutes. Add eggs one at a time, mixing on low speed after each addition. Mix in vanilla and salt until just combined. Do not overmix.
- Pour the cheesecake filling over the cooled crust, spreading evenly.
- Bake for 35-40 minutes, until the edges are set, but the center is still slightly jiggly.
- Cool completely at room temperature, then refrigerate for at least 4 hours or overnight.
- Before serving, spread the cherry pie filling evenly over the chilled cheesecake layer.
- Use the parchment paper overhang to lift the bars out of the pan. Cut into squares and serve chilled.
Notes
- For the best results, make sure all ingredients are at room temperature before beginning.
- For a sturdy, even base, press the graham cracker crust mixture firmly into the bottom of your baking pan. This helps the crust hold together and prevents it from falling apart when you slice the bars.
- Be sure to chill the bars in the fridge for at least 4 hours, but ideally overnight. This allows the flavors to set and makes them easier to slice.
- Store leftovers in an air-tight container in the refrigerator for up to 5 days.
Nutrition
- Total number of serves: 24
- Calories: 189kcal
- Fat: 11g
- Saturated Fat: 6g
- Cholesterol: 44mg
- Sodium: 140mg
- Carbohydrates: 19g
- Sugar: 8g
- Protein: 2g
- Vitamin A: 445mcg