Key lime pie bars have the same signature taste and texture as the classic Florida dessert.
Only these travel well. So they’re perfect for picnics, potlucks, or just keeping in the fridge for a refreshing treat on a hot day.
The bright, fresh flavor is a total crowd-pleaser.
If you’re a fan of key lime pie, you’ve got to try this simple, portable version. It’s like a little taste of the Florida Keys right in your own kitchen.
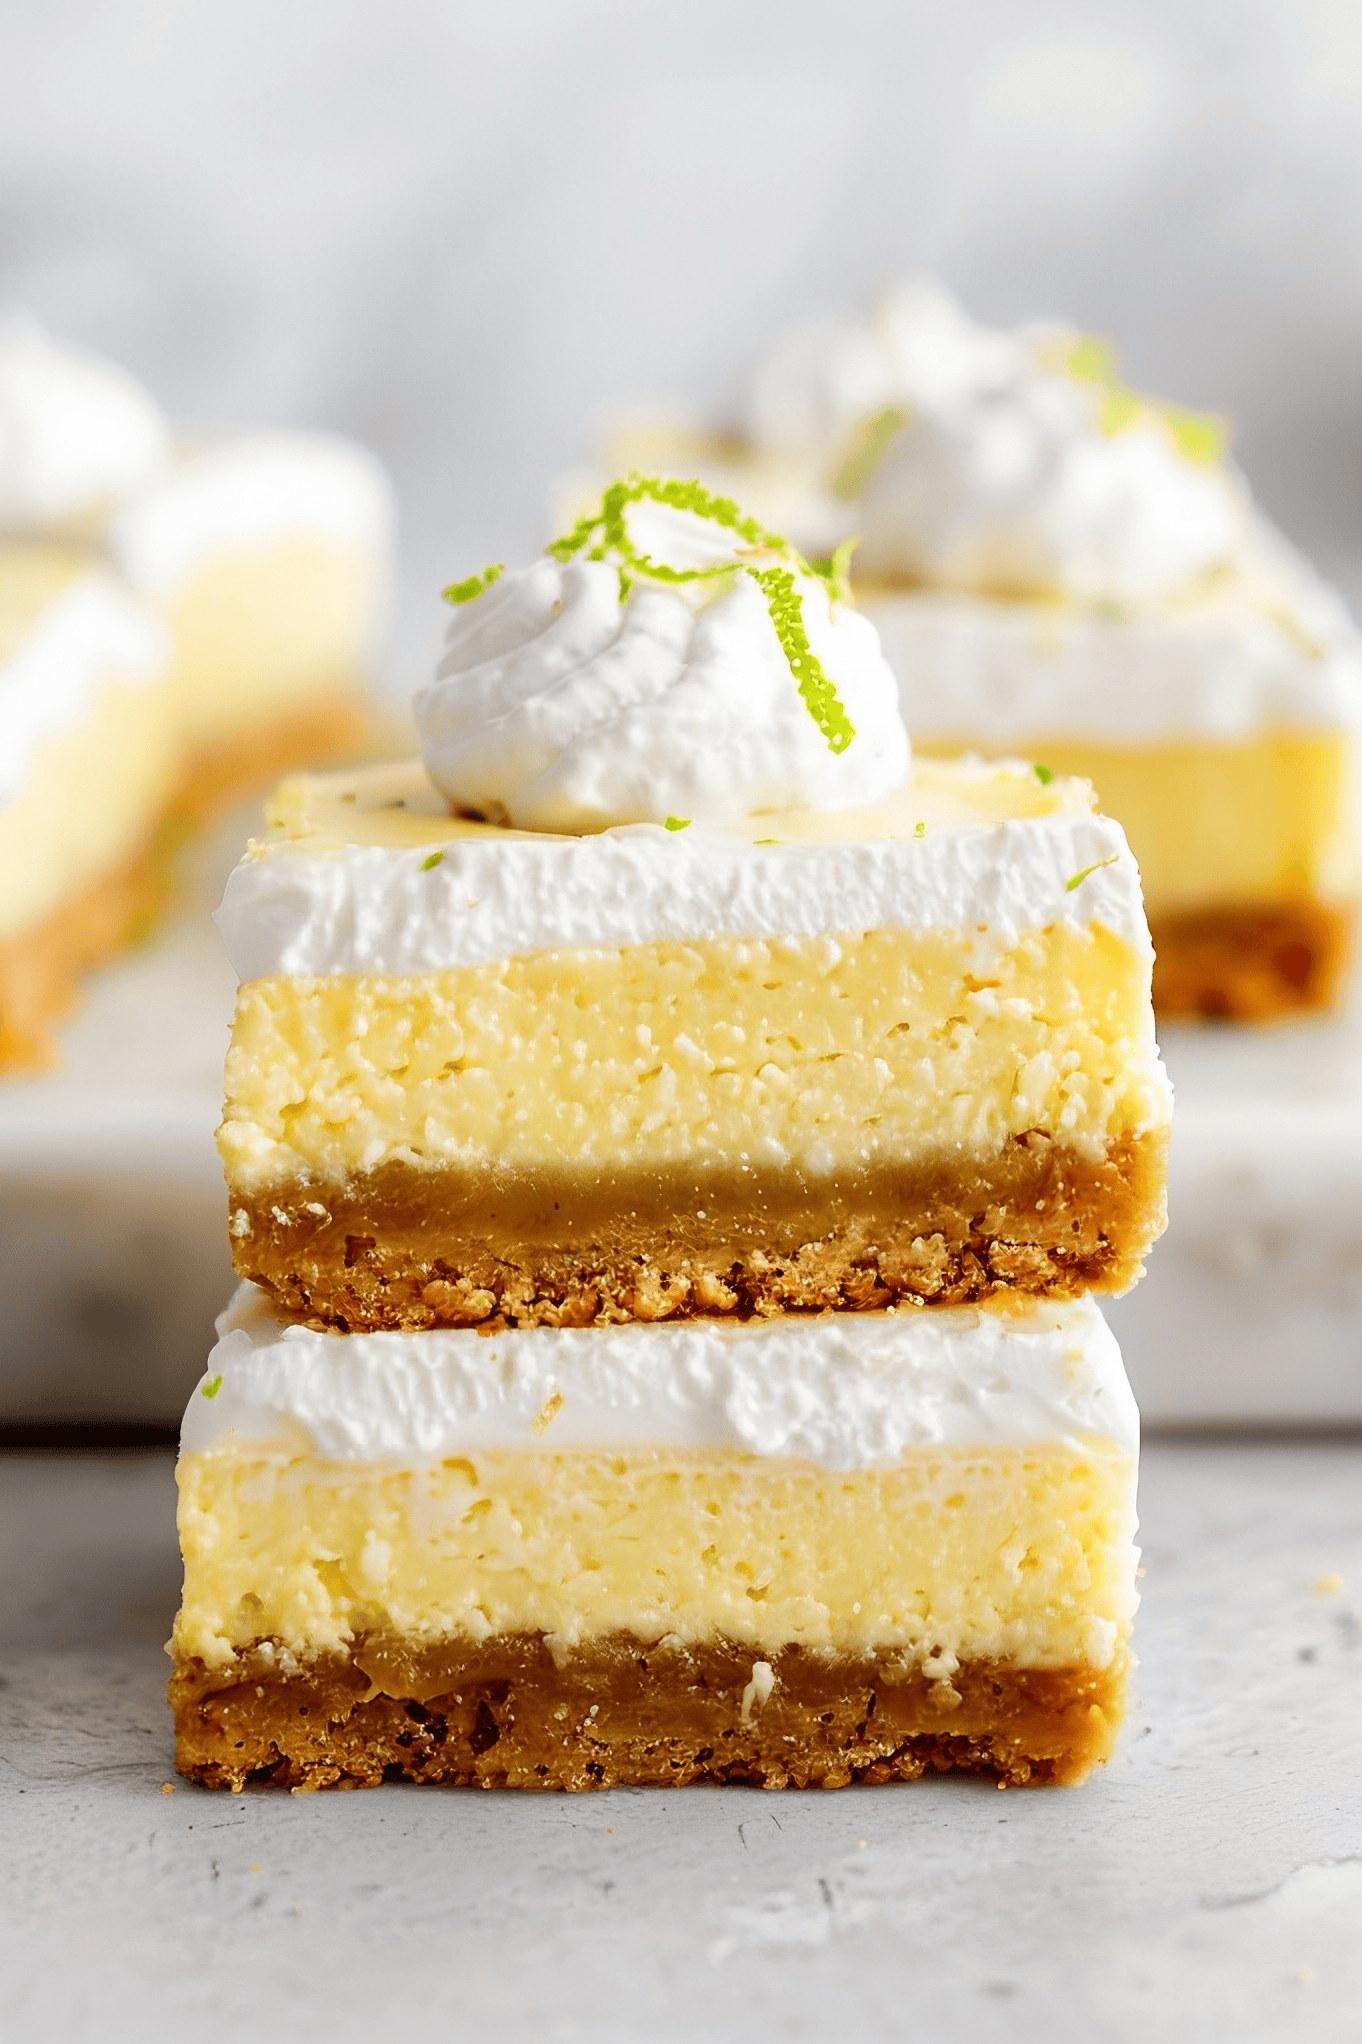
Why You’ll Love These Key Lime Pie Bars
Easy Entertaining: These tangy and sweet bars, with their bright, refreshing flavor, appeal to a wide range of tastes. And the convenient bar format makes serving and sharing a breeze.
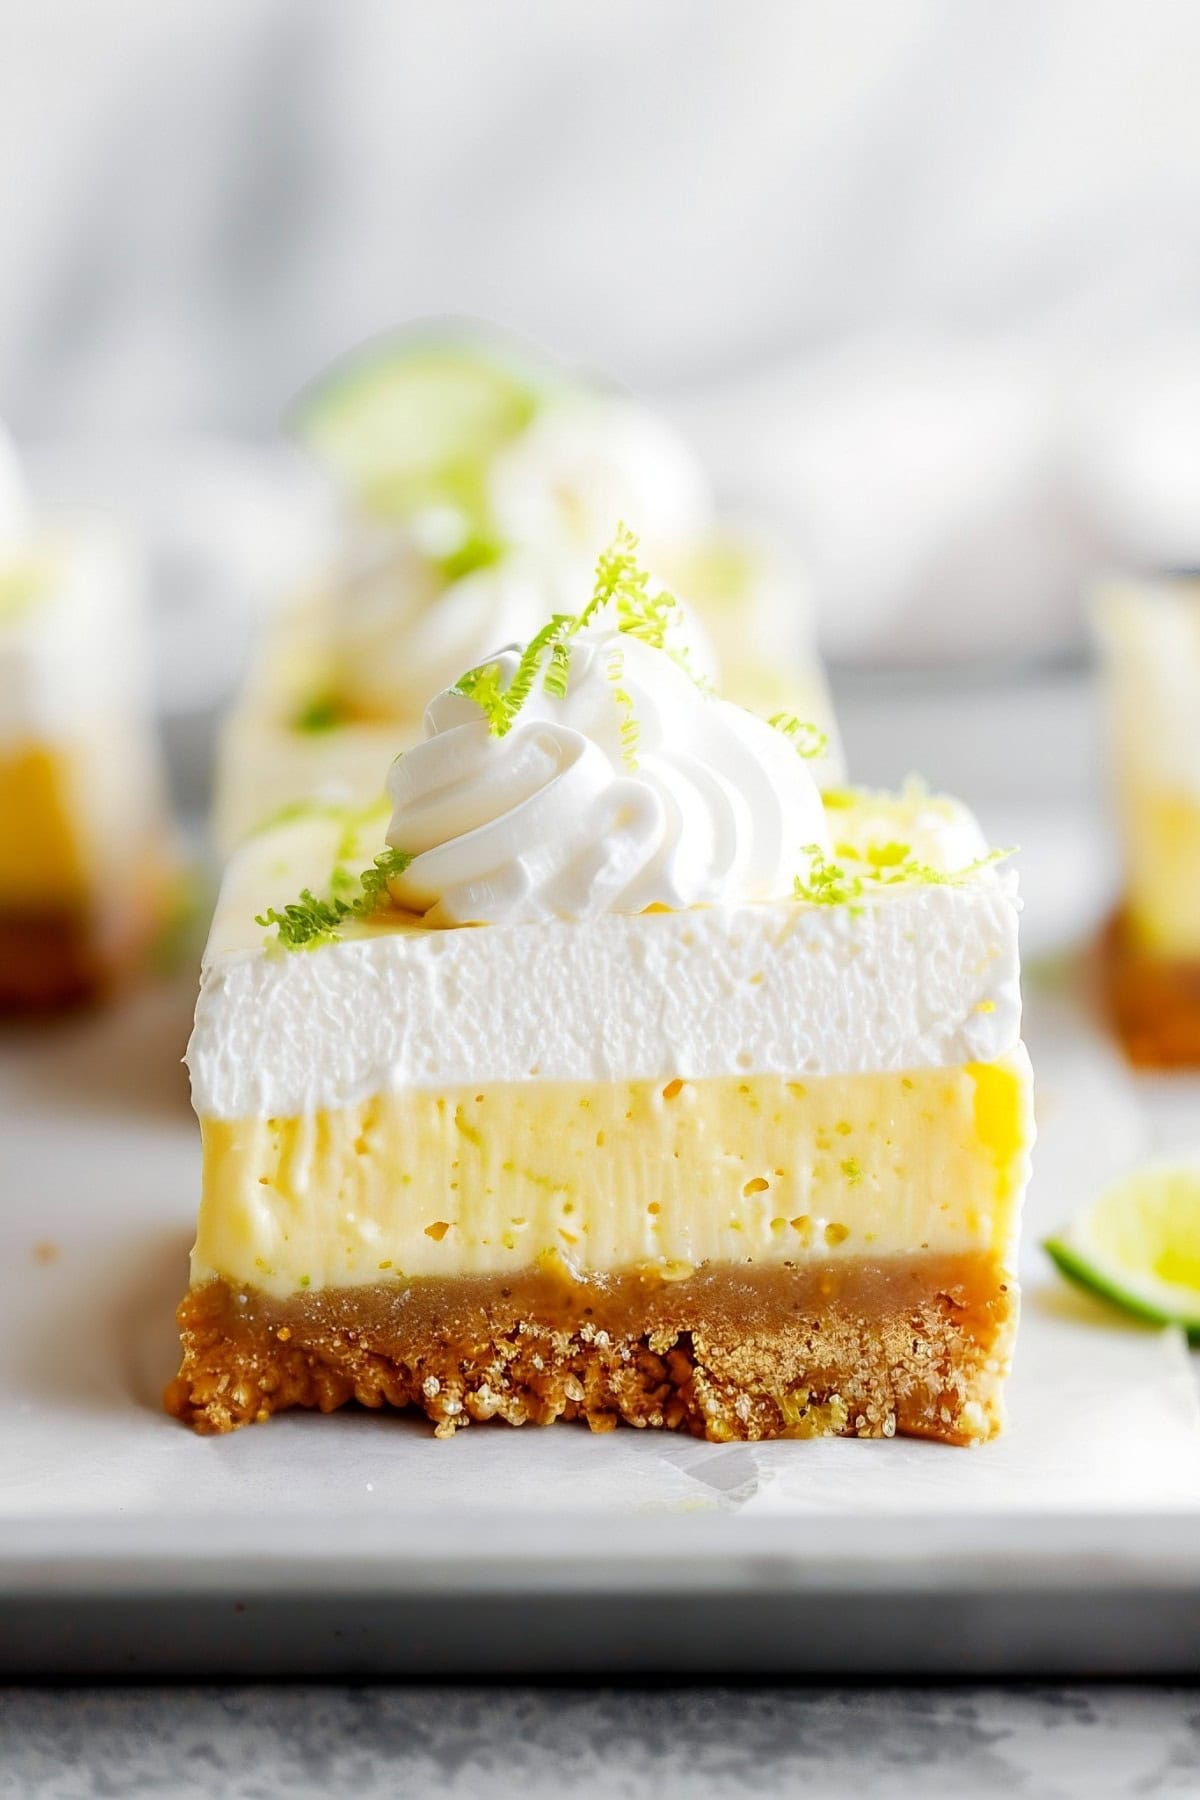
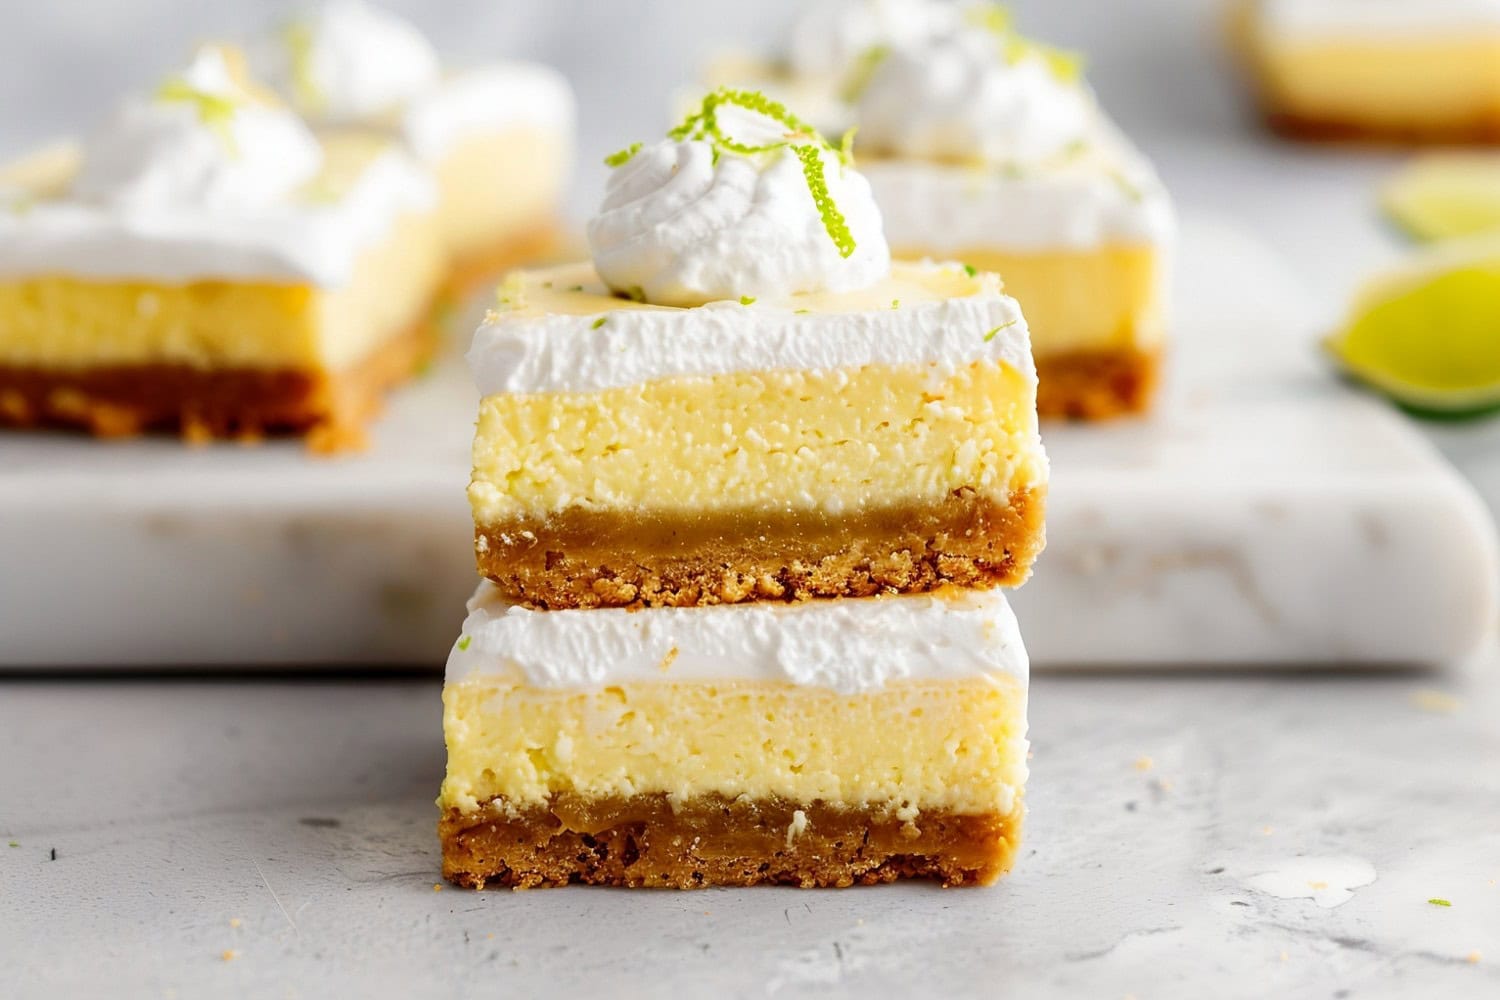
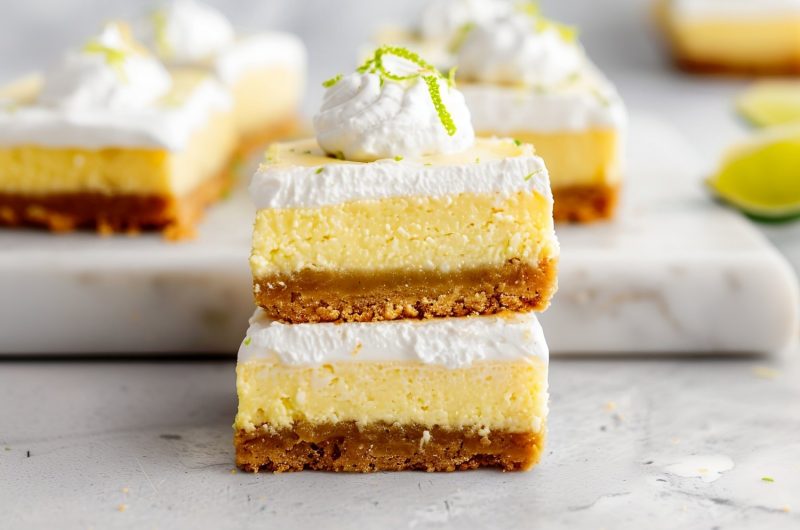
Impressive (and Easy!) Presentation: The three-layer structure of the crust, filling, and whipped cream topping creates a visually stunning dessert. Better yet, all you have to do is spread it evenly – no baker skills needed.
Sunny Summer Taste: Key lime is bright, refreshing, and the epitome of summer. Add a crumbly crust and creamy finish, and you’ll want to make them all year.
Ingredients
- Graham Cracker Crumbs – Provides a crunchy and sweet base. Feel free to use another kind of cookie.
- Granulated Sugar – Adds sweetness and helps bind the crust.
- Unsalted Butter – Melts into the crumbs and sets after baking to hold the filling.
- Cream Cheese – Adds creaminess and helps to thicken the filling.
- Yolks – Contribute to the richness and structure of the filling.
- Sweetened Condensed Milk – Offers sweetness and a creamy texture.
- Key Lime Juice – Gives the characteristic tangy flavor. It’s also how the pie sets!
- Lime Zest – Enhances the lime flavor with a fresh citrus note.
- Heavy Cream and Powdered Sugar – Combined to create a light, sweet whipped cream topping.
How to Make Key Lime Pie Bars
I love how easy these bars are to make. A little mixing, a little baking, and then let the fridge do the rest.
1. PREP: Preheat the oven to 350°F (175°C) and line an 8×8-inch baking pan with parchment paper. Spray with cooking spray and set aside.
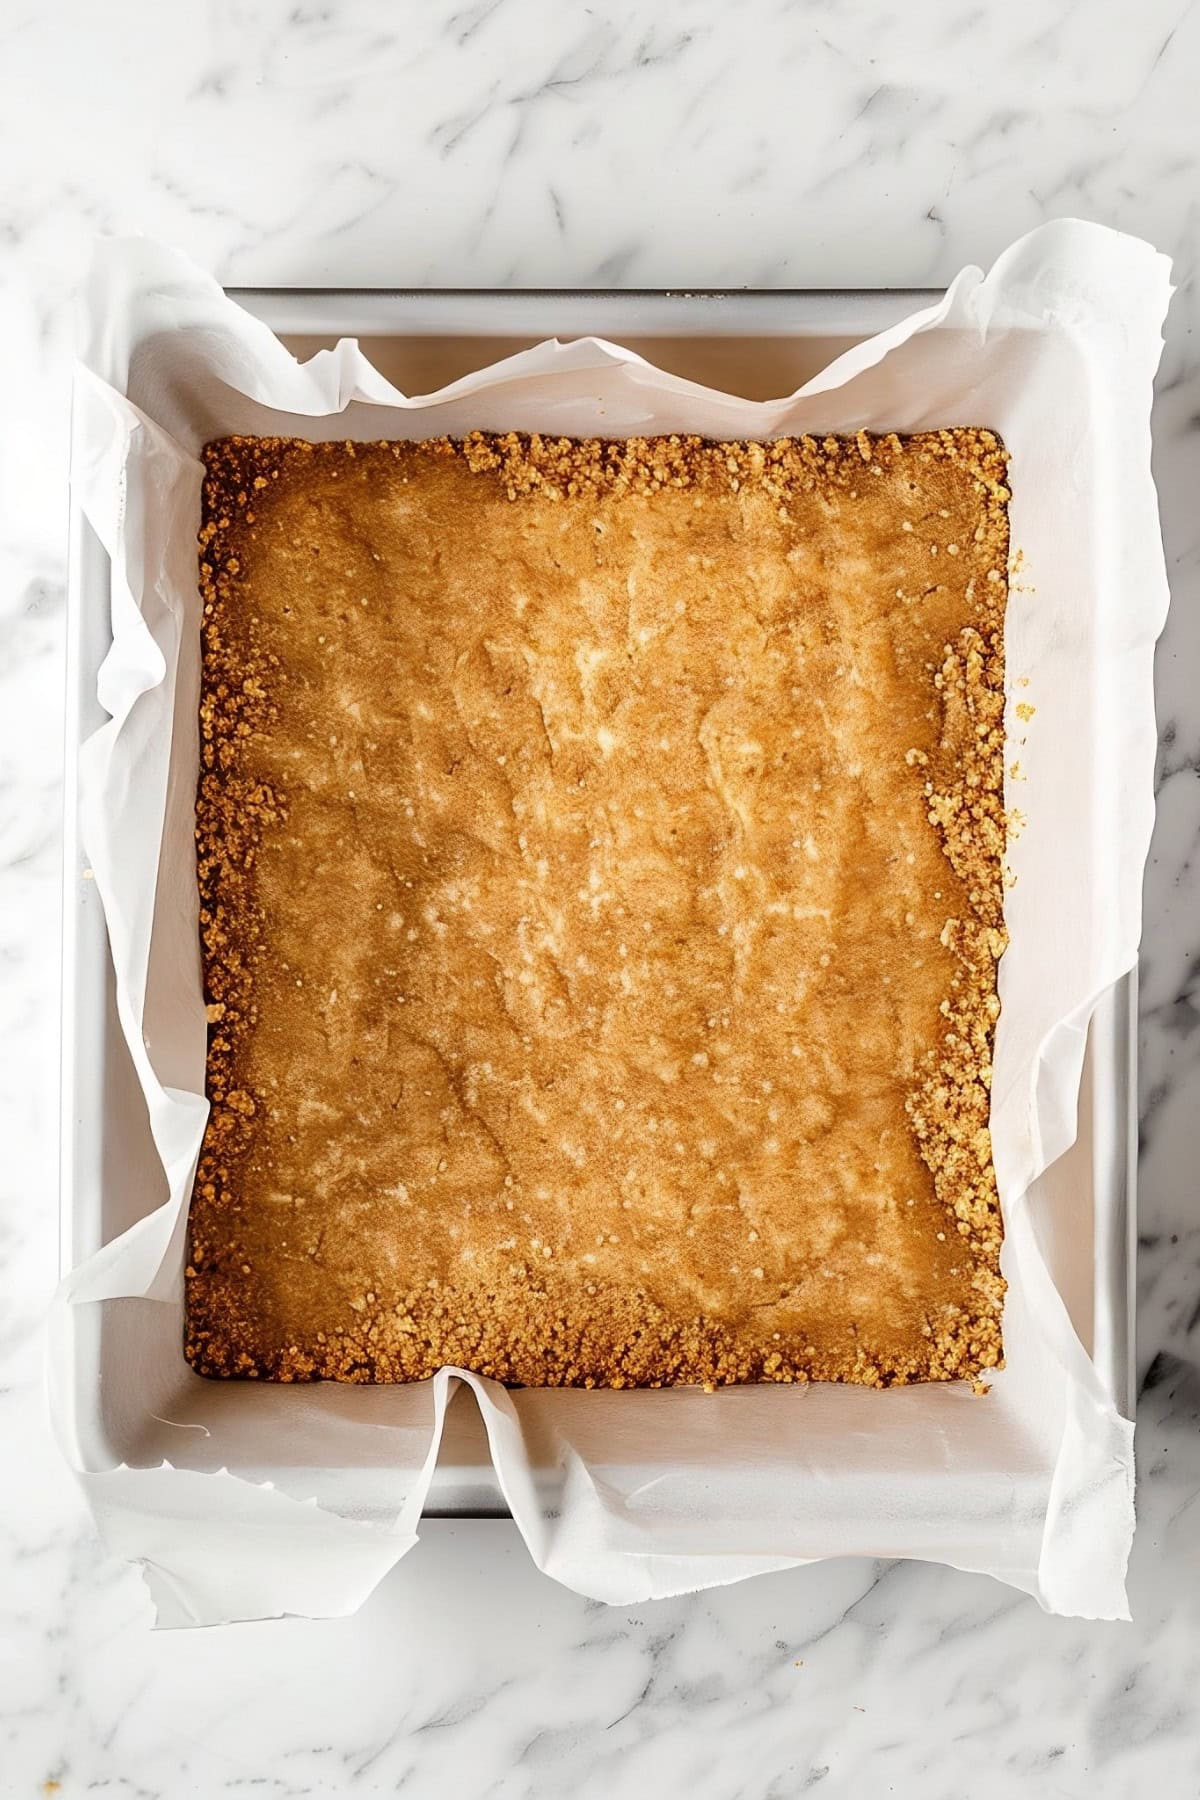
2. CRUST: Combine crust ingredients until moistened, then press into the bottom of the prepared pan and bake for 10 minutes. Reduce the oven temperature to 300°F (150°C).
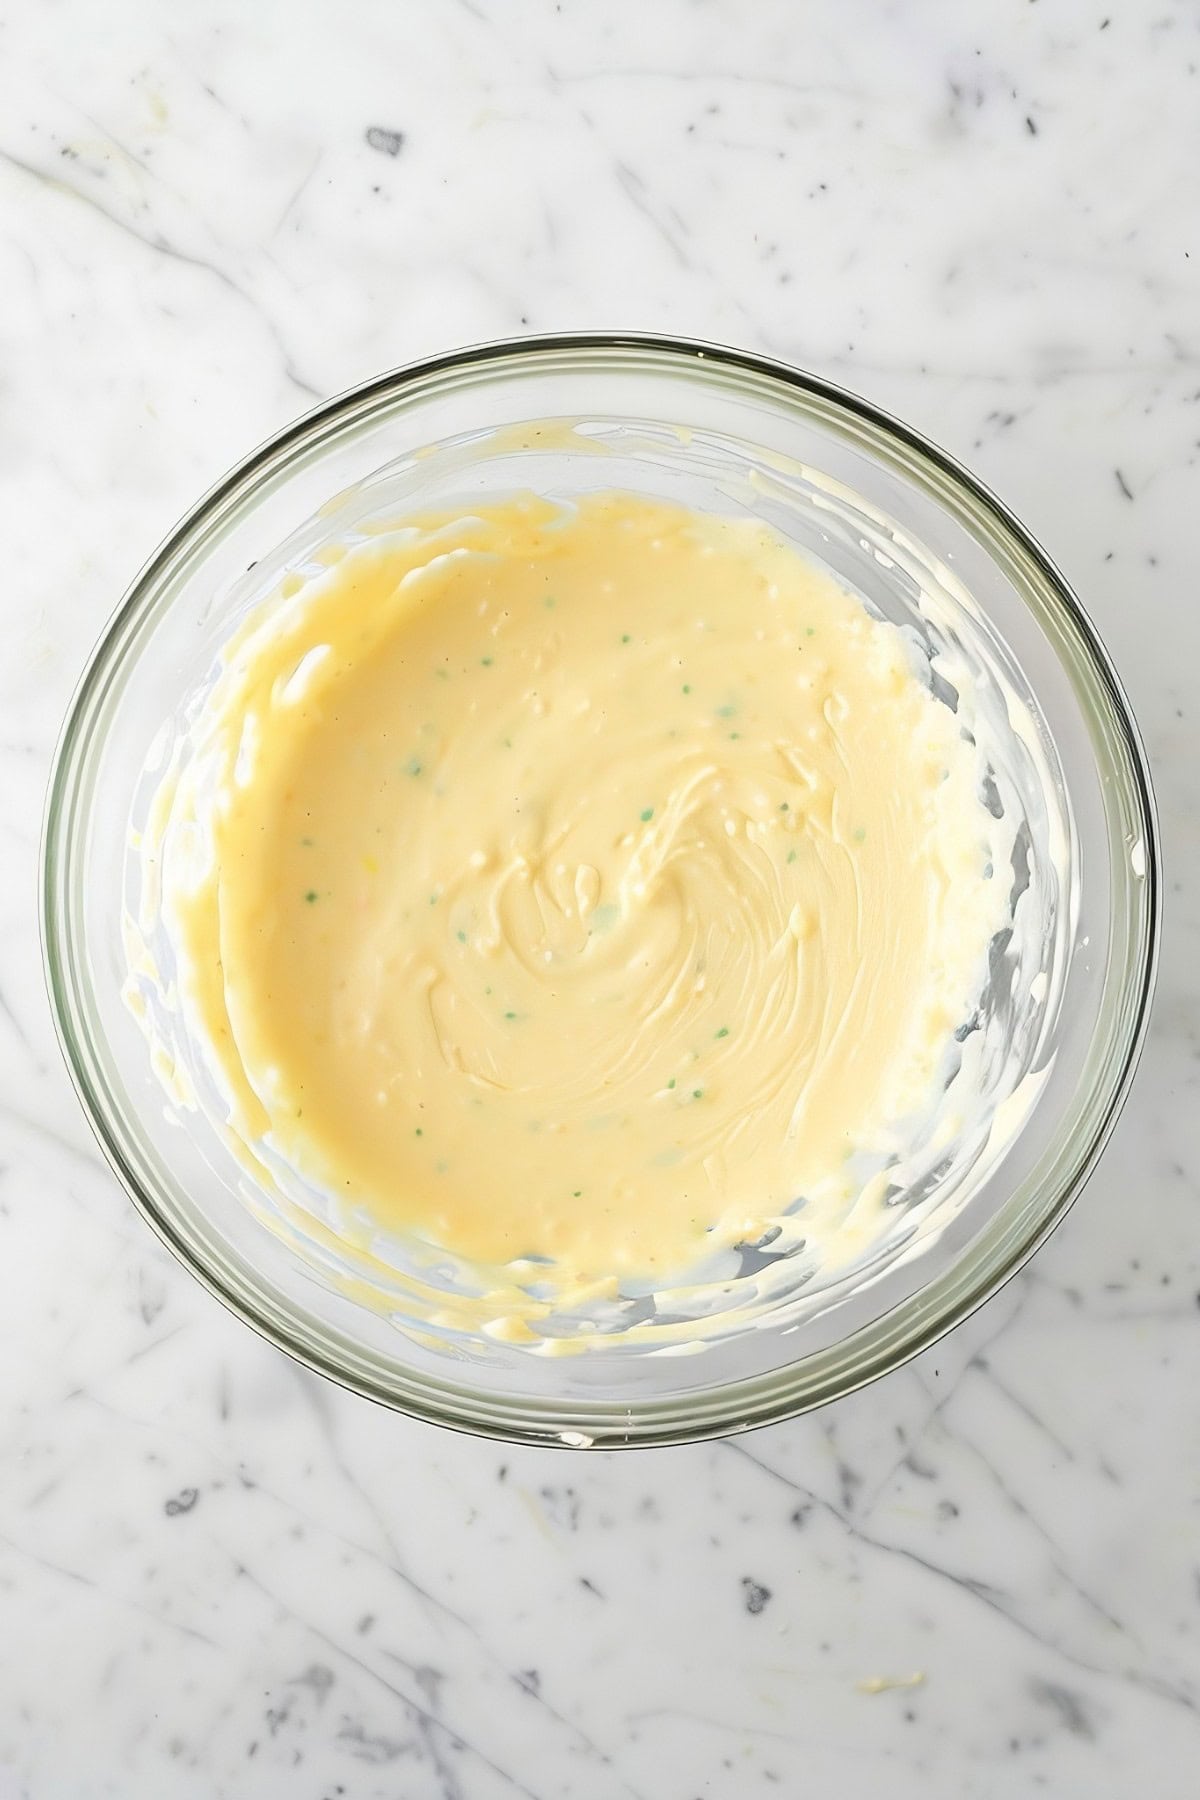
3. FILLING: Beat the cream cheese until smooth. Blend in the yolks, followed by the sweetened condensed milk, key lime juice, and lime zest.
4. BAKE. Pour the filling over the crust and bake for 35-40 minutes until set. Let the bars cool at room temperature for 30 minutes, then refrigerate for 2-3 hours.
5. TOPPING: Whip heavy cream and powdered sugar to stiff peaks. Spread over chilled bars and refrigerate for 30 minutes.
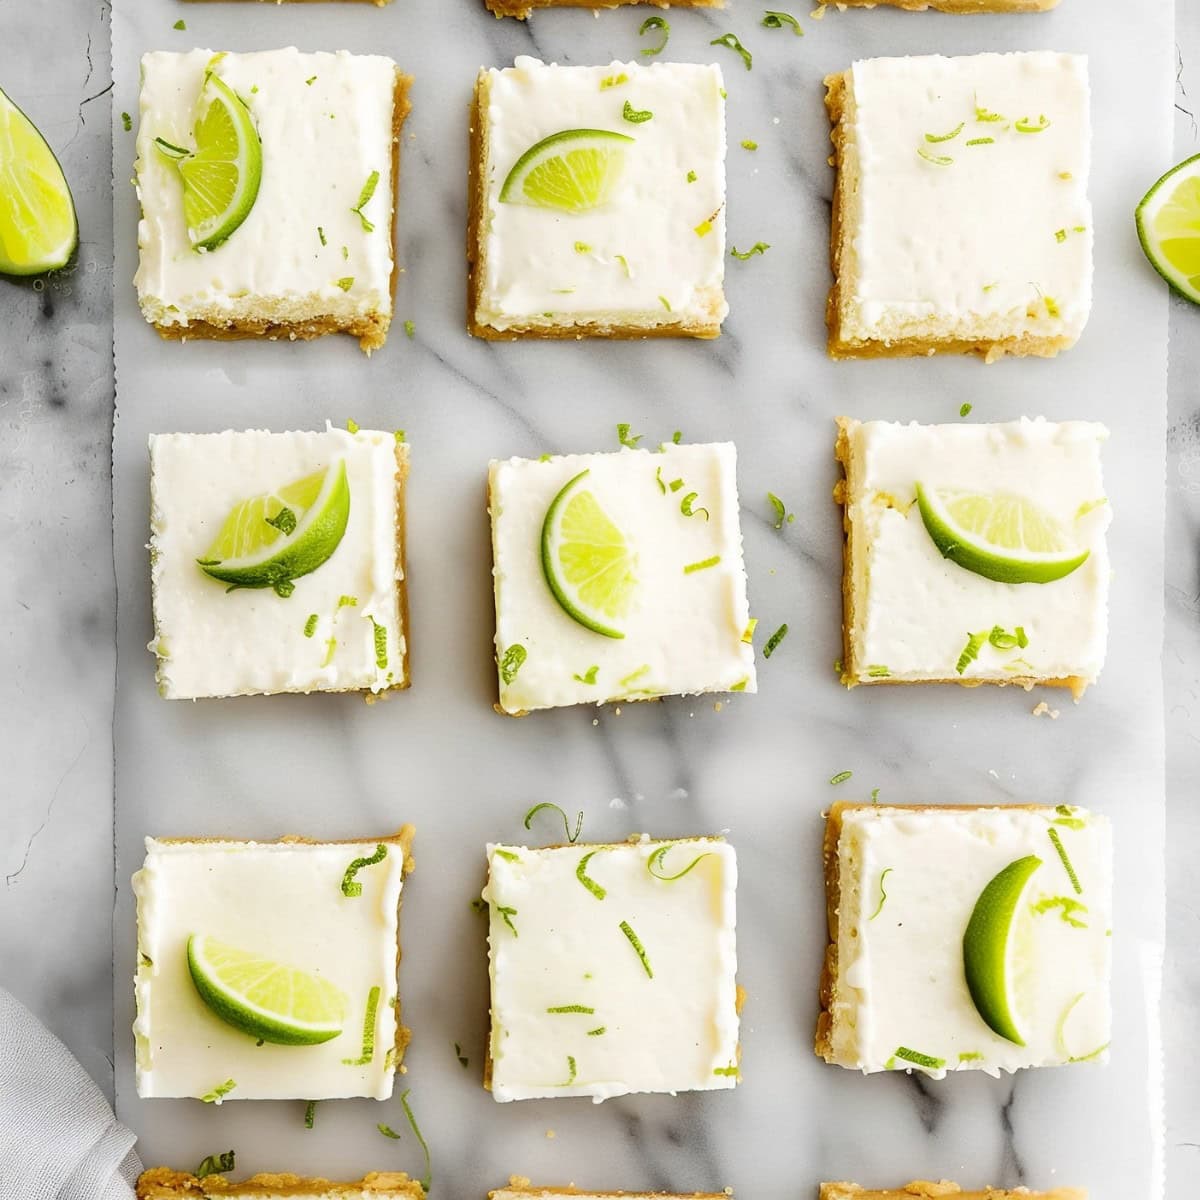
6. SERVE: Lift the bars from the pan using the parchment overhang, cut into squares, garnish with lime zest, and serve.
Tips For the Best Key Lime Pie Bars
These key lime pie bars are dangerously addictive – it’s impossible to eat just one!
Luckily, they couldn’t be easier to whip up. Just read these tips first:
- Nellie & Joe’s. Finding key limes can be tricky. So, look for Nellie & Joe’s Key West Lime Juice for the most authentic key lime flavor.
- Avoid overbaking. Bake the bars just until the filling is set but still slightly jiggly in the center to prevent cracking. They’ll set up more as they cool.
- Chill completely. Allow the bars to chill for at least 3 hours or overnight so they fully set.
- Clean slices. For neat slices, run a chef’s knife under hot water, wipe it dry with paper towels, then press straight down, like a cleaver. Repeat and wipe the knife clean between each cut.
- Make ahead. Make and cool the bars, then wrap them tightly with plastic. Keep in the fridge for 2-3 days. Make the whipped cream just before serving.
- Variations. Swap the graham cracker crust for gingersnaps, vanilla wafers, or shortbread cookies. Add toasted coconut, chopped pecans, or lime zest to the crust. Substitute regular limes if key limes are unavailable.
How to Store
If you try out this recipe, let me know what you think!
I’m curious to see how many of you had leftovers since they’re usually gone in the blink of an eye in my house.
To Store: Wrap the tray in plastic or transfer leftovers to an airtight container (in a single layer). Keep in the fridge for up to 5 days. For best quality, place a paper towel in the bottom of the container to absorb excess moisture.
To Freeze: Key lime pie bars can be frozen for up to 3 months when stored in an airtight, freezer-safe container. Thaw overnight in the refrigerator before serving.
More Dessert Bars You’ll Love
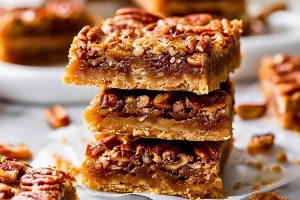
Pecan Slab Pie
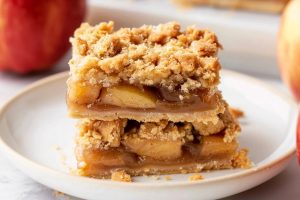
Apple Pie Bars
Cheesecake Crescent Rolls
Cake Mix Cookie Bars




Two cans of sweetened condensed milk in an 8×8 sure seems like a lot. Is this really correct?
Hi LeAnne!
Yes, you need 2 cans for the recipe, and it makes the filling nice and thick.
If you want, you can cut it down to one can and 4 yolks (everything else is the same). They’ll be super tasty, just a bit thinner 🙂