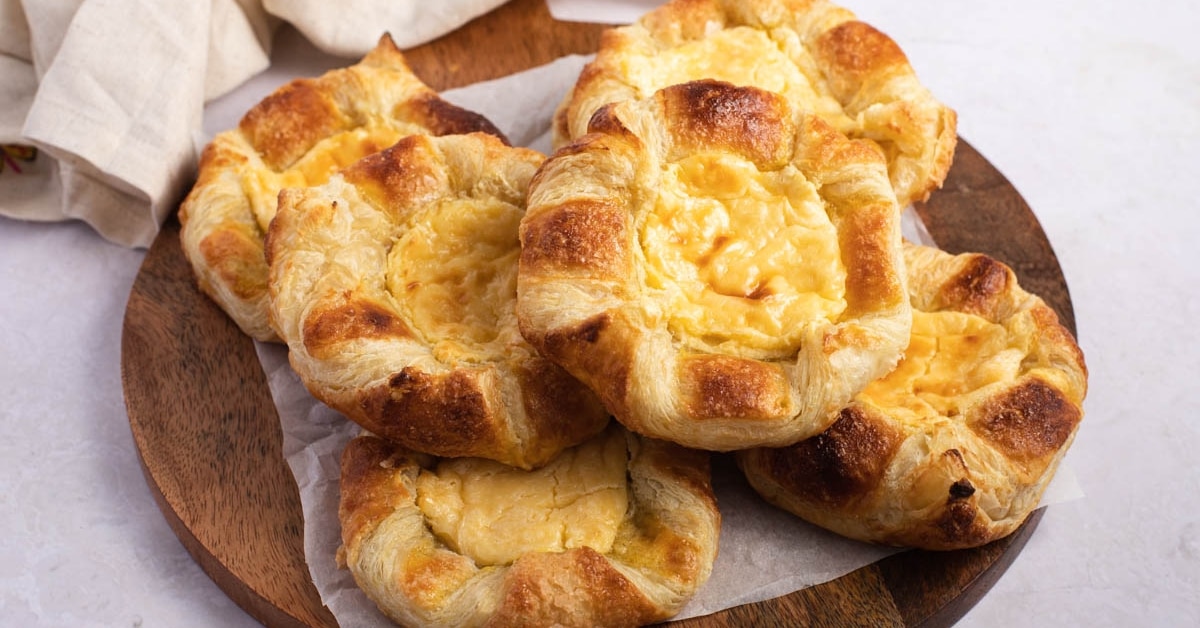
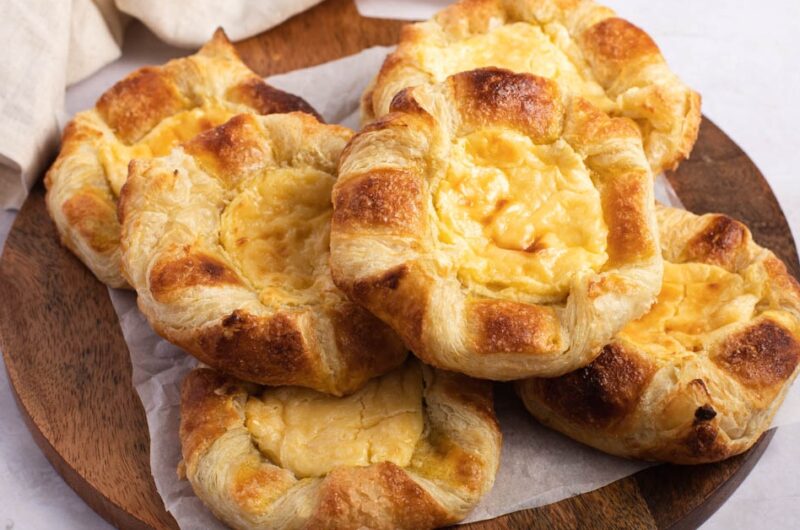
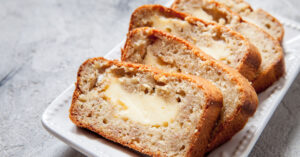
Let’s face it, nothing beats a warm, freshly baked cheese danish.
It’s especially great on those busy mornings when you’re practically sprinting out the door.
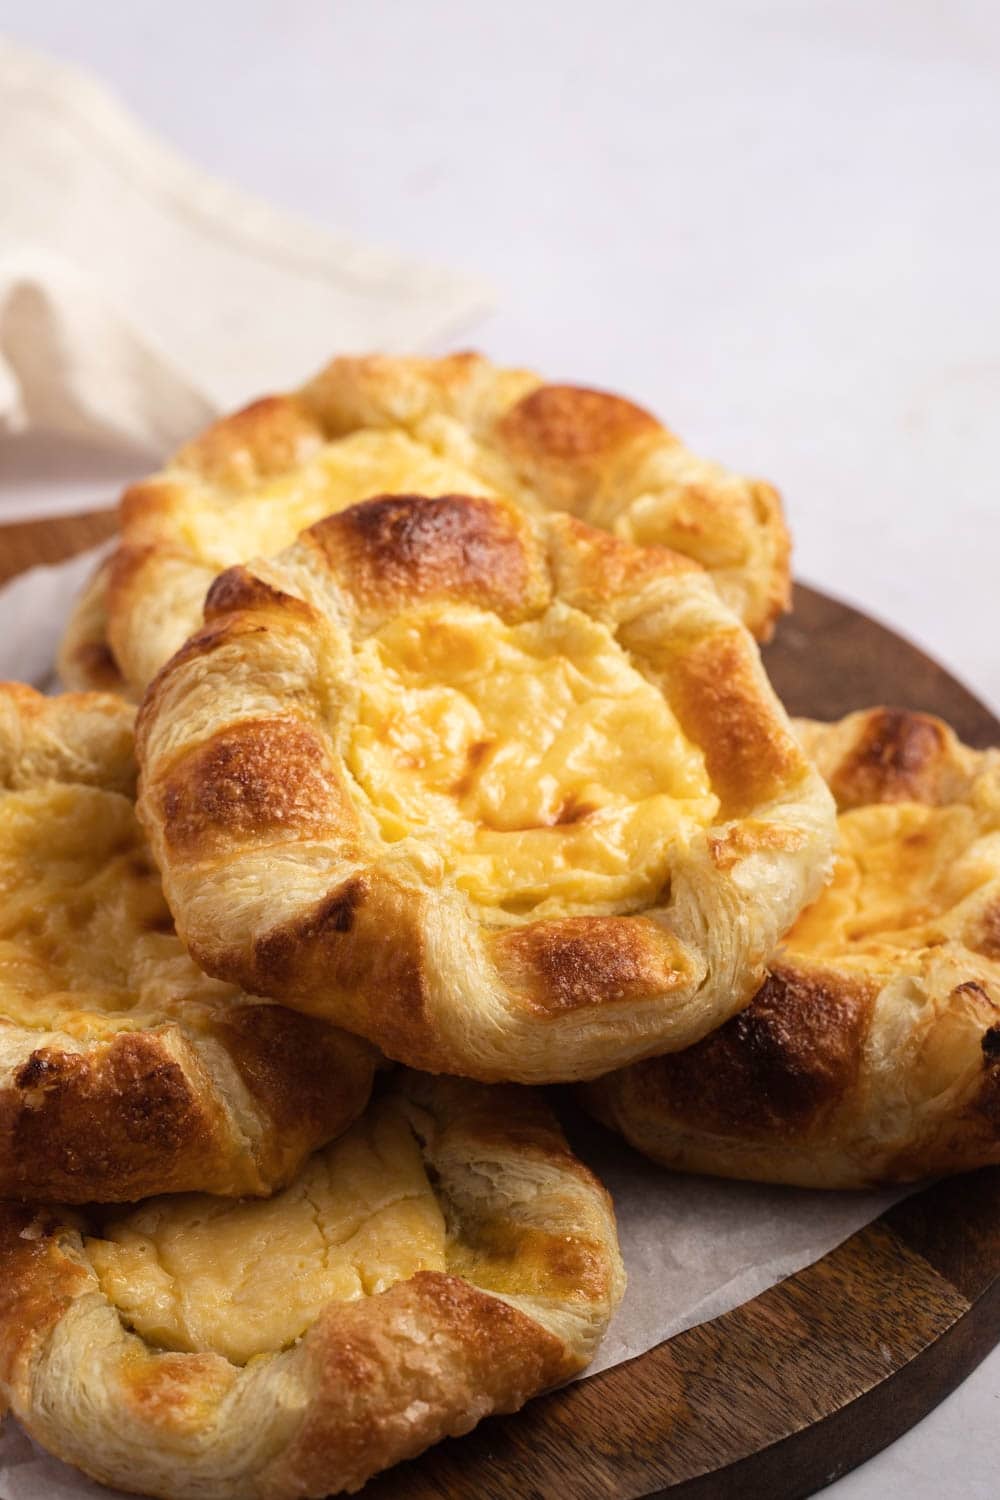
This delightful breakfast pastry is the perfect combo of a buttery puff pastry and a creamy, cheesy filling.
It’s rich, sweet, and deliciously flaky.
And you don’t have to break the bank to get your cheese danish fix. Just try this recipe!
Cheese Danish
So, what makes a cheese danish so special? It’s all in the layers, my friends.
The puff pastry is light, airy, and practically melts in your mouth.
And the filling? It’s made with cream cheese, ricotta, sugar, egg yolks, a little vanilla extract, and lemon zest.
And don’t worry, you don’t have to make your own puff pastry. Just buy some to speed up the prep.
That way you can wake up and make a batch of these pastries before the coffee is even brewed.
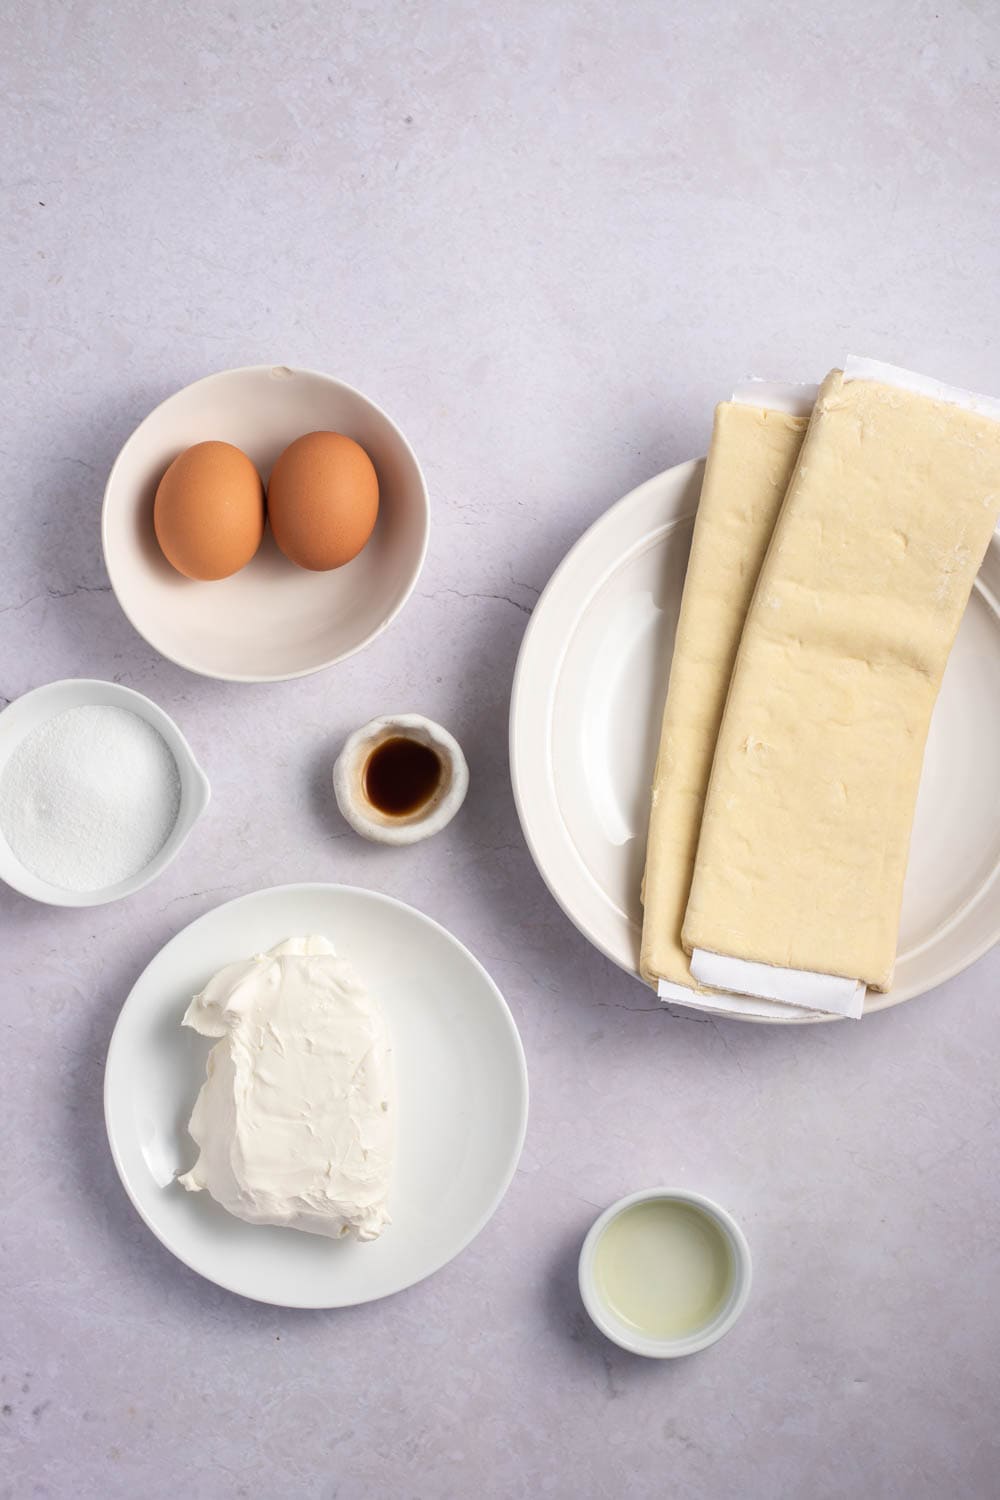
Ingredients
- Cream Cheese: This gives the filling its creamy and tangy flavor that we all love in a cheese danish. Use room-temperature cream cheese, so it blends easily with the other ingredients.
- Sugar: To make the filling deliciously sweet. For a healthier option, you can use honey or maple syrup instead of sugar.
- Egg Yolks: This gives the filling a rich and creamy texture. Make sure to use extra-large egg yolks, and don’t whip them too much.
- Ricotta Cheese: For an extra creamy filling.
- Pure Vanilla Essence: A good quality vanilla essence adds a sweet flavor to the filling. You can also use vanilla extract, but make sure to use a pure one.
- Salt: Just a pinch of salt in the filling will make it taste even better.
- Lemon Zest: The lemon zest adds a fresh and zesty flavor to the filling, which balances out the sweetness. Use a Microplane to zest the lemon, and be sure to only use the yellow part.
- Puff Pastry: You can find this in the freezer aisle at the grocery store.
- Whole Egg: Use the beaten egg to brush the edges of the pastry. This helps seal the danish and give it a beautiful golden color.
How to Make a Cheese Danish
- Preheat that oven to 400 degrees Fahrenheit. Line a baking tray with greaseproof paper.
- Mix together the cream cheese and sugar. Drop the cream cheese and caster sugar into the bowl of your electric mixer. Then, attach the paddle and let it cream on low speed until it’s perfectly smooth.
- Make the cheese filling. Keep that mixer on low and toss in the egg yolks, Ricotta cheese, vanilla essence, salt, and grated lemon zest. Mix it until it’s just combined.
- Roll the pastry. Unroll that puff pastry onto a floured surface, then roll it and shape it into a 25cm square. Use a sharp knife to cut it into quarters.
- Spread the cream cheese mixture over the pastry. Plop a big spoonful of the filling right into the center of each pastry square.
- Brush the edges of the pastry with some beaten egg. Fold the opposite corners to the center, making sure to overlap and firmly stick the corners together. Give the tops of the pastries a quick brush with the egg wash, too.
- Chill the pastries before baking. Place the pastries on your prepared baking tray. Do it again with the second sheet of puff pastry, and then stick those filled danishes in the fridge for 15 minutes.
- Bake. Slide the pastries into the oven and let them bake for around 20 minutes. Be sure to rotate the pan once during baking so everything cooks evenly.
- Cool. Once they’re puffed and perfectly golden brown, pull them out and let them cool for a hot minute.
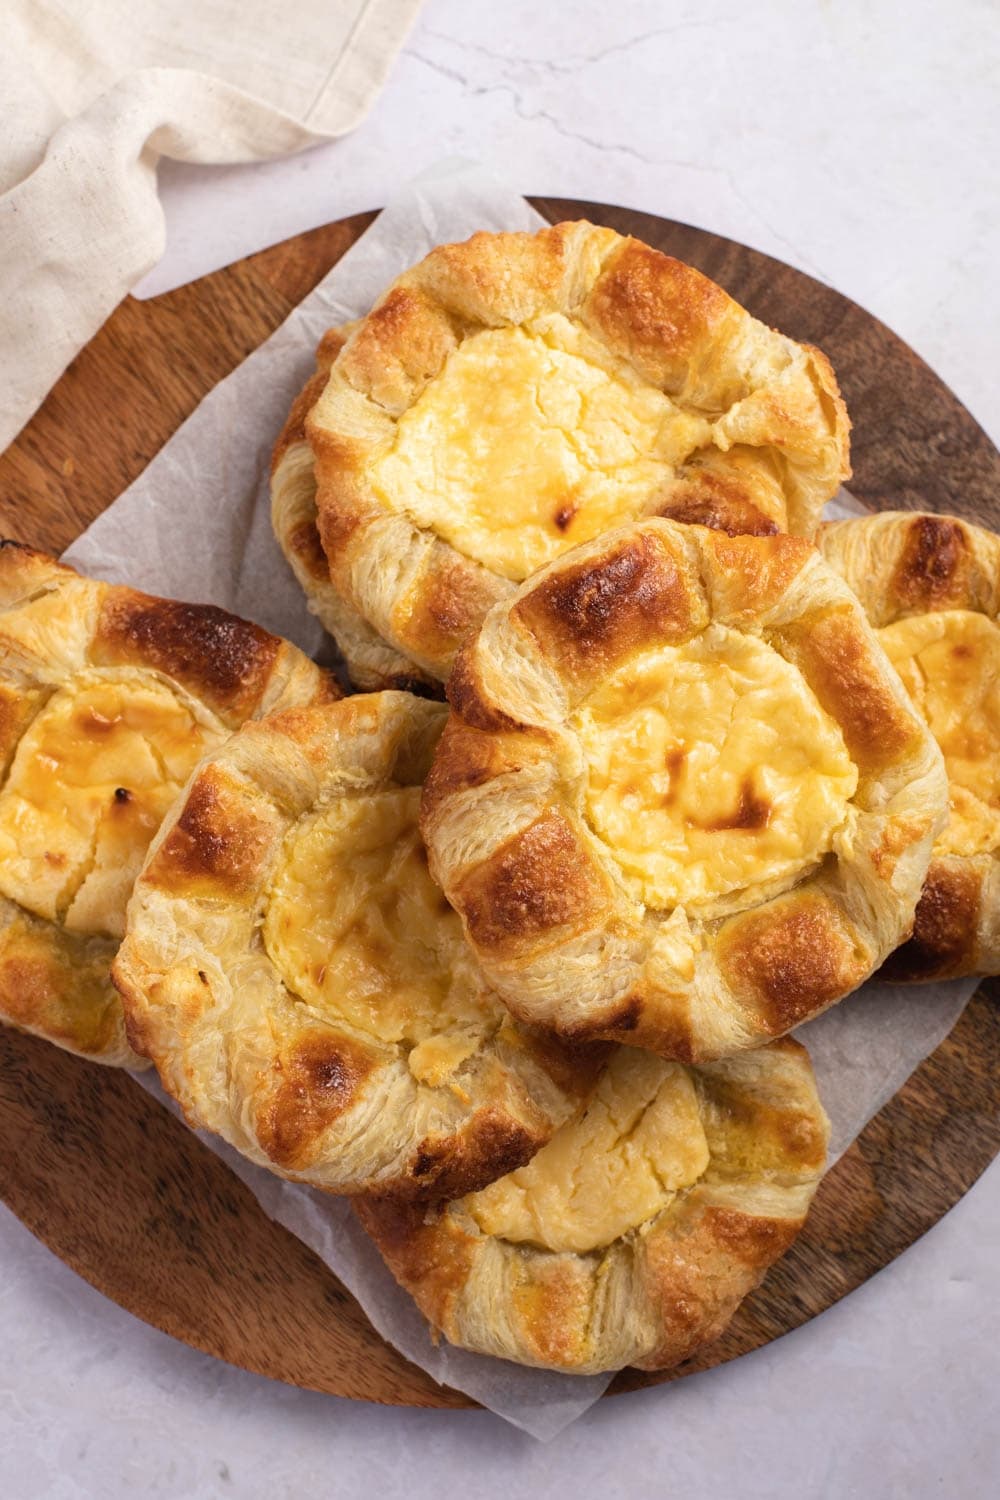
- Serve. Alright, now it’s time to dig in and enjoy!
Tips and Variations
Here are some pro tips to help you make the best cheese danishes possible:
- Use a cookie scoop to portion the cream cheese filling evenly. This will ensure that each pastry has the same amount of delicious filling.
- Follow the package instructions for thawing the puff pastry. Trying to roll out frozen pastry can be a disaster, and you’ll end up with a lot of frustration and wasted pastry.
- Use pre-rolled puff pastry sheets instead of block puff pastry. This way, you can skip the rolling step and get right to making the danishes.
- Fold them up into squares to make it easier. Just keep the pastry cut in squares, add the filling to the center, and fold the corners of the pastry in until they touch (but don’t cover) the filling.
- Add extra flavor. For an extra burst of flavor, add a spoonful of your favorite fruit jam in the center of the baked danish.
- Try adding 1/4 teaspoon of almond extract to the filling. You could also flavor the cream cheese. Strawberry cream cheese works great.
Storing, Freezing, and Reheating
Storing: Because of the cream cheese, it’s best to store any leftover cheese danishes in the refrigerator. This will help prevent any spoilage or bacteria growth.
Store your cheese danishes in an air-tight container to maintain their freshness.
You can use a plastic container or wrap them tightly in plastic wrap.
Reheating: Unfortunately, the cheese danishes will lose their crispiness during storage.
But you can easily crisp them up again in the oven or toaster oven.
Just warm them up at 350 degrees Fahrenheit for 8-10 minutes.
Freezing: Be sure to wrap them tightly in plastic wrap and store them in a freezer-safe container. They should keep for about 3 months.
To thaw frozen cheese danishes, simply leave them in the refrigerator overnight.
Then, reheat them in the oven or toaster oven as mentioned above.
More Sweet Breakfasts You’ll Love
French Toast Bagel
Rhubarb Muffins
Sour Cream Coffee Cake
Apple Fritters


