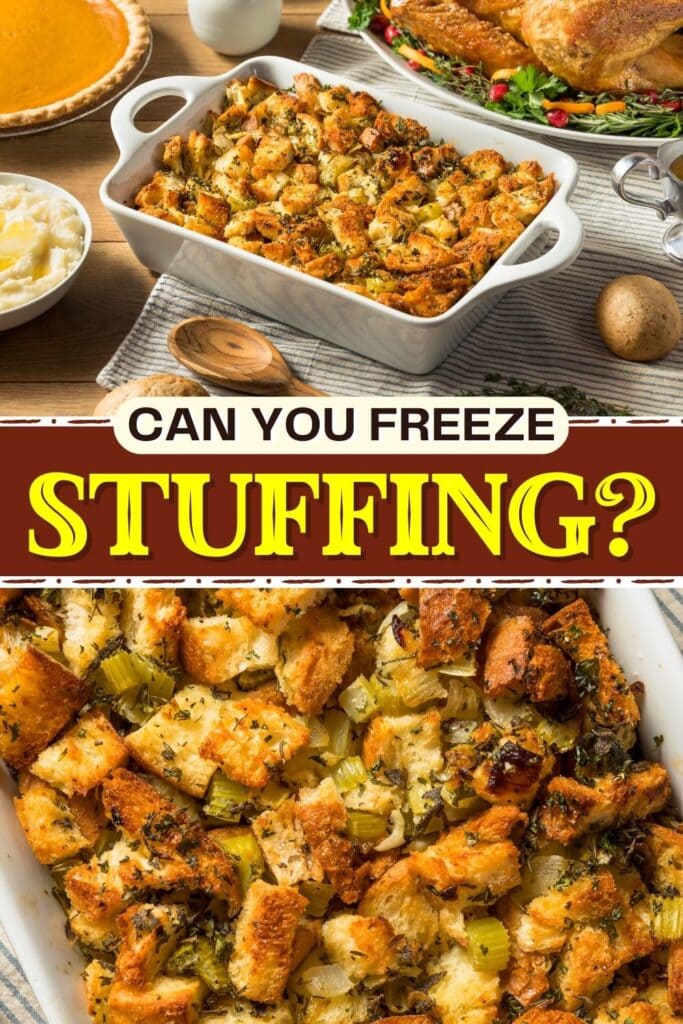

There's one food-related question I hear more than any other during the holiday season. Can you freeze stuffing?
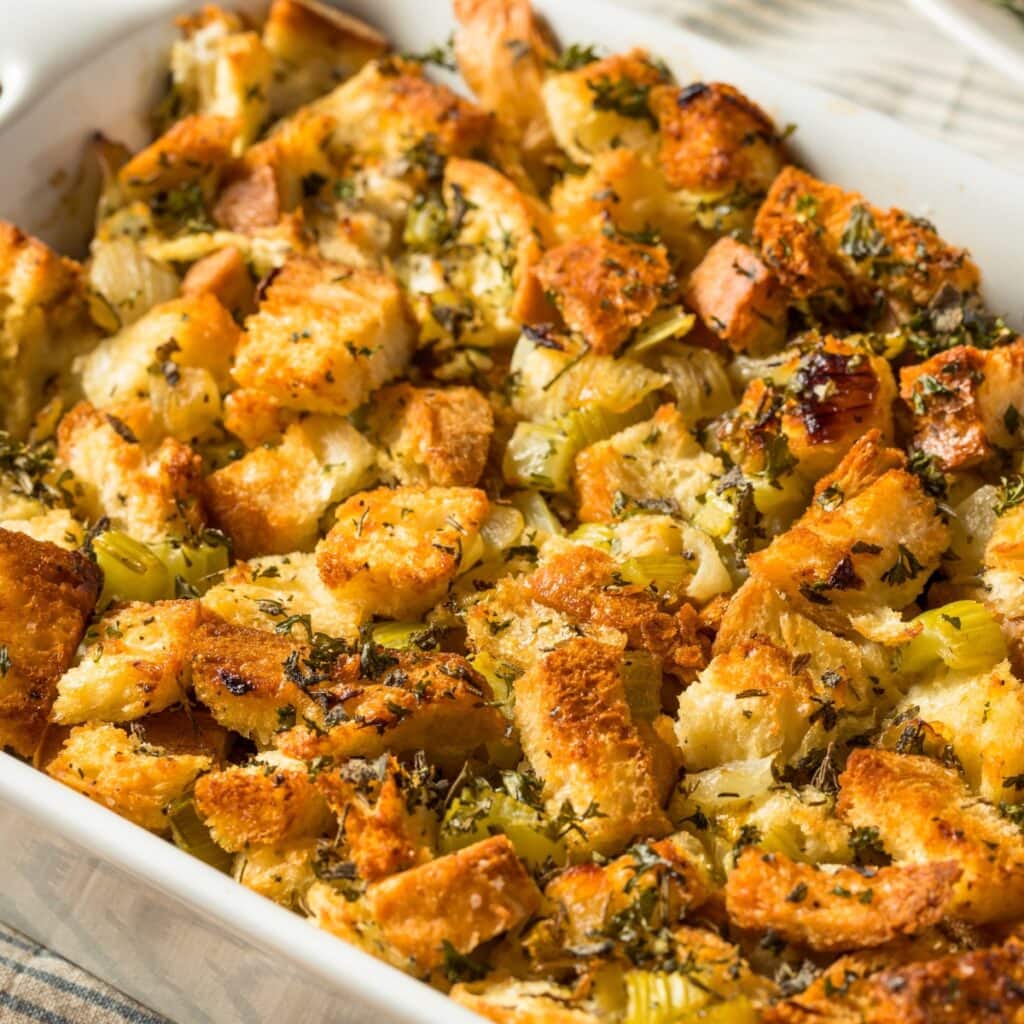
Stuffing is a must-have side dish for any holiday meal.
Our family has it for Thanksgiving, Christmas, and other times throughout the year.
And because none of us knows how to cook for anything less than an army, we always have leftovers.
So, can you freeze stuffing? Yes, you can, and it's not that difficult, either.
This article will walk you through freezing your stuffing, cooked and uncooked!
It'll even give you some tips for best practices. Keep reading to learn more!
Can You Freeze Stuffing?
The quick and easy answer to this question is yes! You can freeze stuffing.
The trick is doing so correctly and learning to reheat it properly.
If you can do that, it'll taste just as good as when it was fresh.
I'll talk about freezing cooked stuffing and uncooked stuffing.
I'll give you some tips and describe how long the frozen stuffing will last.
It doesn't matter if you have leftovers or are making it early and freezing it to save time.
Following these simple steps will ensure you have delicious stuffing for any occasion.
How to Freeze Cooked Stuffing
Freezing cooked stuffing is only slightly different from freezing it uncooked. Fortunately, both options are simple.
But first, let's talk about leftovers. Don't throw out your leftover holiday stuffing this year.
Instead, follow these steps to freeze it properly.
1. Allow the stuffing to cool completely. This step is the most significant difference between freezing cooked and uncooked stuffing. And it's an important one.
You never want to put hot food in a freezer. Doing so can ruin the food and spoil other surrounding items in your freezer.
So, be sure you give the stuffing time to cool.
This shouldn't be an issue if you're working with holiday leftovers.
On the off chance that the dish is still warm, allow it to cool to room temperature.
2. Select appropriately sized, freezer-safe containers. Some people use Ziploc bags to freeze their stuffing. I prefer freezer-safe Tupperware containers.
Whichever you choose, ensure the size is suitable. You don't want to put a small amount of stuffing in a gallon-sized bag.
Whichever container you choose should be approximately 3/4s full. If using Ziploc bags, squeeze the air out before sealing them.
3. Transfer the cooled stuffing to the containers. Again, leave about a fourth of the container or bag empty.
4. Date the containers and freeze them. Finally, write the date on the bag or container.
Use label stickers to avoid writing it directly on the container.
Dating the stuffing will help ensure you don't leave it in the freezer too long.
How to Freeze Uncooked Stuffing
Now, let's talk about freezing uncooked stuffing. After all, the holidays can be stressful.
Sometimes, it's easier to make the big dishes ahead of time and warm them up.
If you want to get ahead, make your stuffing early and freeze it!
If you follow these steps, it should taste just as fantastic as freshly made.
1. Prepare the stuffing but stop short of baking it. You can use whichever stuffing recipe you like best. Follow all the steps until you get to the oven. That's where you'll stop.
2. Choose a suitable container to store it. Unlike cooked stuffing, uncooked stuffing shouldn't go in Ziploc bags or Tupperware.
Instead, it's easiest to place it in whatever container you'll cook it in later.
If you don't have room for one large dish, separate the stuffing into two or more containers.
They should be freezer-safe and oven-safe for when you bake them.
3. Remember to wrap it! Here's a significant change from freezing cooked stuffing.
You'll need to wrap uncooked stuffing to keep it fresh.
Remember, the stuffing should be in a cooking dish, not a Ziploc bag.
You likely won't have a lid, and even if you do, it's probably not airtight. Instead, wrap the whole dish in plastic wrap.
Then, wrap it again in at least one layer of aluminum foil.
Doing so will guard against freezer burn and ensure air doesn't seep in and make it go stale.
4. Date the dish (if necessary) and freeze it. If you know you'll be cooking the stuffing in the next few days, it may not need a date.
Of course, it never hurts to add one either way.
Date it if you want, then slide it into the freezer. It's best to set it flat and not put anything on top of it.

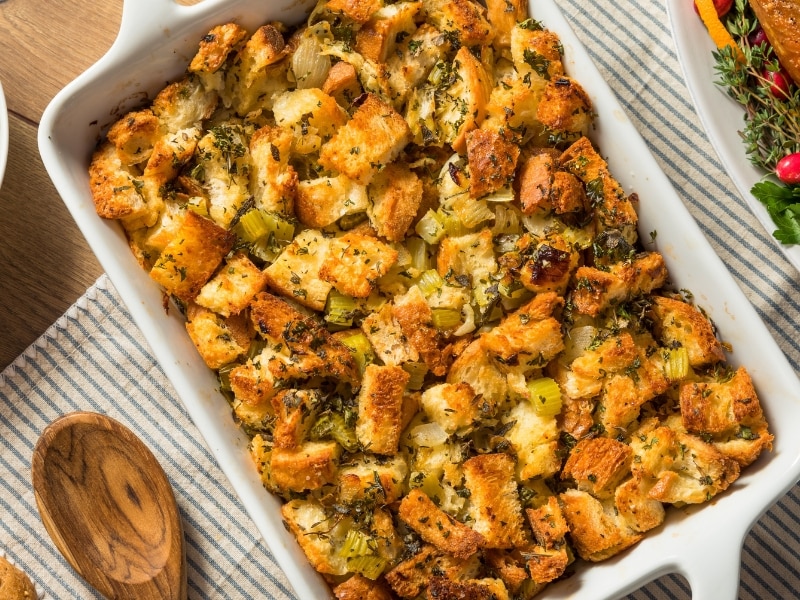
Tips for Freezing Stuffing
Now, let's look at some tips to ensure your thawed stuffing tastes as good as possible. Here are a few of my suggestions:
- Use fresh herbs when making your stuffing. If you do, it'll freeze much better. The flavors of fresh herbs are more robust and can better withstand the freezing process. The dressing may lose some flavor after reheating if you use dried or powdered herbs.
- Be mindful of the ingredients you use. Suppose you're freezing uncooked stuffing or know you're likely to have leftovers. In that case, there are things you can do to ensure the reheated stuffing will taste better. Most importantly, use high-quality ingredients. Besides fresh herbs, choose low-sugar bread, ingredients with good ‘use by' dates, and fresh produce.
- Bake uncooked stuffing from frozen. There’s no need to let it thaw out or warm to room temperature. Simply pop it in the oven and cook it from frozen.
- Don’t add chicken broth or giblet gravy to the entire dish. Instead, allow guests to pour liquids over their portions. If you try to freeze stuffing covered in broth or gravy, it'll be mushy once you thaw it out.
- Remove air from Ziploc bags. Doing so will help retain the stuffing's texture and guard against freezer burn. Similarly, you should tightly wrap uncooked stuffing with plastic wrap and aluminum foil. This will help maintain freshness.
- Use reheated stuffing within 3 days and never refreeze it. If you don't think you can eat all the leftovers in that time, try freezing smaller portions. You should never refreeze frozen stuffing after you've thawed it.
How Long Does Stuffing Last In The Freezer?
Whether cooked or uncooked, stuffing should last for 3 months in the freezer.
Just be sure you've followed all the above steps for the best results.
Additionally, you can still safely eat stuffing for up to 6 months after freezing it.
Unfortunately, neither the taste nor texture will be as good after 3 months.
Can You Freeze Stuffing? (Best Ways)
Can you freeze stuffing? The answer is yes, and there are a couple of ways to go about it. Learn what they are, and get the best tips for doing so.
Ingredients
- Cooked Stuffing
cooked stuffing
Ziploc bags or freezer-safe containers
label stickers
marker
- Uncooked Stuffing
stuffing
freezer- and oven-safe dish
plastic wrap
aluminum foil
Instructions
- Cooked Stuffing
- Allow the stuffing to cool completely before storing it.
- Transfer the stuffing to Ziploc bags or freezer-safe containers. If using bags, ensure as much air as possible is pressed out of them before sealing them. If using containers, fill them only 3/4s full.
- Use the marker and label stickers to affix the date to the bag or container.
- Freeze it for up to 3 months.
- Uncooked Stuffing
- Prepare the stuffing according to the recipe. Stop before baking.
- Transfer the stuffing to whatever dish(es) it will be cooked in later.
- Wrap the dish tightly in a layer of plastic wrap. Seal the edges securely to prevent air from seeping in.
- Add a layer of aluminum foil wrapping to the plastic-wrapped dish.
- Put the wrapped dish flat in the freezer.
- Cook from frozen when it’s time to thaw it.