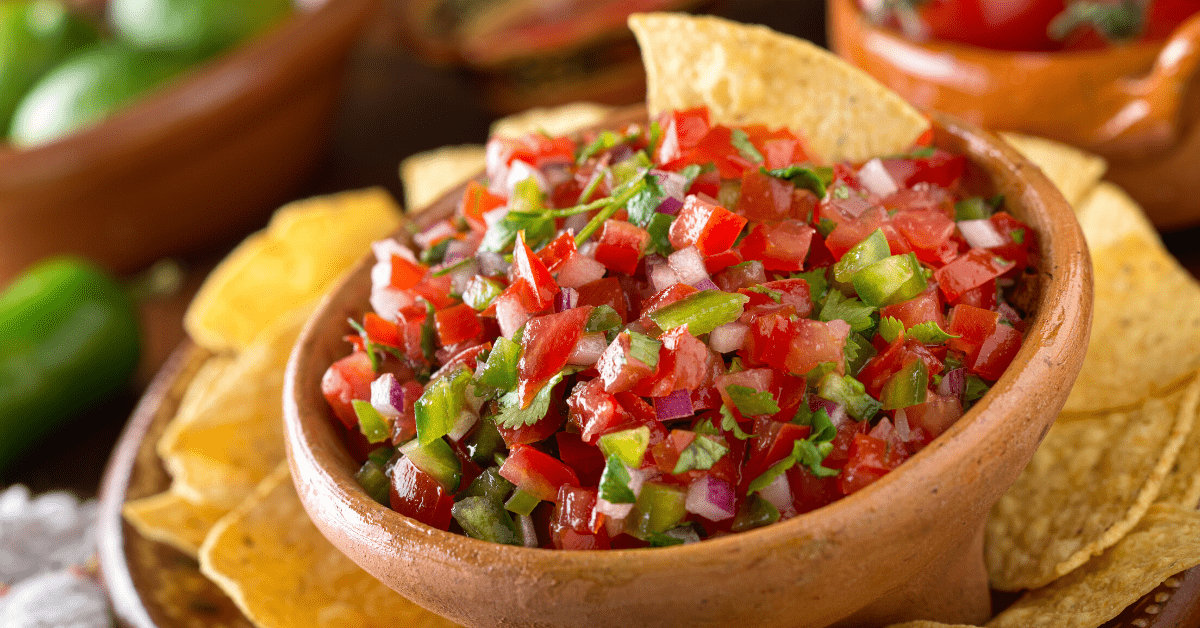


Can you freeze salsa? You sure can! Freezing salsa is the perfect way to preserve the fresh taste. Plus, you can enjoy it for up to 4 months!
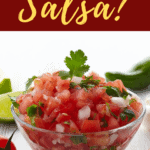
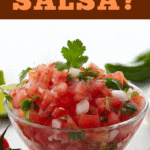
Fresh salsa is a sweet, earthy, and spicy Mexican sauce that’s so versatile, I like having it around in my kitchen all the time.
Sometimes I'll make homemade salsa, but in a pinch, store-bought works just fine!
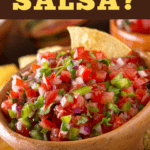
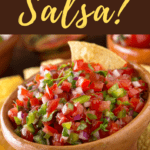
Apart from being a delicious chip dip and nacho topping, it also makes an excellent sauce for tons of dishes!
But sometimes I forget I have salsa in my fridge and by the time I remember, it’s already gone bad.
I hate putting good food (and money) to waste, so I asked myself – can salsa be frozen?
As it turns out, it can! This is awesome because that means you can store frozen salsa for months without worrying about its quality.
So, want to learn how to freeze salsa so you can preserve it for long periods? Stick around to learn all about it.
How to Freeze Salsa
While you can definitely freeze salsa, it’s not as easy as putting the jar in the freezer. It takes a little bit of effort, but it’s definitely worth it. Here’s how:
The first step is to thicken your salsa. Let your salsa simmer just enough until some of its liquid evaporates.
This should take around 45 minutes. You can skip this step if your salsa is already extra thick.
Alternatively, you can add tomato paste to the sauce to make it thicker.
Be sure to let it cool to room temperature before freezing. This will take about an hour. If you freeze hot or warm salsa, ice will form at the top of the container due to condensation.
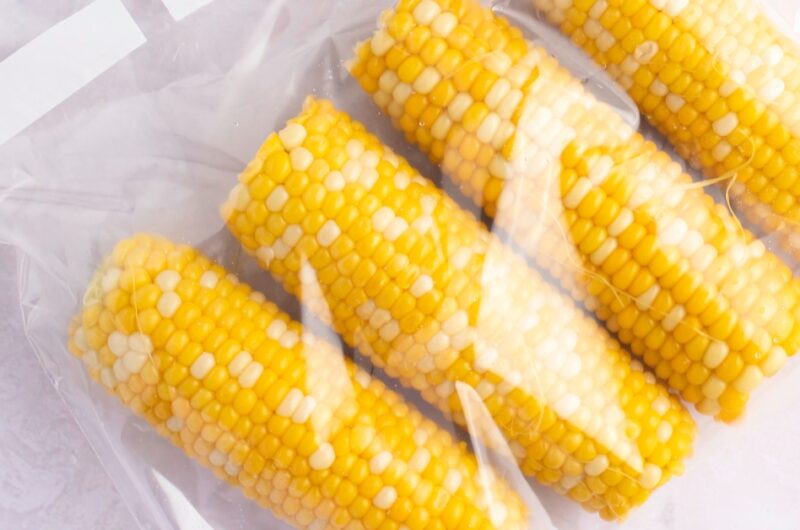
Next, portion out your salsa per serving and transfer each into a freezer-safe bag or container. Label the containers with the present date so you know how much time it has left. Freezer salsa will keep well up to 4 months.
And finally, into the freezer it goes!
How to Defrost Frozen Salsa
Now, before using frozen salsa, you obviously need to thaw it first. Place it in the fridge for 24 hours and drain off some of the liquid until you achieve your desired consistency.
Do not defrost frozen salsa at room temperature.
How To Make Freezer-Safe Salsa
While you can always just get store-bought salsa, it’s so easy and affordable to make it yourself that you ought to give it a try.
Here’s a great recipe for freezer-safe salsa:
- Slice 10-15 tomatoes into small cubes and remove the cores and seeds. Mix with 2 onions and 2 green peppers, diced.
- Slice 8 jalapeno peppers into small cubes (smaller than your other veggies). Jalapenos have a stronger flavor, so they’re better off eaten in small doses. For a spicier salsa, leave the seeds on. Add the jalapenos into the mixture.
- Add two cloves of finely chopped garlic.
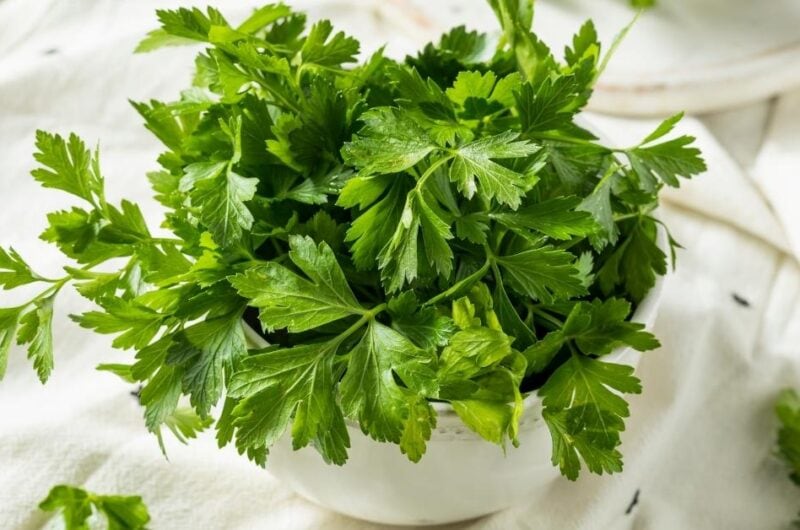
- Place all the ingredients in a large pot. Flavor the veggies with chopped cilantro, freshly squeezed lime juice or cider vinegar, ground coriander, cumin, cayenne pepper, sugar, salt, and pepper. Stir until well combined.
- Bring the sauce to a boil over medium heat while stirring.
- Simmer for 45 minutes uncovered. This will help thicken the sauce.
Tips & Tricks for Freezing Salsa
Don’t freeze chunky salsa. Either puree the salsa or slice the tomatoes, onions, and peppers into tiny cubes. Big chunks of vegetables are delicious to munch on fresh, but once frozen, they lose their flavors and become watery.
Don’t freeze raw salsa. It won't last as long and won’t taste as good!
Place the salsa in glass jars or freezer-safe bags to ensure that it's safe from air exposure. Contact to oxygen will cause salsa to discolor and reduce its shelf-life significantly.
Want the best of both worlds? Puree your homemade salsa to help retain flavors and freshness. Once thawed, you can add freshly chopped vegetables like tomatoes, onions, and green peppers. You can even add some diced avocado, cut corn, mango, or pineapple.
The options are endless and the fresh fruits and veggies will breathe new life back into your salsa.
Freeze your salsa in smaller portions. If you're like me, I use salsa for nearly everything! Chips and dip. Mexican salads. Veggie bowls. Tacos. Crockpot chicken. And soooo much more. I even like to use a little bit on my eggs.
Needless to say, I use salsa all the time. But if you're freezing your salsa in jars or Ziplock bags, it gets exposed to air every time you pull out a portion to use that day.
Exposure to air is one of the biggest factors that can make your tasty salsa go bad in no time.
So I put my salsa in small, air-tight containers. Just enough for what I'm going to use that day.
This way, you can keep your salsa fresh and tasty for months at a time. In fact, I have no trouble keeping salsa in the freezer for up to 4 months.
With these simple tips and tricks, you'll always have tasty salsa on hand!
How to Thicken Salsa
If you want a thicker salsa, you can add cornstarch. But you have to turn it into a paste first!
You'll start with 1 tablespoon of cornstarch for every cup of salsa that you want to thicken.
In a medium bowl, add the cornstarch with an equal amount of water. Stir until you form a paste. Set aside.
Pour the salsa into a saucepan on the stove over medium heat. Wait until it starts to simmer.
Once the salsa starts to simmer, whisk in the cornstarch paste. Stir continuously for 30 to 60 seconds.
Boil the salsa for 1 minute and then remove it from the stove. This will prevent the salsa from tasting starchy.
Avoid boiling for longer than a minute, otherwise it will start to break down to a thinner consistency.
How to Freeze Salsa
4
servings45
minutesIngredients
Salsa
Tomato Paste
Freezer-safe bags or air-tight container
Instructions
- Pour your salsa into a pan and let it simmer on the stove for 45 minutes. This will thicken the salsa.
- You can also add tomato paste to thicken the salsa instead of simmering, if you're short on time.
- Let the salsa cool to room temperature.
- Portion your salsa and transfer to an air-tight container or freezer-safe bag.
- Enjoy for up to 4 months.