


Whether you’re having a party or simply craving a treat, these cake balls are a surefire hit!
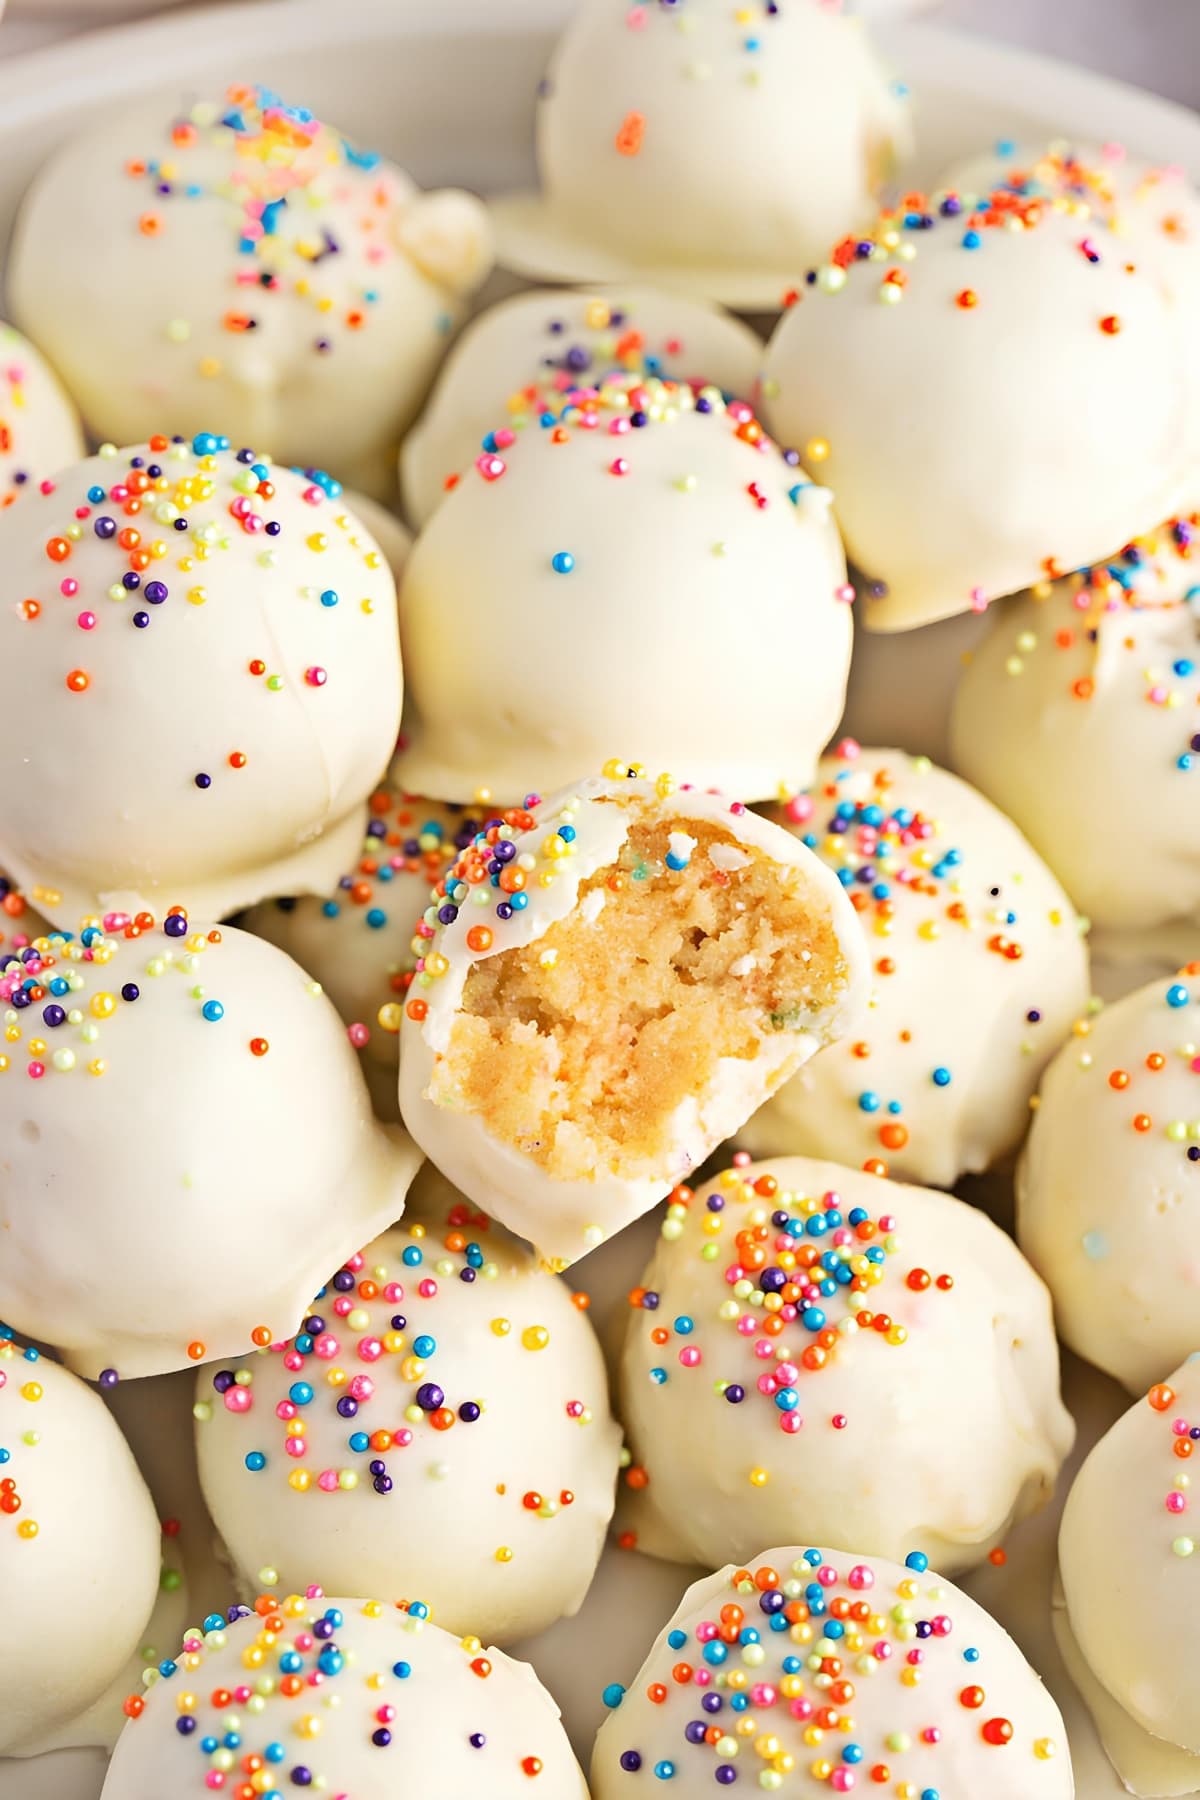
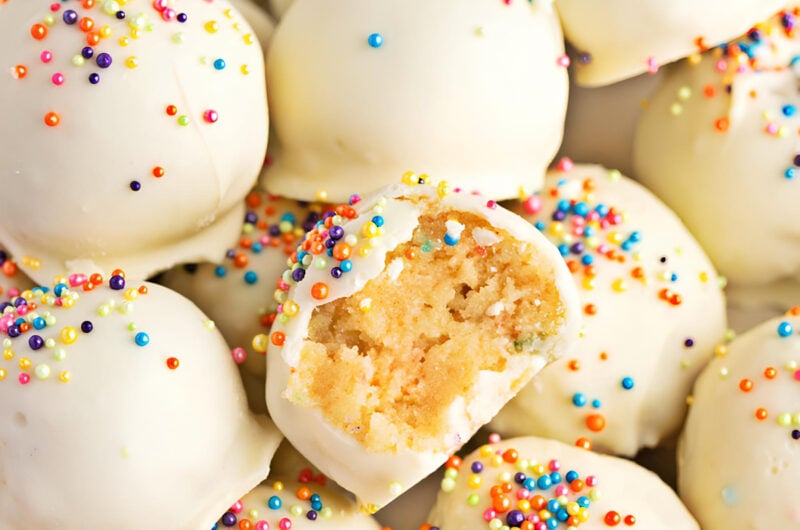
They’re tender, moist, bite-sized cakes covered in a smooth chocolate shell and colorful sprinkles. What’s not to love? And they taste just as good as they look!
WANT TO SAVE THIS RECIPE?
Plus, they’re so effortless to make and customize. You can easily transform your cake balls to fit your party’s theme.
Did I mention they’re delicious? Addictive is not even enough to describe them.
Looking for a fun treat for your next celebration? You know what to do: make cake balls!
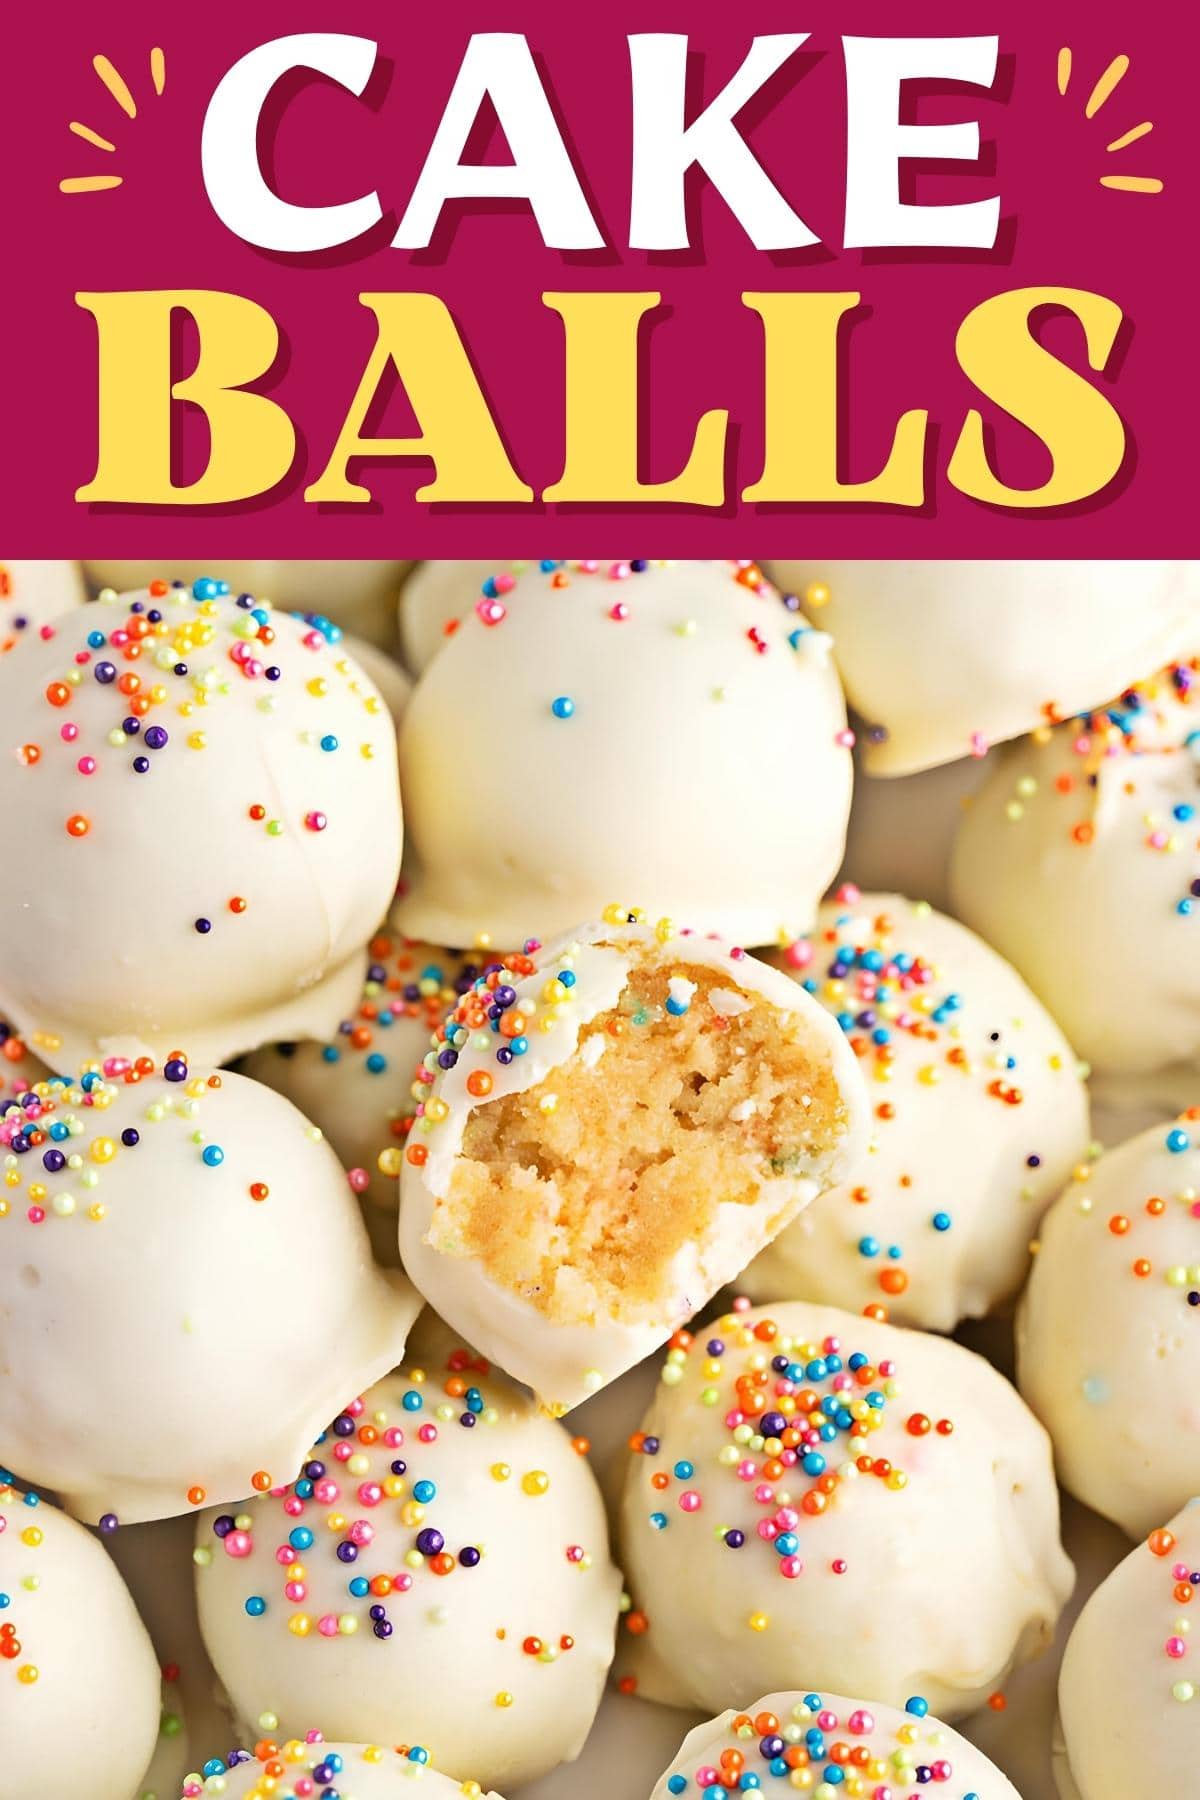
Cake Balls
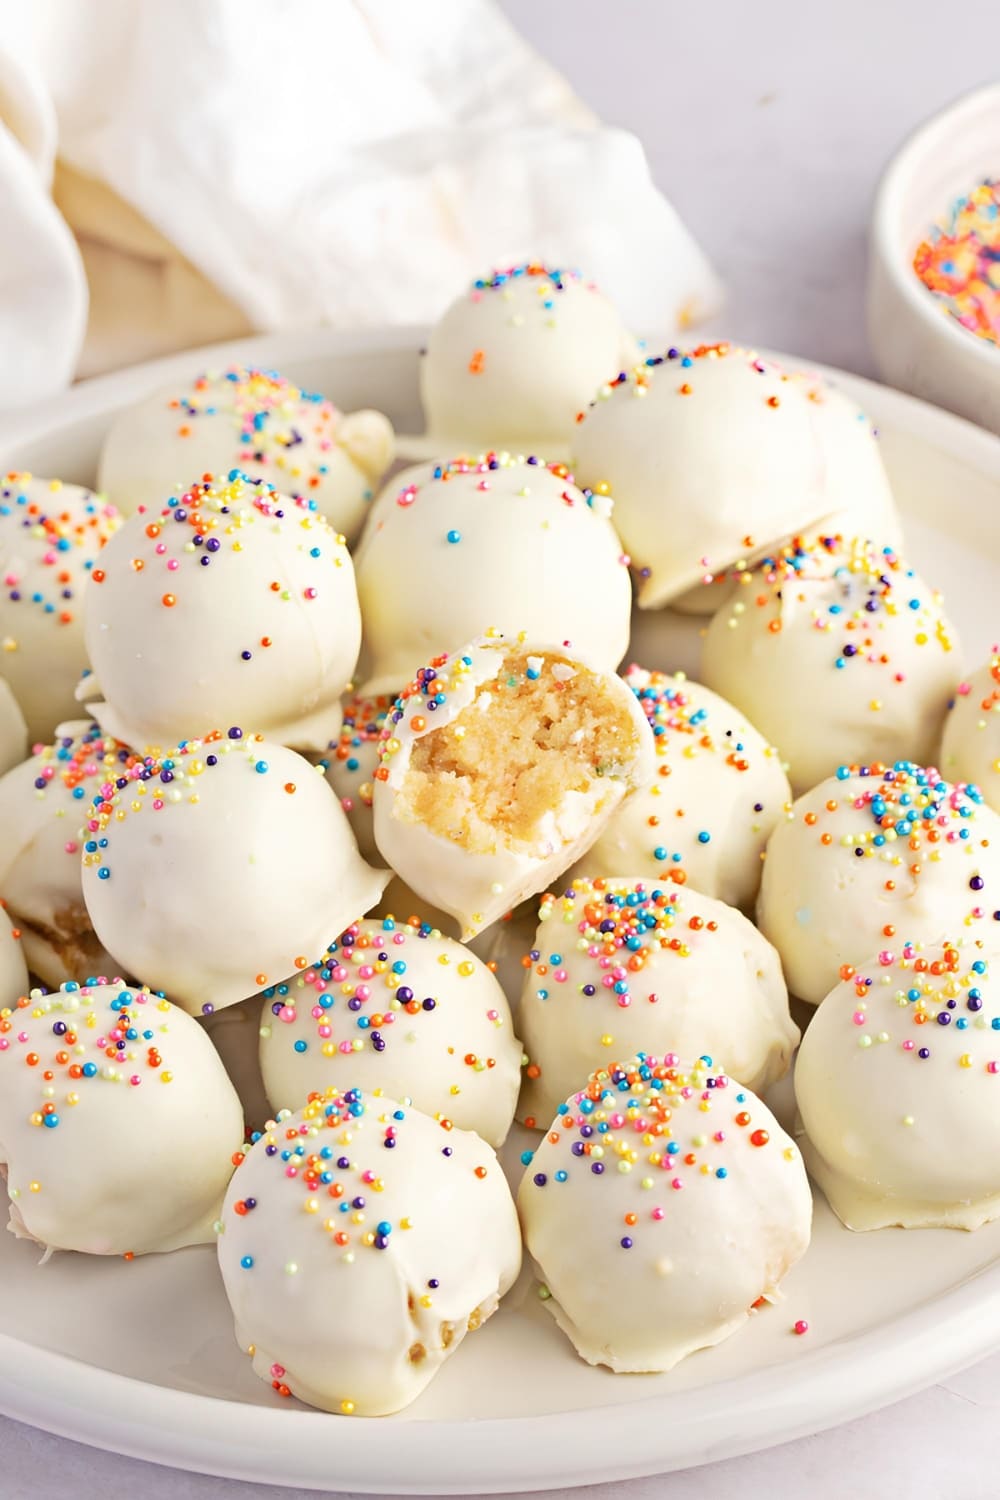
Cake balls are bite-sized balls made of cake and frosting. The balls are coated in white chocolate and jazzed up with rainbow sprinkles.
I love making this recipe when I have leftover cake. It’s a great way to repurpose those last few slices no one wants to eat.
Once you’re done, your leftover cake will transform into a dessert no one can resist!
The best thing about it is you can make dozens of variations using the same formula. The possibilities are endless if you have cake, frosting, and melted chocolate!
Ingredients
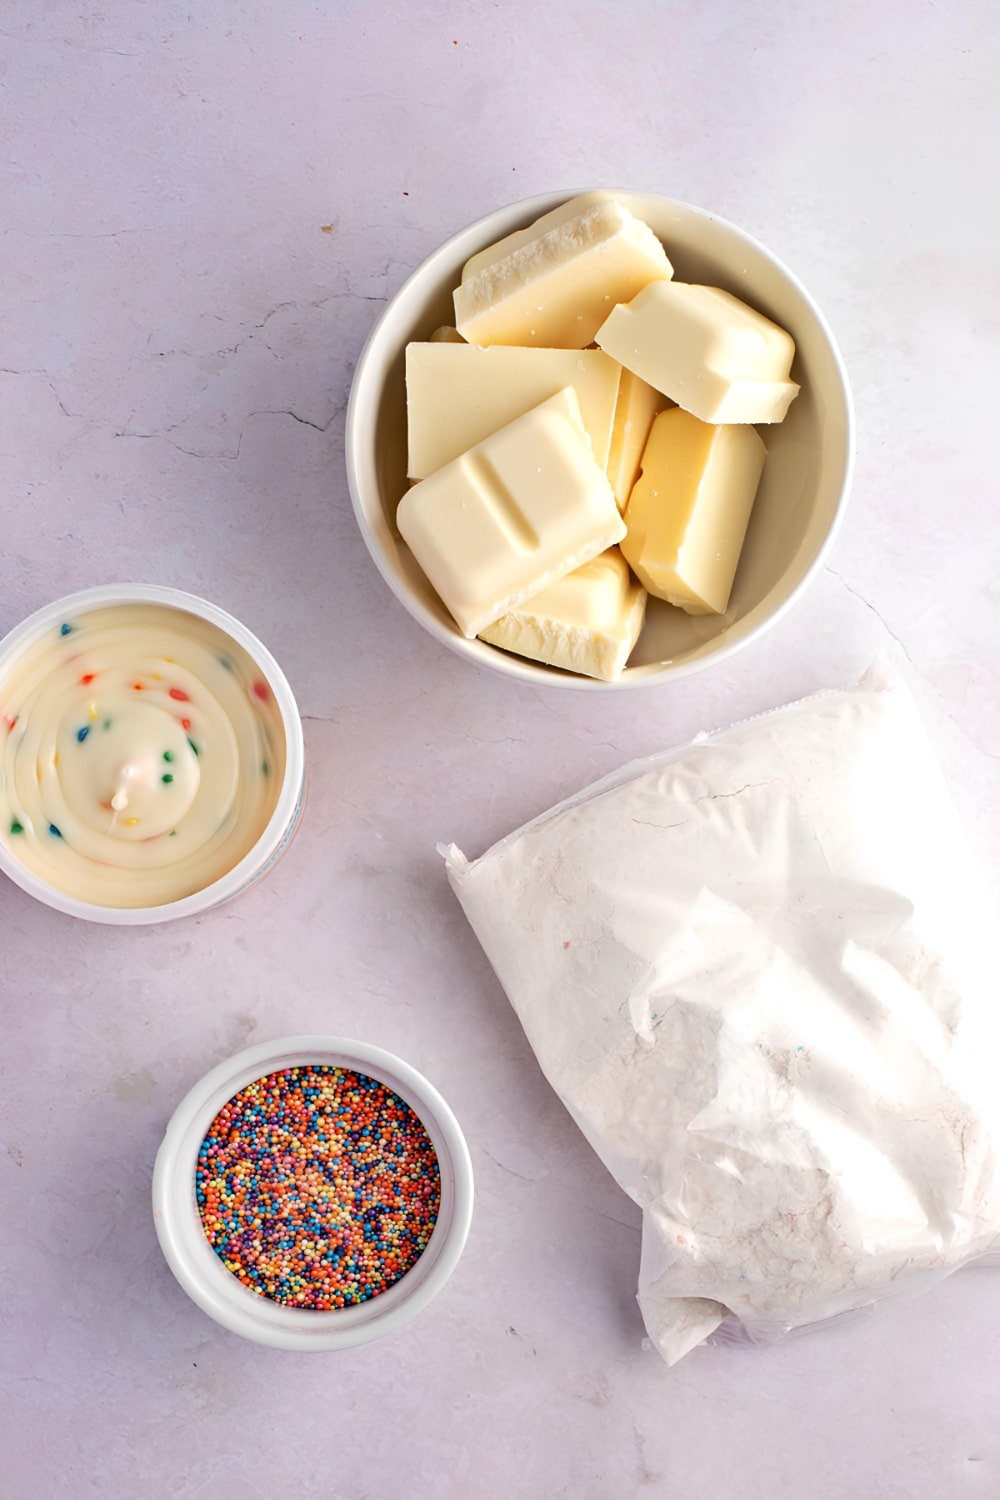
It only takes four ingredients to make these tempting treats.
- Cake – Any flavor of cake works here. You can also either use cake mix or bake a homemade cake. Or, use leftovers or store-bought.
- Frosting – As with the cake, the flavor or frosting is yours to decide. Just be sure it pairs well with the cake.
- Candy Melts – Coat the cake balls with white candy melts. I use white chocolate for this recipe, but feel free to use milk or dark.
- Sprinkles – Apart from the color, sprinkles also give the cake balls a nice crunch.
How to Make Cake Balls
Follow these easy steps to master the art of making cake balls.
1. Bake the cake. Just follow what it says on the back of the box! Let the cake cool completely on a wire rack.
2. Form the dough. Once it's cool, crumble the cake into a bowl and mix it with frosting to form the dough. It should be soft, not sticky or dry.
3. Shape into balls. Shape the dough mixture into bite-sized balls. Place them on baking sheets lined with parchment paper.
4. Chill the balls. Refrigerate or freeze them for 2 to 3 hours. They need to be nice and firm when you dip them. Otherwise, they’ll break apart.
5. Melt the candy melts. Melt the melts in the microwave and pour them into a glass. This will make it easier to dip the balls.
6. Dip and decorate the balls. Dip and coat the balls in melted chocolate using a fork. Tap the fork on the edge of the glass to remove excess chocolate.
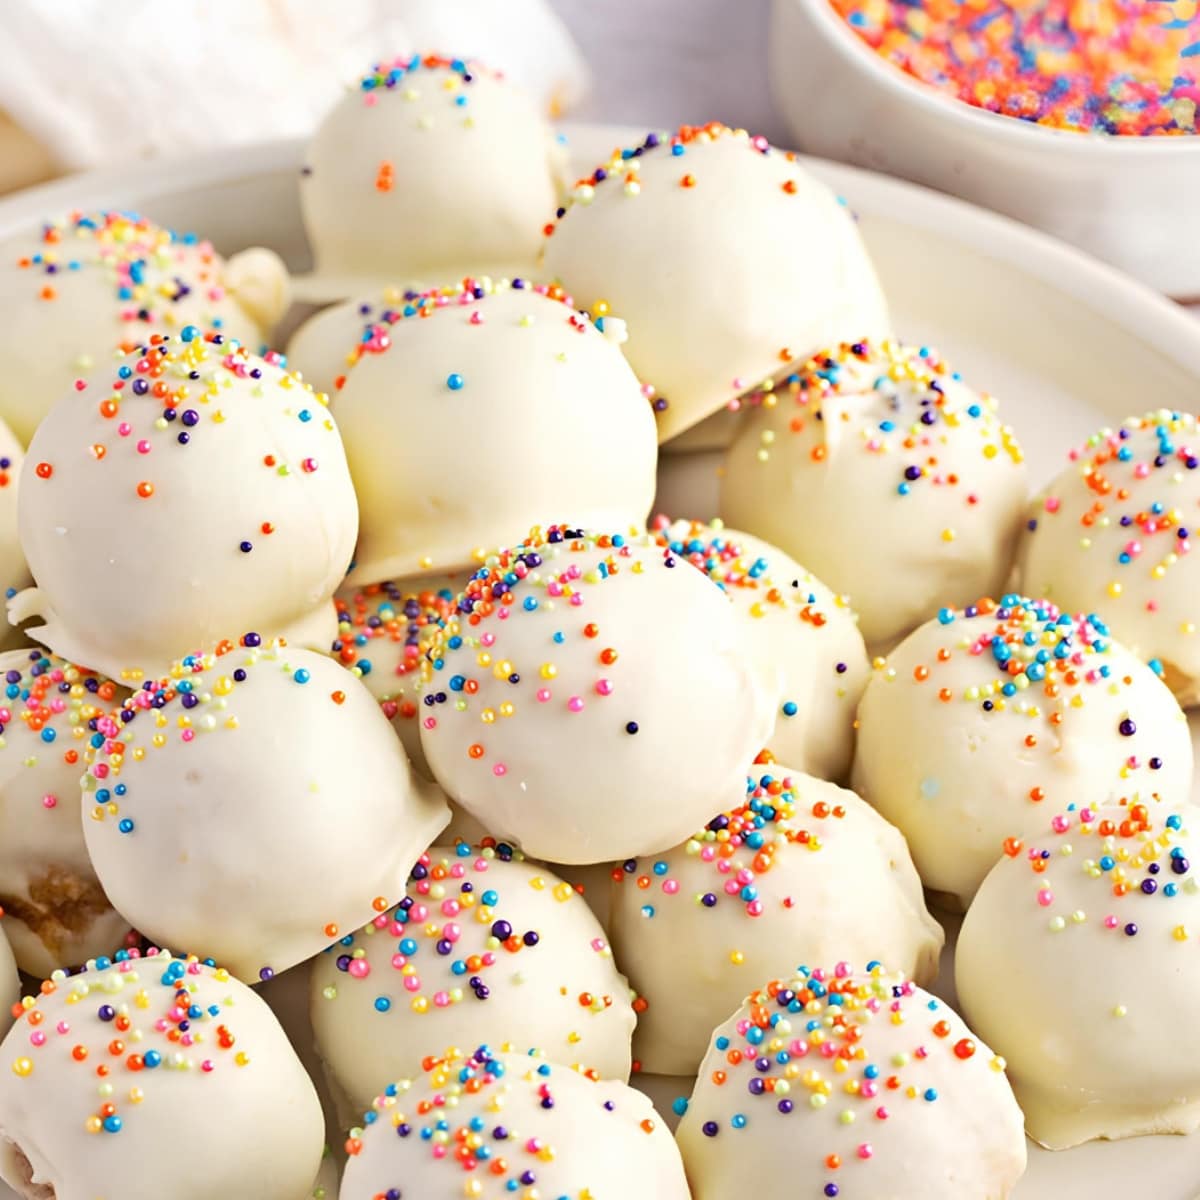
7. Place the dipped balls on baking sheets lined with parchment paper. Sprinkle them with sprinkles or nonpareils.
8. Serve and enjoy! Let the cake balls sit for the chocolate to set. Once it’s hardened, serve the cake balls and watch them disappear!
Tips for the Best Cake Balls
This recipe is so easy, but these tips and tricks will make your cake balls even better.
- Mix up the flavor. Any cake and frosting will do. I have flavor options listed down below.
- Don't be shy with the frosting. If your cake mixture is too dry, it's your cue to add more frosting.
- Use a cookie scoop to shape the balls. It’s a time-saver and ensures the cake balls are uniform in size.
- Let them chill. Chill the cake balls well before dipping. Otherwise, they’ll fall apart when you dip them.
- Presentation perfection. Place the melted chocolate in a tall, slim glass instead of a bowl. This will create a more extended surface area for dipping.
- Take a dipping shortcut. Dip five balls at a time. Store the rest in the fridge or freezer so they stay firm.
- Give them a chocolatey twist. You can use melted chocolate instead of candy melts. Mix in some coconut oil to loosen up the consistency.
- Shake off excess chocolate. Tap the fork on the edge of the glass to remove excess chocolate.
Flavor Ideas
The possibilities are endless if you stick to the formula. Let your creative juices flow, or stick to these flavor suggestions.
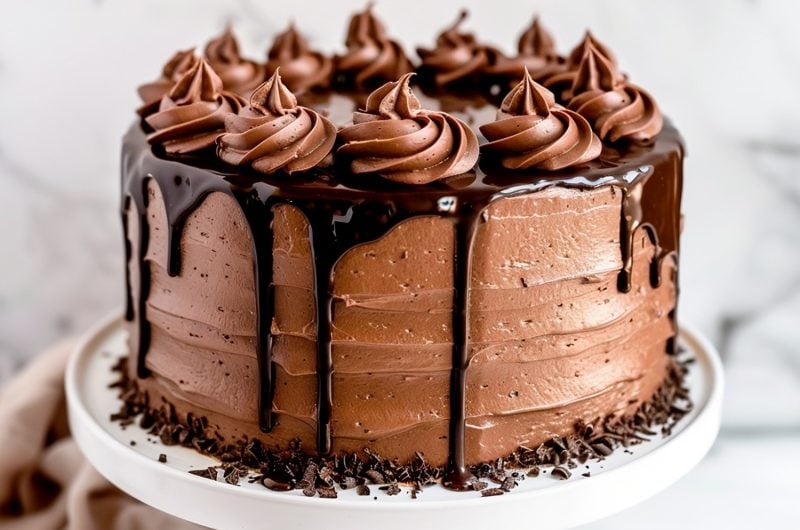
- Chocolate cake + chocolate or peanut butter frosting
- Vanilla cake + vanilla or lemon frosting
- Carrot cake + cream cheese frosting
- Red velvet cake + cream cheese frosting
- Pumpkin cake + cream cheese frosting
- Strawberry cake + cream cheese frosting
- Spice cake + cream cheese frosting
- Lemon cake + white chocolate frosting
- Yellow cake + cinnamon frosting
- Crushed Oreos + cream cheese frosting
Feel free to use other candy melts, like milk or dark chocolate. If you want a different color, simply mix a small drop of food gel into a white chocolate melt.
You can also use specific colors of sprinkles to customize your cake balls to suit a theme.
If you don’t feel like decorating with sprinkles, you have other options:
- Crushed cookie crumbs
- Coconut shreds
- Freeze-dried fruit
- Flaky sea salt
- Toffee bits
- Melted chocolate
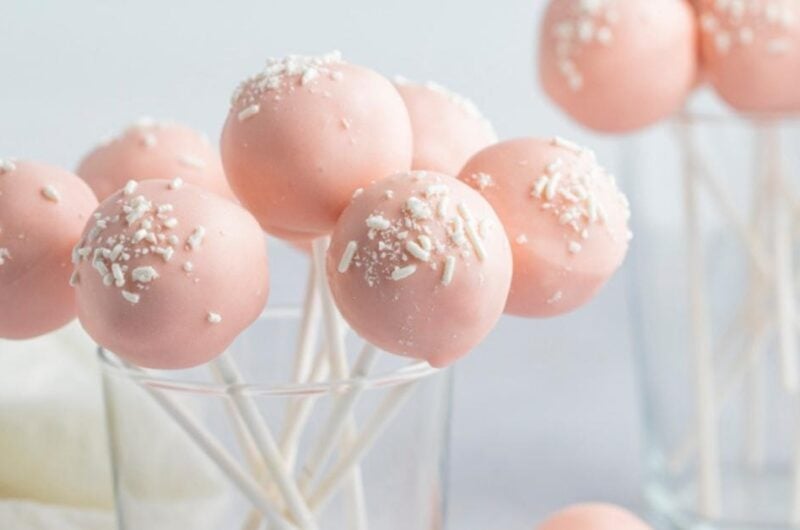
How to Turn Cake Balls Into Cake Pops
Cake balls are cake pops without lollipop sticks. To turn them into cake pops, stick a lollipop stick into the middle of each ball.
For this to work, you must ensure your cake balls are firm. Otherwise, they might split in half when you insert the stick and turn it over.
You’ll need the following:
- Cake balls
- Lollipop sticks
- Melted candy melts
- A block of styrofoam
Directions
1. Make the cake balls as instructed.
2. Dip the end of a lollipop stick into the melted candy melts. It’ll act as glue to keep the cake ball in place. Insert the stick into the center of a cake ball. Repeat with remaining cake balls.
3. Carefully flip the cake pops upside down. Push the other end of the lollipop stick into a styrofoam block. Serve once the melted candy melts have set.
How to Store & Freeze
To Store or Make Ahead:
1. Prepare the cake balls according to the recipe instructions. Once the candy coating has hardened, place the balls in an air-tight container.
2. Store the container at room temperature for up to 5-7 days. Or refrigerate it for up to 10 days.
To Freeze:
1. Place the undipped balls on baking sheets. Freeze them for 2-3 hours or until firm. Transfer them into freezer-safe bags and freeze them for up to 6 months.
2. Allow the balls to thaw for 30 minutes on the counter before dipping.
Cake Balls (Quick and Easy Recipe)
These cake balls are irresistible little treats no one can possibly pass up. Making these balls of cake and frosting is quick, easy, and fun!
5
dozens1
hour35
minutes113
kcalIngredients
1 (regular) package of Funfetti cake mix
1 (15.6-ounce) can of Funfetti vanilla frosting
1 pound white candy coating, chopped
Rainbow sprinkles or nonpareils
Instructions
- Bake the cake per package instructions in a 13×9-inch baking pan. Allow the cake to cool completely on a wire rack.
- Break up the cake into crumbles in a large bowl. Mix in the frosting until well combined.
- Shape the cake mixture into bite-sized balls and place them on baking sheets. Refrigerate or freeze them for 2 to 3 hours or until firm.
- Place the candy coating in a microwave-safe glass. Heat it in the microwave until melted. Let the melted coating cool slightly.
- Dip the cake balls in the coating with a fork. Gently shake off the excess. Place the dipped balls on baking sheets lined with parchment paper. Sprinkle them immediately with sprinkles.
- Let the cake balls sit until the coating has hardened. Serve and enjoy!


