Sourdough is more than just bread, it’s a centuries-old tradition!
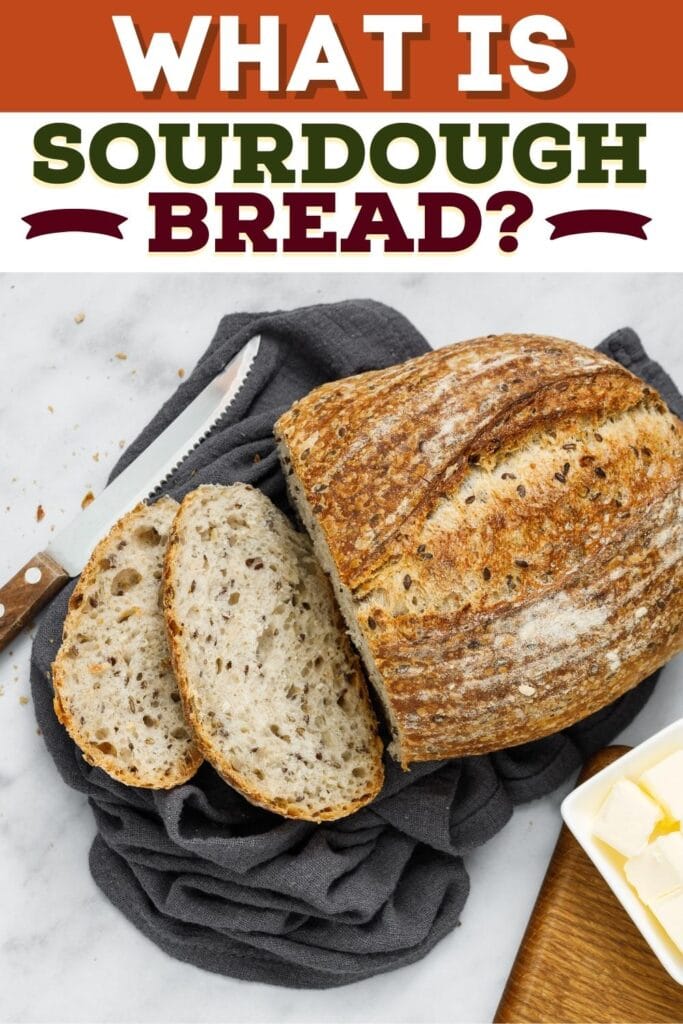
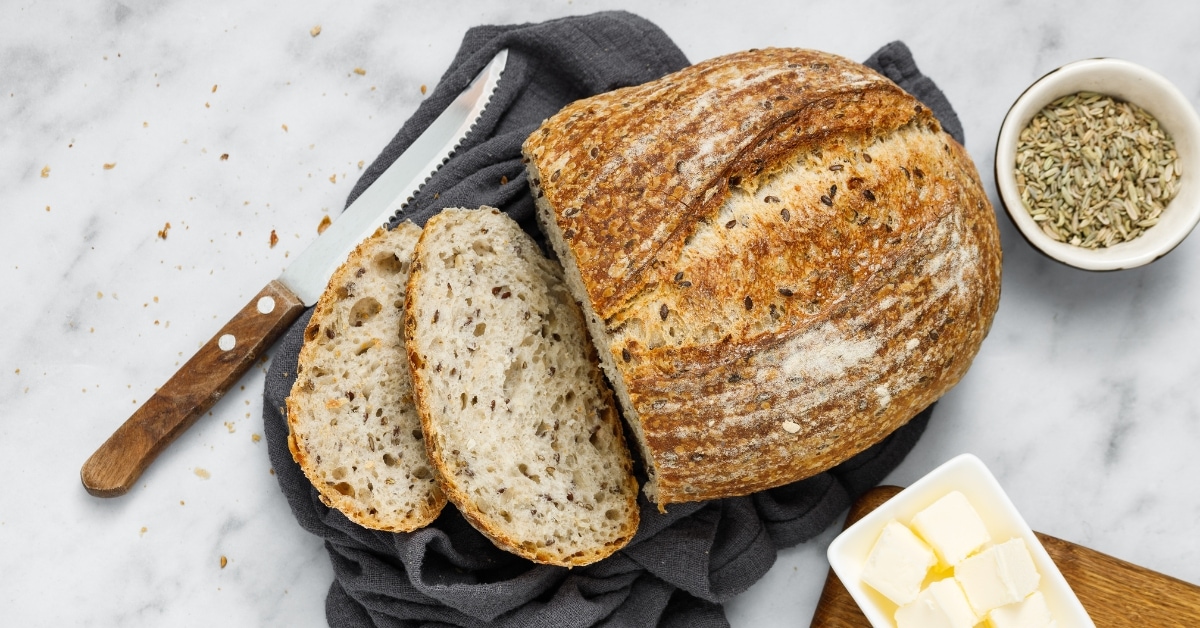
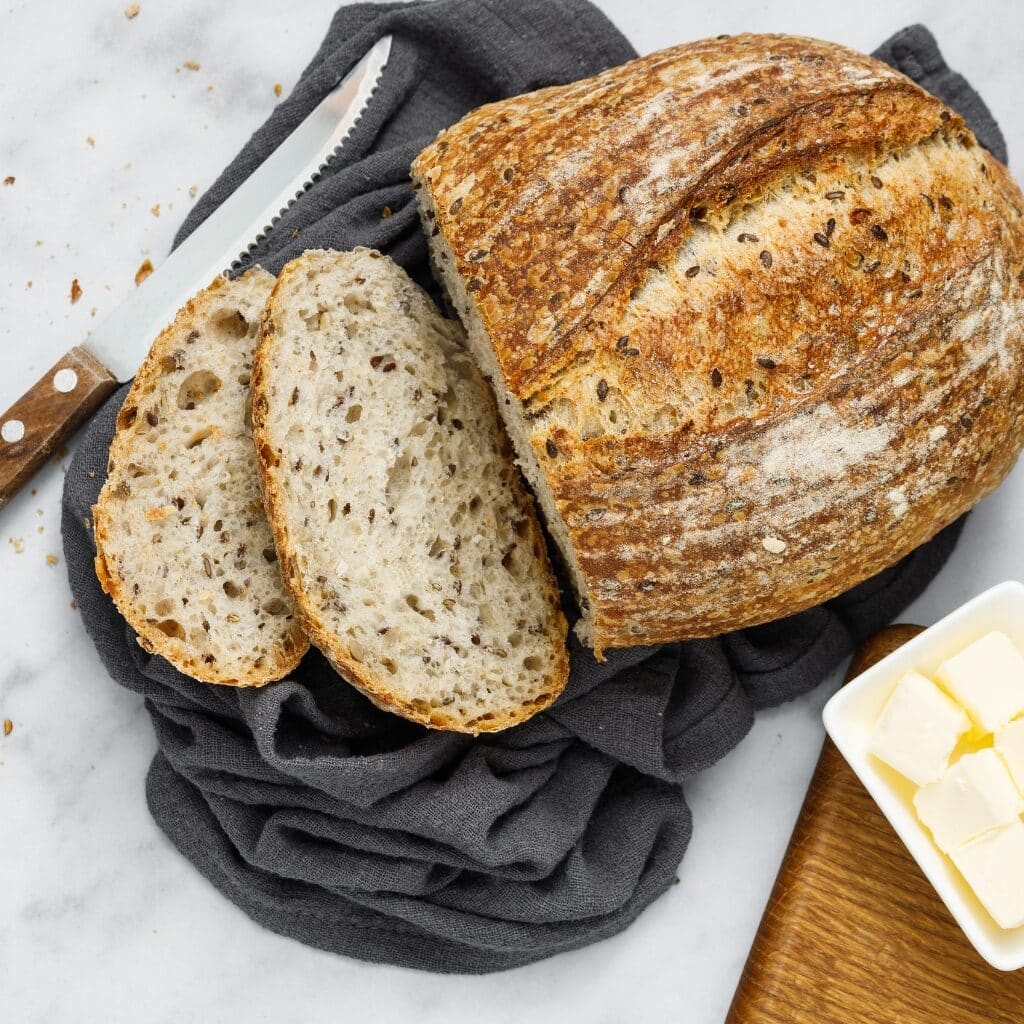
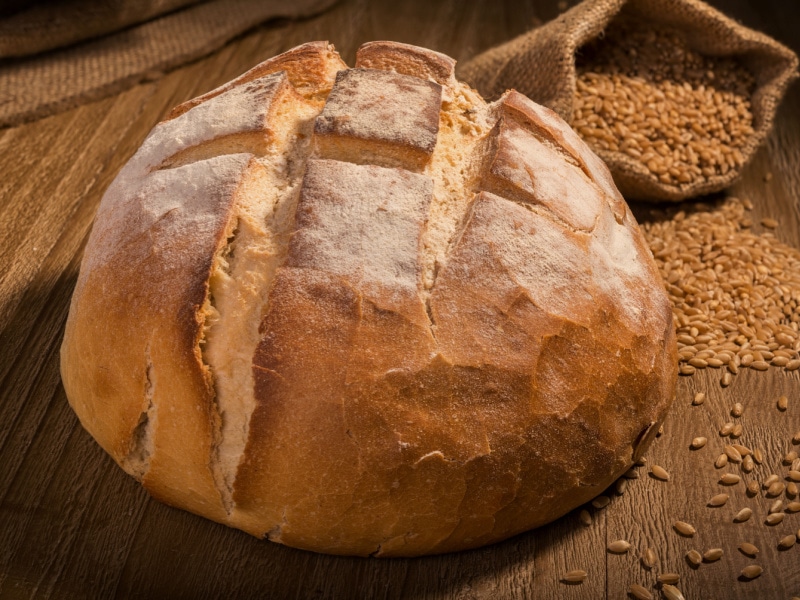
But really, what is sourdough bread? It’s a rustic and chewy loaf with a distinct tangy flavor, achieved through a natural fermentation process.
It all begins with a blend of wild yeast and beneficial bacteria.
As the dough ferments, it develops complex flavors, a beautifully blistered crust, and an irresistible texture.
And in this post, I’ll tell you everything you need to know about its history. Plus, you’ll learn an easy recipe for how to make it at home.
Get ready to dive into the world of sourdough and unlock the secrets of this timeless culinary treasure!
What Is Sourdough Bread?
So, what is sourdough bread? Is it actually bread with dough that’s soured? In a nutshell, yes!
Sourdough bread is naturally leavened via a slow fermentation process. In other words, it’s bread that doesn’t need yeast to rise.
Instead, it rises due to what we call “sourdough starter.” (Which is a live fermented culture that includes good bacteria and wild yeast.)
So, in essence, sourdough bread is sour dough, if you consider “sour” a synonym for “fermented.”
That fermentation process also results in the bread’s signature tangy flavor.
The bread features a delightfully chewy texture and a crisp outer crust. It’s also more easily digested, thanks to its lengthy fermentation process. (It helps break down the gluten.)
History of Sourdough Bread
Many forms of bread have been around for millennia. However, sourdough bread has been around longer than most other varieties.
Most experts believe it’s among the oldest forms of grain fermentation.
It most likely dates back to ancient Egypt (circa 1500 BCE), though it wasn’t called sourdough then.
Early recipes for the bread included nothing more than a starter, salt, and flour. Through the years, the recipe evolved and expanded.
It likely wasn’t replaced as the primary bread-making method until the 19th century.
That was when people started using yeast to make bread more quickly. (Thanks, mass production!)
What Makes Sourdough Bread Sour?
Sourdough bread gets its distinct sour flavor from its natural fermentation process.
As mentioned, this process involves wild yeast and bacteria. (Specifically, lactobacilli bacteria.)
The lactobacilli bacteria produce lactic acid during fermentation. Lactic acid is released as the bacteria feed on the dough’s carbohydrates.
This acid imparts the tangy or “sour” flavor characteristic of sourdough bread. The longer the fermentation, the more time the bacteria have to produce lactic acid. This intensifies the sourness.
Sourdough Starter 101
The only way to make authentic sourdough bread is with a sourdough starter.
You make that first, which can take a little time. And then you can make all kinds of loaves – and even sourdough discard recipes.
So, let’s talk about what it is and how to make it.
What Is a Sourdough Starter?
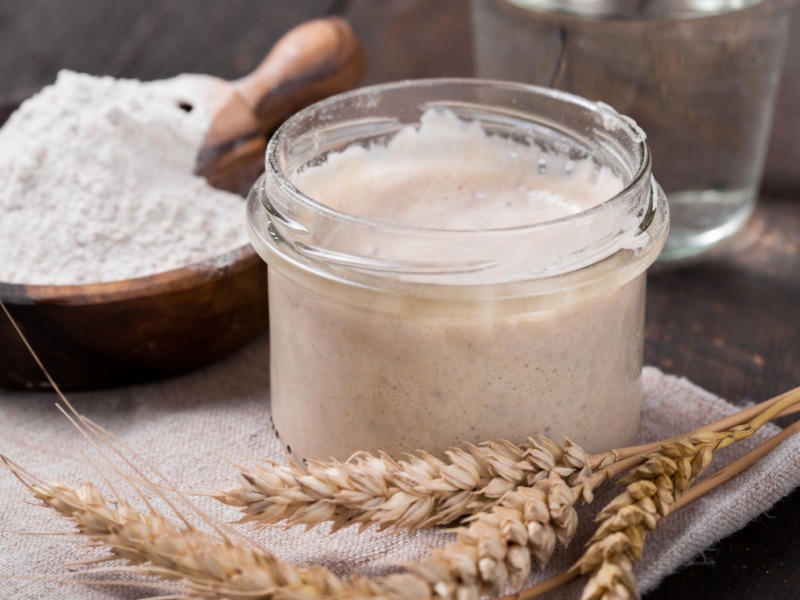
Also known as mother dough, a sourdough starter is integral to making sourdough bread.
Basically, it’s a natural culture of wild yeast and lactobacilli bacteria.
You make it by combining flour and water and allowing it to ferment over several days.
As it does, the mixture attracts and nurtures naturally occurring yeast and bacteria from the environment.
These microorganisms become active. They feed on the carbohydrates in the mixture and produce carbon dioxide gas and lactic acid.
The sourdough starter serves as a living organism. It also provides natural leavening to the bread.
How to Make a Sourdough Starter
Making your own starter takes a few days, but it’s not a complicated process. Here are the steps to follow:
Day 1
Make a batter of flour and warm water. (1 cup flour + 1/2 cup water.) Stir it well until it becomes thick and batter-like.
Then, cover the container in plastic wrap, and let it sit at room temperature overnight.
Day 2
Begin to “feed” your starter. Do this by removing part of the culture and adding fresh water and flour. Measure out approximately 2/3 cup of the starter. Throw away the remaining 1/3 cup.
Then, transfer the 2/3 cup to a glass bowl and add another cup of flour and a half cup of water. Stir it again, then return the new mixture to the now-empty jar.
At this point, re-cover the jar in plastic wrap and let it sit out overnight again.
Days 3, 4, & 5
Repeat the steps for Day 2, but do it twice daily. (Approximately every 12 hours.)
You can discard half the starter and work the remaining half each time. Or just stick to using 2/3 of it and discard 1/3 every 12 hours.
Day 5 or 6
Most of the time, the starter is ready to use by Day 5. If not, it should definitely be ready to go by Day 6.
You can tell it’s ready to use by its fresh, sour smell and how quickly it bubbles after feeding it.
A ready-to-use sourdough starter should bubble about an hour or two after every feeding.
Storing Options
Once your sourdough starter is ready, you can store it in the fridge covered in plastic wrap. After the initial 5 days, you should only have to re-feed it once a week.
It can last indefinitely if you don’t take it out and let it spoil.
How to Make Sourdough Bread
The hardest part of making sourdough bread is making the starter.
Once your starter is ready, find a good sourdough bread recipe. Then, follow the directions for making it.
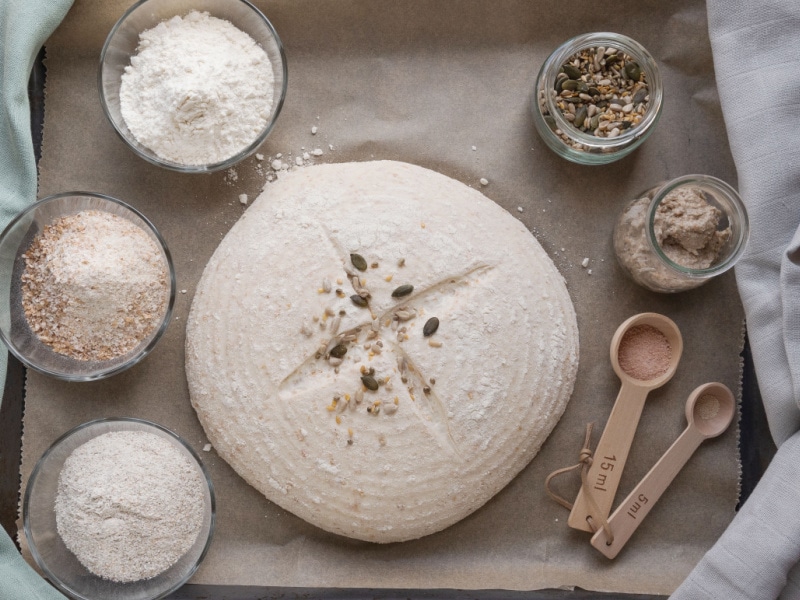
Every recipe will be slightly different. For example, some won’t even require any kneading! Here are the basic steps for making sourdough bread.
- Make the starter. Follow the steps above to do that.
- Mix the ready-to-use starter with flour and water. Then, let the mixture rest for several hours before adding salt. This is when you add additional ingredients, such as sugar.
- Fold the dough. Do this a few times to loosen it up. Then, let it rest for another 30 minutes. Continue this process until the dough is stretchy, smooth, and easy to work with.
- Let the dough rise. Once the dough is pliable, let it rest one final time. It should rise and eventually will be about 1-1/2 times its original size.
- Shape the dough. At this point, shaping the dough shouldn’t be difficult.
- Bake. Bake the bread using the time and temperature outlined in your recipe.
- Cool. Let the fully baked bread cool for at least 2 hours before serving, slicing, or storing it.
Can You Freeze Sourdough Bread?
You absolutely can freeze sourdough bread! Allow it to fully cool first, then wrap it in aluminum foil. Once it’s wrapped, slide the bread into a freezer-safe Ziploc bag.
Remove as much air from the bag as possible before sealing it. Then, add the date, and freeze the bread for up to 2 months.
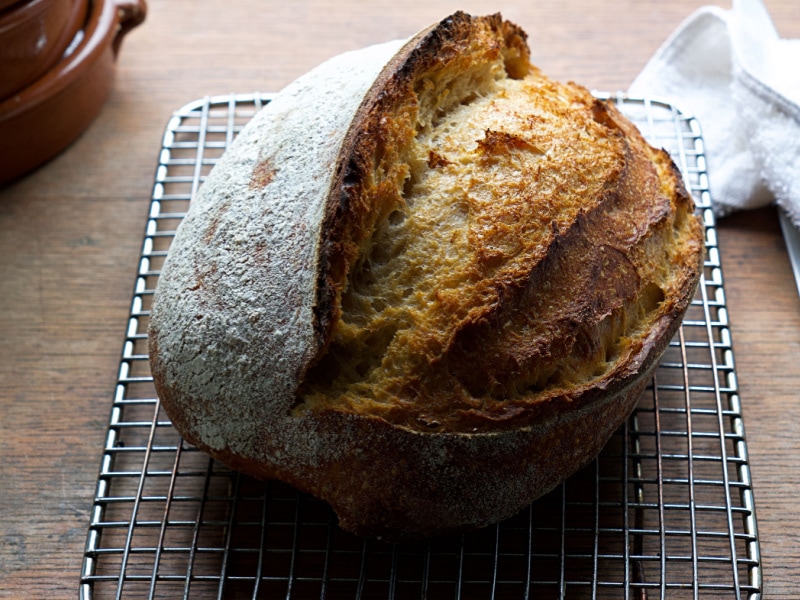
When you want to serve it, bring it from the freezer and place it unwrapped on a wire rack. Cover it with a tea towel so it doesn’t get soggy or dry out.
It’ll take several hours to thaw out fully.
