This basic scone recipe is so simple, you’ll find yourself making it all the time. And that’s perfect because scones are great not just for special occasions but for any day of the week!
Scones are especially yummy when eaten with coffee or tea, making them an excellent treat for breakfast or brunch with friends. These elegant biscuits may be partnered with anything sweet or savory. You can create a variety of flavors with this basic scone recipe. I’ve added 7 of my favorites to the bottom of this post.

What are scones?
Scones are a classic pastry often served with jam or butter. They are butter and flaky on the outside and soft and moist on the inside. People usually eat them for breakfast, brunch, or during afternoon coffee or tea.
Traditional English scones are round, light and airy. Basically, they’re the English counterpart of the American biscuit. In the United States, scones come in a triangular shape. They have more of a semblance to a muffin, albeit a little denser. And, unlike the biscuit, a scone recipe calls for eggs to give them more structure.
These quick breads make use of baking powder as a leavening agent, which speeds up the baking process.
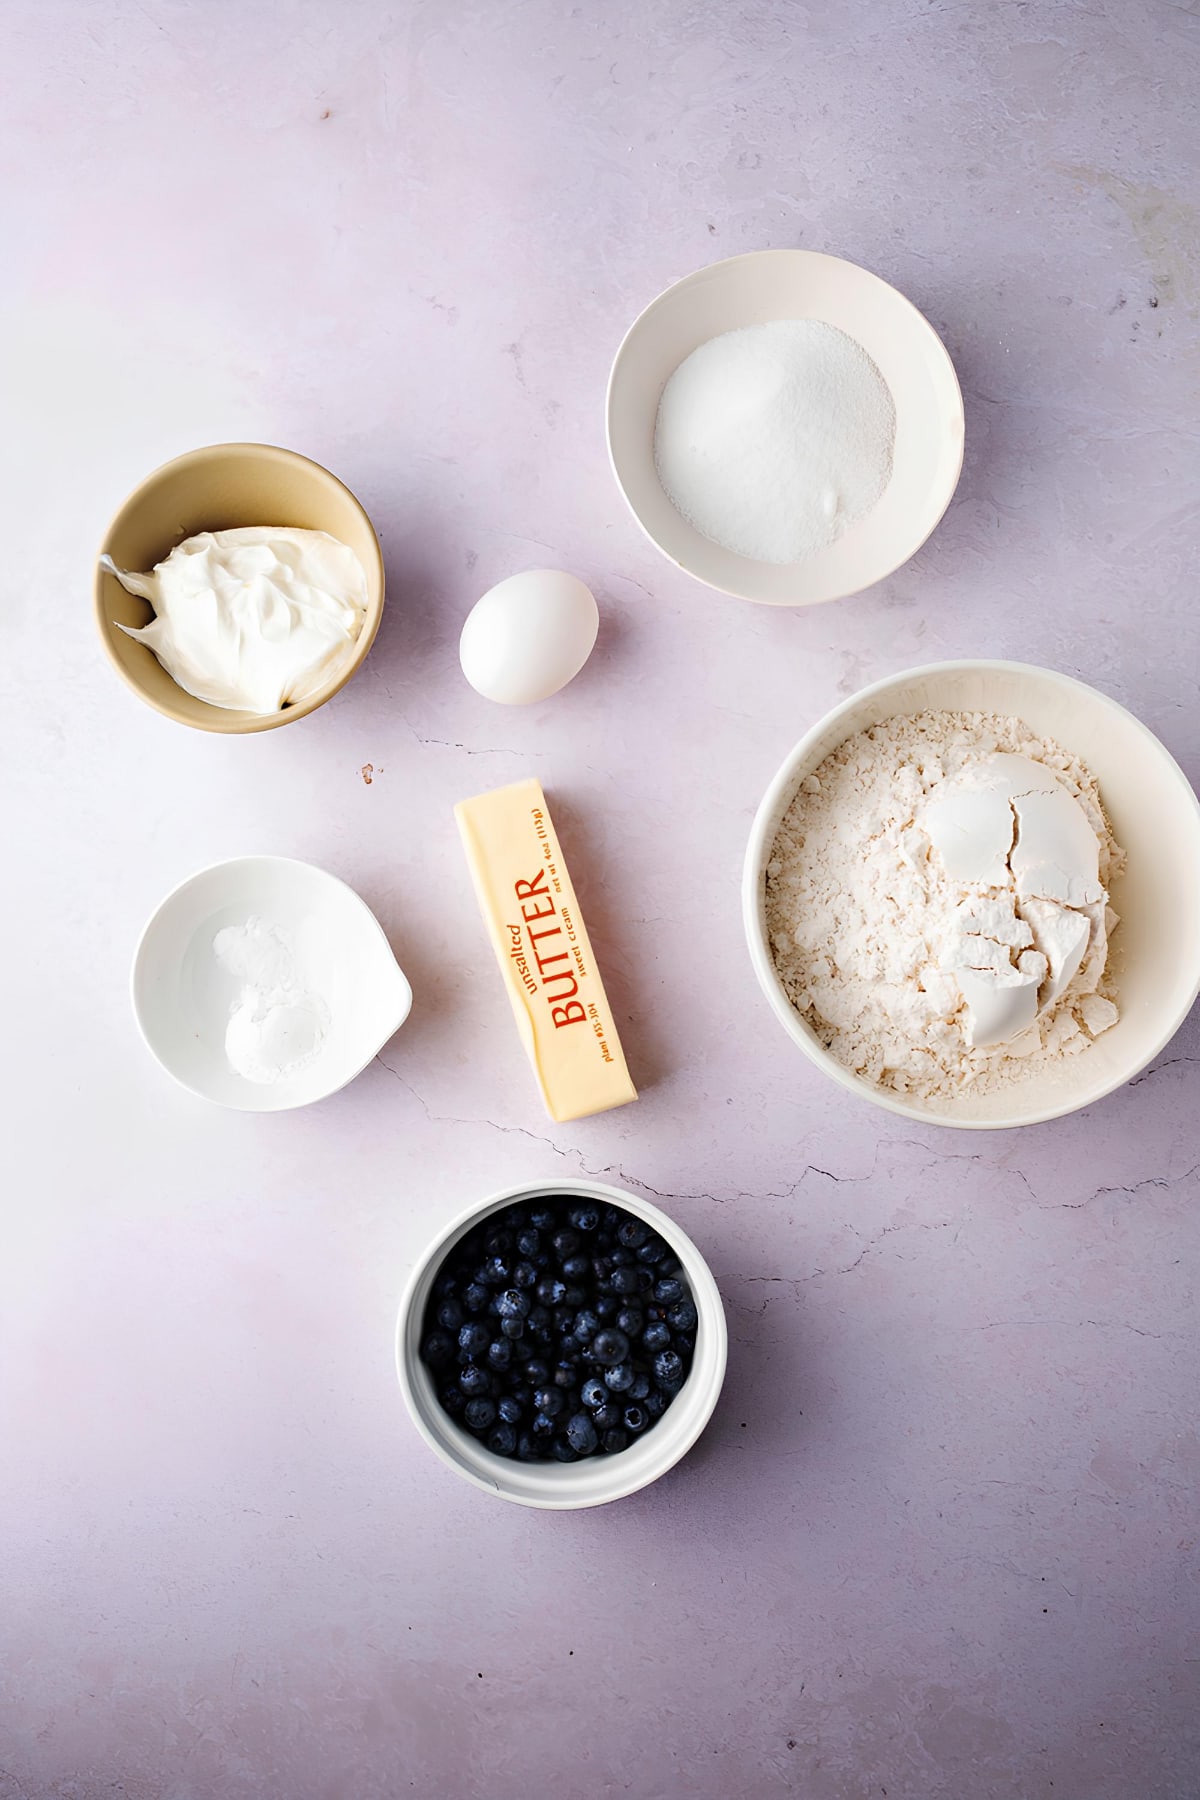
Ingredients
You’ll find many variations of scone recipes, but I bet all of them will have the same basic ingredients. The best-tasting scones follow a similar formula. Here’s what you need to make a basic scone:
- All-purpose flour. A necessary ingredient for any pastry. You’ll need 2 cups for this recipe. But you’ll also need more for the kneading surface and your hands.
- Frozen unsalted butter, 8 tablespoons. The second main ingredient in this recipe. The butter makes the scones flaky and what will give them crisp edges. It also helps make the dough rise.
- White Sugar. I use 1/3 cup in this recipe, but if you want a more savory scone, you can decrease the amount to 2 tablespoons. You may also use brown sugar instead, but you must prepare the recipe a bit differently: add the sugar with the wet ingredients instead of the dry, and mix well to avoid lumps.
- Baking powder, 1 teaspoon. The leavening agent that enables the dough to rise.
- Baking soda, 1/4 teaspoon. Assists the baking powder in lifting the dough.
- Salt, 1/2 teaspoon. To balance the sweetness of the sugar.
- Sour cream, 1/2 cup. Others use heavy cream or buttermilk – those will work fine, too. If you can’t have dairy, used canned coconut milk instead.
- Large egg, 1 whole. It gives your scones structure.
- Raisins or dried currants, 1/2 cup. There are other options to choose from to flavor your scones. Check out the “Variations” section below for more details.

How to Make a Basic Scone
Homemade scones may seem intimidating to make at first, especially for non-bakers; but with this straightforward recipe, anyone can make soft, flaky, and buttery scones!
- Place your oven rack in the lower-middle section and preheat oven to 400 degrees Fahrenheit.
- In a bowl, combine 1/3 cup sugar, flour, baking soda, and salt. Add grated butter into the dry ingredients. Use the large holes of a box grater to form big chunks of butter. Use your hands to mix the batter. You’ll know it’s done when it forms a coarse meal. Add the raisins (or dried currants).
- In a separate bowl, combine the egg and sour cream. Mix until smooth.
- Pour the sour cream mixture into the batter until you form dough clumps. With your hands, press the dough against the bowl to form a ball. Take note that the dough might seem sticky and liquid in the beginning, but don’t worry, the dough will thicken nicely as you press it.
- Sprinkle flour onto a clean flat surface. Place the dough on the surface and form into a 7- to 8-inch-circle (about 3/4-inches thick).
- Sprinkle dough with a teaspoon of sugar. Cut the dough into eight triangles. Place the triangles on a cookie sheet, about 1-inch apart.
- Bake for 15 to 17 minutes, or until golden. Allow scones to cool for 5 minutes. Serve either warm or at room temperature.
- Pat yourself on the back for a job well done. You pulled it off!
Tips & Tricks
- The magic of grating butter. Unlike other baked recipes that require room temperature butter, frozen butter is the key to making flaky and buttery scones. You’ll want a crumbly batter, so the best way to achieve that is to grate your frozen butter.
- Aside from a box grater, you can also use 2 forks, a pastry cutter, or even your hands to cut your butter.
- While you can use a food processor, you risk overworking the dough. With scones, you’ll want to mix the dough as little as you can. You want to end up with crumbly, not smooth, dough, so the best option is to work with your hands. It’ll be messy, but worth it!
- If you want an extra golden brown hue to your scones, brush them with a bit of buttermilk or heavy cream right before you pop it in the oven.
- Scone dough will act so much better when baked cold. So, refrigerate your dough triangles for 15 minutes before you bake them. You can also refrigerate overnight if you have the patience to wait longer. This will reduce the risk of over-spreading.
- If you’re on a gluten-free diet, you can use gluten-free instead of all-purpose flour, but let the dough bake for a few more minutes since gluten-free pastries need more time to cook.
Variations
What’s great about scones is that can add-in a variety of different flavors, toppings, fruits, chocolate chips, and more!
Here are some fun flavors that work fantastic with this recipe. Mix and match these ingredients to suit your taste buds.
Sweet
- Chocolate – White, dark, or milk chocolate will all taste great.
- Berries – Blueberries, raspberries, cherries, strawberries, blackberries or cranberries – take your pick.
- Fruits – Bananas, peaches, caramel apple all make for an excellent scone. Just be sure to pat dry wet ingredients, such as peaches, using a towel before adding to the mixture.
- Zests – You can add orange, lemon, or lime.
- Nuts – Pecans, walnuts, pistachios, or shredded coconut (okay, I know coconut isn’t a nut, but you get my point).
- Spices – Cinnamon nutmeg, clove, ginger, cardamom.
- Extracts – mint, vanilla, almond, or anise.

Can You Freeze Scones?
Yes. Place your scones in an air-tight container, a Ziploc bag, or simply wrap them with aluminum foil. Properly stored in the freezer, they will last for 2 to 3 months.
Quick Note: Add toppings like icing or powdered sugar AFTER you pull them out of the freezer and fully thaw.
To thaw, place on the counter for a few hours or leave in the refrigerator overnight.
They taste heavenly if you warm them up in the microwave for about 30 seconds.
Enjoy!












Absolutely delicious
Never made scones, would love to try these!
Being English I just love scones and find the tips you give very helpful.
These were delicious!! And so easy to make… I got so many compliments from guests at my High Tea 🙂
Did I miss the “+ 7 flavors” part?
Hi, Donna!
You’ll find them in the “Variations” section. Basically, this recipe is for a “basic scone.” But the variations section lists different add-ins and extracts you can use to tweak the flavor. 🙂