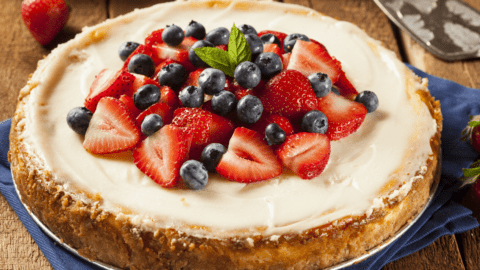


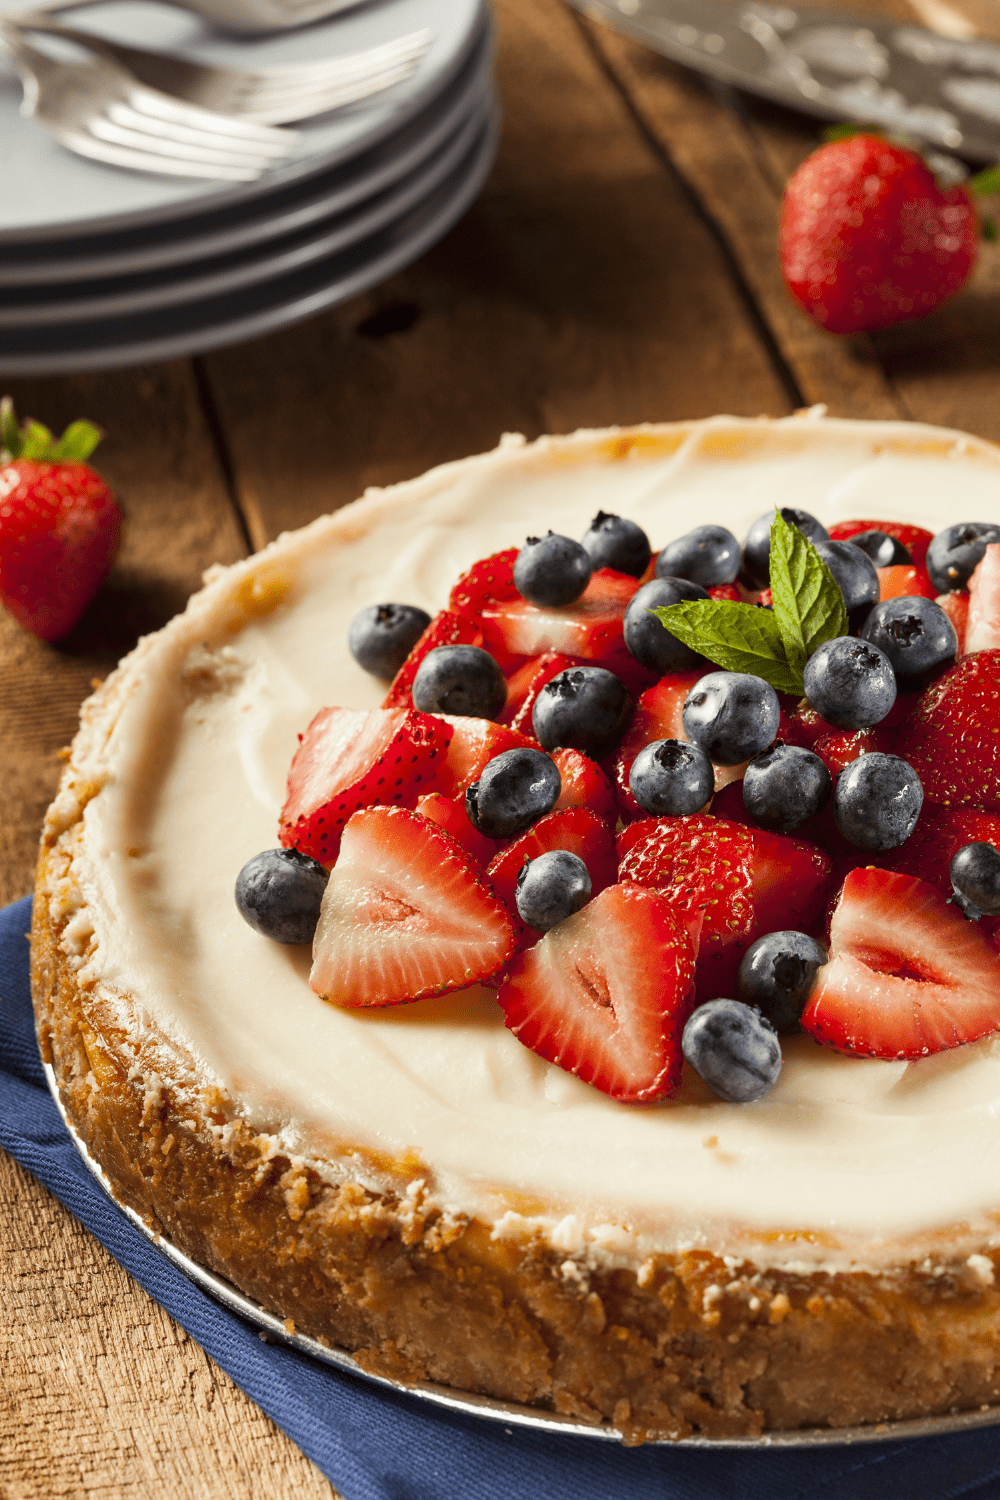
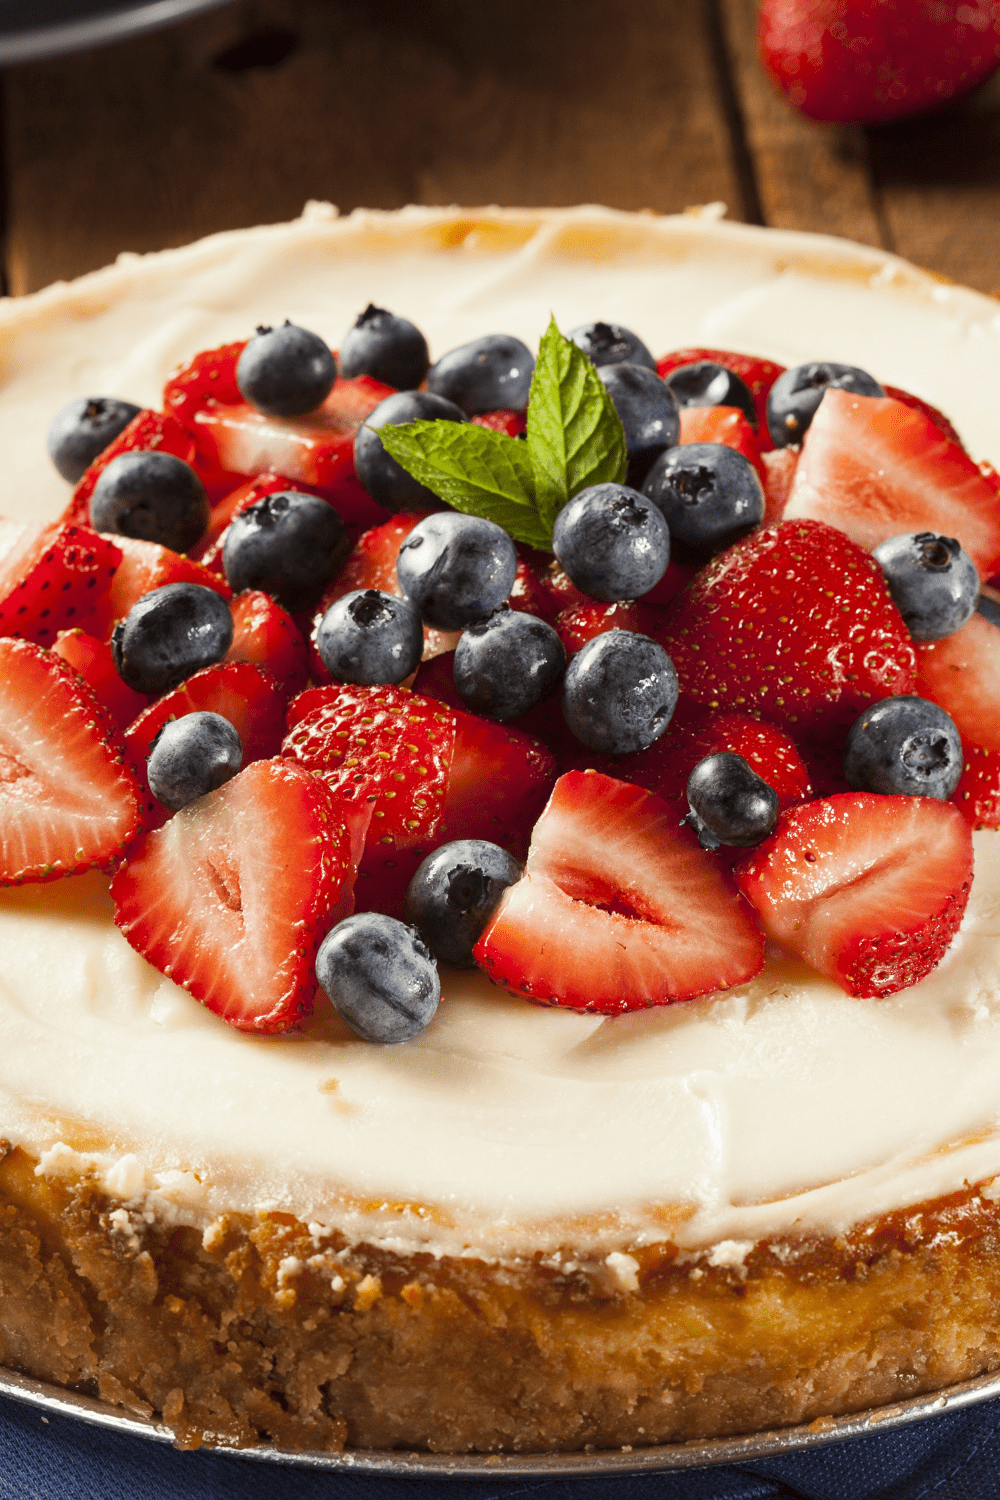
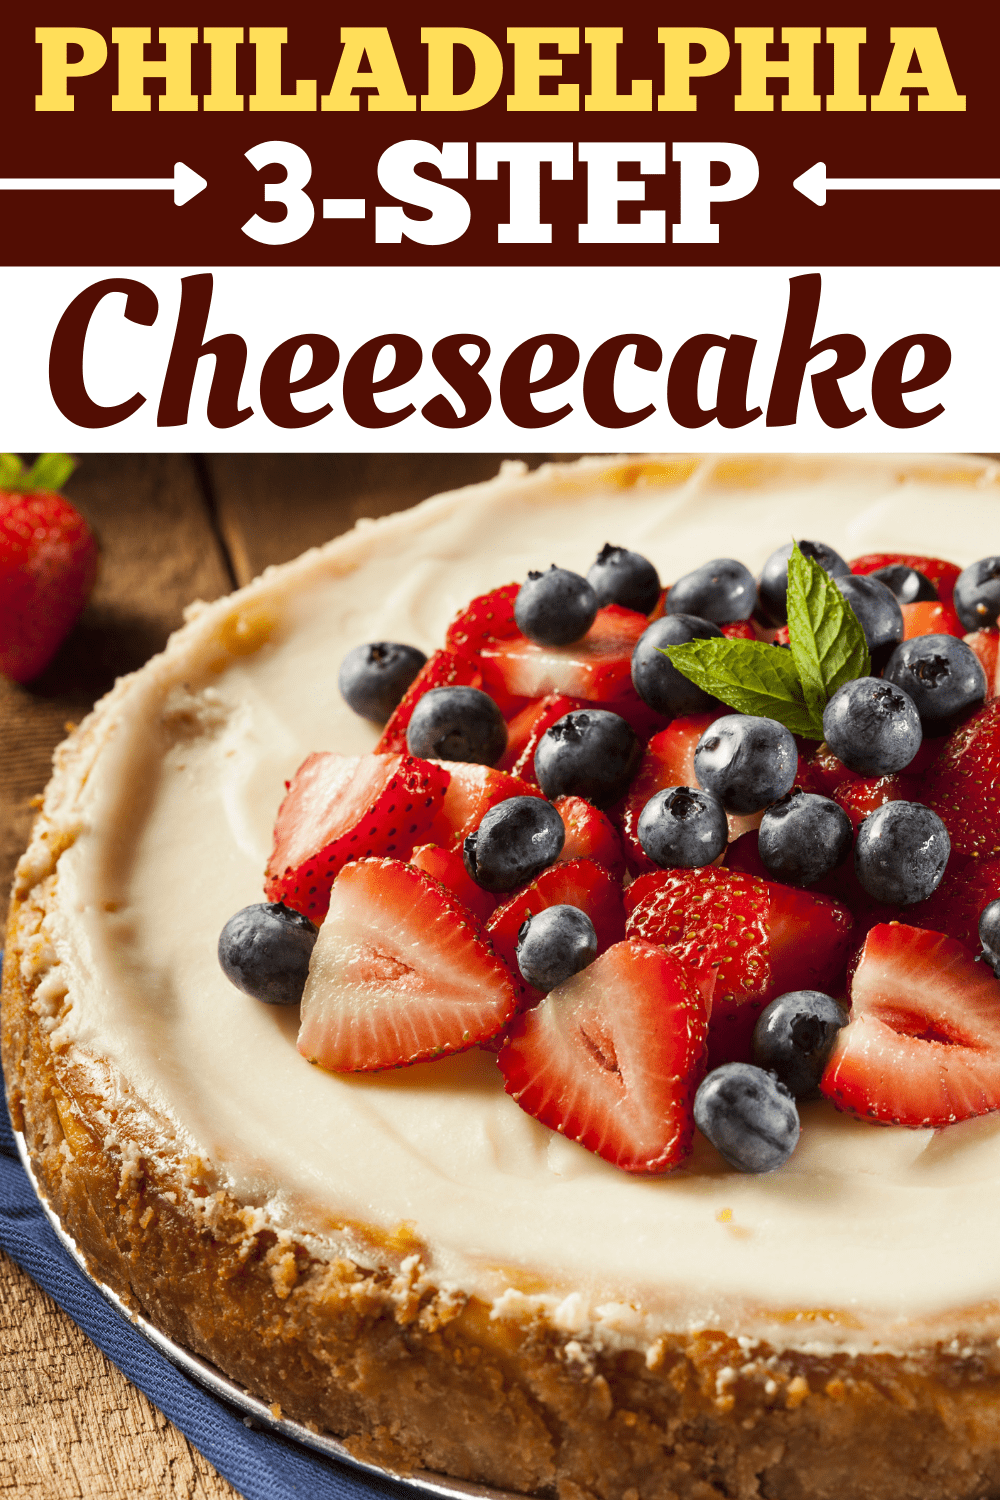
Looking for the perfect cheesecake recipe that’s beginner-friendly? This Philadelphia 3-step cheesecake is your solution!
Sweet, tart, and creamy, it’s like a slice of heaven. Thanks to the minimal steps, it's also fuss-free.
WANT TO SAVE THIS RECIPE?
Philadelphia 3-Step Cheesecake
Why is it called Philadelphia 3-step cheesecake? Because you just beat, pour, and bake.
Seriously, cheesecake doesn’t get any easier than that. Not only is it beginner-friendly, but it’s also to die for!
The velvety cream cheese filling and buttery graham cracker crust are pure bliss. The whole thing is creamy, luscious, and decadent.
With just a few ingredients and a pre-made crust, you can nail this fool-proof recipe.
But what about cracks? Don’t worry, my tips and tricks will take care of that.
Ingredients
Just 5 ingredients?! It seems impossible, but it’s true!
These are the only things you need to make this ultra-creamy and creamy cheesecake.
- Cream Cheese – You'll want to pick full-fat cream cheese for the ultimate creamy cheesecake. Use softened cream cheese for a lump-free cake.
- Sugar – To sweeten the tart cream cheese.
- Vanilla – To enhance the flavors of the cream cheese and sugar.
- Eggs – For binding the mixture and giving it structure. Bring them to room temperature before use! Forget to take them out of the fridge? Just dip them in warm water for 2 minutes, and they will warm right up.
- Graham Cracker Crust. While you can definitely make your own, a pre-made graham cracker crust will make your life a lot easier.
Tips for the Cheesecake
Cheesecake has a reputation for being a bit tricky. Don't worry, though, these tips will help:
- Avoid cracks with a water bath. For a silky smooth top, use a water bath. Just place the cheesecake pan in a larger pan and fill it with warm water halfway. I highly recommend this step if you’re not using any toppings.
- Bring ingredients to room temp. Use room-temperature cream cheese and eggs. Softened cream cheese yields a smooth, velvety, and lump-free cheesecake. It also helps the cream cheese and eggs mix more easily.
- Use a springform pan. If you make your own crust, use a springform pan for easy serving.
- Avoid overmixing. Do so by beating the ingredients on low speed. Over-mixing will aerate the batter too much, which can lead to cracks. Also, mix just until the ingredients are well combined.
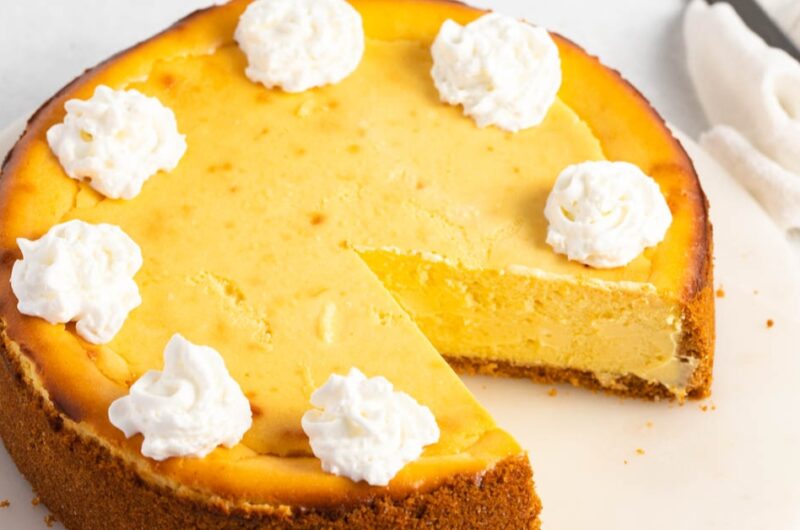
- Don’t overbake the cake. This will lead to cracks. Just bake until the edges have set, and the center is still a bit jiggly. Don’t worry, it will set and firm up as it cools.
- Let your cheesecake cool completely. You can even leave it in the oven for 30 minutes to an hour post-baking with the door open. This allows the cake to continue baking and cool gradually, while also preventing cracks.
- Hide cracks with toppings. If, after all your efforts, the cheesecake still cracks, don’t worry about it! There are lots of cheesecake toppings to choose from. They will hide cracks and make your cheesecake phenomenal.
- Chill the cake. Resist the temptation to grab a slice, even once it’s cooled to room temperature. The cake needs to firm up, so let it chill for at least 3 hours.
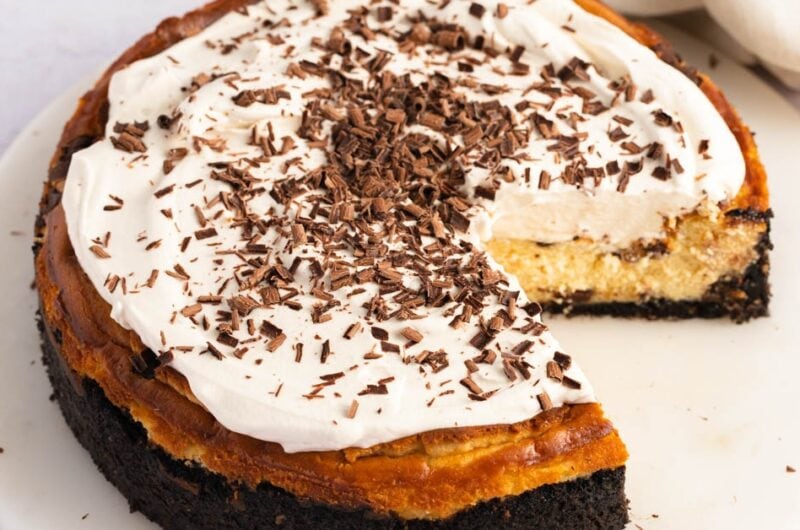
Best Toppings for Cheesecake
Now, for the fun part! Toppings are what make cheesecake look and taste even more mouthwatering.
Here are some suggestions. Feel free to mix and match!
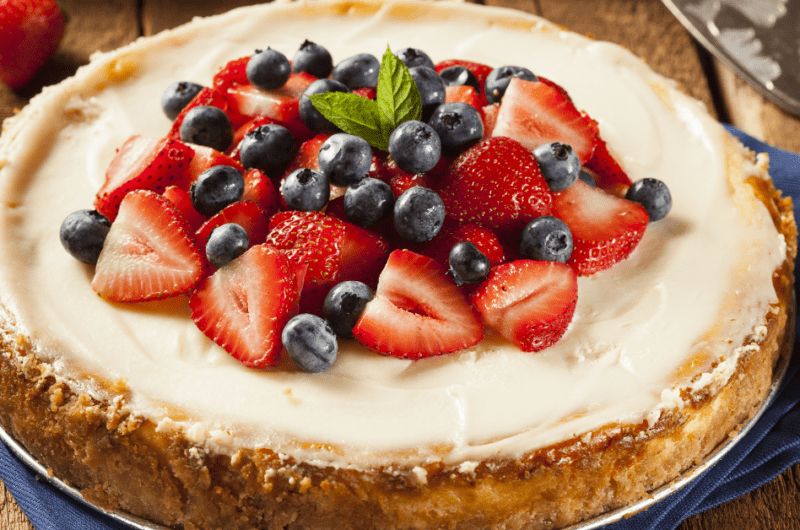
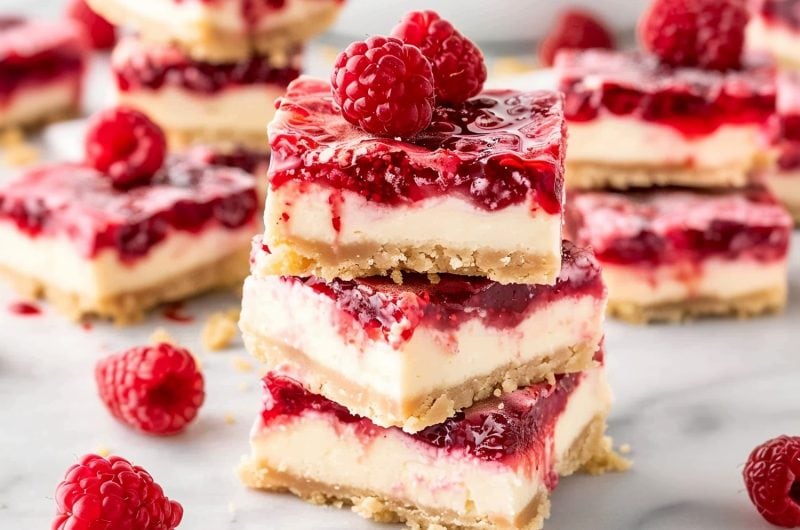
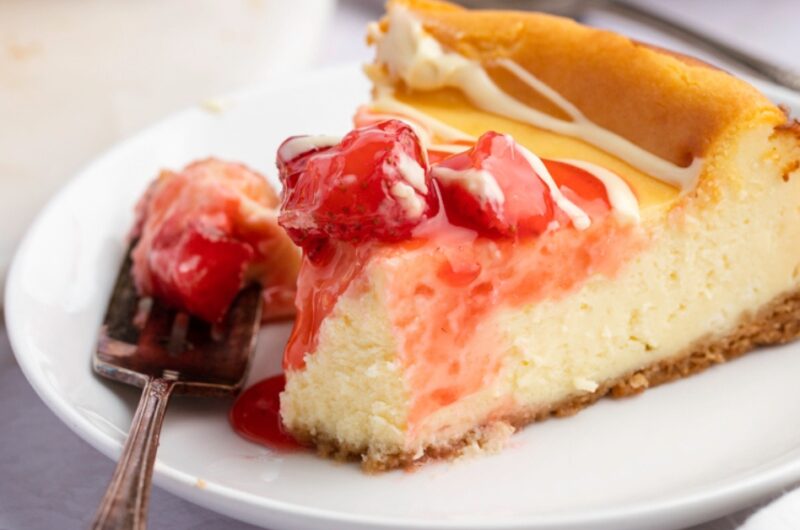
- Berries – You can’t go wrong with tart and sweet berry compotes! Whether it’s blueberry, strawberry, raspberry, your cheesecake will have lovely sweet, creamy, and fruity flavors.
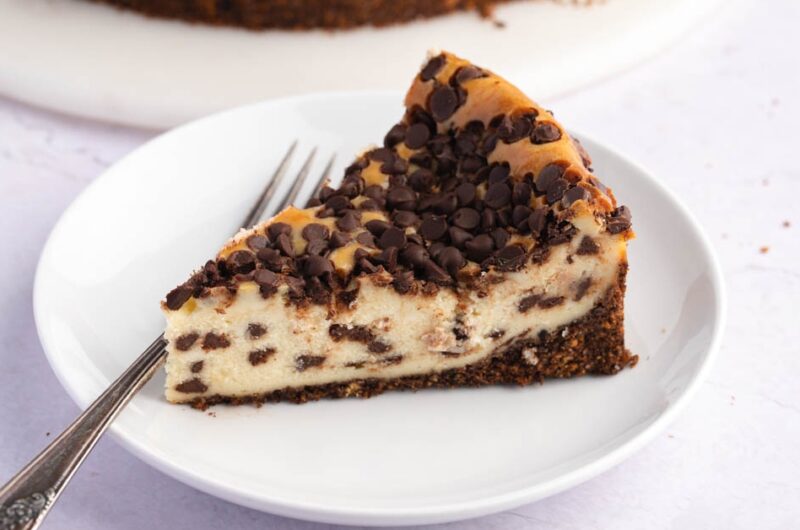
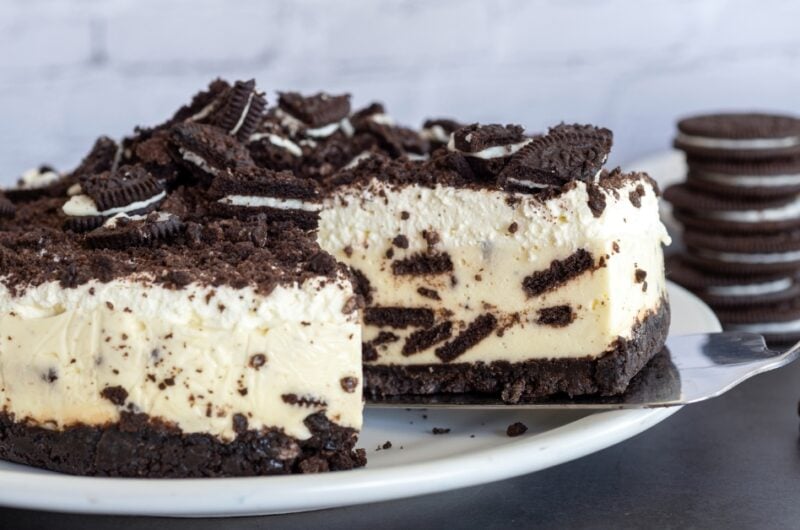
- Crushed Candy – If you have a sweet tooth, nothing tastes better than crushed candies on top of a cheesecake. How do crushed Reese’s Peanut Butter Cups, Heath Bars, or Oreo cookies sound?
- Sauces – I’m talking chocolate, caramel, and peanut butter. Take your pick!
How to Store Philadelphia 3-Step Cheesecake
Leftover cheesecake stores well in the fridge and freezer.
For the latter, don't add the toppings until serving – some toppings don't thaw so well and can become watery.
To Store: Cover the cheesecake with plastic wrap and place it in the fridge. The cheesecake will stay good for 5 to 6 days.
To Freeze: Let the cheesecake cool completely. Cover it with two layers of plastic wrap and a layer of aluminum foil. Label, then freeze. Frozen cheesecake will keep for up to 1 month.
Philadelphia 3-Step Cheesecake
This Philadelphia 3-step cheesecake recipe is easy and makes the best cheesecake you'll ever have! Learn how to make it and get tips for the best cheesecake.
8
servings10
minutes4
hours10
minutes370
kcalIngredients
2 packages (8-oz) Philadelphia Cream Cheese, softened
1/2 cup sugar
1/2 teaspoon vanilla
2 eggs
1 (9-inch) graham cracker crumb crust (store-bought or homemade)
Instructions
- Preheat the oven to 325 degrees Fahrenheit. If using a homemade crust: mix 1 1/2 cups graham cracker crumbs with 2 tablespoons sugar and 1/4 cup melted butter. Press the mix into a 9-inch springform baking dish, and set aside.
- In a large bowl, beat the cream cheese, sugar, and vanilla with a mixer on low speed until completely blended. Beat in the eggs until blended.
- Pour the mixture into the graham cracker crust, then bake for 40 minutes or until the top is light golden brown, the edges have set, and the center is still a little jiggly.
- Let the cheesecake sit at room temperature to cool. Refrigerate for 3 hours before serving. Enjoy!


16 Comments
Hello:
I’m glad I found your simple recipe. I didn’t know what a springform pan was, so I used a silver one (from pie shells) in my cupboard. I went a step or two forward by adding another 4 oz. of cream cheese which
had been frozen. Next, I combined a store-bought graham crust with some shortbread crumbs I’d frozen, making a double crust. I also sprinkled some graham crust crumbs on top of the cheesecake and just used the glaze for a separate topping spooned over a slice. I tell you, this ‘cake got tastier with each day. I only add an extra tbl’sp.of sugar with the extra cream cheese. I also added lime zest to the glaze. (I make lemonade by the gallon and add lime slices to it). The dessert didn’t take close to 4 hours. And I think I would add a tad more vanilla or even some lemon juice to the mix. Otherwise, it was a nice, mild, smooth but firm result.
Wonderful results
This is my “go-to” recipe as long as it has been published. Turns out perfect every time. I usually have all the ingredients on hand and can whip it up quickly. Perfect start for the nova bake or seasoned. Bake like myself. I always keep a can of pie filling in the pantry for topping. Never a disappointment.
love that it only has 5 ingrediants. easy to do and great for a fast-paced ifestyle
Can this be made with maple syrup – for a maple cheesecake version?
Great Recipe!
Easy and delicious. Great for a birthday gift for someone who has everything.
Can I add key lime juice to this?
This recipe turned out BEAUTIFUL! I DIDN’T put the berries on it yet. Still cooling completely. THANK YOU FOR THIS EASY BREEZY CHEESECAKE RECIPE!
Do you have a recommendation for a good springform pan. All I’ve seen have very bad ratings of leaking, rusting, etc. Thanks much.
Sandra Robbins
Hi Sandra!
I love this USA Pan Leak-Proof Nonstick Commercial Springform Pan because it has a rubber seal so it won’t leak. It’s hand-wash only, but it’s worth it for the leakproof aspect.
Another option would be this Norpro Silicone Springform Pan with Glass Base which has silicon sides and a glass bottom so it won’t rust. It’s dishwasher safe and leakproof, per the website. I haven’t tried it myself but the reviews are really good.
Hope this helps!
The Dollar Store has nice ones.
The tips you gave about cracks in my past cheesecakes were very helpful. I will try the less mixing and definitely the water bath. Thank you
Hi Stacy. So glad we could help. Cheesecake is my obsession, so I know how heartbreaking it is to see cracks.
That said, it’s always a good excuse to add toppings!
Happy baking 🙂
The picture is NOT a store bought pre-made crust!
Why not?
Hi Pam, it’s mentioned in the post that you can use store-bought or homemade. But I’ve gone ahead clarified that in the recipe card.
Hope this helps!