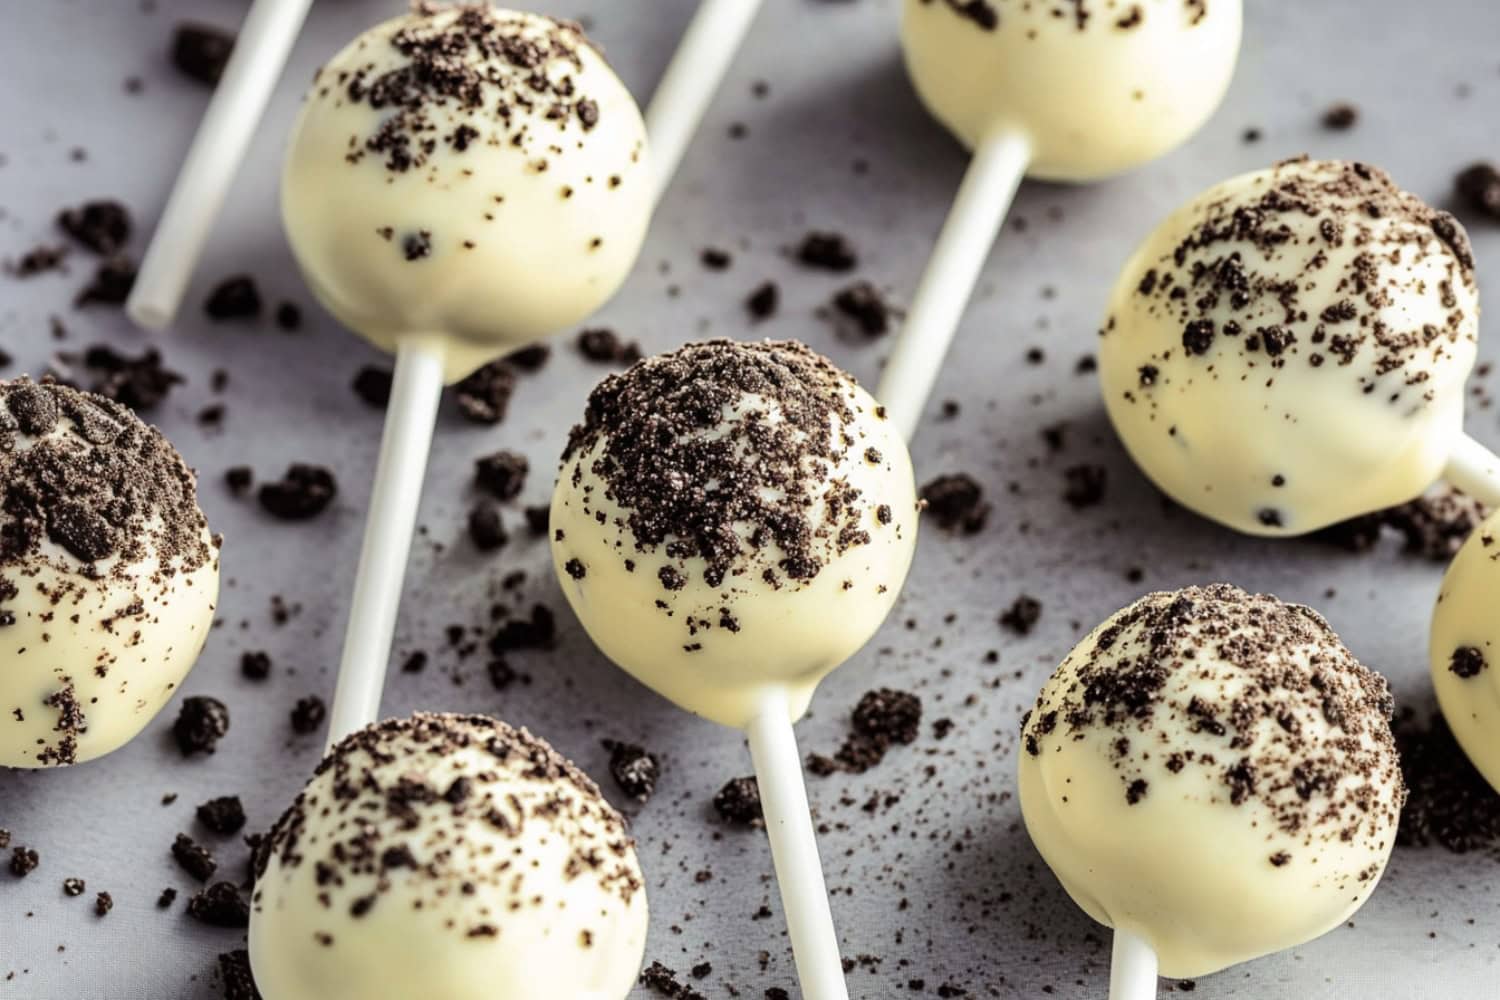
These no-bake Oreo cake pops are pure bliss on a stick!
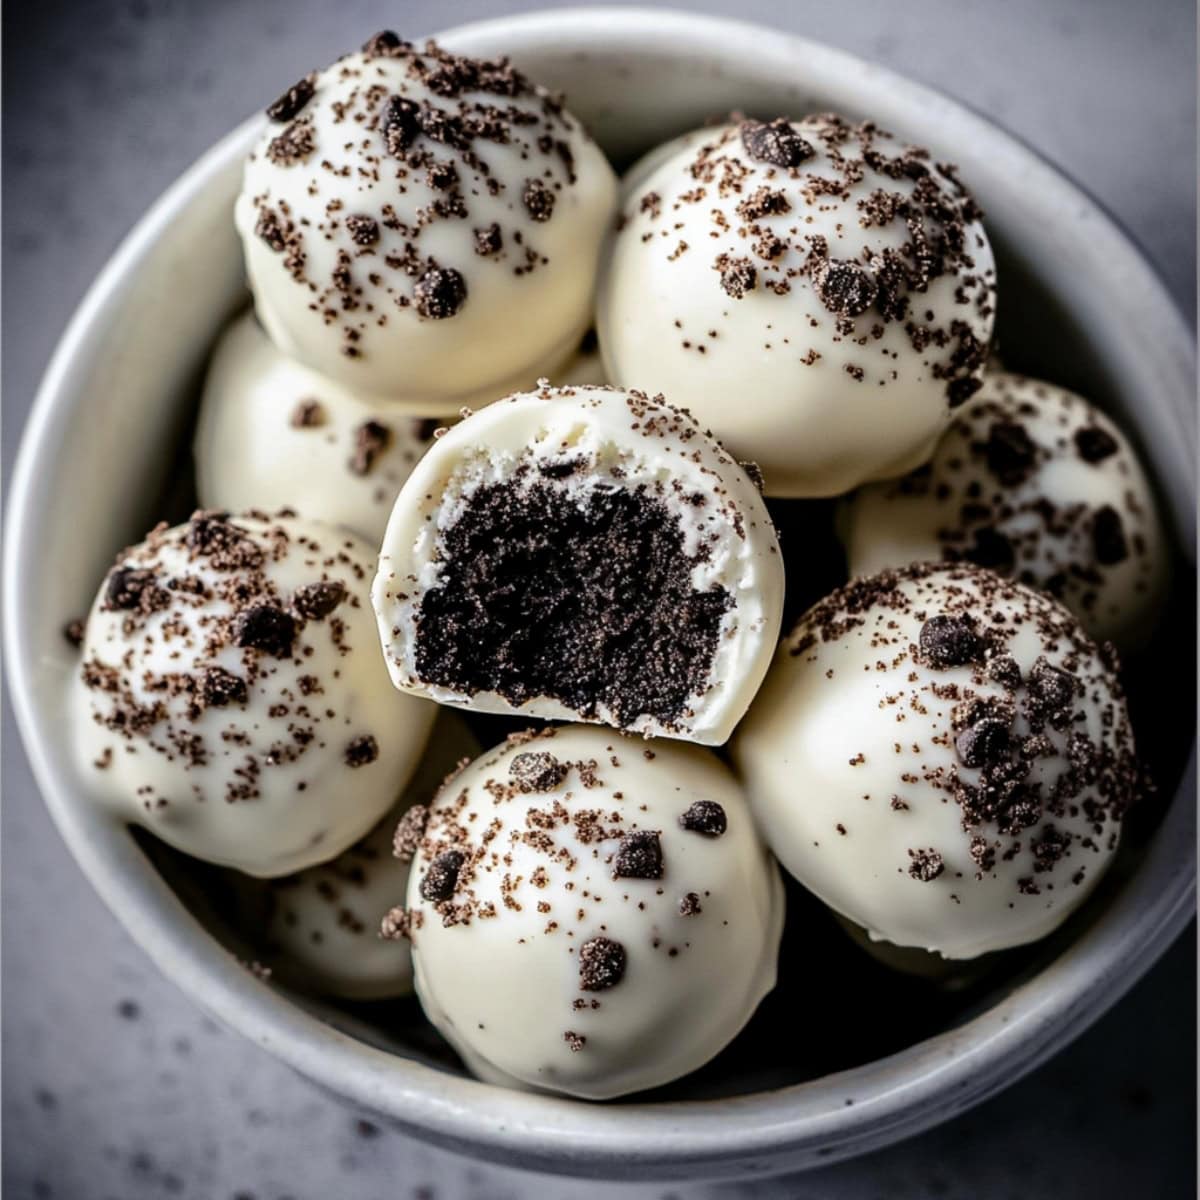
The contrast between the creamy Oreo cream cheese center and the crisp chocolate shell creates such an irresistible texture.
They’re perfect for parties, gifting, or those moments when you need a bite-sized indulgence.
Make a batch and watch them disappear in no time. Trust me, you’ll want to keep a few hidden away for yourself!
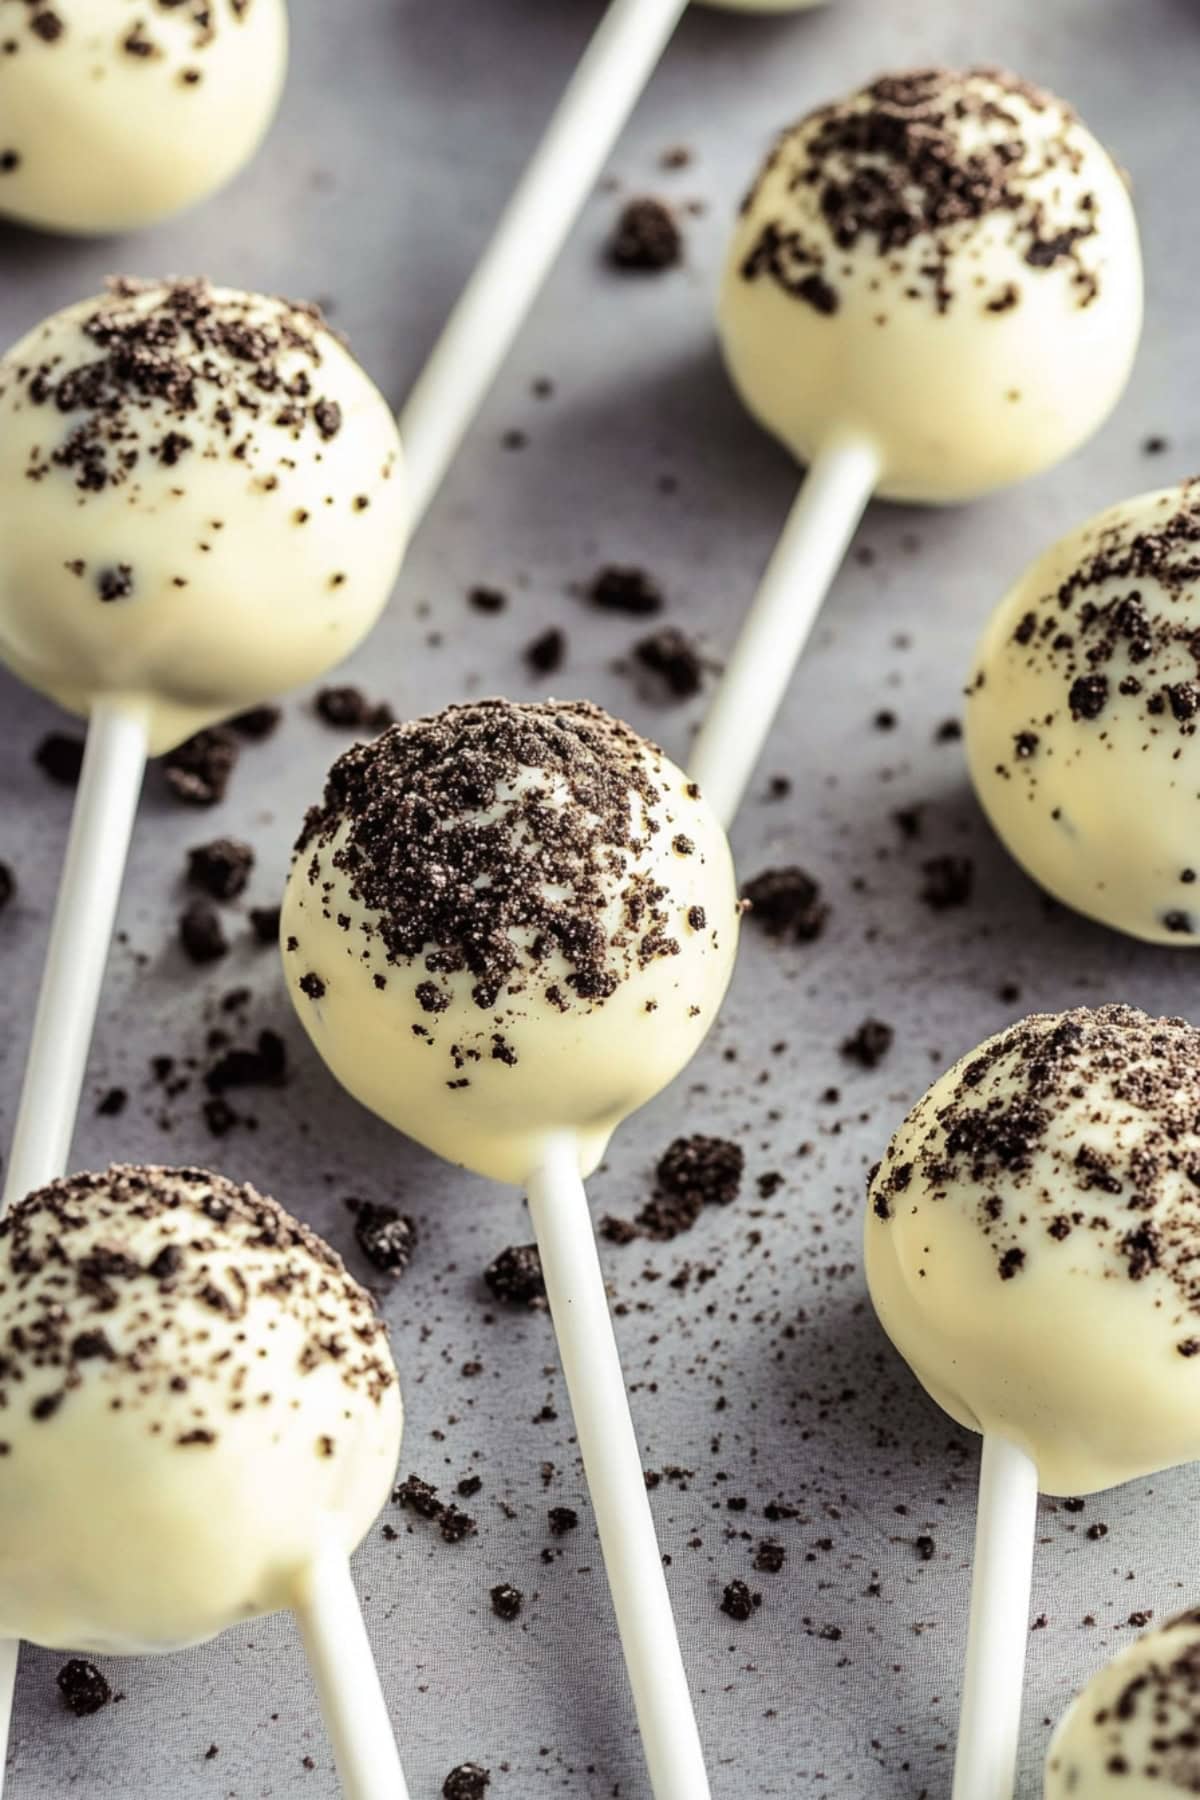
Why You’ll Love These Oreo Cake Pops
Rich Texture: Each bite delivers a perfect balance of creamy center and crispy chocolate coating. Plus, there’s an authentic Oreo taste in every mouthful.
No-Bake Wonder: These treats require zero oven time. They’re perfect for hot summer days or when you need a quick dessert solution.
Customizable Decorations: With options like sprinkles, crushed Oreos, or chocolate drizzle, you can easily personalize the pops to match any theme or occasion.
Budget-Friendly: Using just three main ingredients, these treats are surprisingly budget-friendly.
Ingredients
- Oreo Cookies: The base of the recipe provides a rich chocolatey flavor and a crunchy texture.
- Cream Cheese: It binds the Oreo crumbs together, creating a smooth and creamy filling for the Oreo pops.
- White Candy Melts: Used to coat the Oreo pops, these melts provide a sweet and smooth outer layer.
- Coconut Oil or Shortening (Optional): This ingredient helps achieve a smoother and shinier chocolate coating.
- Optional Decorations: Colorful sprinkles, crushed Oreo crumbs, or drizzled milk/dark chocolate add visual appeal, texture, and extra flavor to the finished truffles.
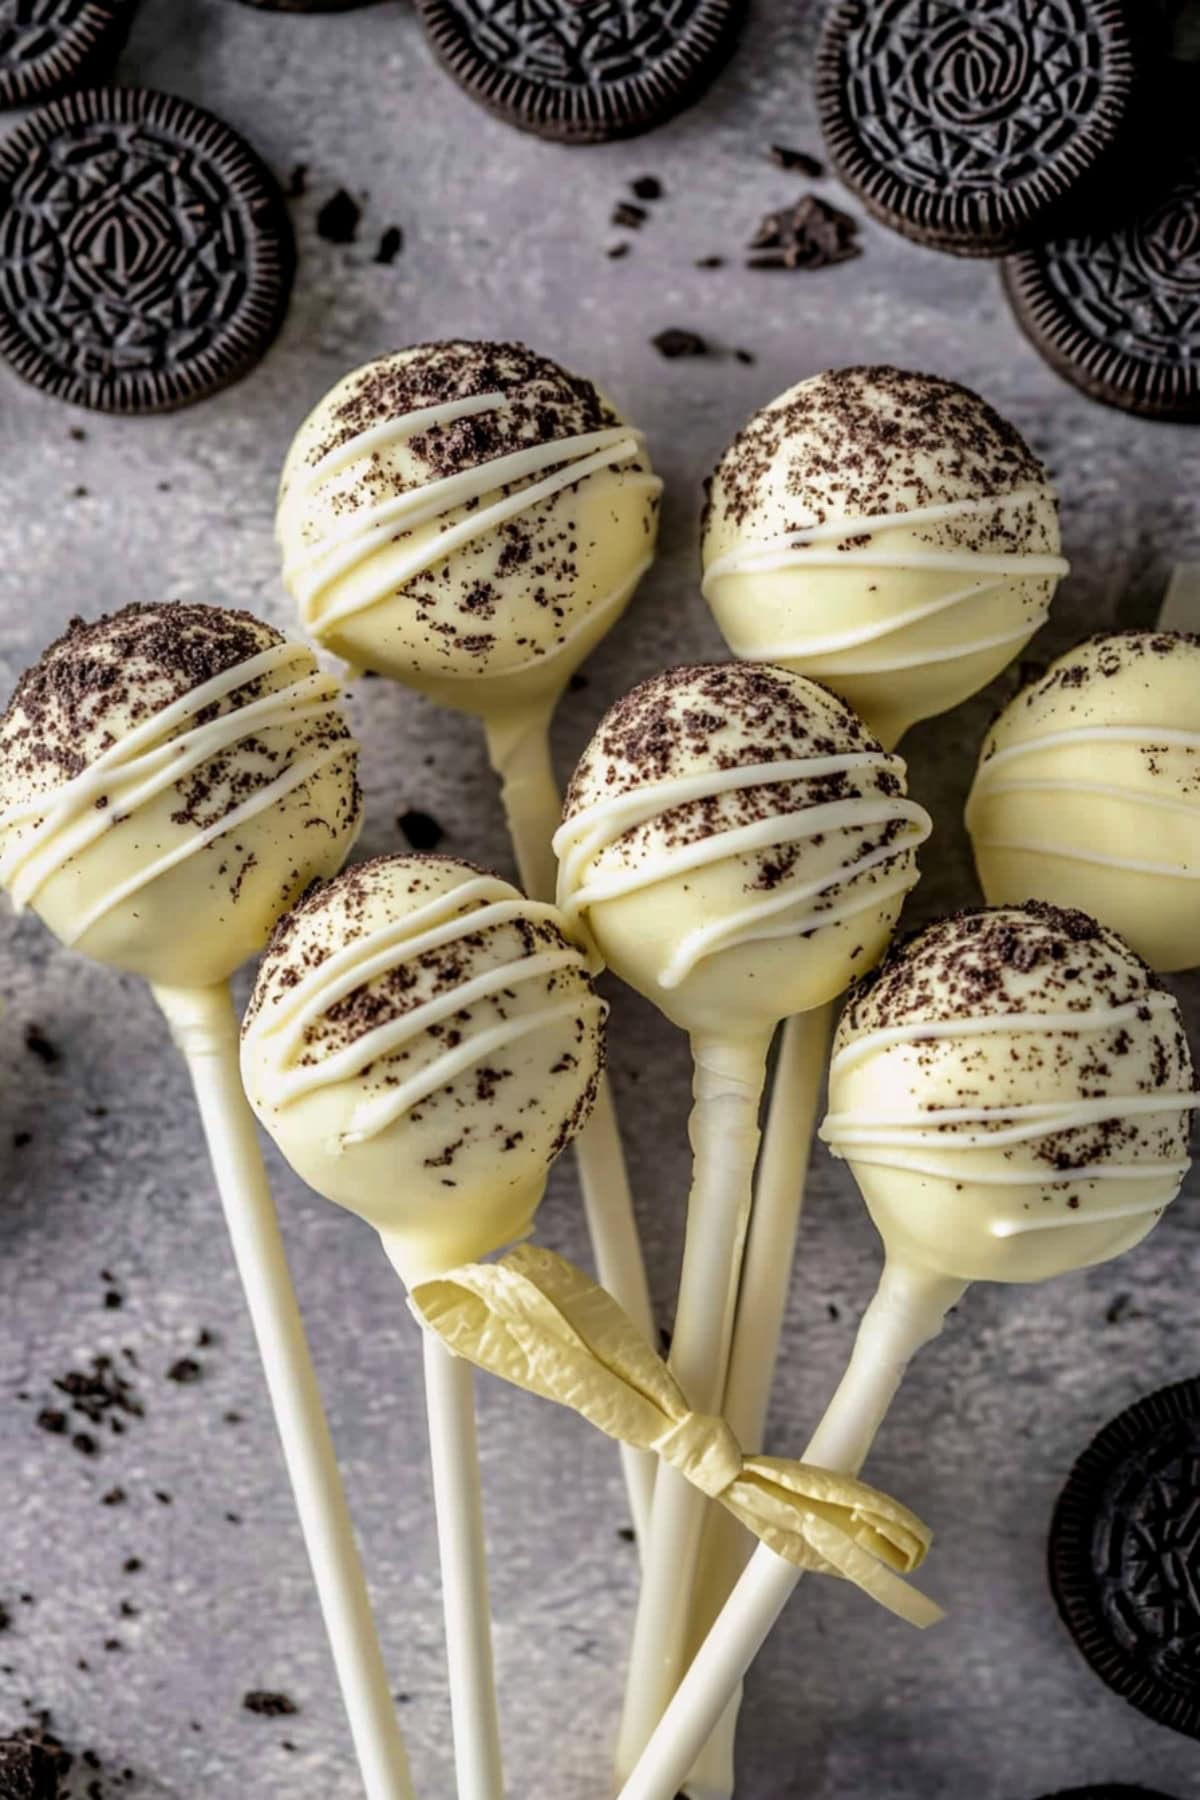
How to Make Oreo Cake Pops
These cake pops only take about 35 minutes of prep!
1. CRUSH the Oreos into fine crumbs using a food processor or rolling pin in a Ziploc bag.
2. MIX the crumbs with softened cream cheese until smooth and fully combined.
3. ROLL the mixture into 1-inch balls. Place on a lined baking sheet and freeze for 15-20 minutes.
4. MELT white chocolate with coconut oil for a smooth finish.
5. SECURE sticks by dipping the tip into melted chocolate and inserting it into each Oreo ball. Freeze for 10 minutes.
6. DIP the pops into melted white chocolate, coating evenly. Tap off excess chocolate.
7. DECORATE with sprinkles, crushed Oreos, or chocolate drizzle while the coating is wet.
8. SET by placing pops in a Styrofoam block or cake pop stand. Refrigerate for 10 minutes to harden. Serve and enjoy!
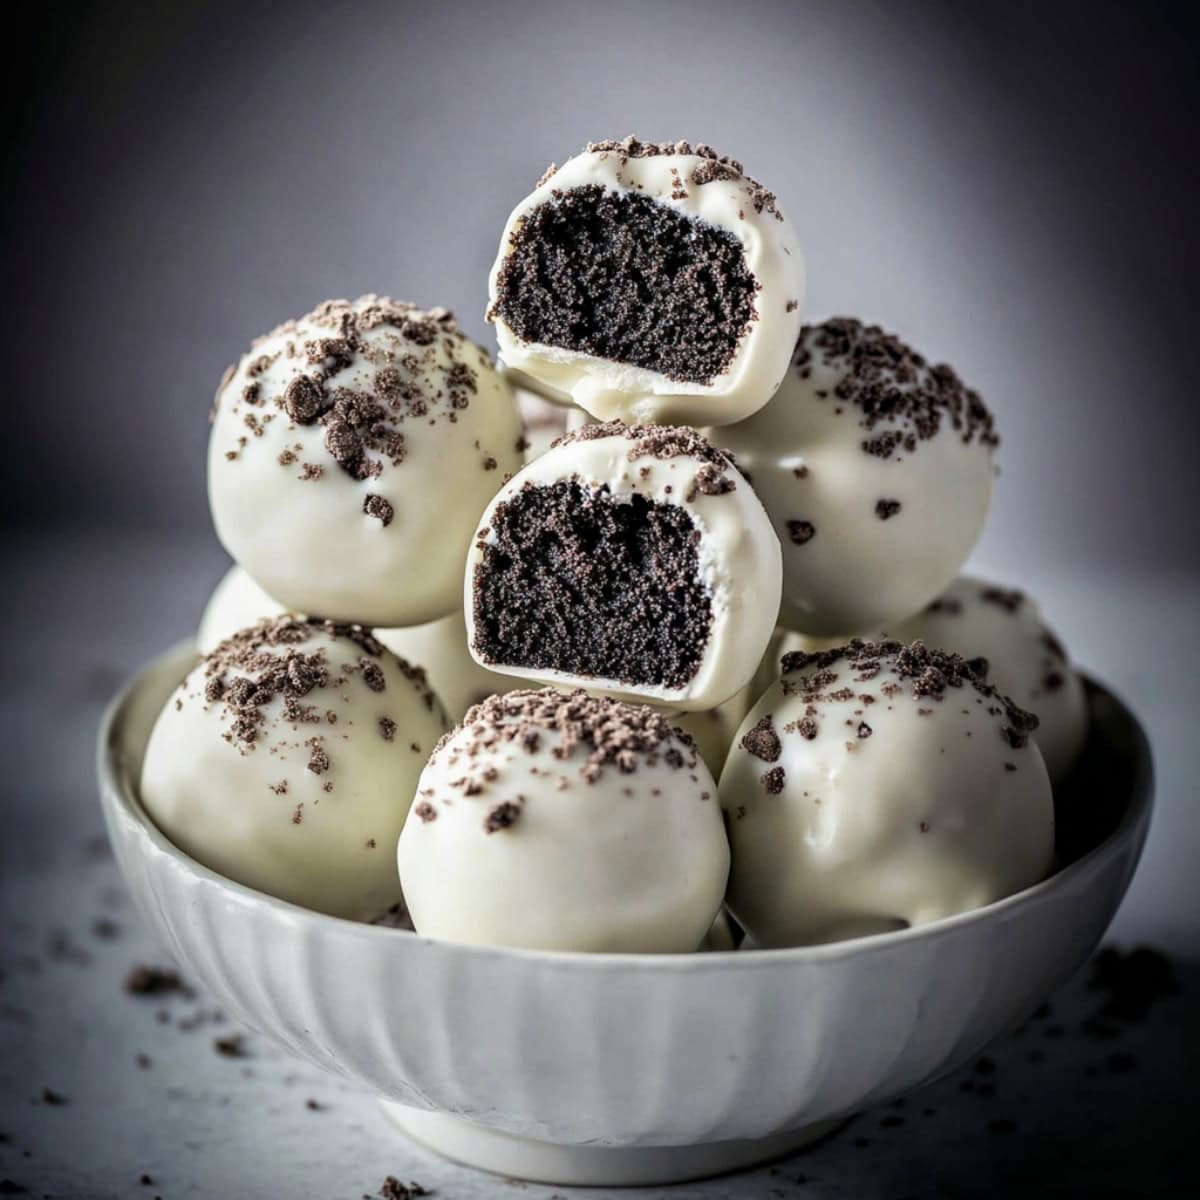
Tips for the Best Oreo Cake Pops
New to making cake pops? Follow my easy tips!
- Crush the Oreos finely. Use a food processor for the best texture, or crush in a sealed bag with a rolling pin for fine crumbs.
- Get the cream cheese soft. Ensure the cream cheese is fully softened to mix smoothly with the Oreo crumbs, creating a uniform texture.
- Thin out the coating. Add 1 tsp of coconut oil or shortening to the candy melts for a smoother and thinner chocolate coating, making it easier to dip.
- Chill before dipping. Freeze the Oreo balls for 15-20 minutes before inserting sticks and dipping to help them hold their shape and avoid falling apart.
- Do a dipping trick. Dip the tip of each stick into melted chocolate before inserting it into the Oreo ball. This helps secure the stick in place.
- Decorate quickly! Add the sprinkles, crushed Oreos, or drizzle with chocolate while the coating is still wet to ensure the decorations stick properly.
How to Store
Here’s how to keep your cake pops nice and fresh.
To Store: Keep the Oreo cake pops in an air-tight container in the refrigerator for up to 5 days. Place them in a single layer or stack them carefully with wax paper between layers to prevent sticking.
To Freeze: Wrap each cake pop individually in plastic wrap, place them in a freezer-safe container or bag, and freeze for up to 3 months. When you’re ready to enjoy them, thaw them overnight in the refrigerator.

