


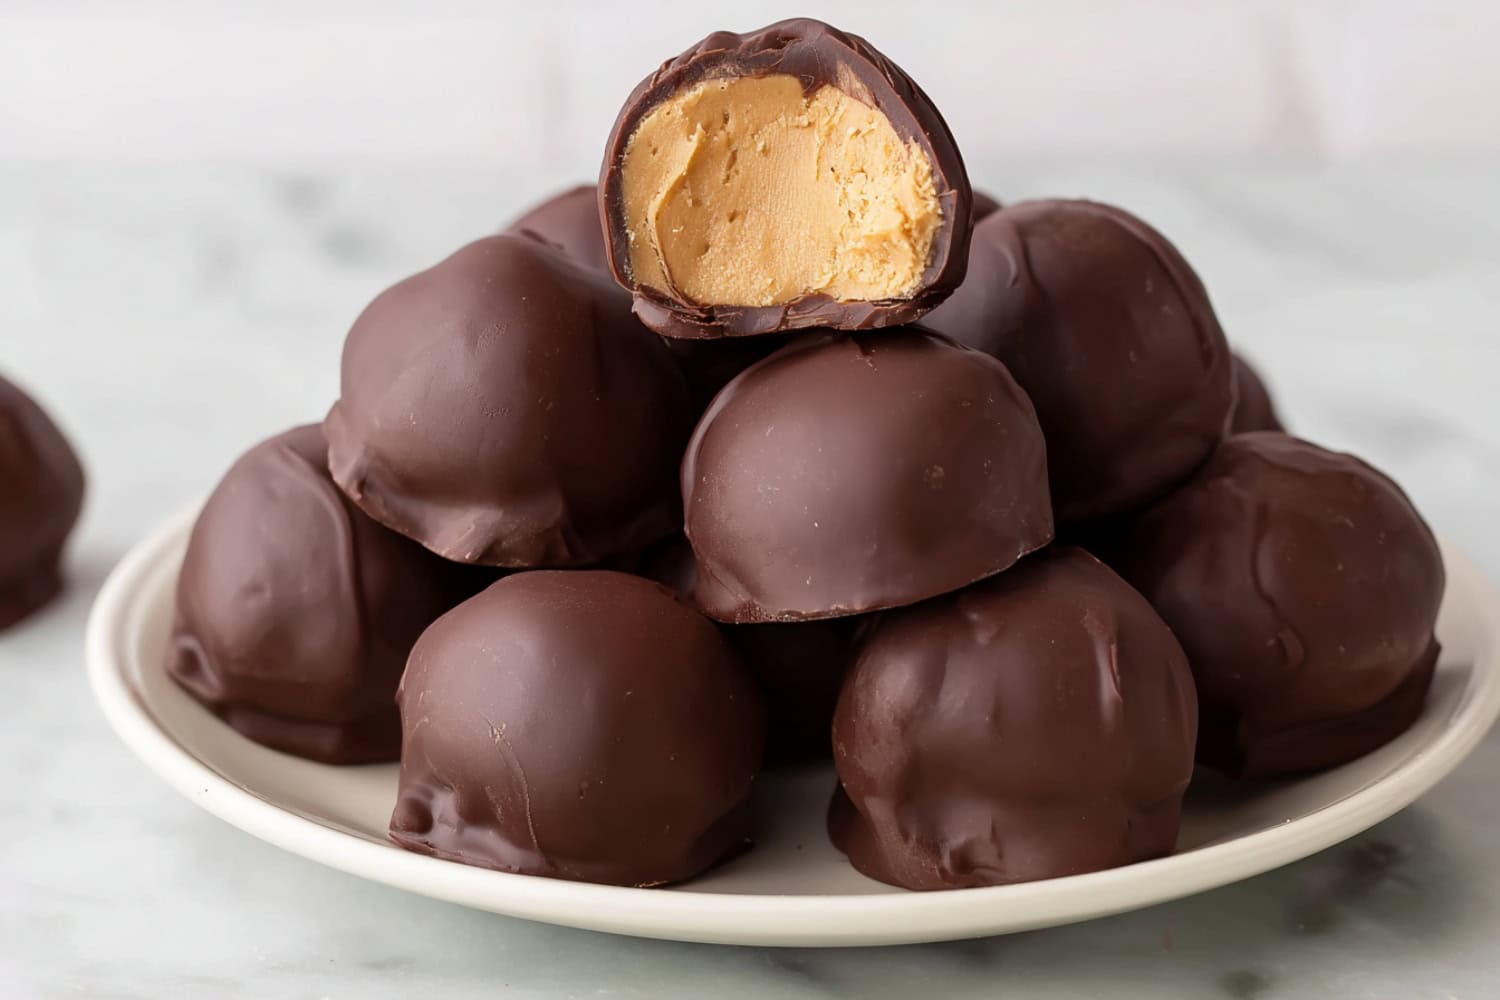
If you’re a Reese’s Peanut Butter Cups aficionado, you’ll love these old-fashioned peanut butter balls.
Peanut butter makes me happy, but these peanut butter balls make me even happier.

WANT TO SAVE THIS RECIPE?
Just because they’re old-fashioned doesn’t mean they’re outdated! These classic treats are, always and forever, a favorite.
They’re the key to my heart! One bite of these treats, and all my problems disappear.
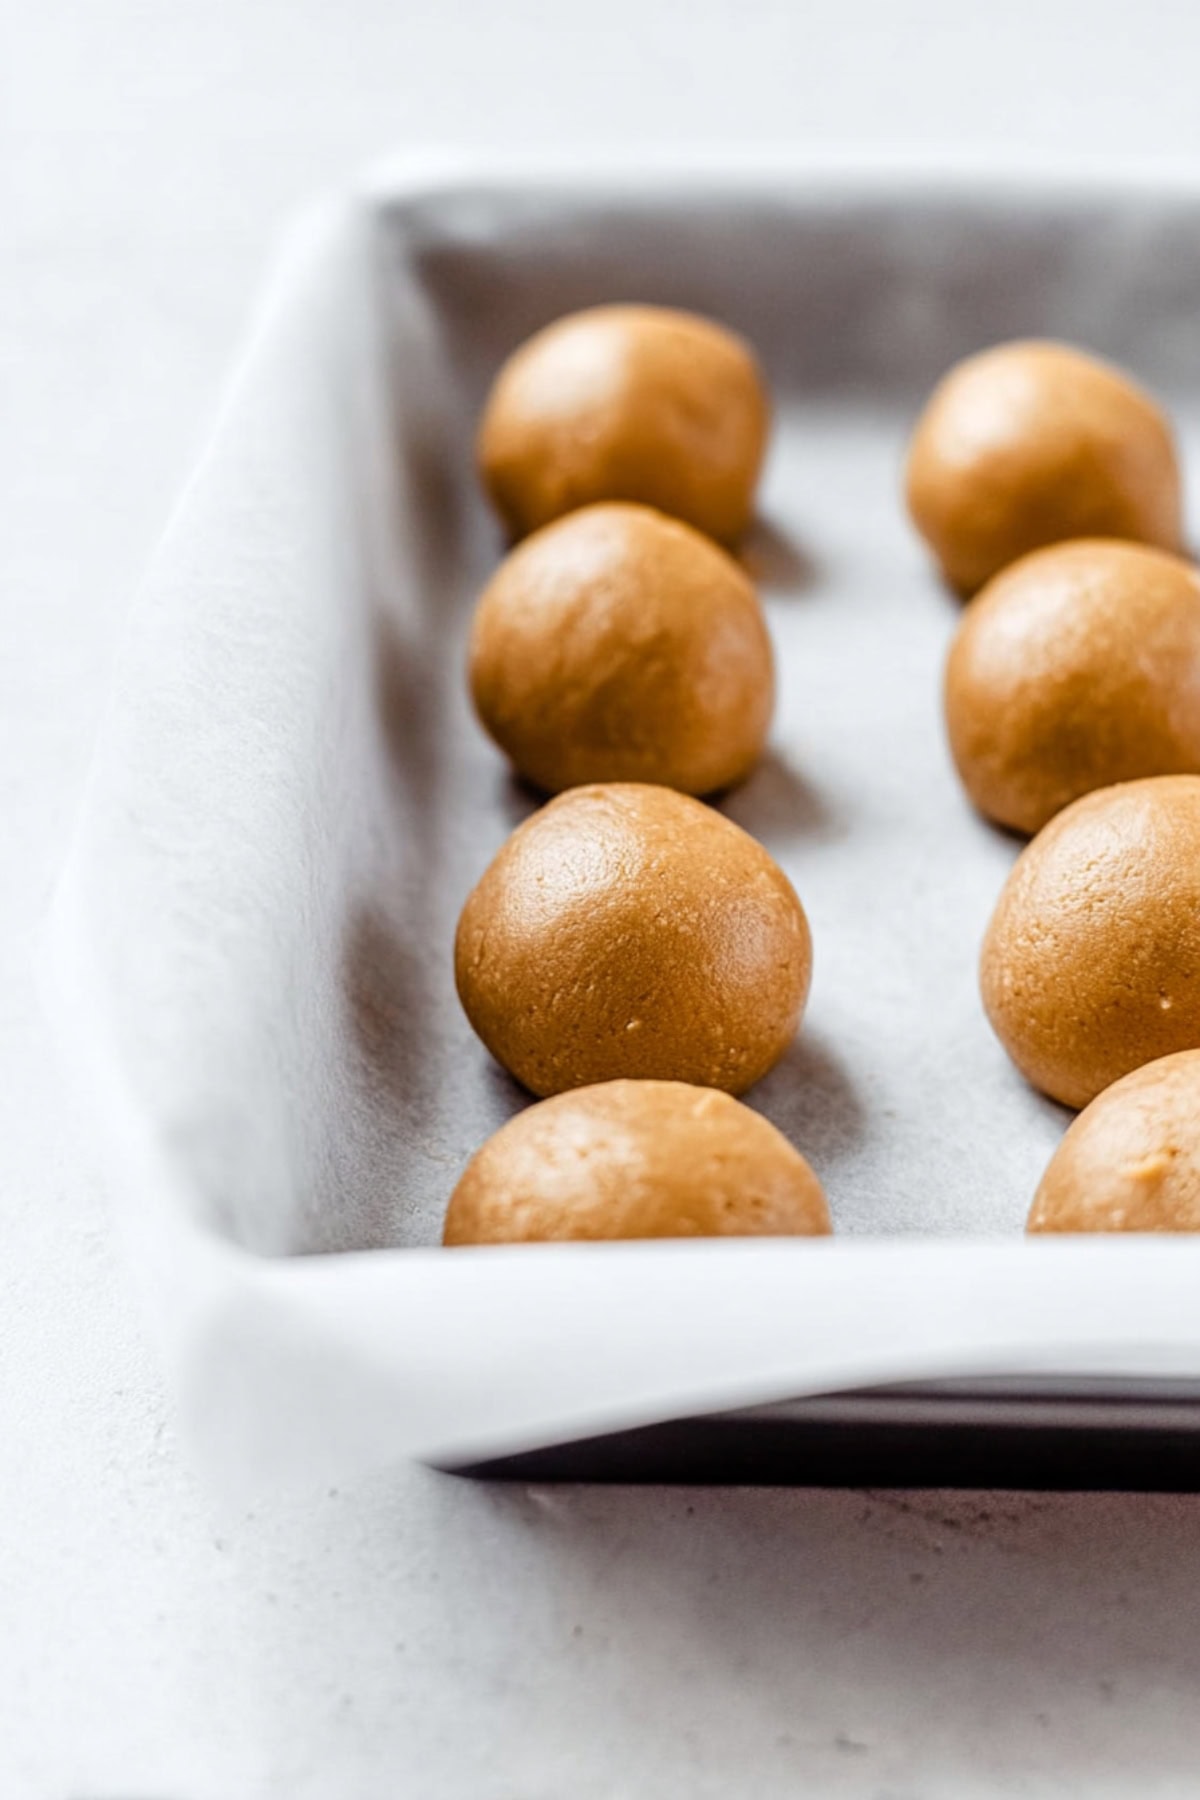
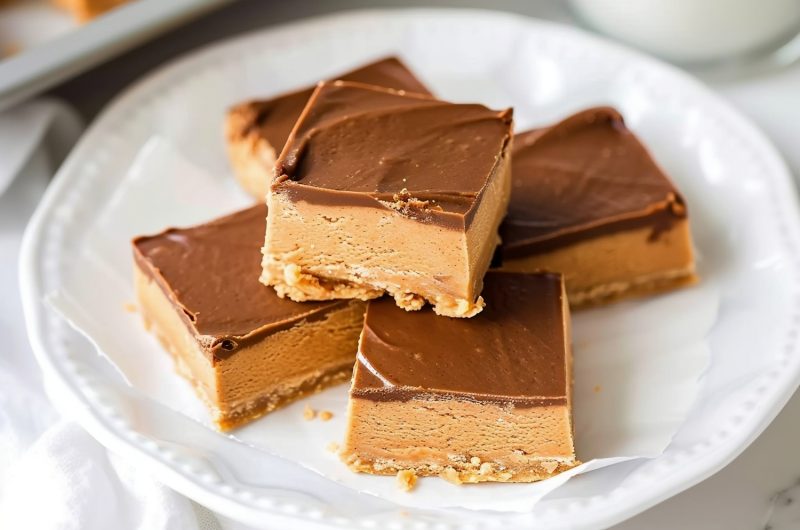
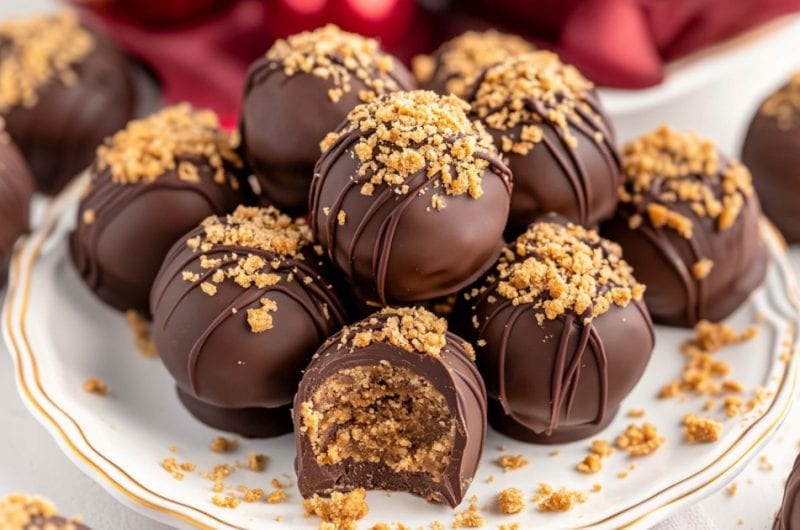
A sweet, salty, and creamy peanut butter dough is shaped into bite-sized balls and coated in melted chocolate.
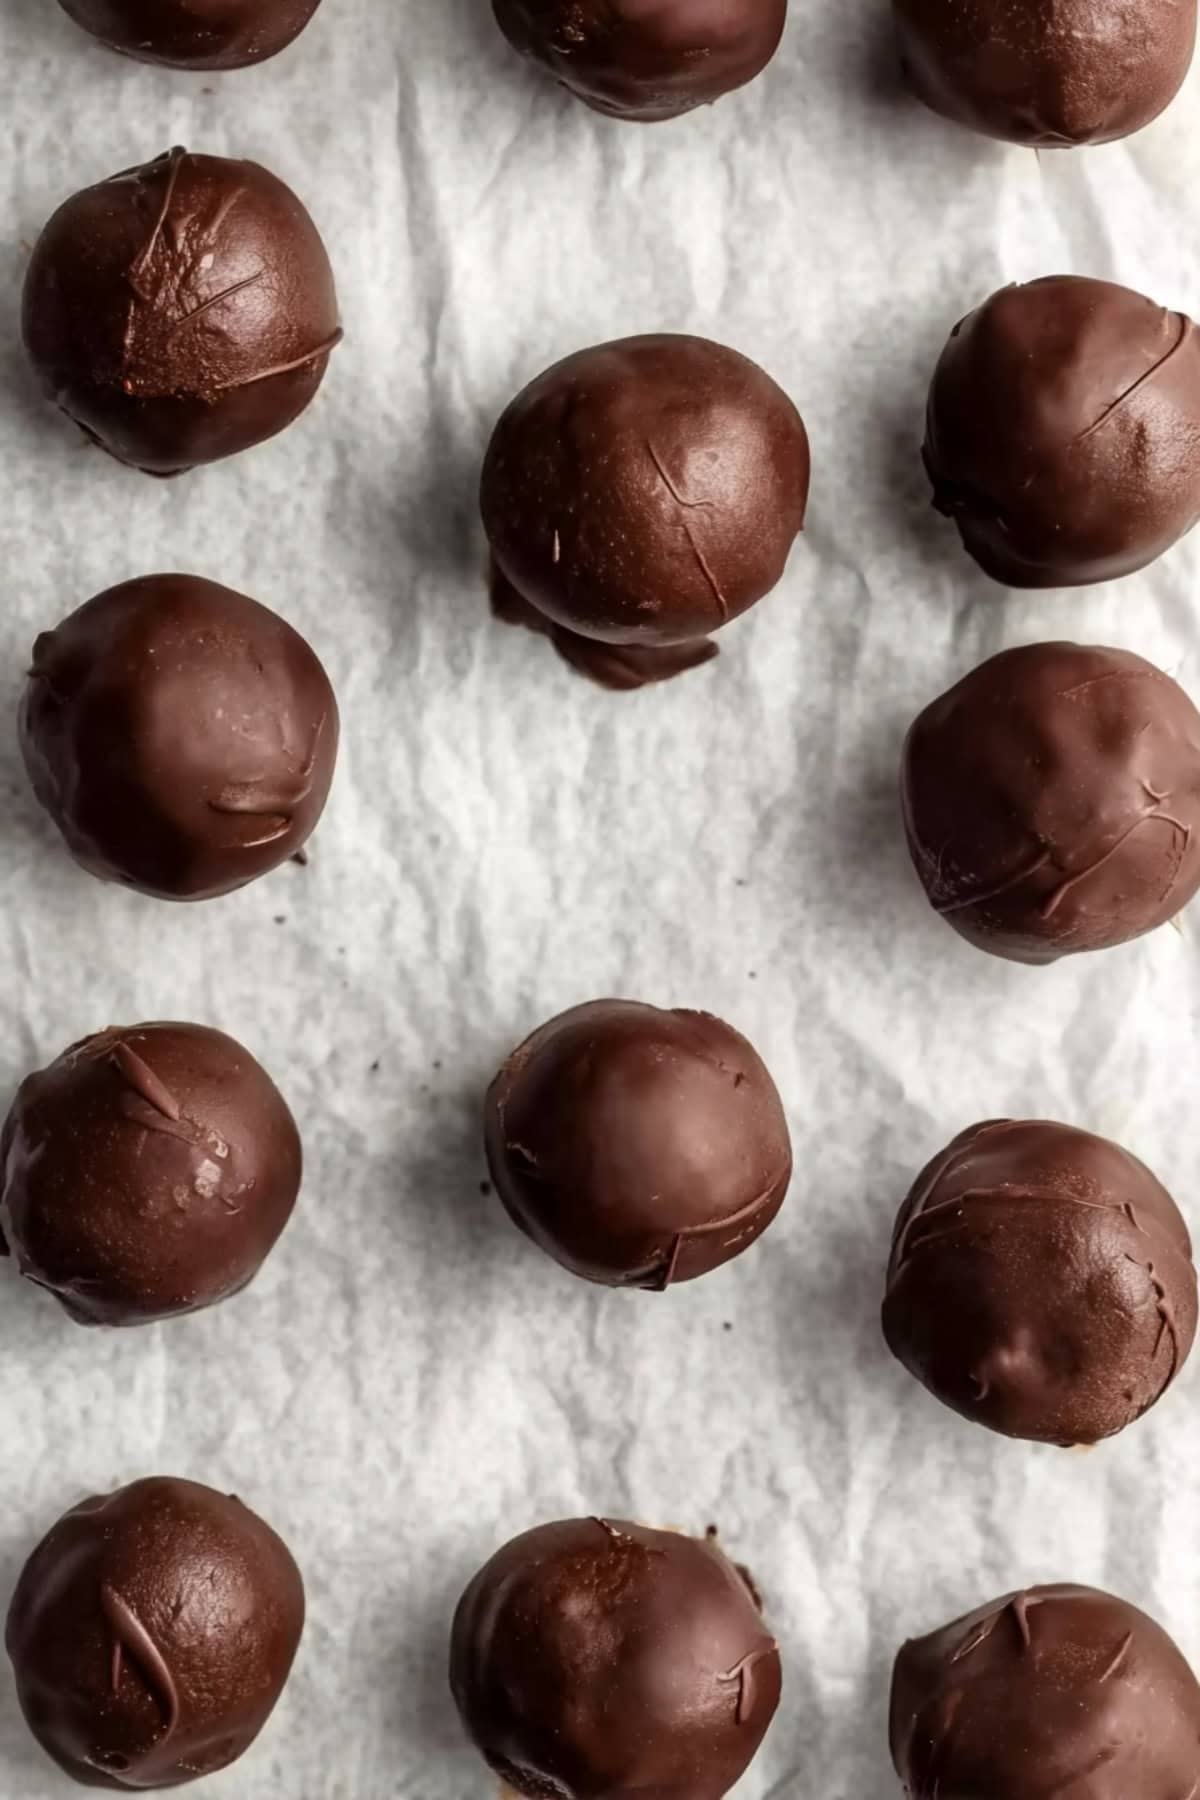
The chocolate hardens and forms a crunchy outer shell, giving the soft filling a wonderful textural contrast.
These holiday-worthy desserts are perfect for Christmas, Thanksgiving, Easter, or whenever!
When I see these balls on the table, I just know it’s gonna be a good day.

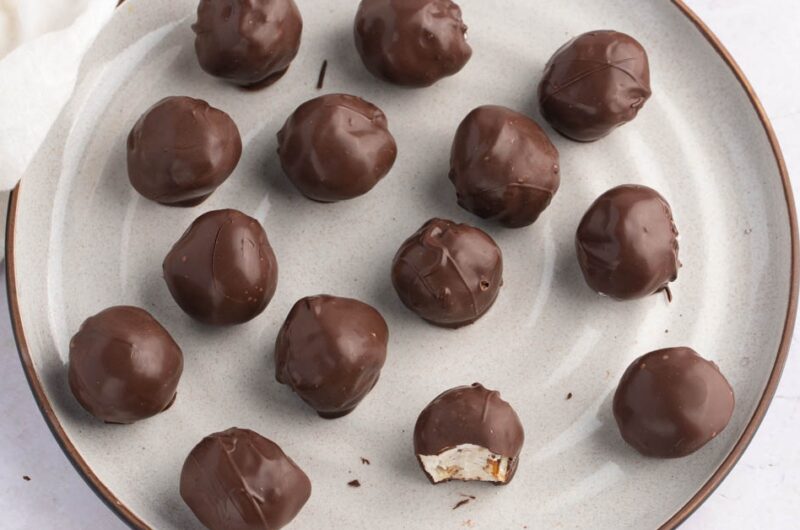
Old-Fashioned Peanut Butter Balls
Old-fashioned peanut butter balls are a timeless treat. Peanut butter and chocolate are combined to make rich and decadent sweets!
The best part is, it’s one of the easiest desserts to make. You won’t even need to bake!
You'll only need six ingredients, a fridge, and a microwave. It couldn’t get any easier than that.
Ingredients
- Peanut Butter. Stick to creamy or chunky peanut butter. Natural peanut butter is runny and won’t make a firm dough.
- Butter. For this recipe, I don’t mind using salted butter. After all, that sweet and salty combo is what we’re after. Use softened butter for easier mixing.
- Powdered Sugar. For sweetness. Don’t use granulated sugar, or the balls will be gritty.
- Crushed Graham Crackers. It binds the ingredients, giving you a firmer dough. Crushed digestive biscuits, Rice Krispies, and oatmeal work, too.
- Semi-sweet Chocolate Chips. For dipping the filling. High-quality baking chocolate is key! Ghirardelli and Bakers are my top brands. If budget allows, try Callebaut and Belcolade. Use semi-sweet chocolate for a more intense chocolate flavor.
- Shortening. It’s melted along with the chocolate to make it smoother and more manageable.
Tips for the Best Treats
- Feel free to adjust the peanut butter-sugar-graham cracker ratio to suit your taste.
- You can also use whatever chocolate wafers you want – dark, semi-sweet, milk, or white. Stick to high-quality brands such as Ghirardelli, Callebaut, and Belcolade for best results.
- Pop the balls in the fridge or freezer for 15 to 30 minutes to firm up. This will make them a lot easier to dip in chocolate later.
- If the dough is still too soft, add more graham crackers to help it set.
- Warm hands and weather will soften the dough quickly. If it happens, just pop it back in the fridge or freezer.
- Once the chocolate is melted, you'll have to work quickly. The chocolate sets fast, so the balls and toppings (if using) have to be ready by the time you’re done melting.
- If the melted chocolate starts to thicken, simply pop it back in the microwave and melt for 10 seconds.
- If you want to make Ohio Buckeyes, use the exact same recipe, except don’t dip the balls entirely in chocolate.
- For yummy Easter treats, shape the dough into eggs instead of balls.
- Use a fork for easier dipping. Place a ball on top of the fork, then dip. Tap the fork on the side of the bowl to shake off excess chocolate.
- Don’t skip the shortening. It helps give the melted chocolate a smoother, more manageable consistency.
- You can also add food-grade paraffin wax to the chocolate for a glossier finish. If using, use the double boiler method to melt the chocolate. Paraffin wax won’t melt well in the microwave. For every 8 ounces of chocolate, add 3/4 ounces of paraffin.
- Store the peanut butter balls in an air-tight container and refrigerate for up to 2 weeks.
- You can also freeze the balls, dipped or undipped, for up to 3 months. Place the balls on a baking sheet in a single layer and freeze for an hour. Transfer them into a freezer-safe bag and label accordingly.
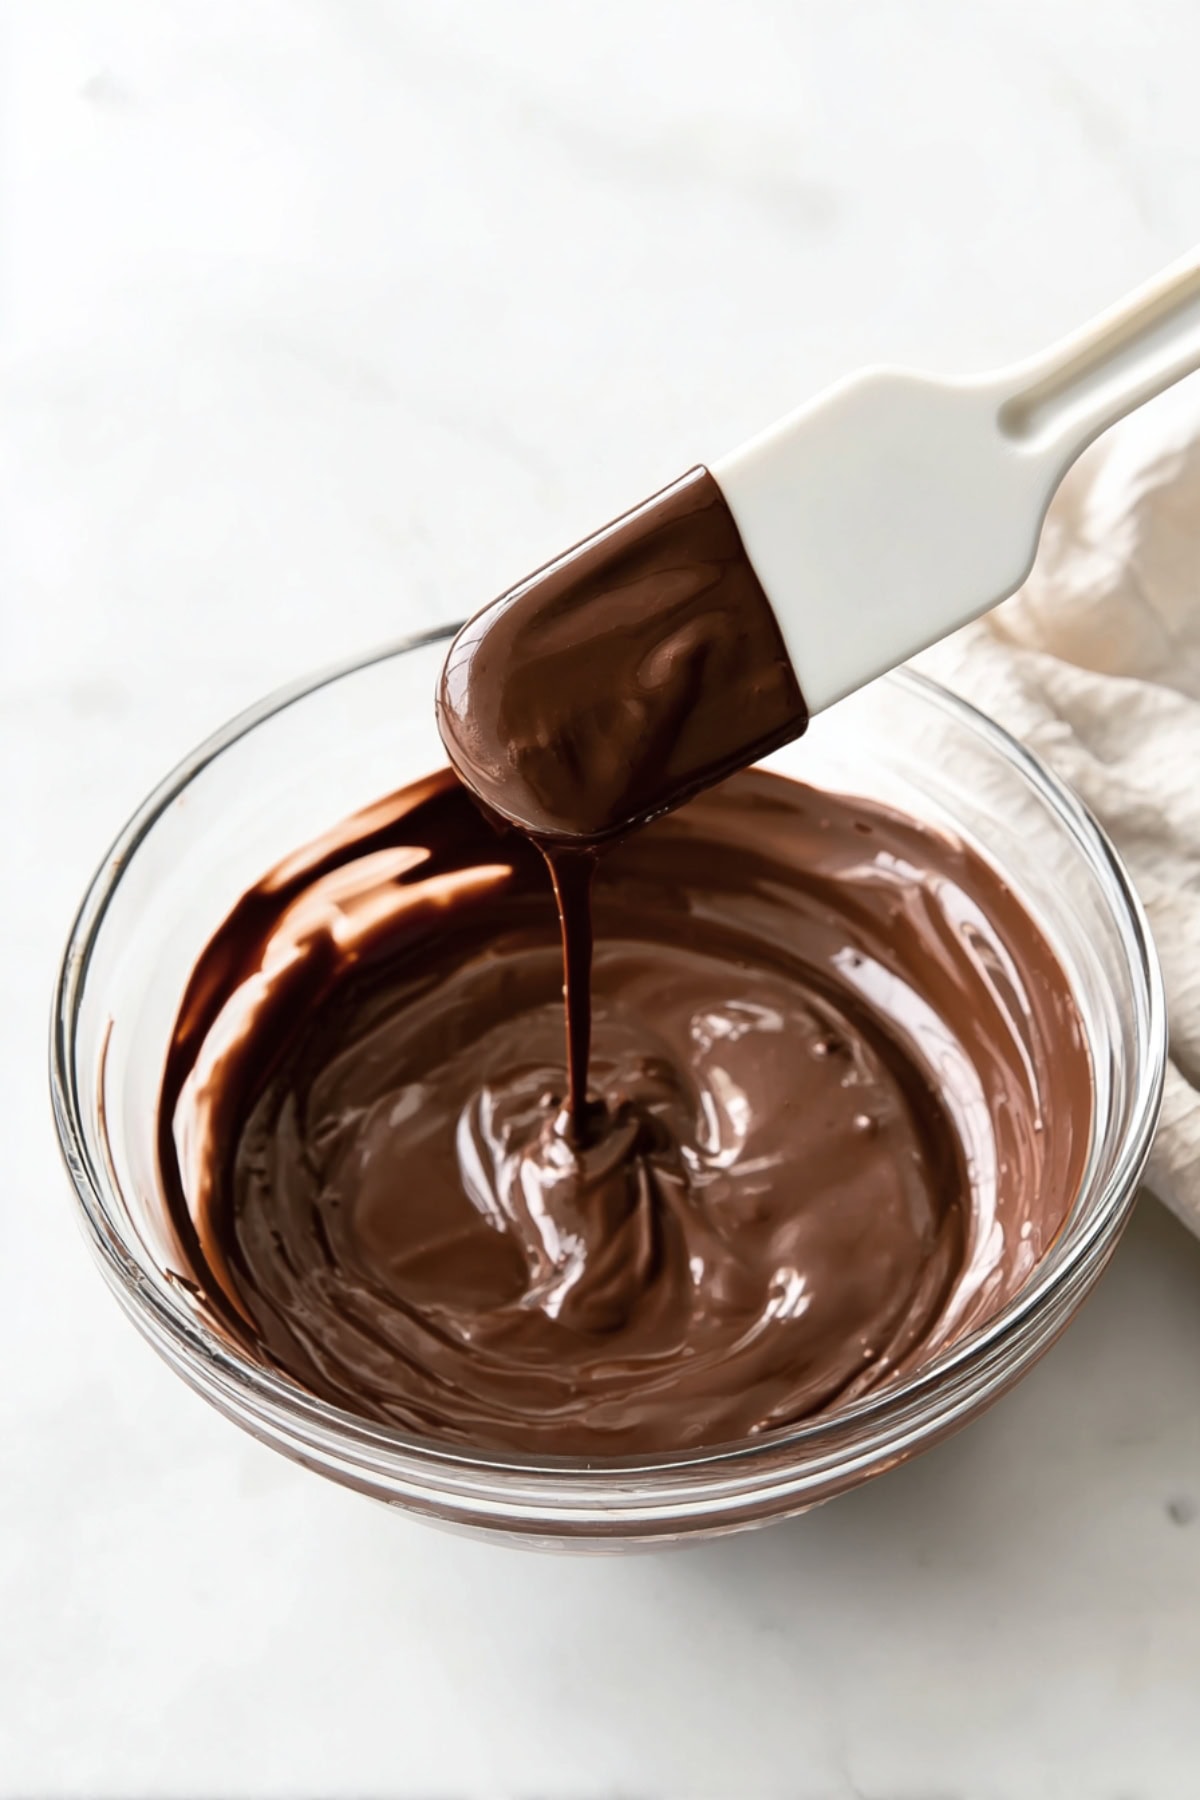
Tips for Melting Chocolate
There are two ways to melt chocolate, and they’re both very easy.
Pro-tip: be sure the bowl you’ll be using is dry. Any liquid will affect the melting process.
Microwave Method
Place the chocolate and shortening in a microwave-safe bowl.
Microwave at 30-second intervals at medium power until completely melted. Stir thoroughly in between intervals.
Double Boiler Method
Place the chocolate and shortening in a double boiler. Stir constantly for about 2 to 3 minutes, or until melted and smooth.
If you don't have a double boiler, place the chocolate in a heatproof bowl and set it over a saucepan with simmering water. Stir chocolate until melted.
What to Add to the Recipe and How to Top Peanut Butter Balls
With endless toppings and variations, the fun never stops!
I personally prefer a simple sprinkling of sea salt sprinkling on top, but if you want more creativity, here are some options to choose from:
- For crunch: crushed nuts, Rice Krispies
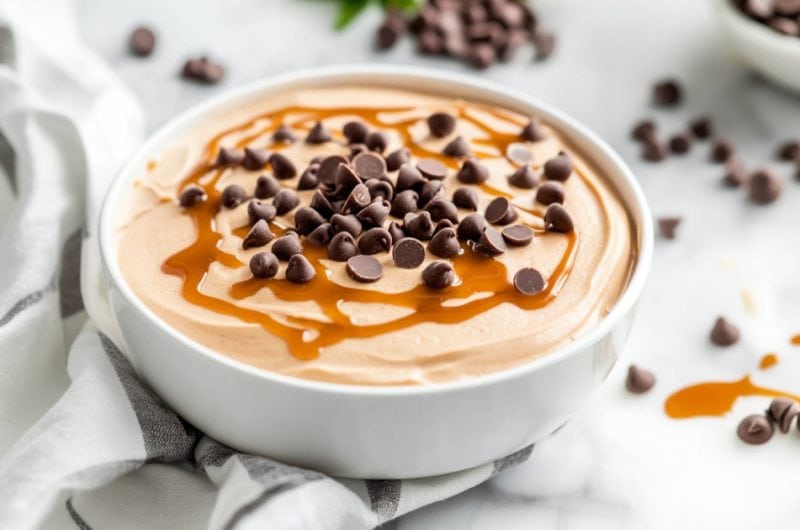
- For more chocolaty goodness: mini-chocolate chips (white, milk, or dark), chocolate drizzle
- For added color: sprinkles. It’s also perfect for dressing up the balls according to a theme.
- For more of that sweet-n-salty contrast: peanut butter chips, caramel drizzle
- For extra sweetness: powdered sugar
- For texture: shredded coconut
Pro-tip: be sure to add the toppings right away, as the chocolate dries fast.
More Bite-Sized Treats You'll Love
Oreo Cookie Balls
Starbucks Cake Pops
Kentucky Bourbon Balls
Rum Balls
Old Fashioned Peanut Butter Balls
72
servings10
minutes40
minutes111
kcalIngredients
1 1/2 cups peanut butter
1 cup butter
4 cups powdered sugar
1 1/3 cups crushed graham crackers
2 cups semisweet chocolate chips
1 tablespoon shortening
Instructions
- Beat together the peanut butter, butter, powdered sugar, and crushed graham crackers until combined. Shape into 1-inch balls. Chill in the fridge for 30 minutes.
- Melt the chocolate chips and shortening with a double boiler on the stove or the microwave.
- Using a fork or a toothpick, dip the balls, one by one, into the melted chocolate until completely coated. Place the balls on sheets of parchment or waxed paper and refrigerate for 10 minutes to dry.


6 Comments
Loved them I only added three cups of sugar because I thought four was a lot. Everyone thought they were delicious 😋
My mom used to make them, they were very addictive you cannot eat this one.
I have not made these yet, but we made them in 4th grade and I remember being seriously amazed how great they were. Not your typical peanut butter ball. The other is the bullseye but these are not. We made them in school and rolled in powdered sugar and I was seriously stunned at how amazing they were. I am 34 years old and never had them again. Googled it one day to see what was the thing called we made, I wanted them again so bad. It was hard to find recipes that weren’t bullseyes and I remembered Graham crackers! I have found what those things were – your recipe! My FIL does the bulleyes every year but I may make these at home to see how they are, my husband was raised on bullseyes so we will see! Thanks for sharing, I want some now!
Hi Rachel!
I hope they’re as good as you remember!
The recipe says 40 min baking time ? There is no baking time or temp in instructions. What do I do?
Hi, Maxine!
The “cooking time” in this recipe simply refers to the amount of time it will take before you can eat the balls. (30 minutes chill time 10 minutes dry time for the chocolate to harden)
These are 100% no-bake! 🙂