


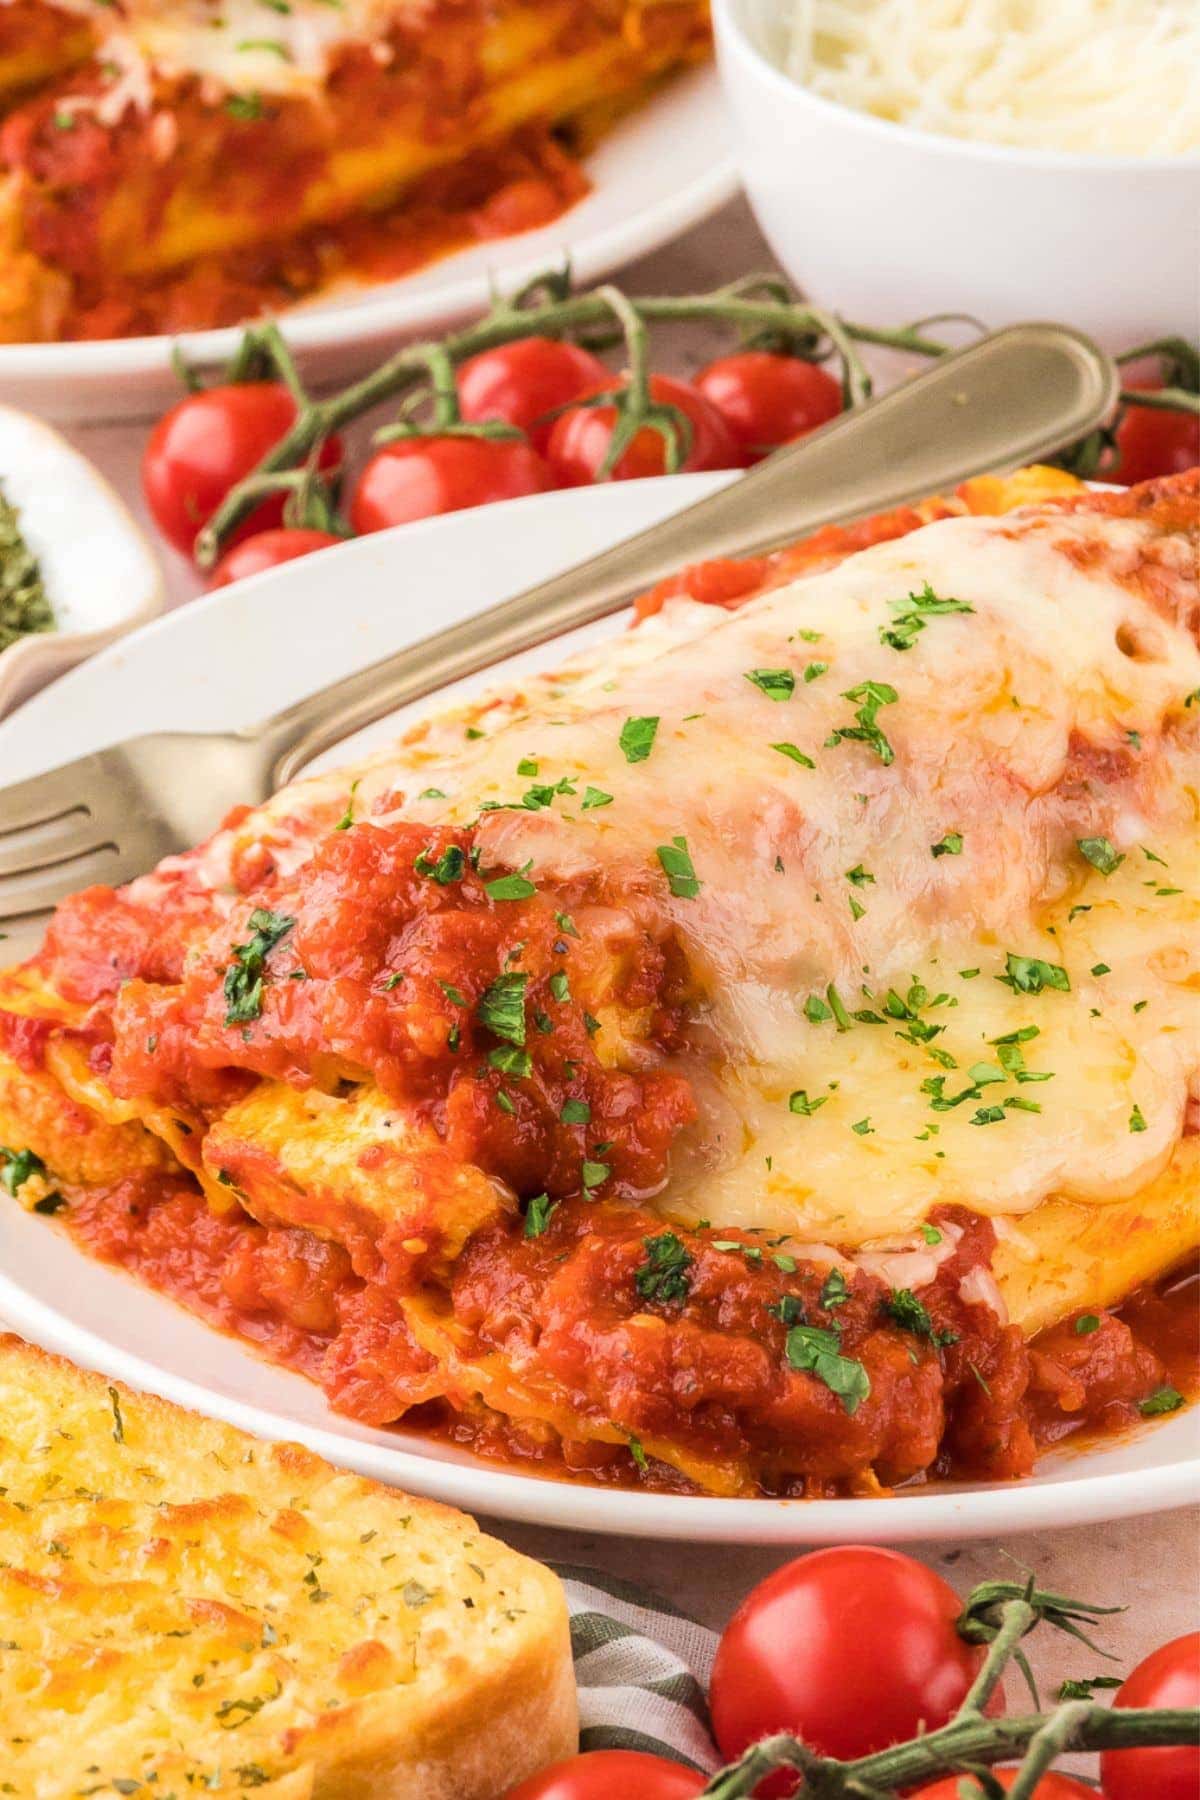
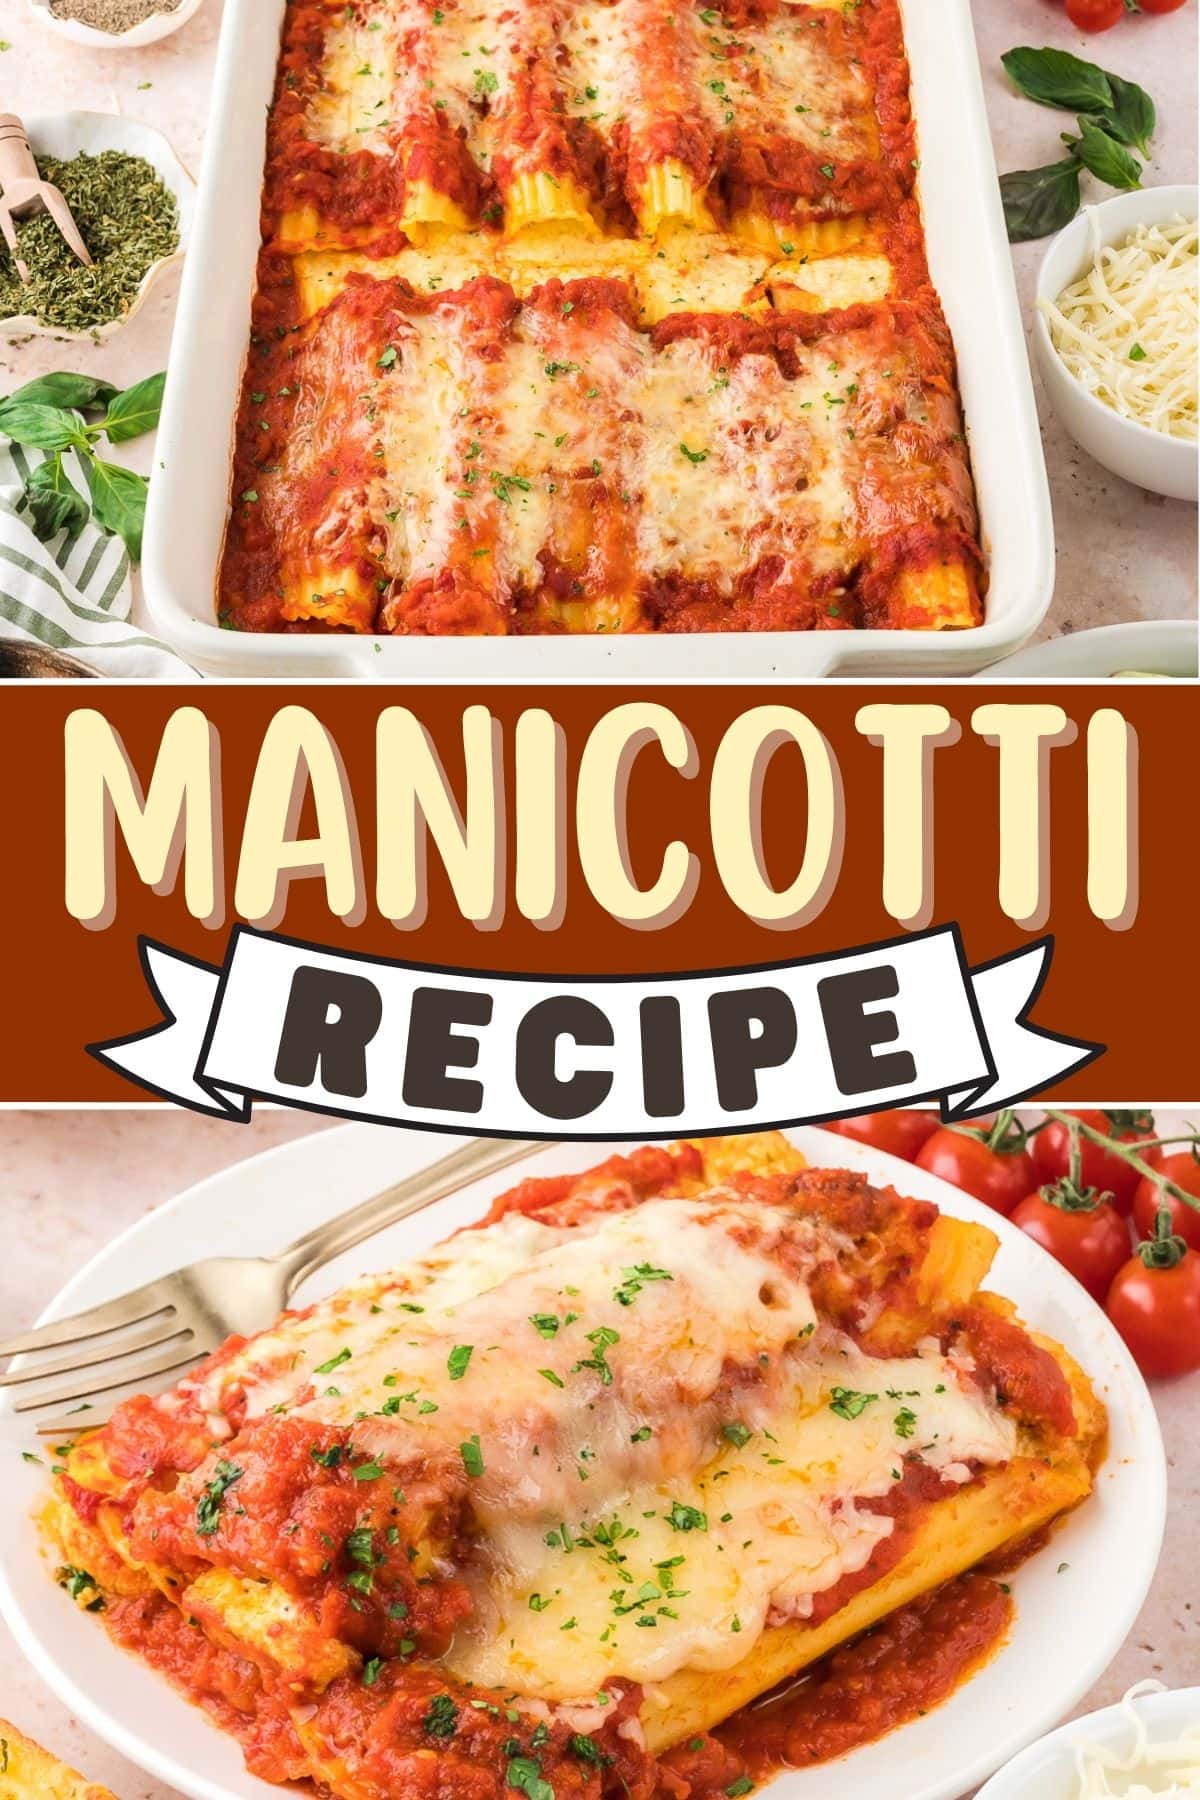
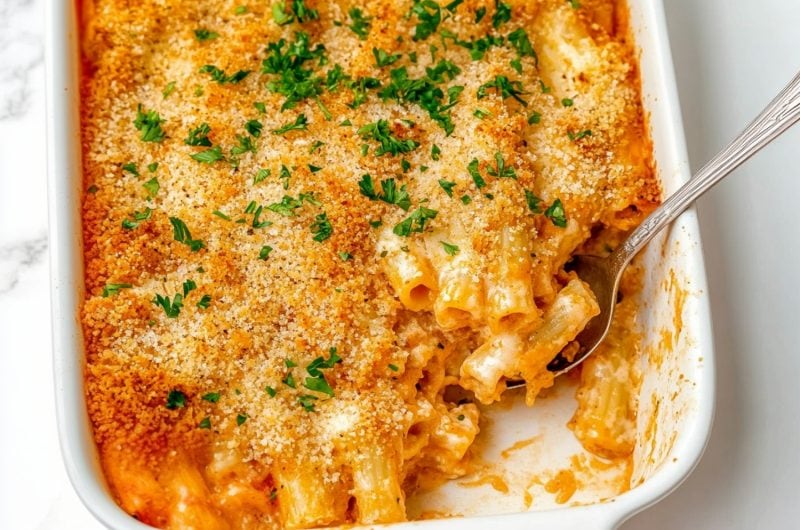
This easy no-boil manicotti recipe has all the comforting flavors of classic manicotti without the hassle. Thanks to a simple trick — stuffing the shells uncooked — this recipe skips the boiling step entirely.
Just fill, cover with store-bought marinara sauce, and bake until bubbly and golden.
I’ll be honest — I was skeptical about skipping the boiling step at first, but it’s a total game-changer! The pasta cooks right in the sauce, soaking up all that rich flavor while becoming perfectly tender.
And with a dreamy cheese blend of ricotta, mozzarella, and Parmesan inside, every bite of this cozy pasta dish is rich, creamy, and delicious.
WANT TO SAVE THIS RECIPE?
This traditional Italian-American dinner is my go-to when I need something easy yet satisfying, and it’s perfect for feeding a crowd without spending all day in the kitchen.
Plus, it’s ready in just over an hour, and most of that time is in the oven — giving you time to relax or prep sides. Pair it with garlic bread and a fresh salad for a cozy, no-fuss dinner everyone will love.
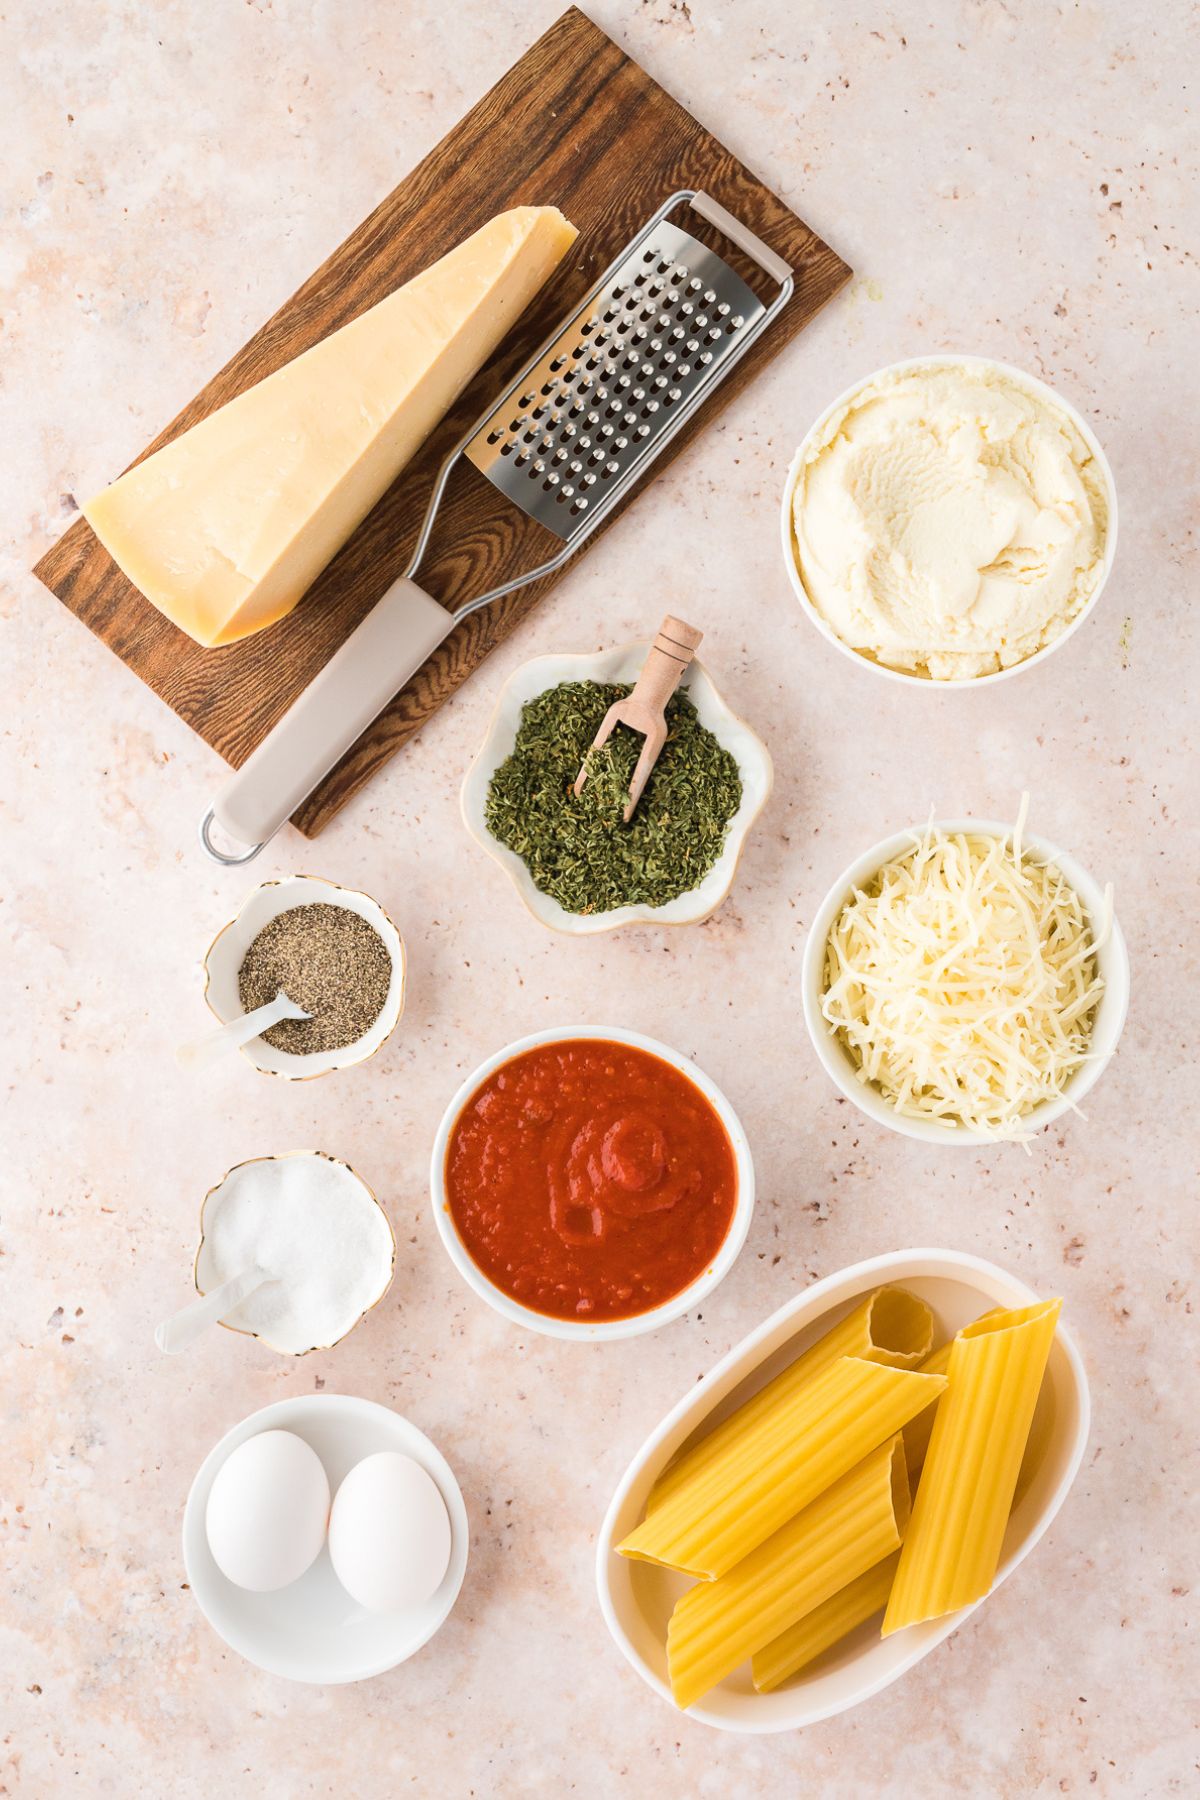
Stuffed Manicotti Ingredients
- Manicotti Pasta Shells: These large, tube-shaped pasta shells are perfect for stuffing. But if you can't find them, you could use jumbo shells or even lasagna sheets (see the tips section!).
- Whole Milk Ricotta Cheese: This creamy, slightly sweet cheese is the star of the filling. I prefer Galbani or Polly-O for their rich texture, but any quality ricotta will do the trick.
- Mozzarella Cheese: Shredded mozzarella melts beautifully, creating that gooey, cheesy layer on top. I like using low-moisture mozzarella for the best melt and minimal excess moisture.
- Parmesan Cheese: Sharp and salty, this adds bold flavor to both the filling and the topping. I recommend freshly grating it if you can — it’s totally worth the extra step.
- Eggs: Help bind the cheese mixture, giving it structure so it stays creamy without becoming runny.
- Dried Parsley: Adds a hint of earthy flavor and a pop of color. Fresh parsley works too, but dried is super convenient, and I always have it on hand.
- Salt & Black Pepper: Essential seasonings that balance the richness of the cheese filling. Don’t skip these — they make a huge difference in flavor!
- Marinara or Spaghetti Sauce: A good-quality store-bought sauce keeps this recipe quick and easy. I love Rao’s Marinara or Classico for a rich, homemade taste with minimal effort.
- Water: Mixing a little cold water with the sauce helps the pasta cook perfectly without becoming dry. Don’t worry — the sauce thickens beautifully as it bakes!
How to Make No-Boil Manicotti
Never tried baked manicotti before? Oh, em, gee – you'll love it!
It's kind of like cheese lasagna, with plenty of chewy pasta, tangy sauce, and melted cheese. Only with this dish, you get fun tube shapes – like Italian enchiladas!
With just a few steps, you’ll have the most incredibly hearty pasta dish with tender pasta shells stuffed and a melty cheese filling.
1. Prep the Baking Dish: Preheat the oven to 350°F (175°C) and lightly coat a 9×13-inch casserole dish with cooking spray. I always do this first, so everything’s ready once the filling and shells are prepped.
2. Mix the Sauce: In a medium bowl, combine the marinara sauce and water. Stir well and pour half into the baking dish. This thin layer helps keep the pasta from sticking and gives it extra flavor while baking. It also helps the bottom of the pasta cook.

3. Make the Filling: In a separate bowl, mix the ricotta, half the mozzarella, 1/2 cup of Parmesan, eggs, parsley, salt, and pepper. Stir until well combined. I like adding a pinch of red pepper flakes for a little kick, but that’s totally optional!
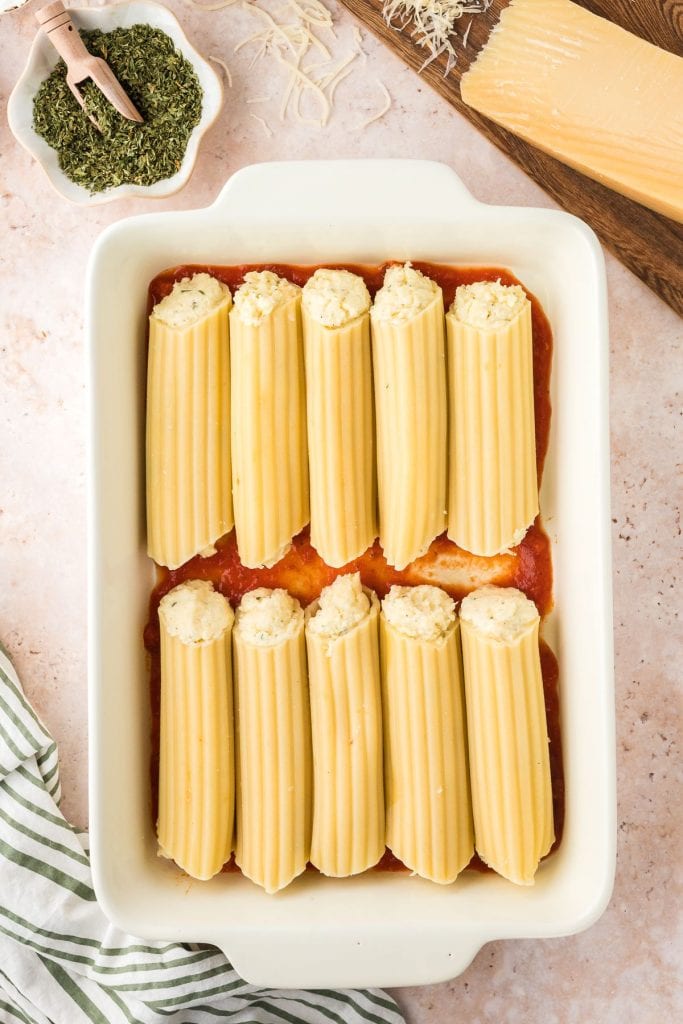
4. Fill the Shells: Transfer the cheese filling to a zip-top bag or piping bag. Snip off the tip and carefully pipe the filling into the uncooked manicotti shells. It’s so much easier (and less messy) than trying to spoon it in!
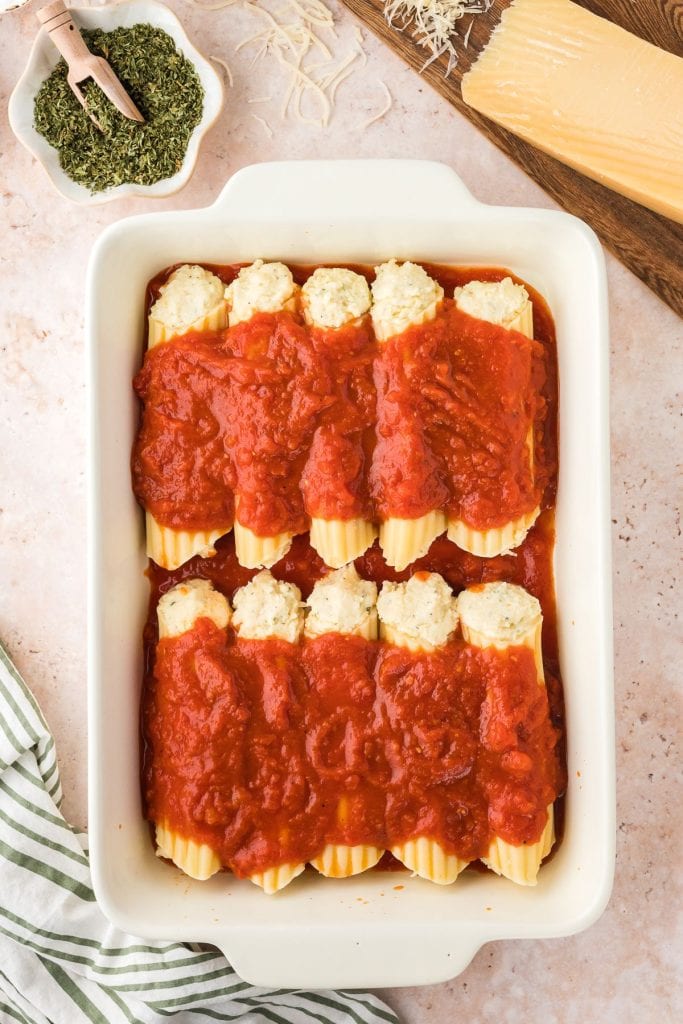
5. Assemble the Dish: Arrange the filled shells in a single layer over the sauce in the prepared baking dish. Pour the remaining marinara sauce evenly on top, so they don’t dry out.

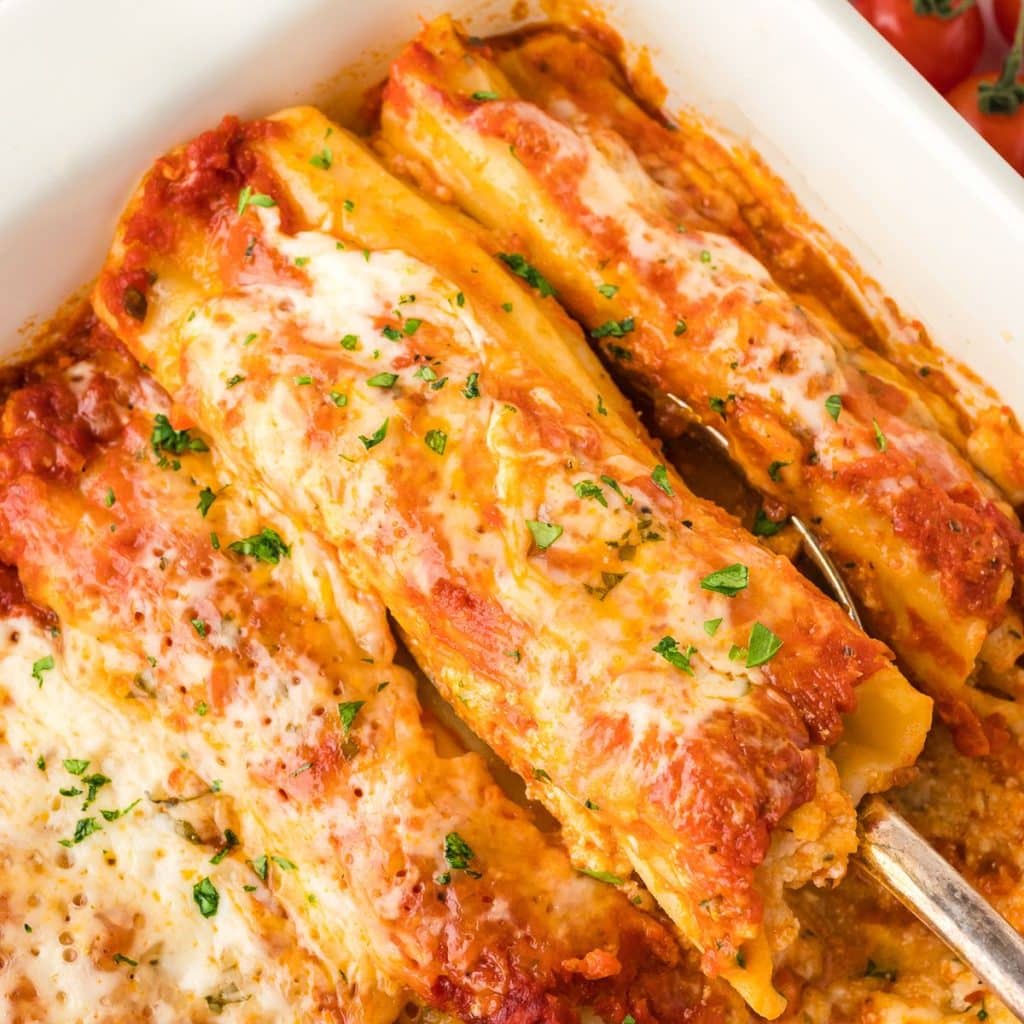
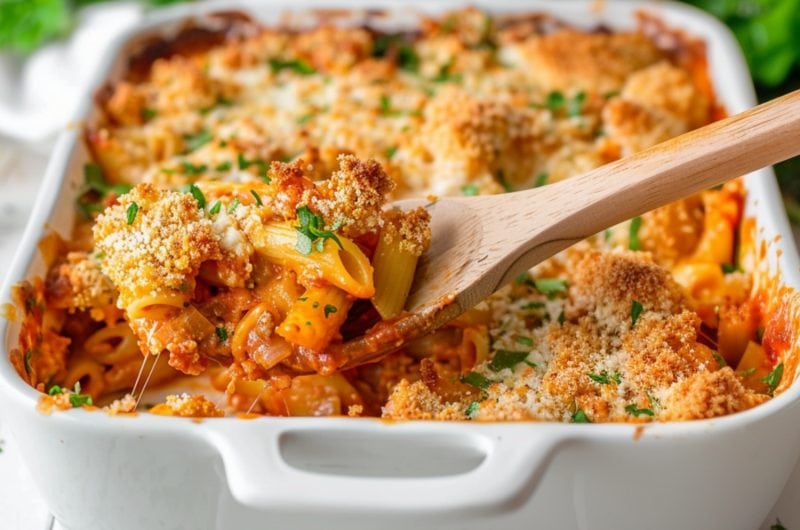
6. Bake and Melt: Cover the dish tightly with foil and bake for 50 minutes. Then, uncover, sprinkle the remaining mozzarella and Parmesan on top, and bake for another 10-15 minutes until bubbly and golden.
7. Rest Before Serving: Let the baked pasta dish sit for 5-10 minutes before serving. This gives the cheese time to set, making the shells easier to slice and serve — trust me, it’s worth the wait!
Tips for the Perfect Baked Manicotti
I’ve made this easy manicotti recipe enough times to know it's deceptively easy. Especially when you use store-bought sauce.
So, before you scroll to the recipe card, check out these tips to help you nail it every time:
- Use a Piping Bag: Filling manicotti shells can get messy! I always load my cheese mixture into a zip-top bag, snip off the corner, and pipe it directly into the shells. Trust me, a spoon won't work.
- Fill from Both Ends for Even Coverage: Pipe the cheese filling into one end of the manicotti shell, then flip it over and fill the other side. This simple trick ensures the filling reaches all the way through for perfectly stuffed noodles in every bite.
- Don't Overfill the Shells: Leave a little space at each end so the filling doesn’t ooze out while baking.
- Grease the Foil: Lightly spray the underside of the foil before covering the baking dish. This keeps the cheese from sticking and makes cleanup easier.
- Add Fresh Herbs: A sprinkle of fresh basil or parsley on top takes the flavor up a notch — plus, it looks extra fancy.
- Shred Your Own Cheese for the Best Results: While pre-shredded cheese is convenient, it often contains anti-caking agents that can prevent it from melting smoothly. For the creamiest, most flavorful results, I highly recommend shredding fresh cheese instead!
- DIY Sauce: For the most flavorful dish, try my homemade marinara sauce. That way, you can taste and adjust it to your liking.
Recipe Variations
If you’re looking to mix things up, here are some delicious manicotti variations to try. Whether you want to add extra flavor, sneak in some veggies, or use what you’ve got on hand, these ideas will keep things interesting:
- Pre-Boil the Shells: Boil the manicotti shells in salted water until just before al dente (about 5-6 minutes). This method makes filling the shells trickier since they’re softer, but it’s the most common method you’ll see online. If you go this route, skip the extra cup of water in the sauce and only bake it with the foil for 25-30 minutes.
- Add Meat to the Filling: For a heartier filling, add 1 cup of cooked ground beef, Italian sausage, or crumbled cooked bacon to the cheese mixture. I recommend browning the meat with a little garlic and Italian seasoning for extra flavor. Just be sure to let it cool before mixing it in.
- Add Spinach and Garlic: Sneak in some greens by adding 1 cup of finely chopped cooked fresh spinach to the filling (or thawed and drained frozen spinach). I like to sauté it with 2-4 cloves of minced garlic for a boost of flavor. Be sure to squeeze out any excess moisture so your filling isn’t too watery.
- Lasagna Roll-Ups (Instead of Manicotti Shells): Pour 1 inch of boiling water into a large casserole dish and submerge a few dry lasagna noodles for about 5 minutes until pliable. Separate the noodles with a fork and transfer them to a plate in a single layer. Add ¼ cup of the cheese mixture to one end, roll it up, and place it seam-side down in the baking dish. This method makes filling the rolls much easier!
- Add Extra Seasoning: For even bolder flavor, try adding 1 teaspoon of Italian seasoning, ½ teaspoon of garlic powder, or ¼ teaspoon of crushed red pepper flakes to your cheese mixture. These simple additions take the filling from good to great!
- Cottage Cheese + Creamier Filling: Swap the ricotta for 2 cups of cottage cheese for a lighter, slightly tangier flavor. To make the filling extra smooth and rich, add ¼ cup mascarpone cheese or cream cheese — it melts beautifully and adds a velvety texture that’s hard to beat.
- Bonus Tip: Want extra cheesy goodness? Add an extra handful of shredded mozzarella or Parmesan between the layers of sauce and stuffed shells for even more melty, gooey bites!

What to Serve with Baked Manicotti
Manicotti is rich and cheesy, so I love pairing it with fresh, vibrant sides to balance the meal.
A crisp Caesar salad or a simple arugula salad with lemon vinaigrette adds a refreshing touch. Or for something heartier, garlic bread, bruschetta, or focaccia are perfect for soaking up the extra sauce.
If you’re feeding a crowd, consider adding roasted vegetables or a light soup like minestrone to round out the meal.
How to Store Leftover Manicotti
I love leftover manicotti — it makes an easy weeknight dinner even easier the next day! Whether you’re planning ahead or saving extras, here’s how to store it properly so those cheesy, saucy flavors stay delicious.
To Make Ahead: Assemble the manicotti up to 2 days before baking. Cover the dish tightly with foil and refrigerate. When you're ready to bake, add an extra 10-15 minutes to the cooking time to ensure everything heats through.
To Store: Let leftover manicotti cool completely, then transfer it to an airtight container and refrigerate for up to 4 days.
To Freeze: For best results, freeze the assembled (unbaked) manicotti. Wrap the entire dish tightly with plastic wrap and aluminum foil, then freeze for up to 2 months. Bake straight from frozen, adding 20-30 extra minutes to the baking time.
To Reheat: Warm leftovers in the oven at 350°F for about 20 minutes or until heated through. For single servings, the microwave works great — just add a splash of water and cover it with a damp paper towel to keep the pasta from drying out.
Oh, and if you're wondering what the difference between manicotti and cannelloni is — manicotti are typically made with large, tube-shaped pasta shells, while cannelloni are often rolled pasta sheets filled with similar ingredients.
More Delicious Baked Pasta Dishes to Try
Olive Garden Five-Cheese Ziti al Forno
Spaghetti Pie
TikTok Baked Feta Pasta
Pizza Pasta Bake

Manicotti
4
servings15
minutes1
hour537
kcalThis easy no-boil manicotti recipe features tender pasta shells filled with a dreamy cheese blend and topped with rich store-bought marinara sauce.
Ingredients
10-12 manicotti pasta shells
1 (15 ounce) container whole milk ricotta cheese
8 ounces mozzarella cheese, shredded (about 2 cups)
1 cup parmesan cheese, grated and divided
2 large eggs
1 teaspoon dried parsley
1/2 teaspoon salt
1/4 teaspoon black pepper
1 (24 ounce) jar marinara or spaghetti sauce
1 cup water
Instructions
- Preheat the oven to 350°F (175°C). Lightly coat a 9×13-inch baking dish with cooking spray. Set aside.
- In a medium bowl, mix the marinara sauce and water until well combined. Pour half into the prepared baking dish. Set the rest aside.
- In a separate mixing bowl, combine the ricotta cheese, half of the shredded mozzarella, 1/2 cup of the grated Parmesan, eggs, parsley, salt, and pepper. Mix until well combined.
- Transfer the cheese mixture to a large zip-top bag or piping bag. Cut the tip off and carefully pipe the filling into the uncooked manicotti shells. Place the filled shells in a single layer over the sauce in the baking dish.
- Pour the remaining marinara sauce evenly over the manicotti shells and cover the dish tightly with aluminum foil.
- Bake for 50 minutes with the foil. Then, carefully remove the foil, sprinkle the remaining mozzarella and Parmesan cheese over the top, and bake uncovered for an additional 10-15 minutes until bubbly and golden.
- Let the stuffed manicotti rest for 5-10 minutes before serving. This helps the cheese set and makes serving easier. Enjoy!
Notes
- Shred Your Own Cheese: Freshly shredded cheese melts better and gives a richer flavor than pre-shredded.
- Fill from Both Ends: Pipe filling into one end of each shell, then flip and fill the other side to ensure it's packed with cheesy goodness.
- Add Extra Seasoning: Add 1 teaspoon of Italian seasoning, 1/2 teaspoon of garlic and onion powder, and/or 1/4 teaspoon of crushed red pepper flakes to the cheese mixture.
Nutrition
- Calories: 537kcal
- Fat: 35g
- Saturated Fat: 21g
- Cholesterol: 208mg
- Sodium: 1976mg
- Carbohydrates: 16g
- Fiber: 2g
- Sugar: 7g
- Protein: 38g


2 Comments
kim , that looks good to me. and it sounds like it good also. thank you for the recipe.
I absolutely loved this recipe, I followed it close but used small curd cottage cheese as usual. I have not been successful baking pasta without pre boil but this one worked perfectly. Next time I will add some mild Italian sausage and spices for my husband but I want it original!