

Want to start a food blog? If so, you've come to the right place. We've been lucky enough to grow this very blog to over 6 million visitors per month!
But it didn't come without a lot of hard work (and a bit of elbow grease 🙂
Luckily, I'm here to guide you on the adventure to starting, optimizing, and making money with your very own food blog!

I know that might seem like a lot, but I promise it’s doable. In this article, you'll learn how to name your blog, launch your website, and how to make money from your blog. Let’s get to it!
How to Start a Food Blog – Step by Step!
- Step One: Choose a Domain Name
- Step Two: Get a Web Hosting Account (We Recommend Bluehost)
- Step Three: Install Wordpress
- Step Four: Select a Theme and Design for Your Blog
- Step Five: Publish Your First Article
- Step Six: Optimize Your Blog Content for SEO
- Step Seven: Best Ways to Make Money with Your Food Blog
- Step Eight: Stick With It
- Final Thoughts
- How to Start a Food Blog
Step One: Choose a Domain Name
In short, a domain name is the address of your website. You know, the one your future readers will type into their address bar and visit your little corner of the web!
Mine is https://insanelygoodrecipes.com. Type ‘insanely good recipes’ into Google and you’ll find me nice and easy.
Now, you could, technically, have your domain name be something completely obscure and nothing related to your website name, BUT that’s a big mistake. HUGE!
Think about your domain name like your address. You want your readers to be able to find you, right? So, your domain should be directly related to the topic of your website.
How to Pick a Domain Name
Ok, so I’ve seen some food blogs with pretty weird names. And though I’m no expert, I think your website’s name should be related to its content. I chose Insanely Good Recipes for a couple of reasons.
First: I’m a massive foodie, and I wanted to share with you all some of the best (insanely good) recipes out there.
Second: There’s no doubt about what you’ll find on my site.
To pick the best domain name for your new food blog, follow these steps:
- Brainstorm as many ideas as you can think of. Make lists of relevant words and phrases you like and build on them.
- Check each of these ideas against existing domains. You can use a tool like Bluehost to see which domain names are still available.
- Try to stick with .com. Though there are other options, such as .co.uk (if you’re looking to have a primarily British audience), but if you’re looking to reach global customers, .com is the most widely accepted – and what people will type in by default.
- Keep it short and sweet. You want your domain to be memorable, easy to spell, and descriptive. People should immediately know this is a food blog!
- Do NOT use hyphens. With so many domain names already being taken, it can be tempting to throw in a hyphen (or heaven forbid a misspelling!). But stick to fun, memorable, easy-to-type domain names.
- Use niche-related words such as food, desserts, etc. Having niche-relevant words right in the domain will help you to stand out.
Of course, your domain name is entirely up to you, so have some fun and get creative!
How to Buy a Domain Name
When it comes time to purchase your domain, you have a few options:
- Purchase the domain name from a company such as NameCheap.com.
- Purchase your domain through a web hosting provider, such as Bluehost. This is probably the easiest way to get started. It allows you to get your domain and web hosting at the same time.
I personally recommend that you start with a company like Bluehost, that way you can get your domain name and your web hosting all in one central package.
Step Two: Get a Web Hosting Account (We Recommend Bluehost)
So, what exactly is web hosting, and why is it so important?
Every single website in the world is hosted on a server. Just like you have files on your computer right now, those files (the code, content, and images) need to be stored somewhere when you create a website.
That somewhere is a server. These computers often host hundreds (if not thousands) of websites at once, renting the space to people like you and me.
A web hosting service owns servers and rents out space to people and companies all over the world. They hold all of your website’s files and information, and when someone types in the domain, the server will send along the info.
Hopefully, that all makes sense, and you can see why a reliable web host is so important. Sure, you can find cheaper options, but will they be running 24/7?
What happens if you get a sudden surge in traffic to your site? Will they be able to keep up with the demand? Be sure to build your blog on solid ground (a.k.a. a reliable web host).
How to Get Started With Bluehost
As mentioned above, we recommend Bluehost as a web hosting service because it is easy to use, affordable, offers automatic Wordpress installation, and has 24/7 support.
Not only that, but they're also known to offer reliable and fast servers and have multiple packages available for different levels of blog traffic.

To get a free domain name, you'll need to pay for 12 months up front. But don't worry, if you're not satisfied for any reason, you can cancel within 30 days for a full refund.
To get started, go to Bluehost.com and select the Basic plan. This one has everything you need to get started and you can always upgrade if needed!
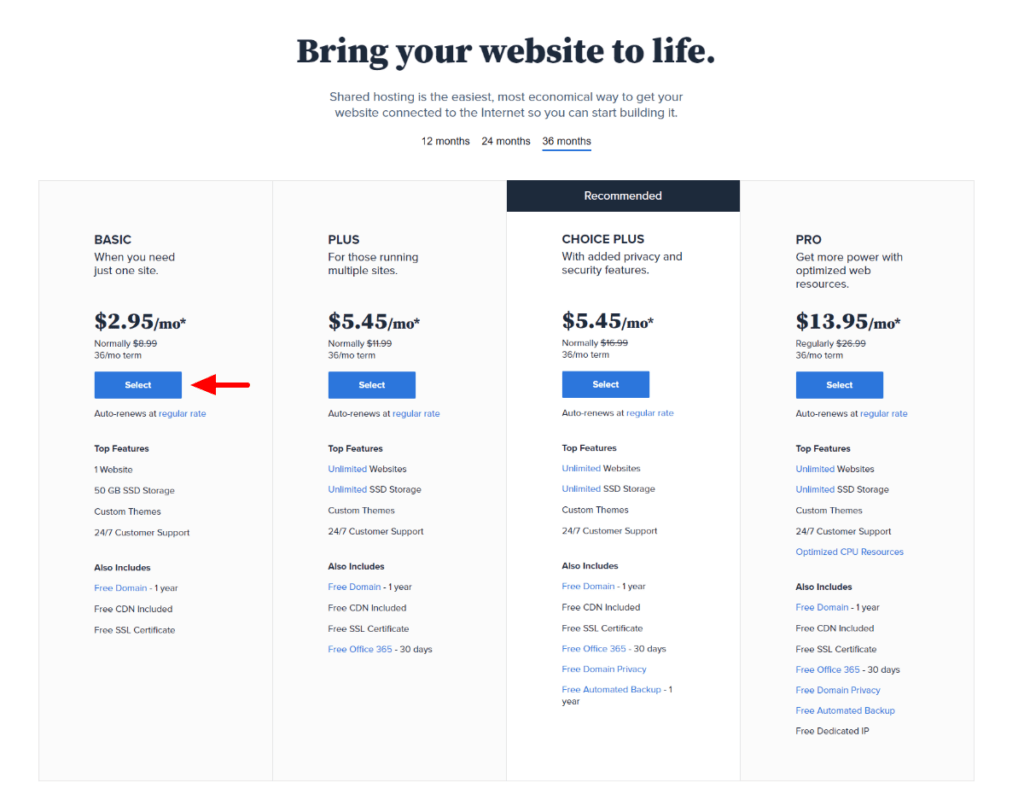
After you select your plan, Bluehost will prompt you to setup your domain name. This is where you get to choose what your website will be called.

And finally, choose your add-ons. Bluehost offers quite a few add-on options, but the only one that I personally use is the Domain Privacy + Protection. This ensures that your address and phone number are kept private.
Otherwise, it's super easy to use a whois service online to find the personal contact details for almost any website. This option keeps you protected.
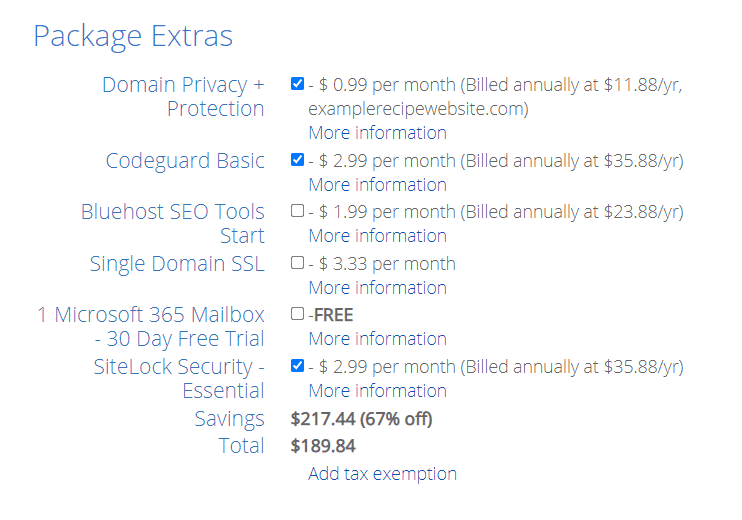
Bluehost also has Codegaurd Basic and SiteLock Security automatically checked. Codegaurd Basic creates daily backups of your website, allowing you to restore the website if it gets hacked or something like that.
However, you can use a service like ManageWP.com that does the same thing a LOT more affordably!
The SiteLock security helps protect your website from malicious attacks, spammers, and hackers.
Again, there are Wordpress plugins that will allow you to do this for free. But, if you'd rather skip the technical side of having to setup those plugins, then this is an option for you.
Step Three: Install Wordpress
Unless you happen to have a developer on hand, your best option is to work with one of the many existing platforms out there. They do all the back-end work, so you don’t have to know how to code or design.
Some of the most popular options include Wordpress, Wix.com and Squarespace. All of these platforms allow you to blog without messing with any code or techie stuff.
However, my #1 recommendation is Wordpress. If you’re serious about building a brand, WordPress is your best option. It is an open-source blogging platform – meaning it is free to use.
In fact, Wordpress powers 40% of all websites on the Internet. This includes sites like Nasa, TechCrunch, Vogue, The New Yorker, Microsoft and pretty much
all of your favorite recipe websites.
Plus, there are thousands of free (and paid) Wordpress plugins that allow you to add unlimited functionality to your Wordpress website.
For these reasons, I highly recommend you use a platform like Wordpress and get your own web hosting. Bluehost is my #1 web hosting recommendation for those who are just getting started.
Step Four: Select a Theme and Design for Your Blog
This is the fun part! After all that technical jargon, here, you can let your creative juices flow!
WordPress has a number of free template options for your new food blog, which makes designing it super simple.
No need to have a degree in art to create a beautiful-looking website! Just pick a theme and make it your own using your brand images and colors.
There are also plenty of premium templates that tend to have more features available if you want something slightly different.
A good theme is visually appealing, easy to use/navigate, and relevant to your niche.
I've tried 100's of different themes over the years. Here are some of my all-time favorites for food bloggers in particular.
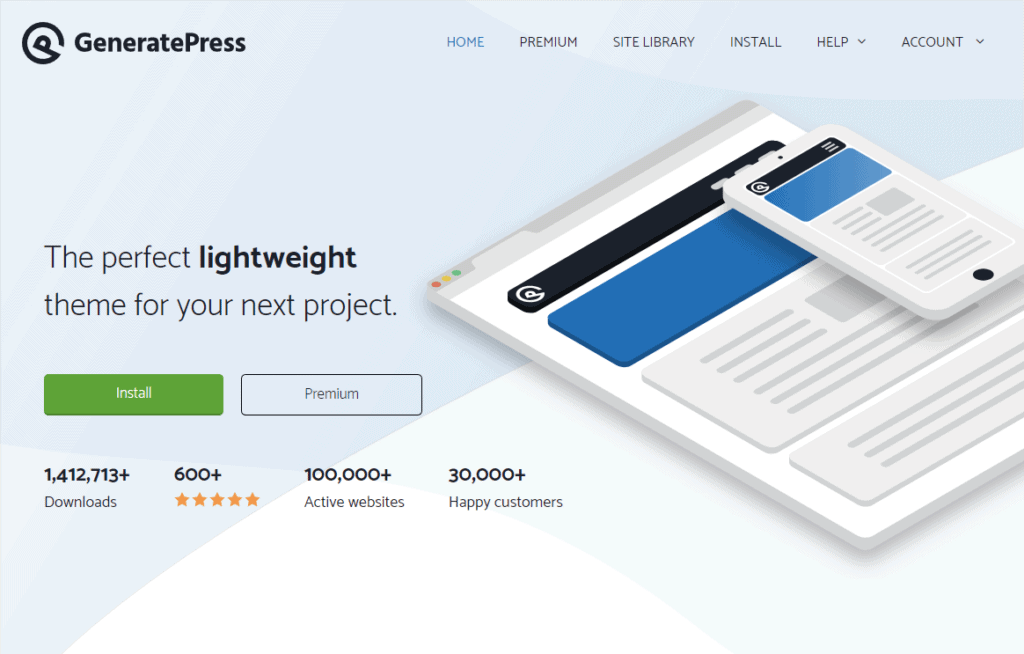
GeneratePress – This is the theme we use here at InsanelyGoodRecipes.com. In fact, this is the theme I almost always choose when starting a new website.
It's incredibly lightweight and speedy. Google is now looking at site speed as a ranking factor, so it's becoming more and more important that your site load quickly.
With GeneratePress, you get a 7.5kb page size, 2 HTTP requests, and zero dependencies. Making it one of the fastest Wordpress themes online.
They also make it easy to customize the look and feel of your website. Another reason it's one of my go-to Wordpress themes.
Plus, they also have a site library of pre-made designs you can choose from.
When it comes to speed, customization, and SEO, you can't go wrong with GeneratePress.
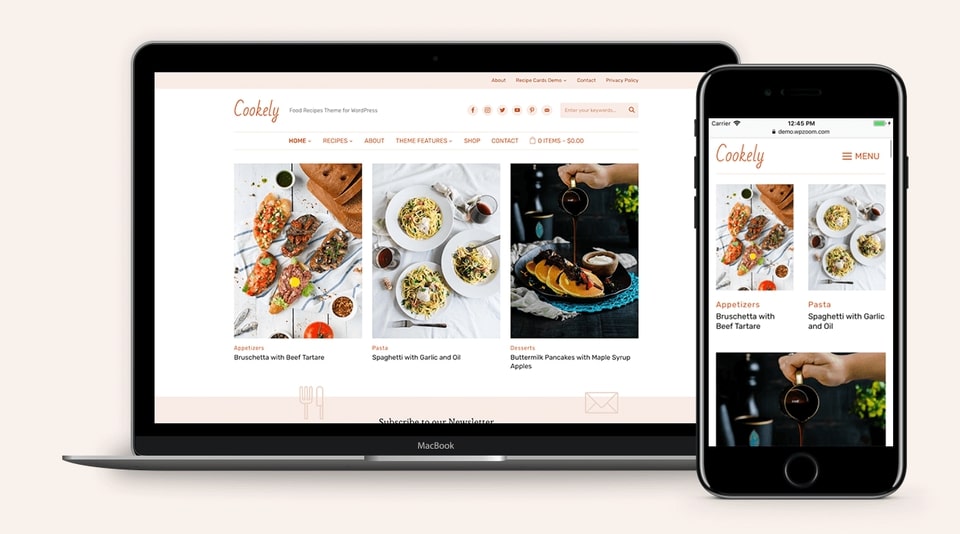
Cookely – This theme was made specifically for food bloggers. Right out-of-the-box, you'll have a stylish design for showcasing your recipes.
It's easy to customize. Comes with 6 color schemes. It's mobile-friendly. SEO optimized. And it even comes with a built-in recipe index.
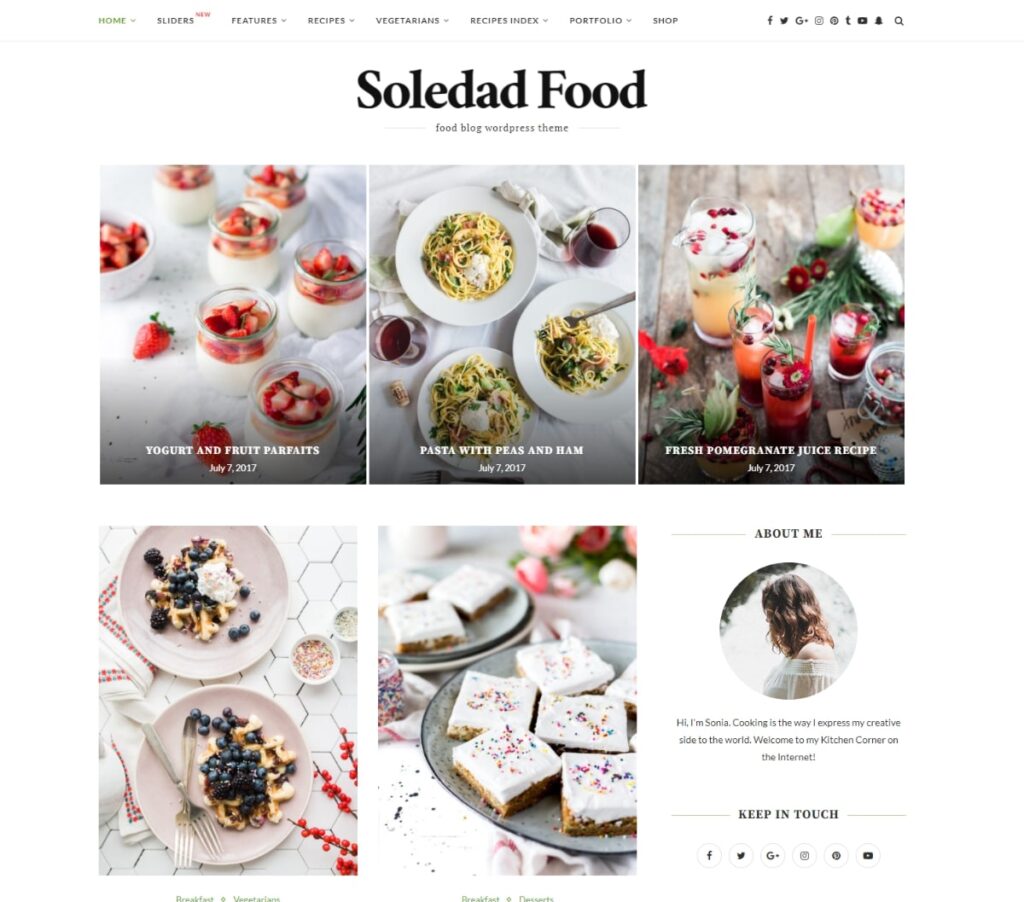
Soledad – This is actually the theme I started with at InsanelyGoodRecipes.com for the first year and half.
It served us VERY well. In fact, we used this theme while growing to over 1 million visitors per month.
It's SEO optimized. Fully customizable. And comes with a number of pre-made designs that are PERFECT for any food blog.
We moved to GeneratePress in order to improve our Google Pagespeed Scores. But Soledad is still one of my all-time favorite Wordpress themes.
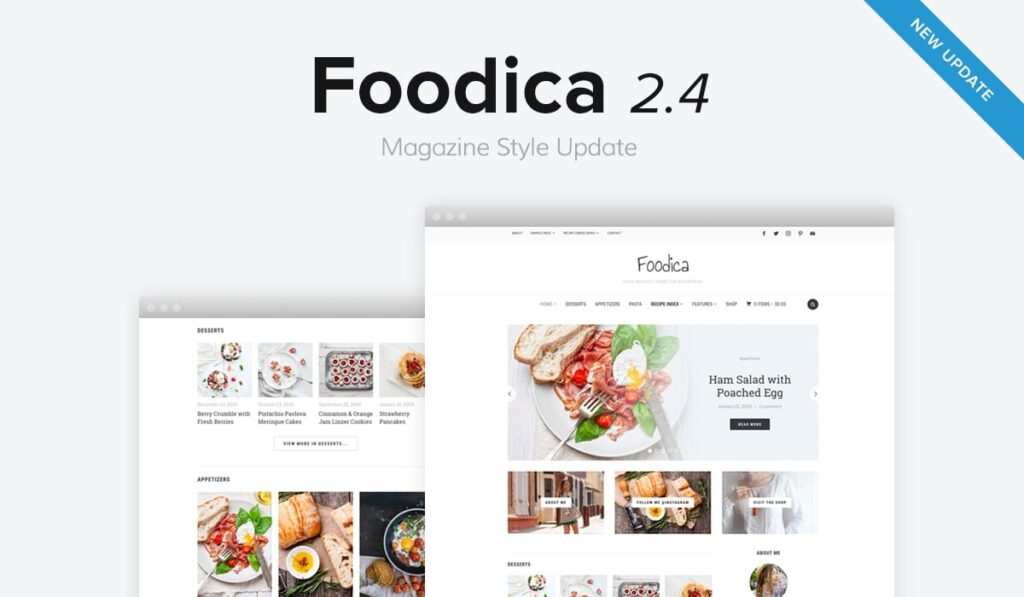
Foodica – This theme is made by the same people who created the Cookely theme. It's another fantastic option for food bloggers.
Fully mobile-responsive. Easy to customize. SEO friendly. And used by many websites around the web.
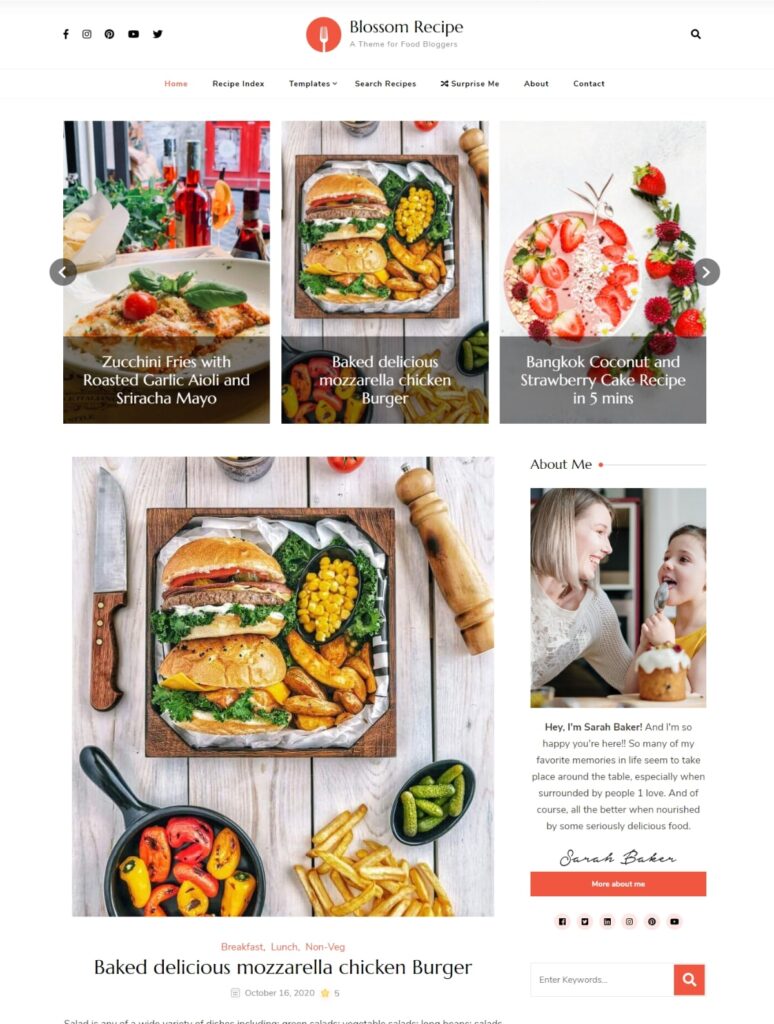
Blossom Recipe – Here's another popular theme made exclusively for food bloggers. It has a gorgeous design right out-of-the-box.
Mobile-friendly. SEO optimized. And easy to customize.
This theme boasts an elegant design and powerful features. You can preview the theme here.
With these gorgeous themes, you'll never have to write a single line of code!
Just choose your favorite Wordpress theme. Install it. And customize to your hearts desire!
Step Five: Publish Your First Article
Coming up with content can be a challenge sometimes. Once you’ve shared your favorites, where do you go? I often get asked how I come up with all my blog posts and recipe round-ups, and honestly, it’s not always easy.
I like to work on recipes I know I like. That helps. If I eat something great or see something in a magazine and just have to try it out, I’ll be googling recipes before the check comes!
When just starting, I highly recommend sticking to what you know. Write about what you like, or what excites you. It will come across in your writing.
There are also plenty of tools online to help you think up new blog titles. Answer the Public is a fantastic site that provides a free-to-use keyword tool. Just type in a keyword, such as chocolate, and you’ll get a crazy amount of article ideas.
Things to Do Before You Hit Publish
It’s your first article, so chances are, it won’t be perfect. We all miss little things like the odd comma or tiny spelling error. So, before you hit publish on that first article, check the following:
- Read and re-read the entire article for pace and continuity.
- Remove anything repetitive or irrelevant.
- Run the article through a spelling and grammar software, such as Grammarly (which is free and has premium packers).
- Check your headings and subheadings, making sure you have relevant questions and/or keywords present.
- Make sure your article is optimized for mobile, meaning no excessively long paragraphs.
- Double-check your links.
- Make sure any photos are top quality.
As you continue to work on your content, all of this will become second nature.
Step Six: Optimize Your Blog Content for SEO
I’m sure you’ve heard the term SEO before, and maybe you know that SEO means ‘search engine optimization.’ But what does it actually mean?
Search engine optimization is all about getting your content to show at the top of Google. Let’s be honest, we all want to be that first link when you search for something, but it’s not so easy to do. That’s because lots of other websites are competing for the same spot.
The good news is that though it can take a while, you can do plenty of things to optimize your content for SEO and Google:
1. Do your keyword research. This is one of the most important steps when publishing a new article. Decide what keyword phrase you want that page to rank for and lookup the monthly search volume for that particular keyword phrase.
For example, the phrase “meatloaf recipe”, is going to be incredibly hard to rank for, expecially if you're just getting started. But keywords like air fryer meatloaf, traeger meatloaf, and ninja foodi meatloaf are going to be a LOT less competitive.
2. Mobile optimization is vital! People are forever scrolling and searching on their phones, so you need to make sure your website is optimized for mobile. Most Wordpress themes are now fully mobile-optimized. But you'll want to view your blog post on a mobile device before you hit the publish button.
3. Optimize your post title and description. Be sure to add your main keyword phrase towards the FRONT of your post title and description.
4. Use an SEO-friendly URL. Be sure to include the main keyword phrase in your post url. Keep it short and sweet.
An example would be: https://insanelygoodrecipes.com/cracker-barrel-meatloaf/ Notice how the url includes the main keyword phrase we want to rank for.
5. Use your main keyword in the first 150 words of the post. Be sure to use your main keyword phrase in the first or second paragraph of your blog post.
Step Seven: Best Ways to Make Money with Your Food Blog
Once you’re up and running, it’s never too early to consider how to monetize your content. You’re giving all that fantastic knowledge away for free, don’t you think you should get something back?
Obviously, as a new food blog, you’re likely not going to be getting a whole lot of traffic. But, setting it up for the future – for when you do have lots of traffic – will save you so much time down the line.
The best ways to make money with your food blog include:
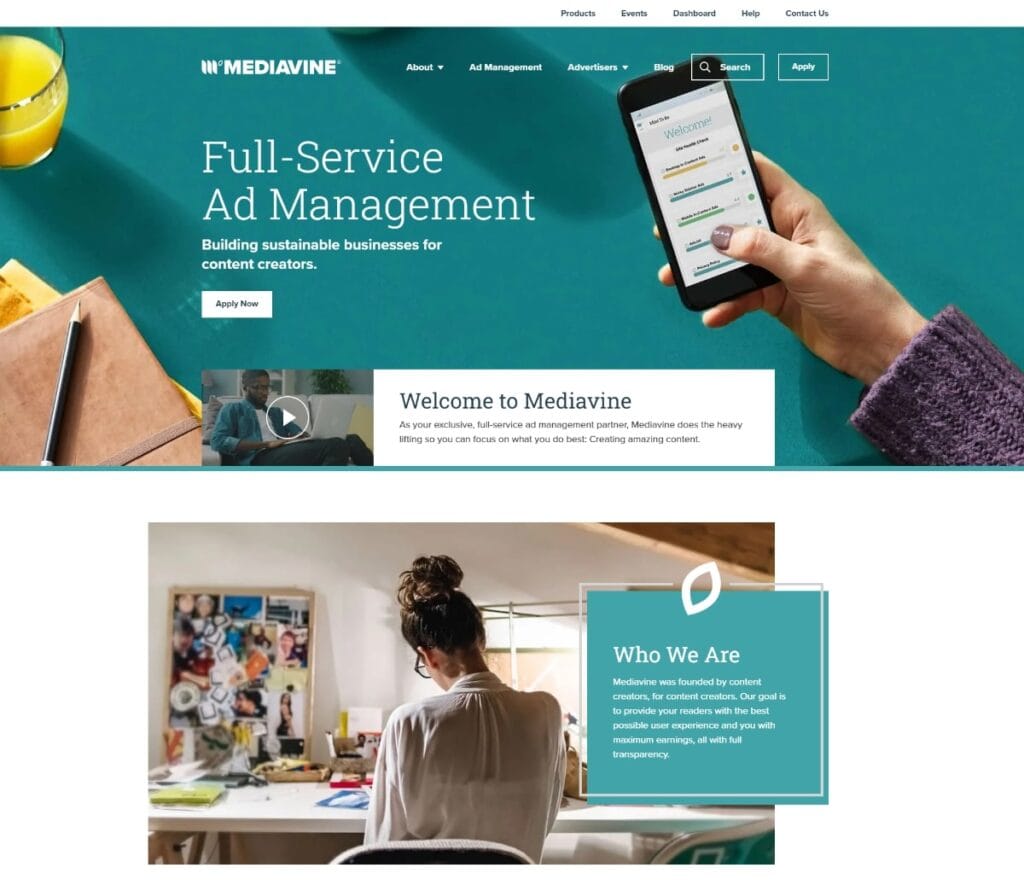
- Advertising. This is the #1 money-maker on most recipe websites. Google AdSense will pay you to display relevant ads on your site. However, you'll start making a LOT more revenue when you get to 50,000 visitors per month and you can join an ad network like Mediavine.
- Sell your recipes. Once you have enough content, group it all together and create a simple ebook. You can use Kindle Create to make a quick (free!!) ebook that you can upload to Amazon for free. Or use a plugin and sell a PDF file directly on your website.
- Check out affiliate marketing. Affiliate marketing is when you partner with a company or product, and you promote it to your readers. Amazon Associates is an excellent option as you can suggest specific baking/cooking tools to your readers and get commissions on any sales made through your links.
Step Eight: Stick With It
Most people assume that the traffic will naturally start to flow once your site is up and running. “If you build it, they will come!” Unfortunately, that’s not the case.
Getting traffic to your website takes time and a lot of effort. It requires lots of research and time spent on content, and it can take many months before you start to see a return on that investment.
But, if you stick with it and make authentic, relevant, and original content, you will see your traffic increase. To improve your chances of gaining readers, keep the following tips in mind when creating and maintaining a food blog:
- Be you, be authentic, and be honest.
- Post original content as much as possible.
- Let your personality shine, so people know you’re not just some faceless blogger.
- Network with other blogs to gain exposure and backlinks (other websites linking to your site you give it credibility).
- Make sure your site is clean and easy to navigate.
- Link internally to related blog posts so readers will stay on your site longer.
- Use top-quality photos.
- Make your content shareable with social sharing buttons.
- Post regularly and as often as possible.
- Learn as much about SEO and keywords as possible.
Final Thoughts
Creating a food blog might sound like a fun little side gig, and it is! But if you want to create a brand that can potentially allow you to work on content full-time, it’s going to take some work.
Between picking the perfect domain and finding a web host that works for you, there are many technical hurdles to jump through. But once you have an established site and start getting your content out, you’ll find it can be a fun way to connect with new people and stay creative.
I love doing what I do, but it did take hard work. Keep at it, and good luck!

How to Start a Food Blog
Want to become a food blogger? You've come to the right place. In this step-by-step guide, you'll learn how to launch your very own website, publish your first post, and start making money!
Ingredients
Domain Name
Web Hosting
Wordpress Theme
Instructions
- Choose a domain name.
- Get a web hosting account. (We Recommend Bluehost)
- Install WordPress.
- Select a Wordpress Theme for your blog.
- Publish your first article.
- Optimize your blog content for SEO.
- Monetize your blog with ads, affiliate marketing, and even your own cookbooks.