


Want to learn how to freeze apples like a pro? It couldn't be easier!
Just wash and dry them, then freeze until solid. After that, they need to be kept in a freezer-safe container to avoid freezer burn.
How to Freeze Apples
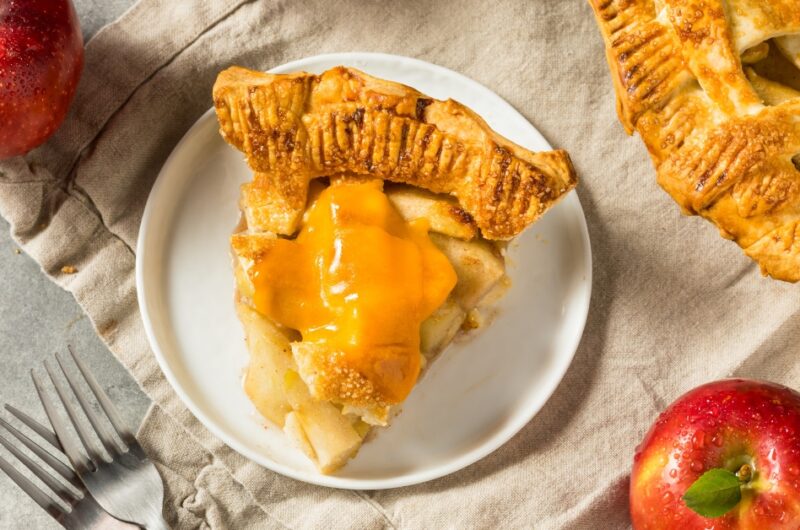
In season or not, apples taste great in pies, cobblers, or smoothies. Unfortunately, they're not always available when you want them.
That's where I come in.
This handy guide will walk you through step-by-step instructions for freezing them.
Afterward, you should be able to savor the taste of autumn, no matter the season.
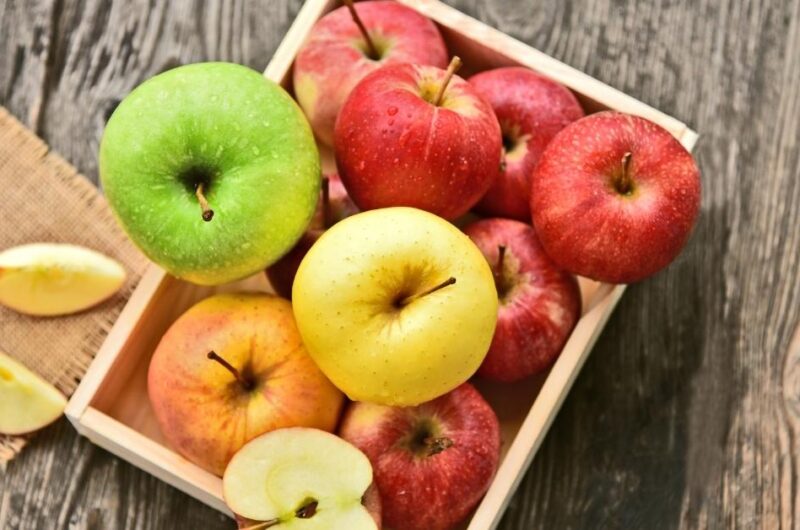
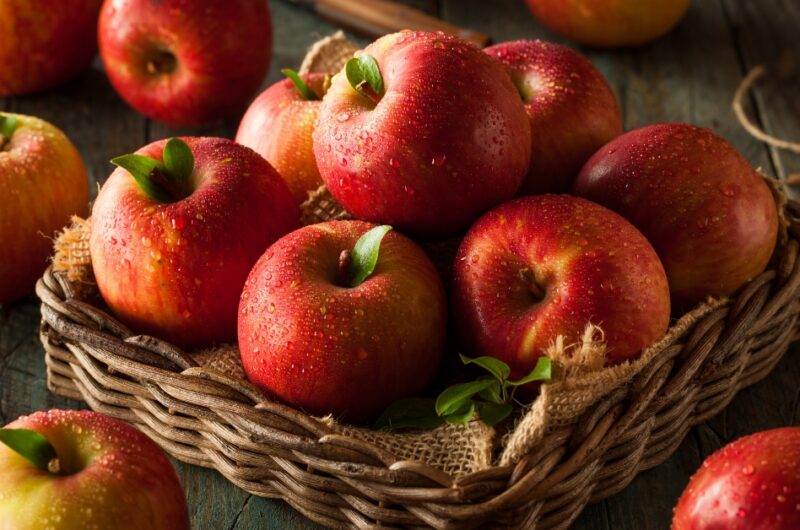
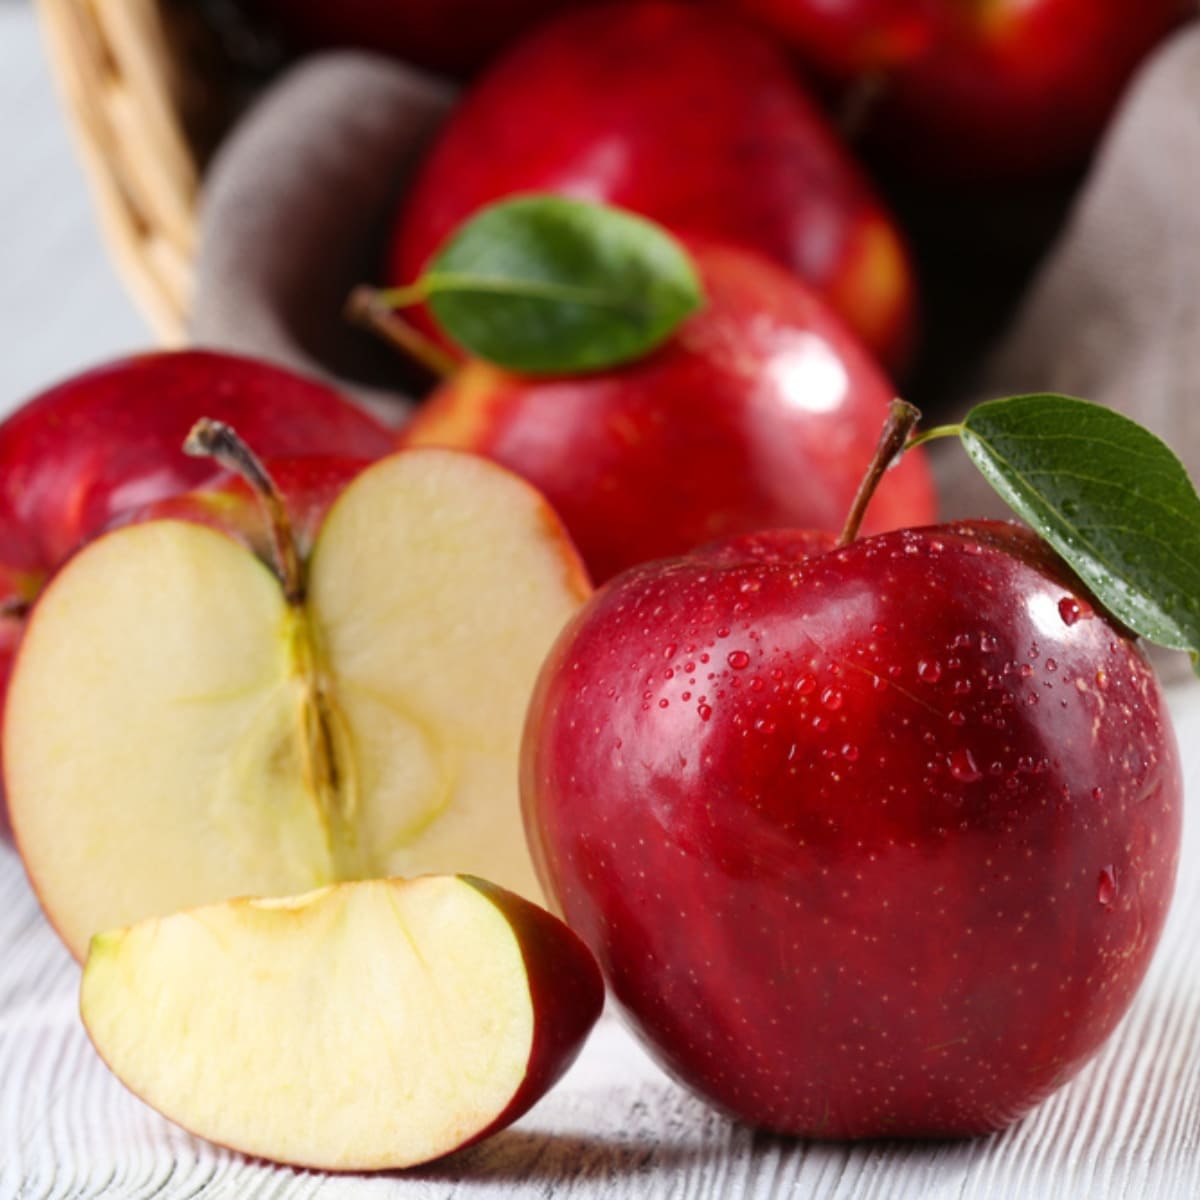
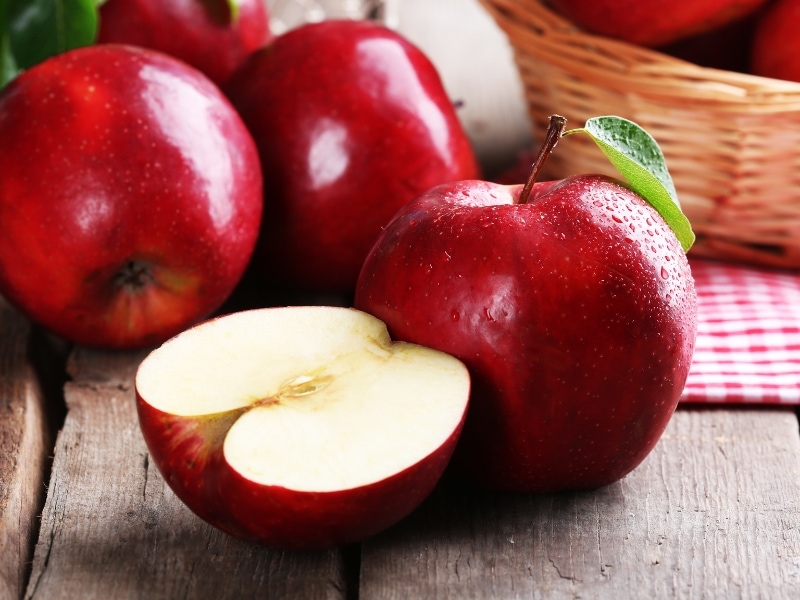
Honeycrisp, Granny Smith, Fuji, Jazz, or Golden Delicious. All apples can be frozen as long as you know how.
Fortunately, the method for freezing apples is the same, no matter the variety.
- Flash-freeze clean apples on a tray.
- Make sure each apple/piece does not touch.
- After a few hours, add the apples to a freezer-safe container.
- Return to the freezer for long-term storage.
The only differences come when freezing whole apples, slices, and pie filling. Let’s talk about each.
1. Freezing Whole Apples
Freezing apples while still whole is the easiest way to freeze them. However, it is not the best way.
After all, simplest does not always equal the most effective.
Still, here are the steps for freezing whole apples:
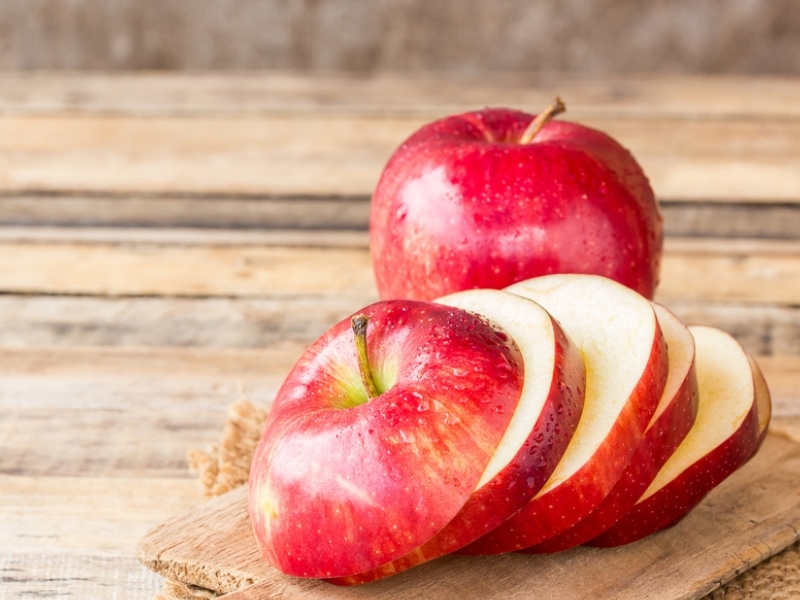
- Wash and dry the apples.
- Place them on a baking sheet, leaving space between them.
- Put the uncovered baking sheet with the apples in the freezer.
- Allow it to remain until the apples are frozen. (approximately 1 – 2 hours)
- Remove the baking sheet from the freezer.
- Transfer the apples to freezer-safe, sealable bags.
- Press as much air out of the bag as possible.
- Seal the bag and pop it in the freezer.
Remember: Whole apples will be mushy (not crisp) once you thaw them. If you have time, it’s best to slice and prepare the apples for freezing instead.
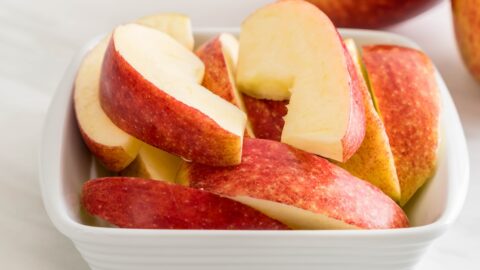
2. Freezing Apple Slices
If you want to freeze apples most effectively, freeze them in slices. Here are the steps for doing that:
- Wash and dry the apples.
- Peel and core the apples.
- Cut them into individual slices.
- Dip each piece in lemon juice to prevent browning.
- Place the slices on a baking sheet; do not let them touch.
- Flash-freeze the apples in the freezer for a couple of hours.
- Remove the tray from the freezer and transfer the slices to freezer-safe bags.
- Date the bag and freeze it.
Flash-freezing apples (either whole or slices) keeps them from sticking together.
Have you ever bought a bag of mixed fruit? When you try to pull one berry out, a big wad comes out instead.
This would happen if you froze the apples (or slices) in the bags. So, remember to freeze them untouching on baking sheets before bagging them.
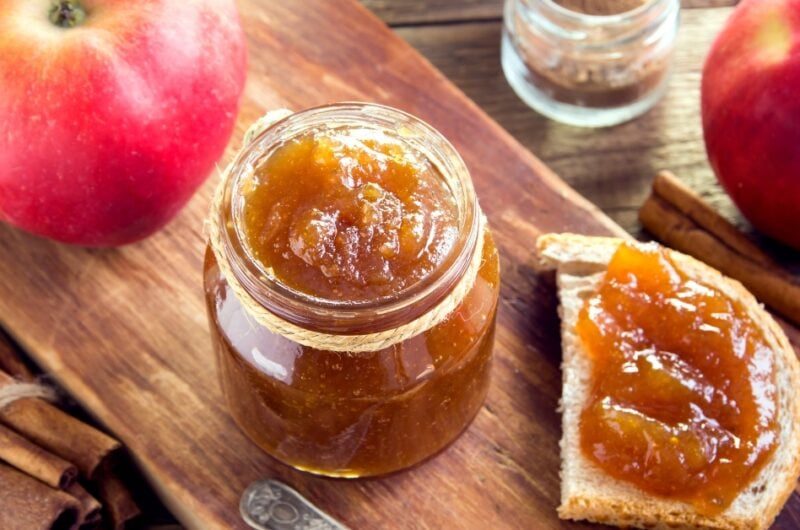
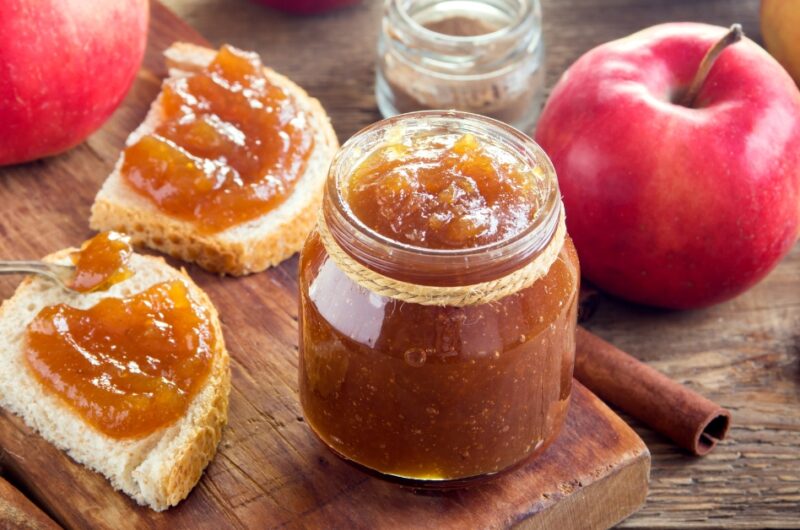
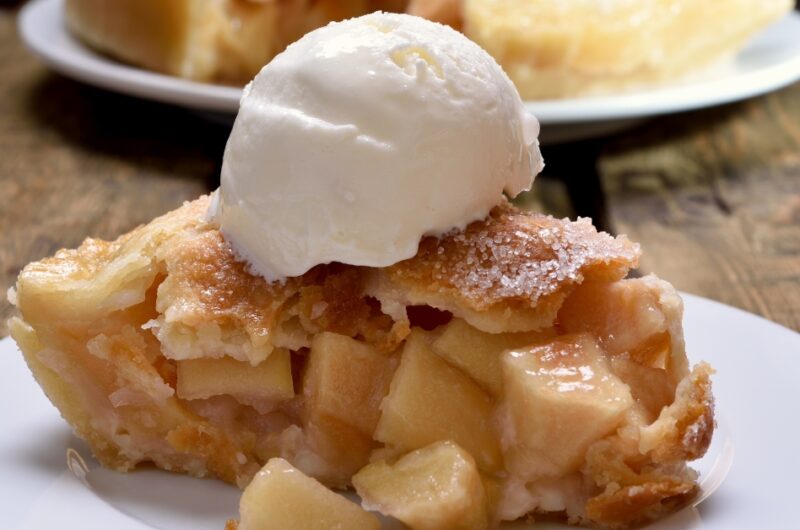
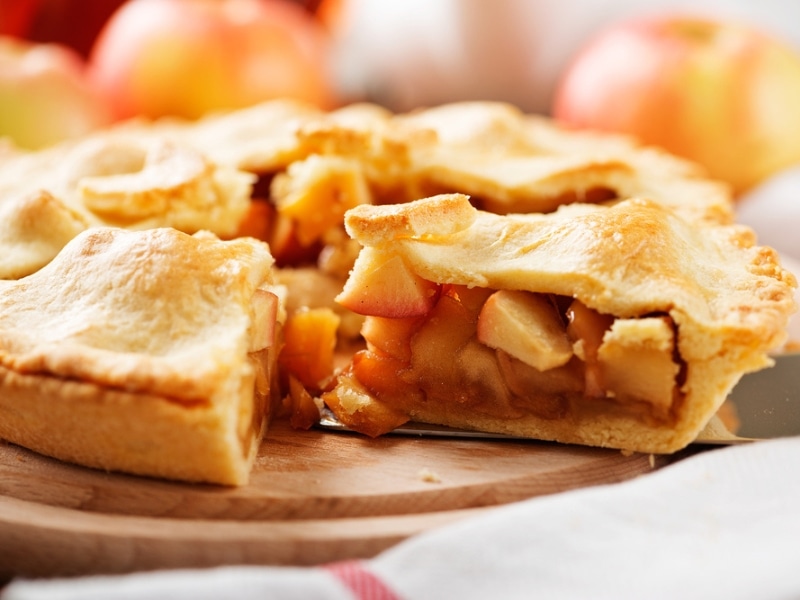
3. Freezing Apple Pie Filling
Do you know you will use the apples in pies? Then turn them into pie filling before freezing them.
Here’s how:
- Wash, dry, peel, core, and dice the apples.
- Put the apple chunks in a bowl and toss them with lemon juice.
- Make the apple pie filling. *See steps below.
- Allow the filling to cool.
- Line as many pie plates as necessary with plastic wrap.
- Pour the apple pie filling into the lined pie plates.
- Flash-freeze the filling in the freezer for a couple of hours.
- Remove the pie plates from the freezer.
- Use the “handles” of the plastic wrap to lift the filling from the plates.
- Transfer the plastic-wrapped fillings to freezer-safe bags.
- Date and freeze the bags.
How to Make Apple Pie Filling
You never know when you'll need apple pie filling.
It's a great thing to have on hand for last-minute guests or to make when you have lots of apples.
And luckily, it's easy to make and freezes really well.
Here's a simple rundown of the steps:
- Mix brown sugar, granulated sugar, and cornstarch in a saucepan over medium heat.
- Add the diced apples and whatever spices you prefer. (Cinnamon, nutmeg, and salt are common.)
- Stir while bringing the mixture to a simmer.
- Reduce the heat to low and continue cooking for 20-30 minutes, stirring regularly.
- Add vanilla extract, stir, then remove from heat.
From this point, pick up the freezing steps at step 4 (cooling the filling).
How to Prevent Apples From Browning When Freezing Them
There are three common methods to prevent cut apples from browning. They are:
- Method 1: Dipping or soaking apple slices in lemon juice is the easiest way to prevent browning.
- Method 2: Add 2 tablespoons of salt to 10 cups of water. Dip the apples into the saltwater.
- Method 3: Blanch the apples. Briefly place raw apple slices/pieces into boiling water for 30-60 seconds (max.). Remove the apples and immediately plunge them into an ice bath.
- This shocks the apples and stops the cooking process.
How Long Do Frozen Apples Last?
Apples can remain frozen for 6 months- 1 year when stored properly. However, use them in 3-6 months for the best texture, flavor, and quality.
Do You Need to Thaw Frozen Apples Before Using Them?
Most times, no. You do not need to thaw apples before using them. Add the correct amount to your recipe straight from frozen. (Adding the right amount is easier if you have apple slices.)
How to Use Frozen Apples
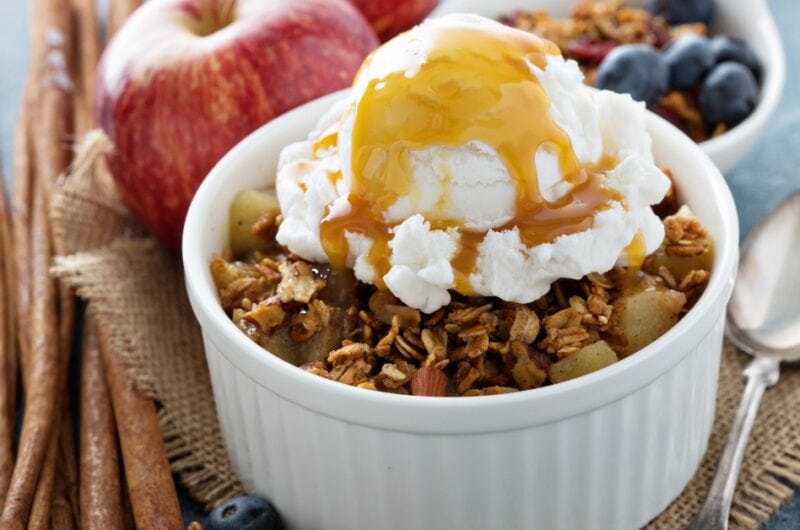
You can use frozen apples in any recipe where the apples are cooked. This includes:
- Pies
- Cakes
- Muffins
- Cobblers
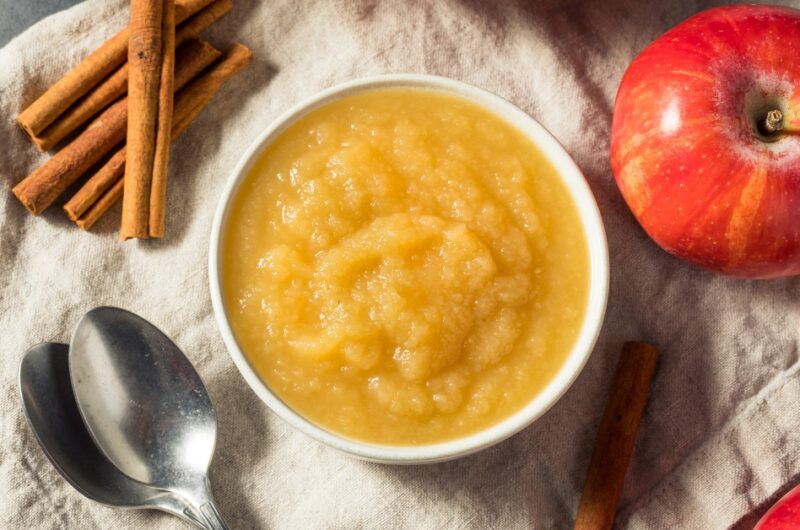
- Applesauce
- Apple dumplings
- Oatmeal
- And so much more!
If the recipe calls for raw apples, they may not do as well. The only exceptions to this are smoothies. Because you’ll puree them anyway, it won’t matter if the texture is soft.

How to Freeze Apples (The Easy Way!)
Are you ready to learn how to freeze apples properly? You can easily freeze whole apples or pie filling, but the best way is to freeze apple slices.
Ingredients
Sliced Apples
Lemon Juice
Lined Baking Sheet
Instructions
- Wash and dry the apples, then peel and core them.
- Cut them into individual slices.
- Dip each piece in lemon juice to prevent browning.
- Place the slices on a lined baking sheet, but do not let them touch.
- Flash-freeze the apples in the freezer for a couple of hours.
- Remove the tray from the freezer and transfer the slices to freezer-safe bags.
- Date the bag and freeze it.
Notes
- Keep the slices from touching on the tray or they will freeze together and be harder to store.