

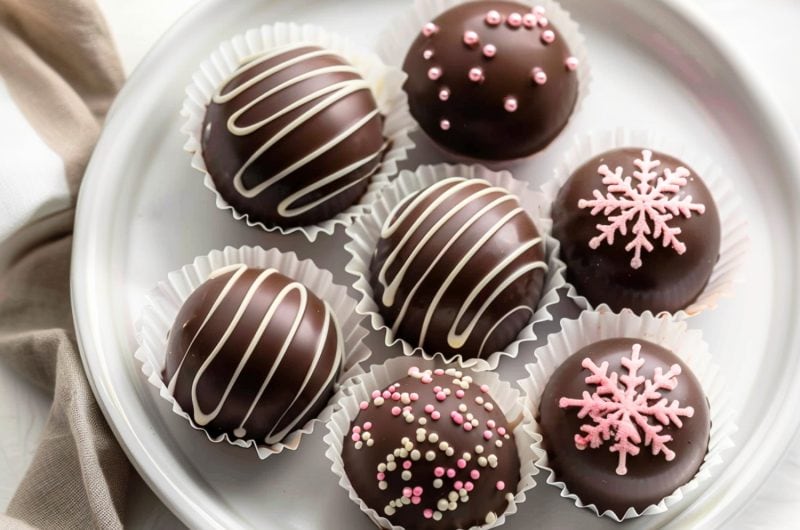
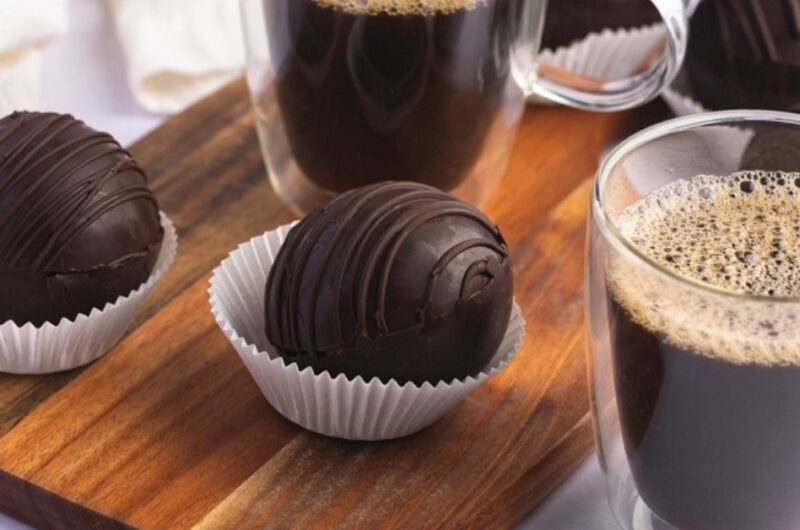
With rich chocolate, real cocoa, and fluffy marshmallows in every sip, hot chocolate bombs are the perfect way to warm up this winter.
Plus, the dissolving bomb effect is so much fun. It’s like a party in your cup!
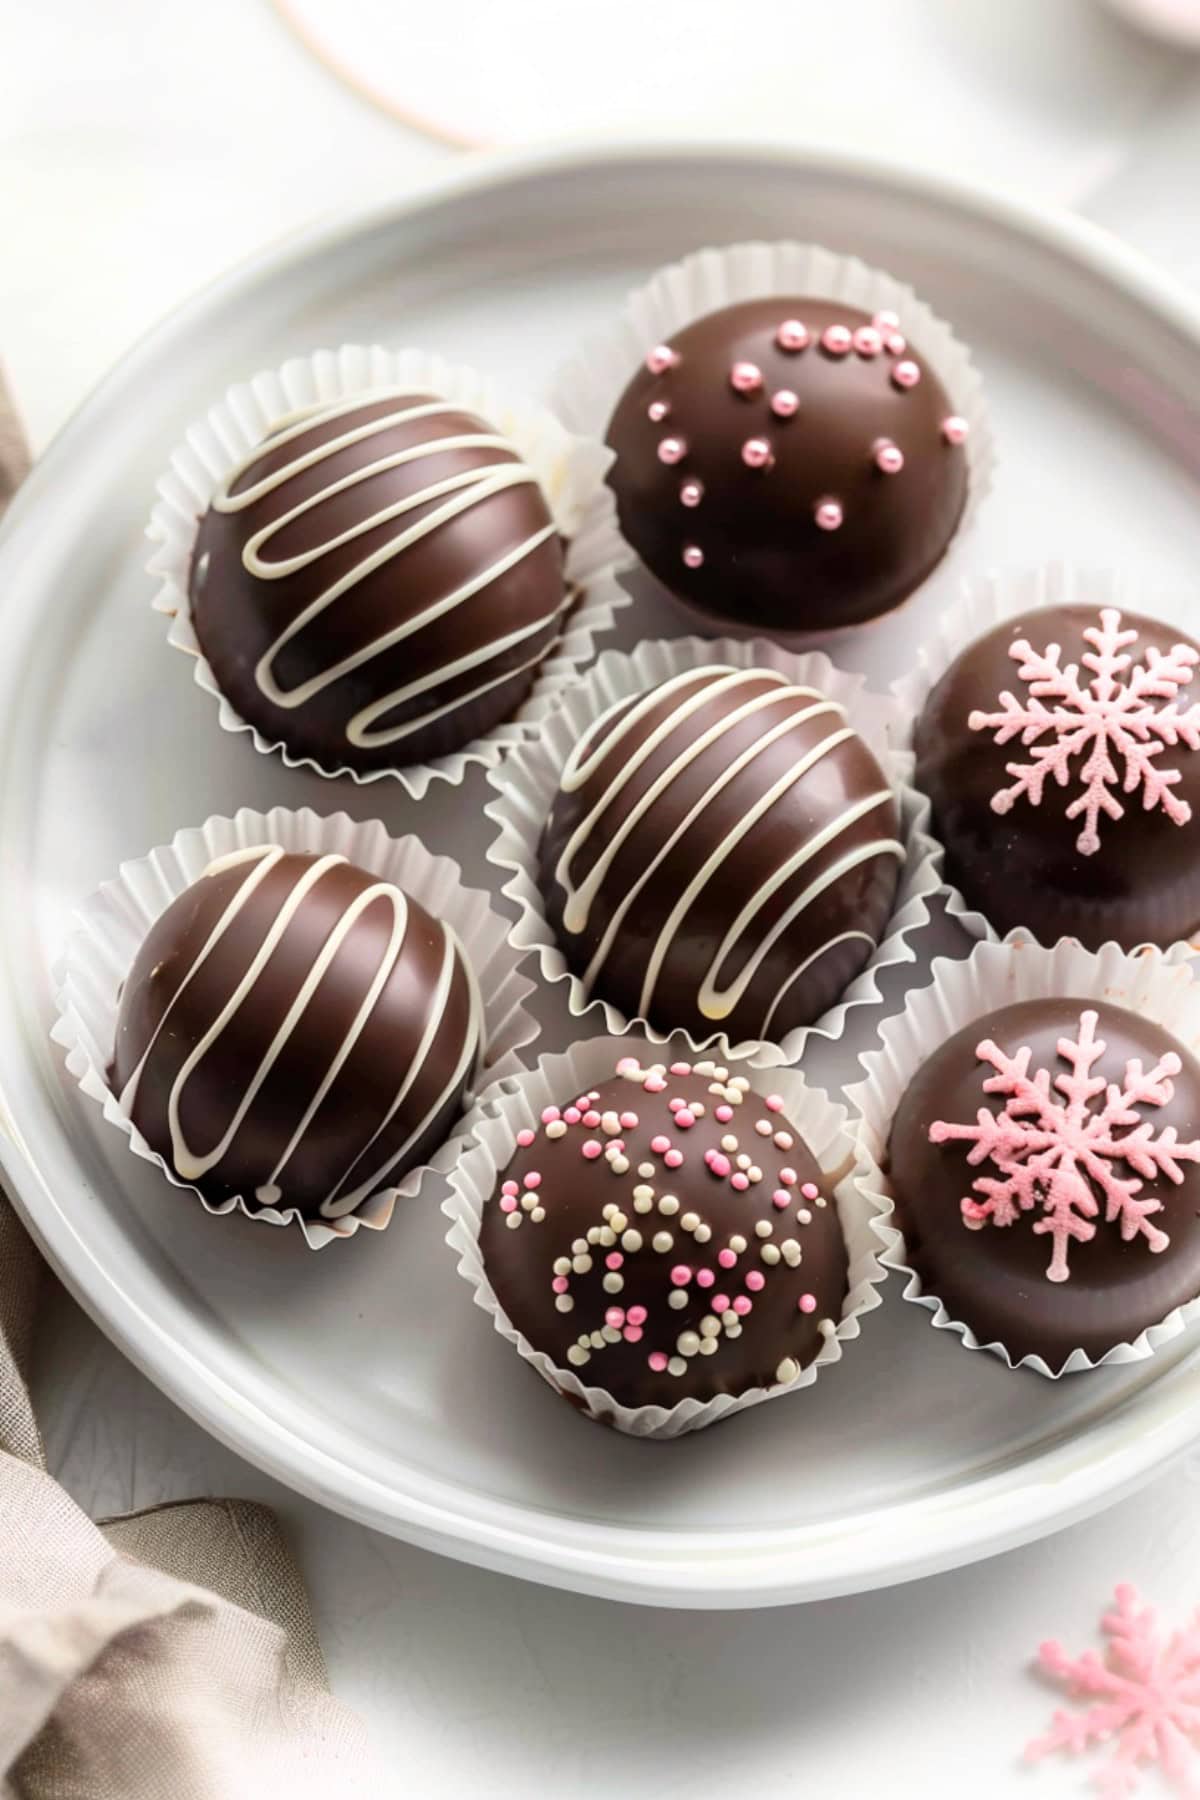
I’m officially hooked and can’t wait to make more to share with family and friends.
These will make such a thoughtful and delicious gift for the holidays or any cozy occasion.
Why You’ll Love These Hot Chocolate Bombs
Tasty Treat: Everything about these bombs is high-quality. They deliver rich and indulgent flavors in every sip.
Elegant Gifts: These homemade hot cocoa bombs make thoughtful and impressive gifts.
Easy to Customize: You can make endless flavor combinations with these bombs. Add peppermint, salted caramel, or another delicious flavor.
Ingredients
- Semi-Sweet Chocolate: Chocolate is the star of the show! Semi-sweet is rich, smooth, and perfectly balanced between sweet and bitter.
- Hot Cocoa Mix: Cocoa is the “secret” surprise hidden inside each chocolate shell.
- Mini Marshmallows: These tiny pillows of sweetness will also go inside the chocolate bombs.
- Sprinkles or Crushed Candy Canes: Optional ingredients to decorate the bombs. They’re colorful, festive, fragrant, and flavorful. They also add an extra bit of texture.
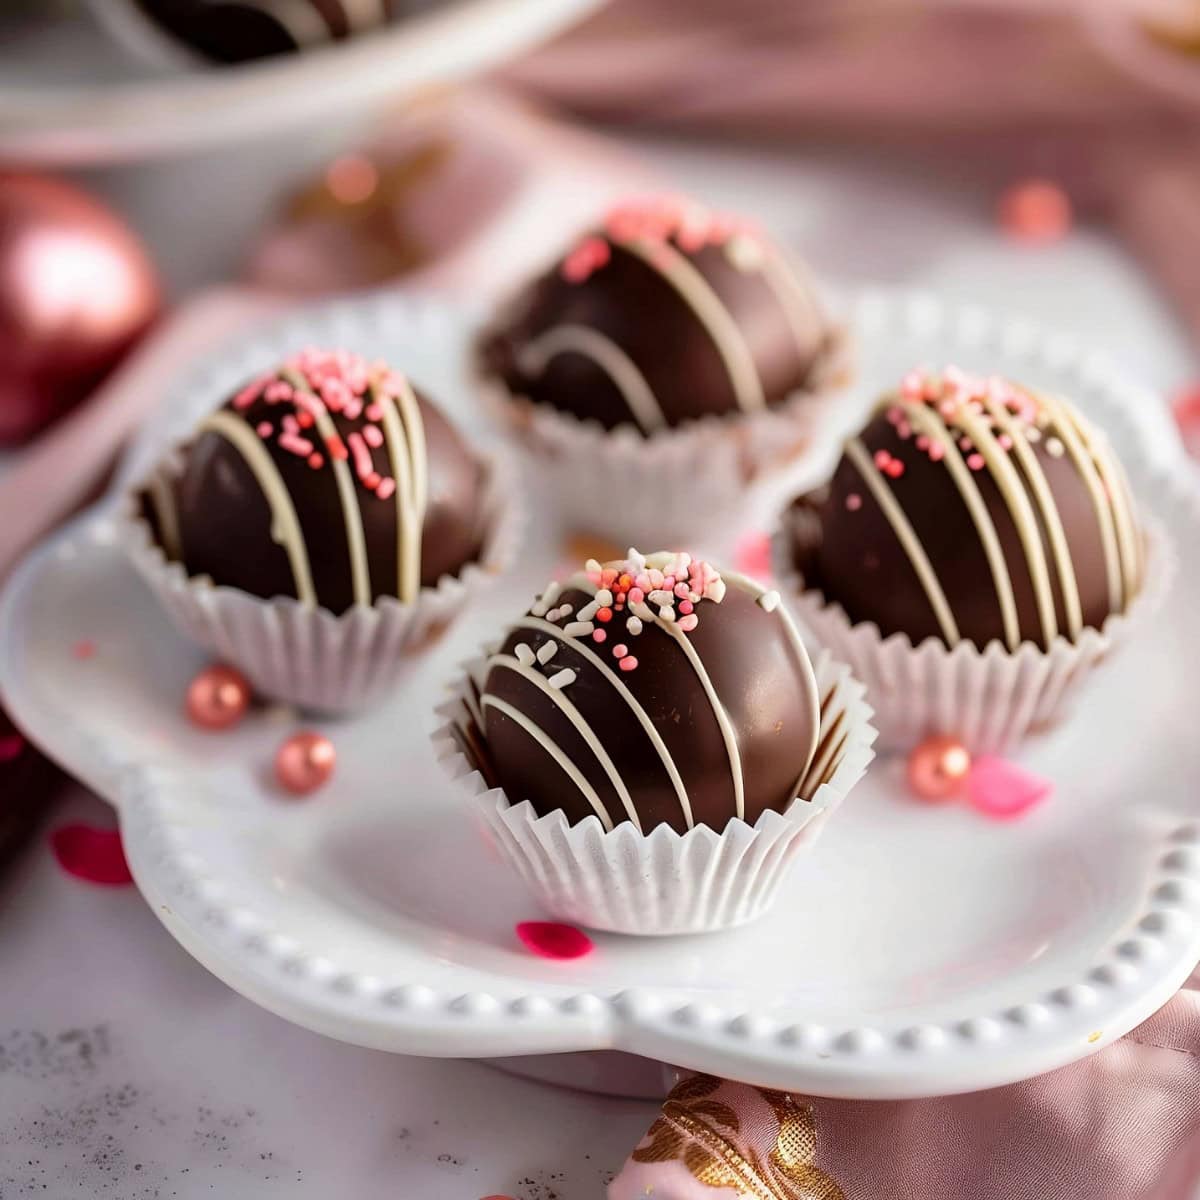
How to Make Hot Chocolate Bombs
Follow these steps to whip up your adorable hot chocolate bombs:
1. Melt the chocolate. Melt the chopped chocolate in the microwave in 30-second intervals. Stir gently between each interval until the chocolate is fully melted.
2. Coat the mold. Let the chocolate cool slightly. Then, spoon 1 tablespoon of melted chocolate into each cavity. Use the back of the spoon to evenly cold the inside of each mold. Freeze for 5 minutes until set.
3. Add more chocolate. Remove the mold from the freezer and add a second thicker layer of chocolate. (About 1 to 2 tablespoons per cavity.) Freeze again for 5 to 10 minutes until fully hardened.
4. Fill the shells. Carefully remove the chocolate shells from the mold. Fill half of them with 1 tablespoon of hot cocoa mix and mini marshmallows.
5. Seal. Heat a plate in the microwave until it’s warm. Then, press an empty shell onto the warm plate for a few seconds to melt its edge. Immediately place it on top of a filled shell and hold it tightly until the bomb seals. Repeat until you’ve sealed all the bombs.
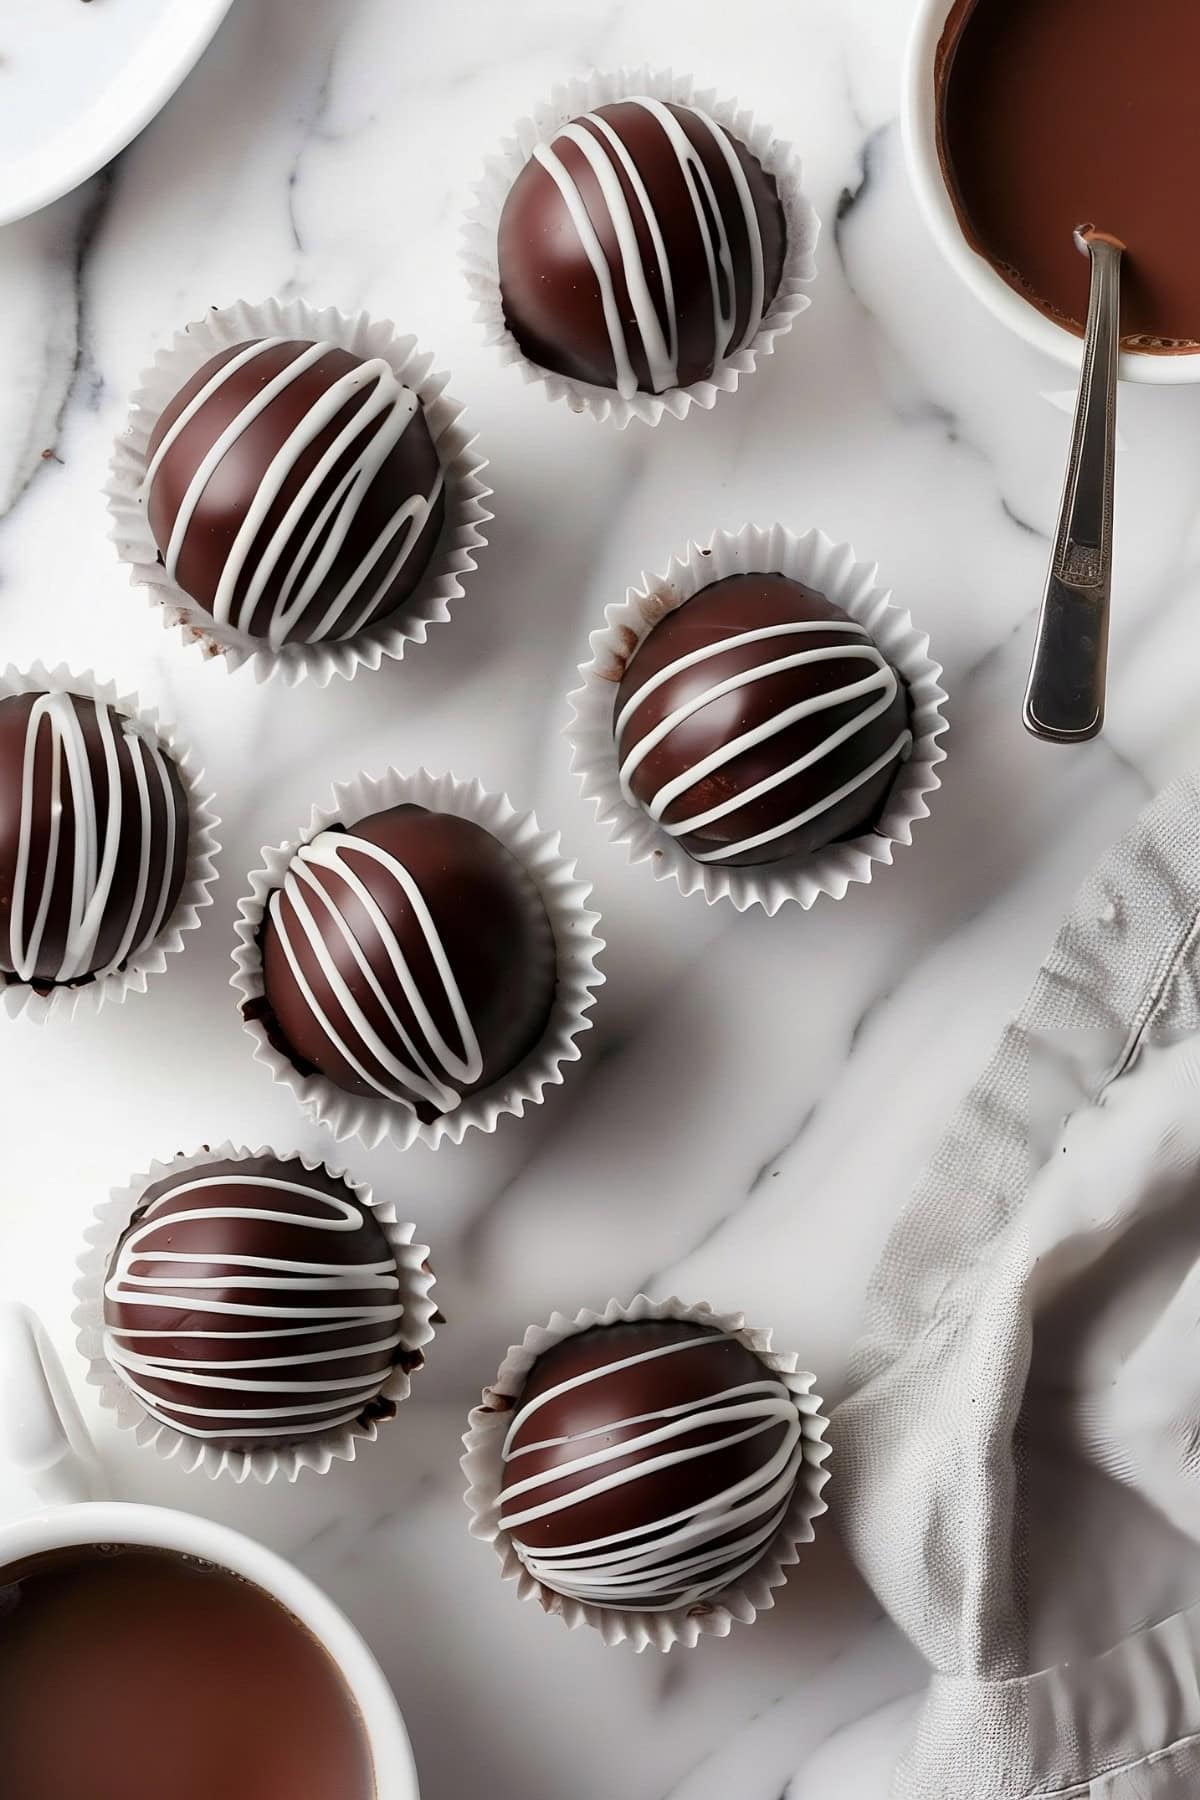
6. Decorate. If desired, drizzle the bombs with any remaining melted chocolate. Then, decorate them with sprinkles or crushed candy canes. Let them set completely.
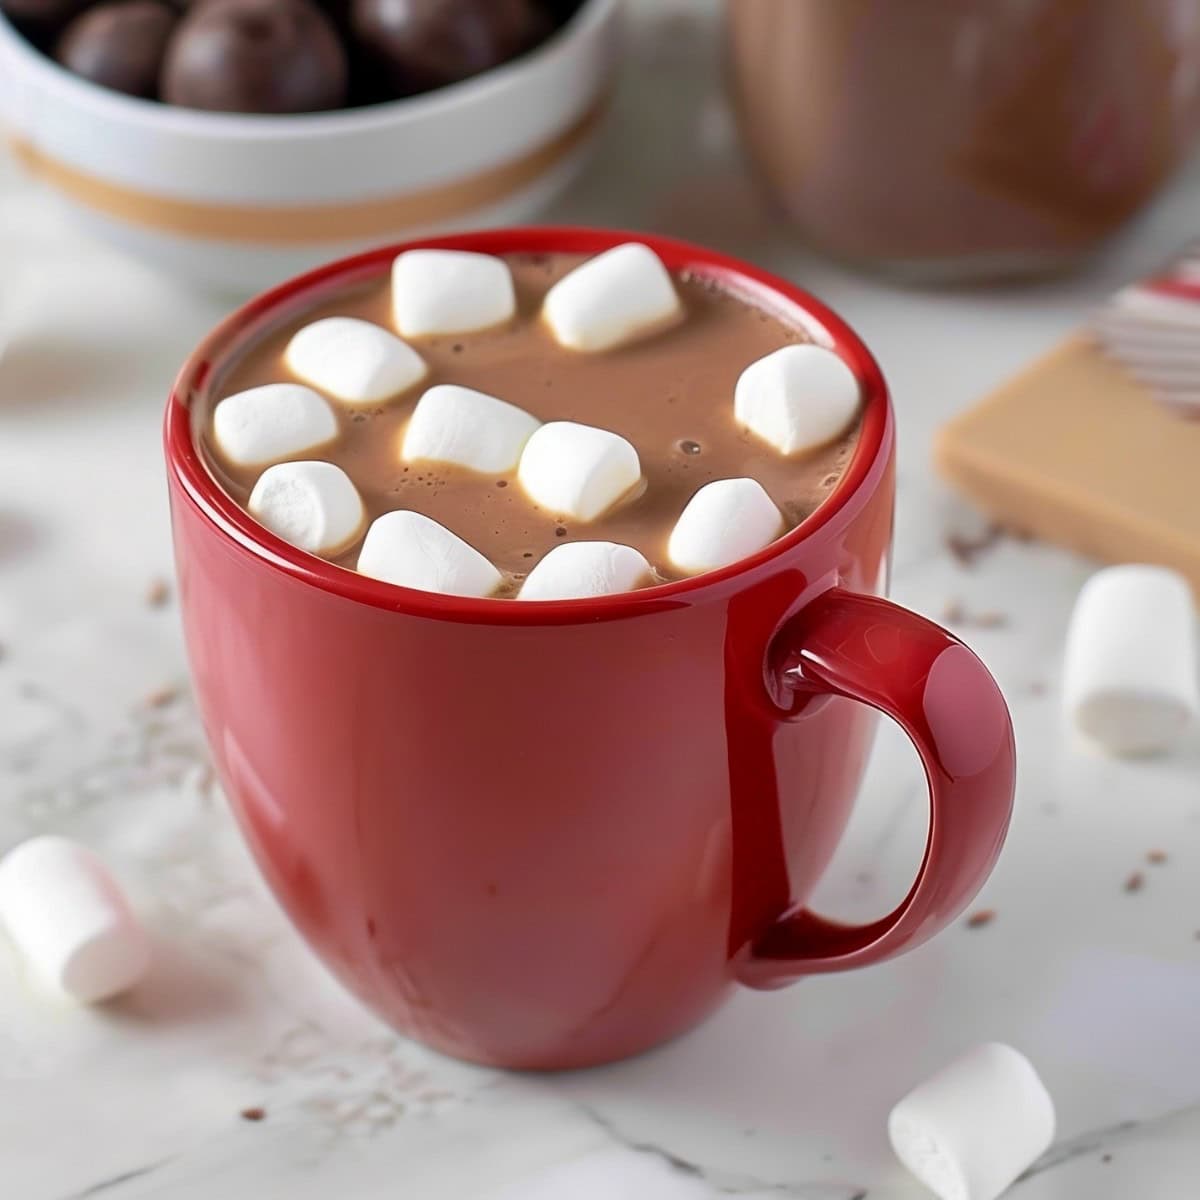
7. Serve. To use, place a chocolate bomb in a mug and pour 6 to 8 ounces of hot milk over the top. Stir until the chocolate is fully melted and enjoy!
Tips for the Best Hot Chocolate Bombs
These are super customizable and easy to make. You can play with the recipe however you like without messing it up.
Still, keep these tips in mind for the best results:
- Don’t overheat! Heat the chocolate in short intervals. If you heat it for too long at once, it’ll scorch and affect the taste.
- Be picky with the mold. Circular molds about 2.5 inches in diameter work best for these bombs. These silicone molds from Amazon are ideal.
- Remember the gloves. Touching the shells will leave fingerprints all over them, which food-safe gloves will prevent.
- Keep things nice and even. Coat the molds in thin, even layers, freezing between each. If the shell is too thick, it’ll take longer to melt in the hot milk.
- Be creative! You don’t have to stick just to mini marshmallows for the filling. Try flavored marshmallows, candies, and different flavors of cocoa mix!
How to Store
Hot chocolate bombs last for quite some time! Just be sure to store them correctly to maximize their shelf life.
To Store: Keep hot chocolate bombs in an air-tight container at room temperature for up to 2 weeks. Don’t refrigerate them, and avoid placing them anywhere with high humidity.
To Freeze: Wrap each bomb individually in plastic wrap or aluminum foil. Then, place them in containers with parchment paper between the layers. Freeze them for up to 2 to 3 months.
Hot Chocolate Bombs
6
servings15
minutes368
kcalThese hot chocolate bombs are so easy to make at home! Skip the stuff in the packets and try these delicious treats instead.
Ingredients
12 ounces high-quality semi-sweet chocolate, chopped
1/2 cup hot cocoa mix
1/2 cup mini marshmallows
sprinkles or crushed candy canes for decorating (optional)
- Tools
2.5 -inch diameter silicone half-sphere mold
microwave-safe bowl
spoon or small pastry brush
Instructions
- Melt the chopped chocolate in the microwave in 30-second intervals, stirring between each interval. Continue until the chocolate is fully melted and smooth. Let it cool slightly.
- Spoon about 1 tablespoon of melted chocolate into each cavity of the silicone mold. Use the back of the spoon or a small pastry brush to evenly coat the inside of the mold, ensuring there are no thin spots. Freeze for 5 minutes until set.
- Remove the mold from the freezer. Then, add a second thicker layer of chocolate, about 1 to 2 tablespoons per cavity. Ensure the chocolate coats right up to the top of the edge. Freeze again for 5 to 10 minutes until fully hardened.
- Carefully remove the chocolate shells from the mold. Fill half of the shells with 1 tablespoon of hot cocoa mix and some mini marshmallows.
- To seal, heat a plate in the microwave until warm. Press an empty shell onto the warm plate for a few seconds to slightly melt the edge. Immediately place it on top of a filled shell and hold the two together until they’re sealed. Repeat with all the remaining shells.
- If desired, drizzle with any remaining melted chocolate. Then, decorate the bombs with sprinkles or crushed candy canes. Let them set completely to harden.
- To use, place a hot chocolate bomb in a mug and pour 6 to 8 ounces of hot milk over the top. Stir until the chocolate is fully melted and enjoy!
Notes
- Use high-quality chocolate with cocoa butter for the best taste and texture. Avoid chocolate chips.
- Be sure your chocolate is in temper so the bombs will be shiny and snap when broken. The microwave method described works well.
Did you like the recipe?
Click on a star to rate it!
Average rating 0 / 5. Vote count: 0
No votes so far! Be the first to rate this post.
We are sorry that this post was not useful for you!
Let us improve this post!
Tell us how we can improve this post?






4 Responses
Hi! I made these bombs and when I was done they didn’t look very pretty. How do you make them look so good? Trying to make them for a baby shower
Hi again, Juli! 🙂
Did you follow the directions for double-coating the mold and sealing with a warm plate? If so, you’re doing exactly what you should be doing.
So, what about them didn’t look pretty to you? Did they not turn out round enough? Or is the decorative drizzle that’s the problem?
I’ll be honest. I’ve made these a time or two, and mine NEVER look as professional as the ones Kim makes. She just has that magic touch! I have found that wiping any excess drips off (after melting the edges before sealing) helps somewhat. I still typically leave fingerprints and smudges on them, though. SMH. I just don’t think it is in the cards for me to be a professional baker or candy maker. Luckily, the hot chocolate still tastes amazing, even if the bombs aren’t super pretty. :-p
The other thing I do is use all brown chocolate (even for the drizzle). I find the fingerprints and little smudges don’t show up as badly when I decorate with chocolate that’s the same color as the shells.
I hope some of that helped! <3
I made these and wonder how to store them?
Hi, Juli!
Copying and pasting this from the “How to Store” section:
To Store: Keep hot chocolate bombs in an air-tight container at room temperature for up to 2 weeks. Don’t refrigerate them, and avoid placing them anywhere with high humidity.
To Freeze: Wrap each bomb individually in plastic wrap or aluminum foil. Then, place them in containers with parchment paper between the layers. Freeze them for up to 2 to 3 months.
Hope that helps! 🙂