Spooky season is just around the corner. And there's no better way to celebrate than with these Halloween cakesicles.
They're just like cake pops, only way more fun!
WANT TO SAVE THIS RECIPE?
If you need an exciting sweet treat for a Halloween party, look no further. These Halloween cakesicles are just the thing!
They're bright, sweet, and way too tasty to be scary. Plus, they'll be a hit with the kids and adults alike.
Oh, and did I mention they're a terrific make-ahead Halloween treat?
That should make planning a party much easier!
What Is a Cakesicle?
Cakesicles are basically big cake pops.
The filling features cake or brownies with frosting mixed into the crumbs. This creates a soft and slightly sticky filling that holds its shape beautifully.
But rather than rolling that mix into balls and dipping it in chocolate, you'll press it into popsicle molds.
How fun is that?
Ingredients
Cake pops and cakesicles are insanely versatile.
You can use chocolate, carrot, lemon, or plain old vanilla cake. And you can mix that with any flavor frosting to make the filling.
Better yet, they're usually made with a box of cake mix. So they're so easy to whip up.
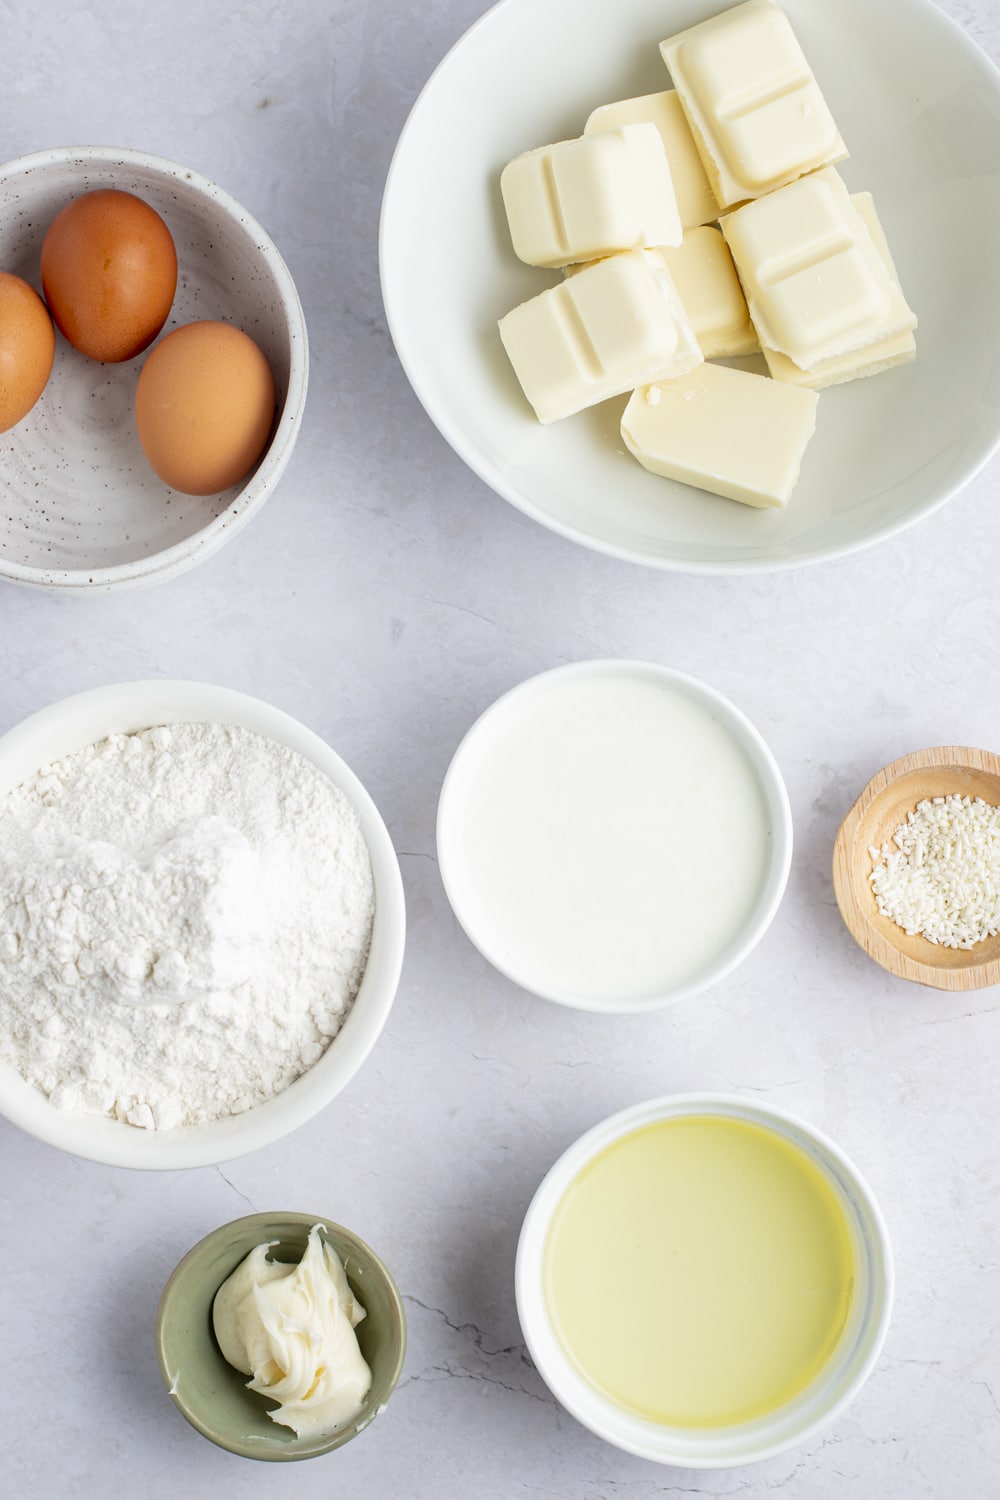
- Boxed Cake Mix – you can make a cake from scratch if you like. But since you'll be breaking it into crumbs, it's easier to use a box.
- Oil and Eggs – for the cake. Check the amount needed on the box.
- Chocolate or Candy Wafers – the choice is yours. You can make these any color you like, so go crazy!
- Food Coloring – if you want wacky cakesicles like mine, you'll need a big set of gel food coloring.
- Sprinkles and Fun Extras – I like to make these crazy and colorful. But if you want traditional Halloween, go with orange and black sprinkles and maybe a few candy eyeballs.
You'll also need popsicle sticks. Use wooden sticks or fun paper sticks if you prefer.
But if you use paper sticks, keep in mind they will soften from the moisture and may not hold up well under the weight of the cakesicles.
How to Make Halloween Cakesicles
My favorite thing about these wild Halloween cake popsicles is that you can be super creative, and they don't need to be that neat.
In fact, I think they look better with the chocolate dripping!
You'll find more details below on how to make them, but here's the basics:
- Make and bake the cake according to the package instructions.
- Leave to cool completely.
- Crumble the cake in a large bowl, then mix in the frosting.
- Set the mixture in the fridge.
- Melt the chocolate or candy wafers and brush a layer into the popsicle molds.
- Set the chocolate in the fridge, then add another layer if you want it thick.
- When the chocolate is set, gently press the cake mixture into the molds.
- Carefully push the sticks into the holes in the mold.
- Finally, brush more chocolate over the back to seal it.
- Chill the cakesicles for around 30 minutes, then decorate as you like.
How do you know the filling is the right consistency?
It's hard to explain, but here's my method: scoop a bit into your hand a gently squeeze it. Then:
- If it comes together easily and holds its shape without leaving a ton of frosting on your palm, it's good to go.
- If it turns to mush and your hand is coated in frosting, you need more cake crumbs.
- If it holds a bit but mostly falls apart, it needs more frosting.
Add just a bit of frosting to start with, then mix in more as needed. And remember: a little goes a long way – especially if you use a brownie mix.
Decorating Halloween Cake Pops
First things first: you need to get silicone molds. You'll find all kinds online, and they're reusable and inexpensive.
And I promise, once you see how stinking cute these are, you'll want to make them all the time – for every holiday season.
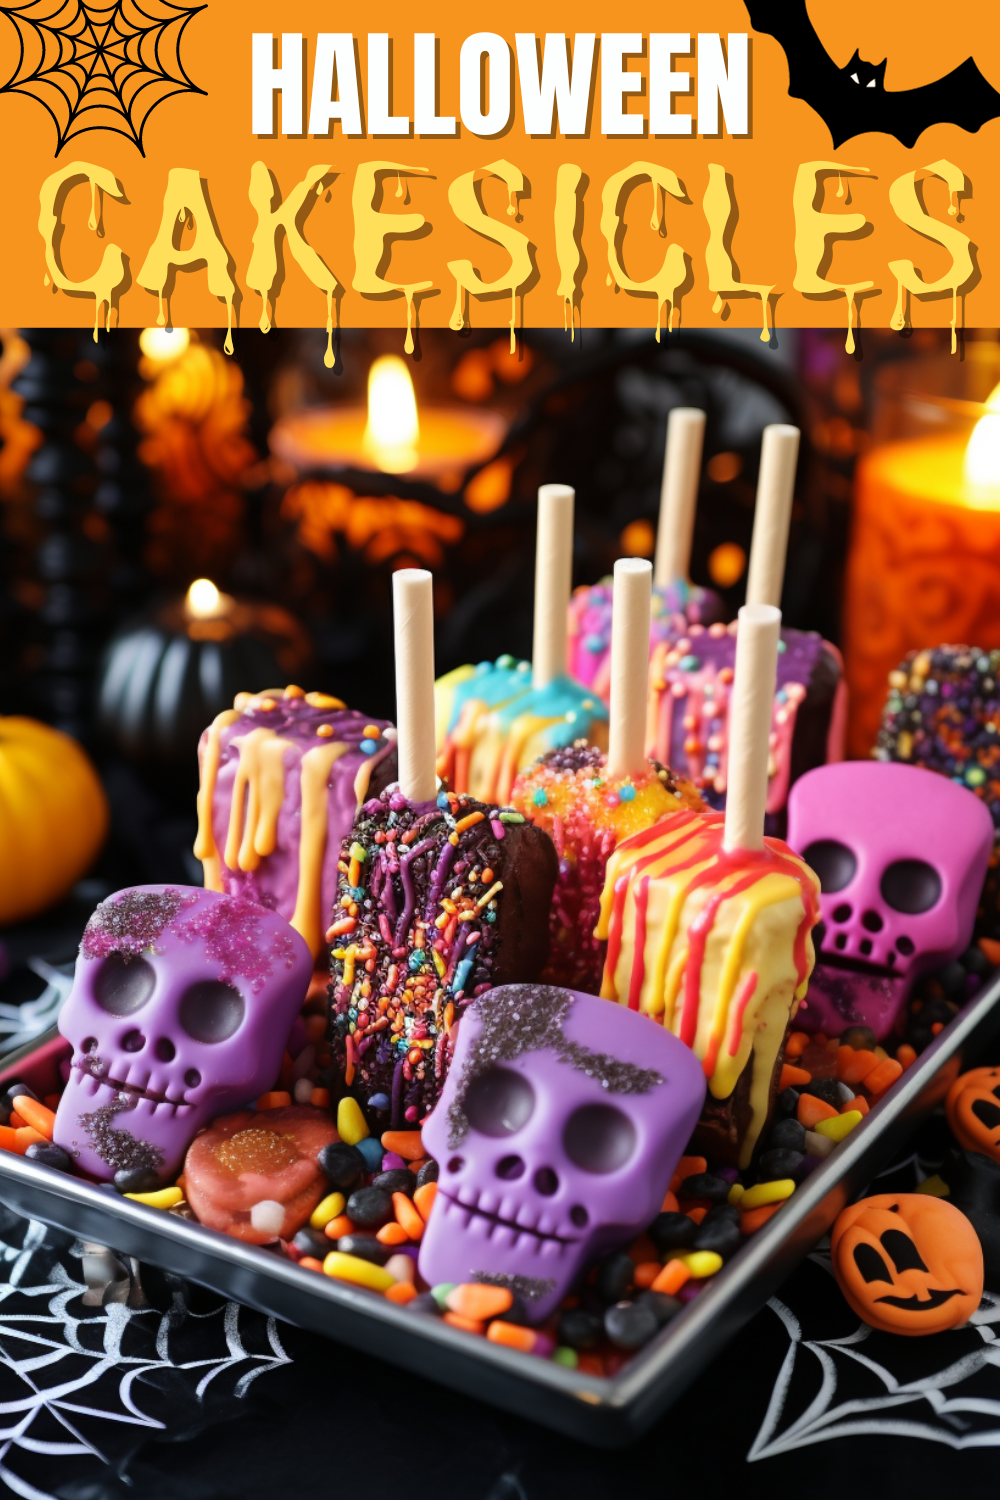
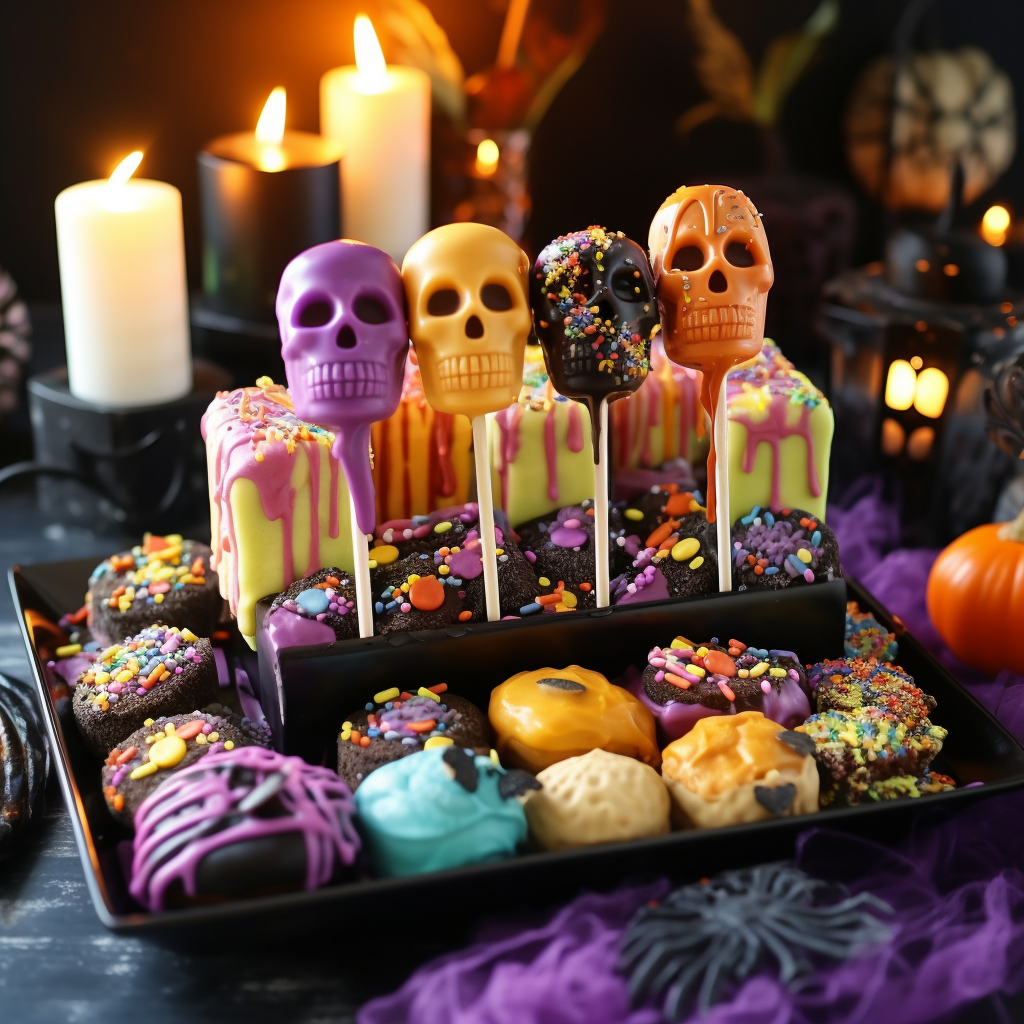
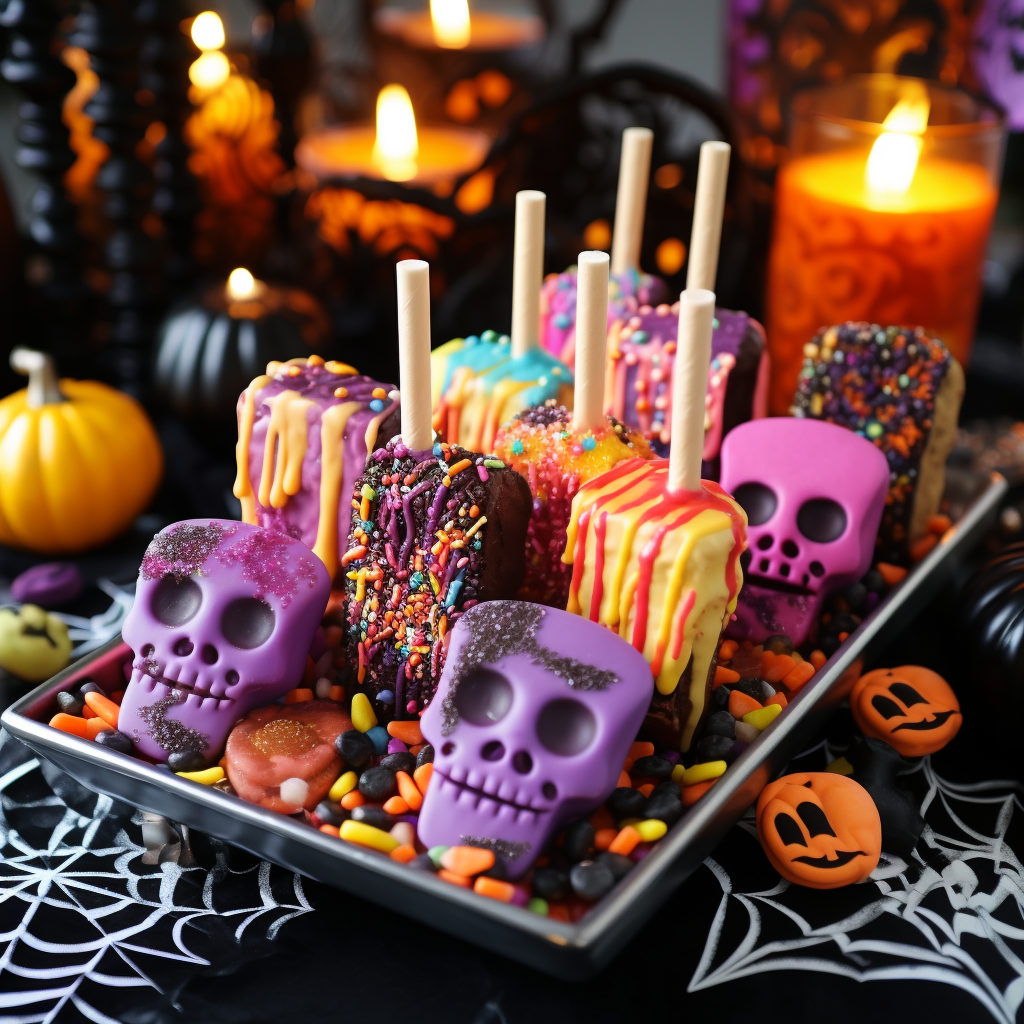
For basic cakesicles, you need regular popsicle-shaped molds. But this also works with other shapes – like the skulls in the first picture.
But be warned, those are kind of tricky to get right. So if it's your first time making them, I suggest sticking to the basics.
Chocolate vs. Candy Melts
I prefer using chocolate since I think it tastes better. And if you can find gel food coloring, you shouldn't have any issues making white chocolate look funky.
That said, candy melts are so easy to use, and they melt like a dream.
I used a combination to get these colors.
Dipping vs. Brushing the Chocolate
When you make cake pops, you generally dip the pop into a bowl or glass with melted chocolate.
And you can totally do that here!
But I find brushing the chocolate into the molds is the best way to get clean detailing.
It's not a huge issue with smooth molds, but if you buy something with a pattern, brushing is the way to go.
And if you have smaller details, you'll need a little (new/clean) brush.
Halloween Cakesicle Ideas
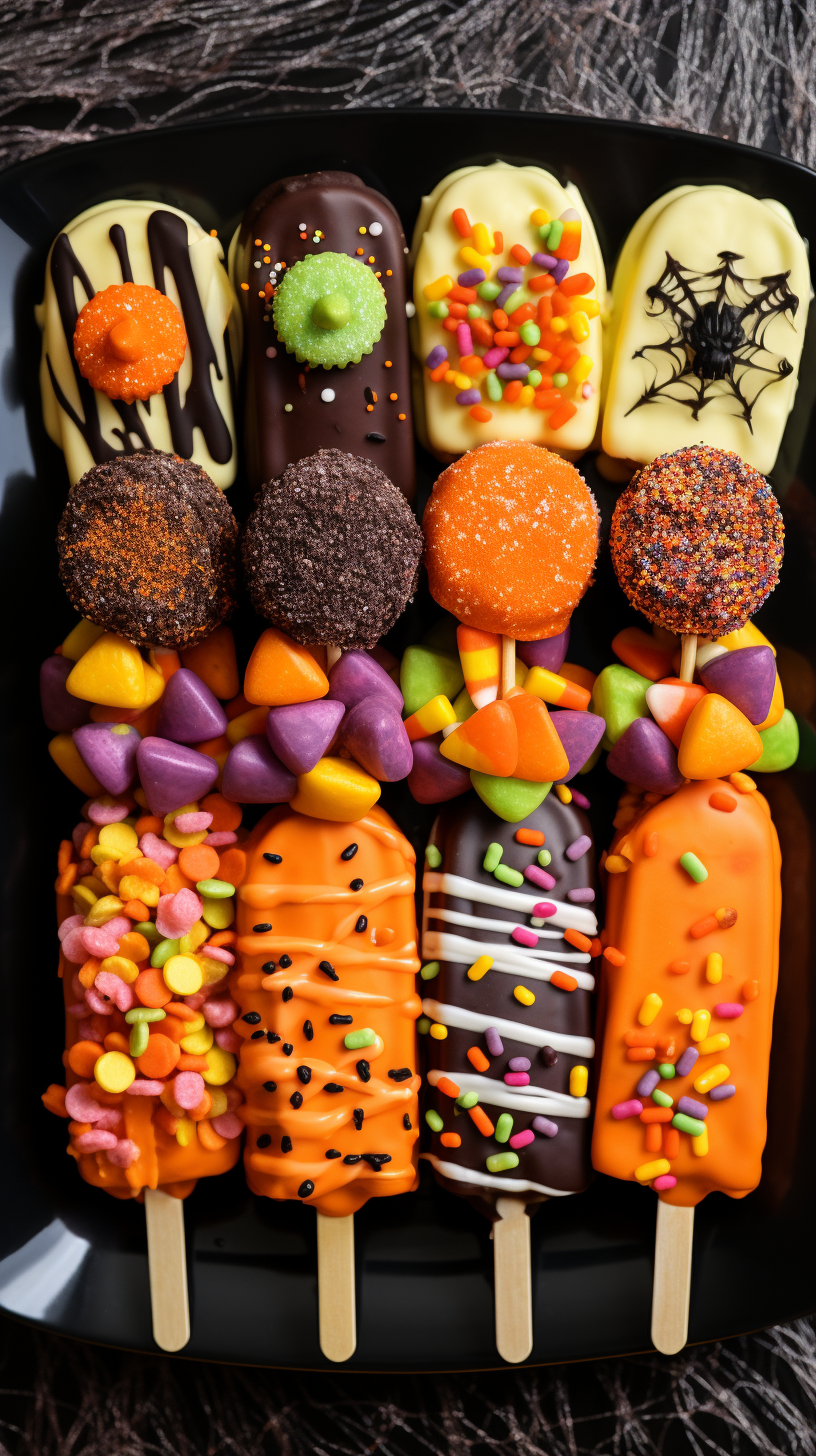
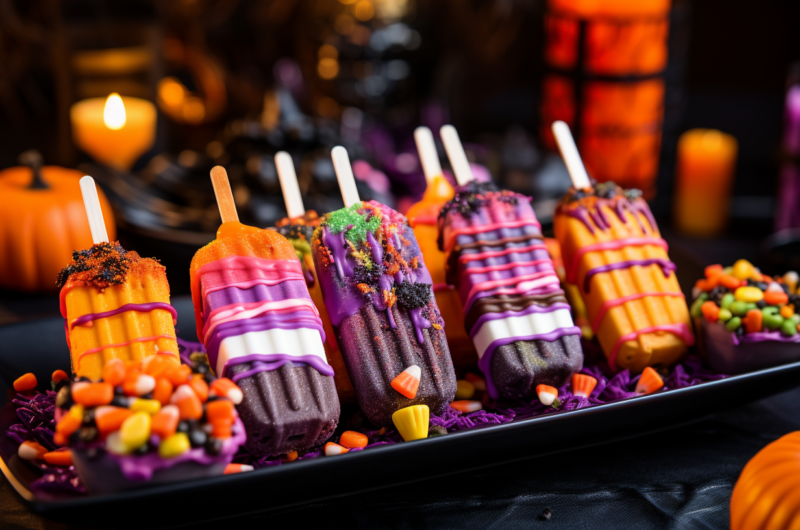
As you can see, I went with colorful and kind of wacky for my cakesicles. And I love them!
I think if you have the right colors, they totally fit the theme. And I love how the dripping chocolate looks like wax.
Also, I found the most amazing skull molds, which took so long to perfect. But when you get the hang of it, the mold does most of the work.
So, if you're really creative, here are a few simple ideas:
- Mummies – coat the pops in white, then add white stripes of chocolate and two candy eyes.
- Frankenstein's Monster – coat the pops in green and pipe dark chocolate for hair. Add a couple of candy eyes and a crooked chocolate smile.
- Spiders Web – coat the cakesicles in dark chocolate, then pipe white chocolate webs. Bonus points if you can find little candy spiders.
- Sprinkles – coat the cakesicles in orange or purple, add a bunch of colorful chocolate stripes, and go nuts with the sprinkles!
Cakesicle Tips and Tricks
If you've never made cakesicles before, I get that they can look intimidating. But I promise, the molds do almost all of the work!
And if you read these tips and tricks, I know you'll be fine:
- Melt the chocolate slowly. If you use real chocolate (especially white), it can burn when heated too quickly or for too long. So be sure to either work in 20-second intervals in the microwave or over low heat on the stove.
- Use gel food colors. You don't want watery colors in chocolate as it'll affect the texture.
- Use a pre-made cake to speed things up. Got a pound cake sitting on the counter? That'll work great for these cake popsicles.
- Let the filling chill before unmolding. I usually leave them for at least an hour in the fridge.
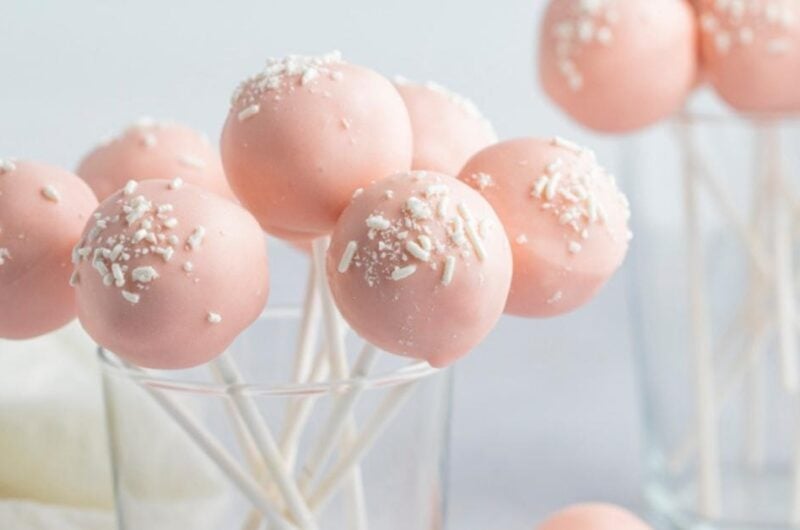
- Make simple cake pops. If you don't have any molds, just roll the mixture into balls and make simple Halloween cake truffles. Easy peasy!
How to Store
Since these can be a little time-consuming to make, you'll probably want to make them ahead.
So, here's how to store them so they keep looking their best:
To store: Halloween cakesicles should be fine at room temperature for about 4 days. Keep them in a single layer in an airtight container.
To refrigerate: If you're worried about them melting, simply pop them in the fridge. Just be sure they're in a single layer and sealed tight.
To freeze: Yes, you can freeze cakesicles! Chill them for an hour or two in the fridge, then wrap them individually in plastic before freezing for up to one month.
To thaw: Remove the plastic and place the cakesicles in an airtight container. Place the lid on top but do not seal it shut. Leave the pops in the fridge overnight to thaw.
Check out These Halloween Recipe Roundups for More
Spooky Halloween Cocktails with Vodka
No-Bake Halloween Treats
Ghoulish Halloween Milkshakes
Halloween Cakesicles (Spooky Cake Popsicles)
Spooky season is just around the corner. And there's no better way to celebrate than with these super fun Halloween cakesicles.
12
servings1
hour20
minutes598
kcalIngredients
1 box cake mix (see note)
3 eggs
1/2 cup oil
1 cup water
1/4 cup prepared frosting
4-6 cups chocolate or candy melts
Halloween sprinkles, candy eyes, etc.
Instructions
- Make and bake the cake according to the instructions on the box.
- Let the cake cool completely to room temperature.
- Break the cake into crumbs, then mix in the frosting.
- Chill the mixture until ready for use.
- Melt the chocolate in the microwave in 30-second intervals until smooth.
- Brush a layer of chocolate into the cakesicle mold, chill for 10 minutes, then add another layer.
- Chill the molds again before gently pressing the cake mixture inside. Leave a small gap at the top.
- Carefully push the popsicle stick into the hole in the mold. Press the cake mix down to secure it.
- Brush more chocolate over the top to seal the cakesicles and place them in the fridge for 30-60 minutes to set.
- Carefully un-mold the cakesicle and decorate with more chocolate, sprinkles, and candy eyes.
Notes
- Use the ingredients listed on the box of cake mix for the amount of eggs, water, and oil. The amounts given here are estimates based on common brands.
Nutrition
- Calories: 598kcal
- Fat: 32.4g
- Saturated Fat: 14.1g
- Cholesterol: 54mg
- Sodium: 354mg
- Potassium: 276mg
- Carbohydrates: 69.9g
- Fiber: 2.3g
- Sugar: 55.1g
- Protein: 7.6g
- Calcium: 196mg
- Iron: 2mg