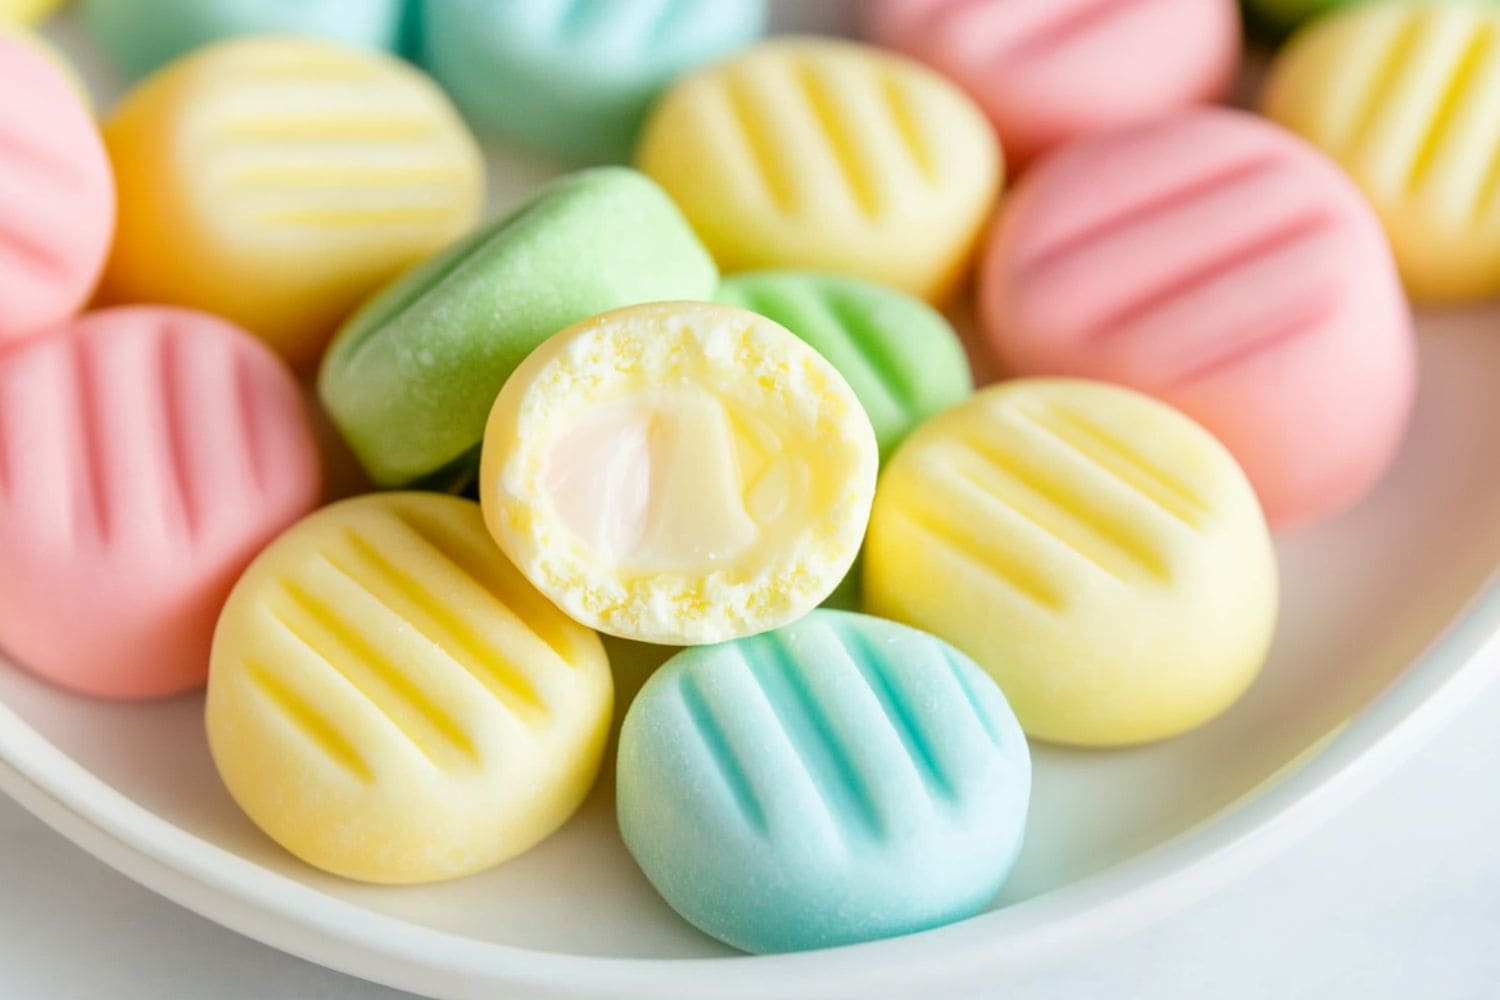
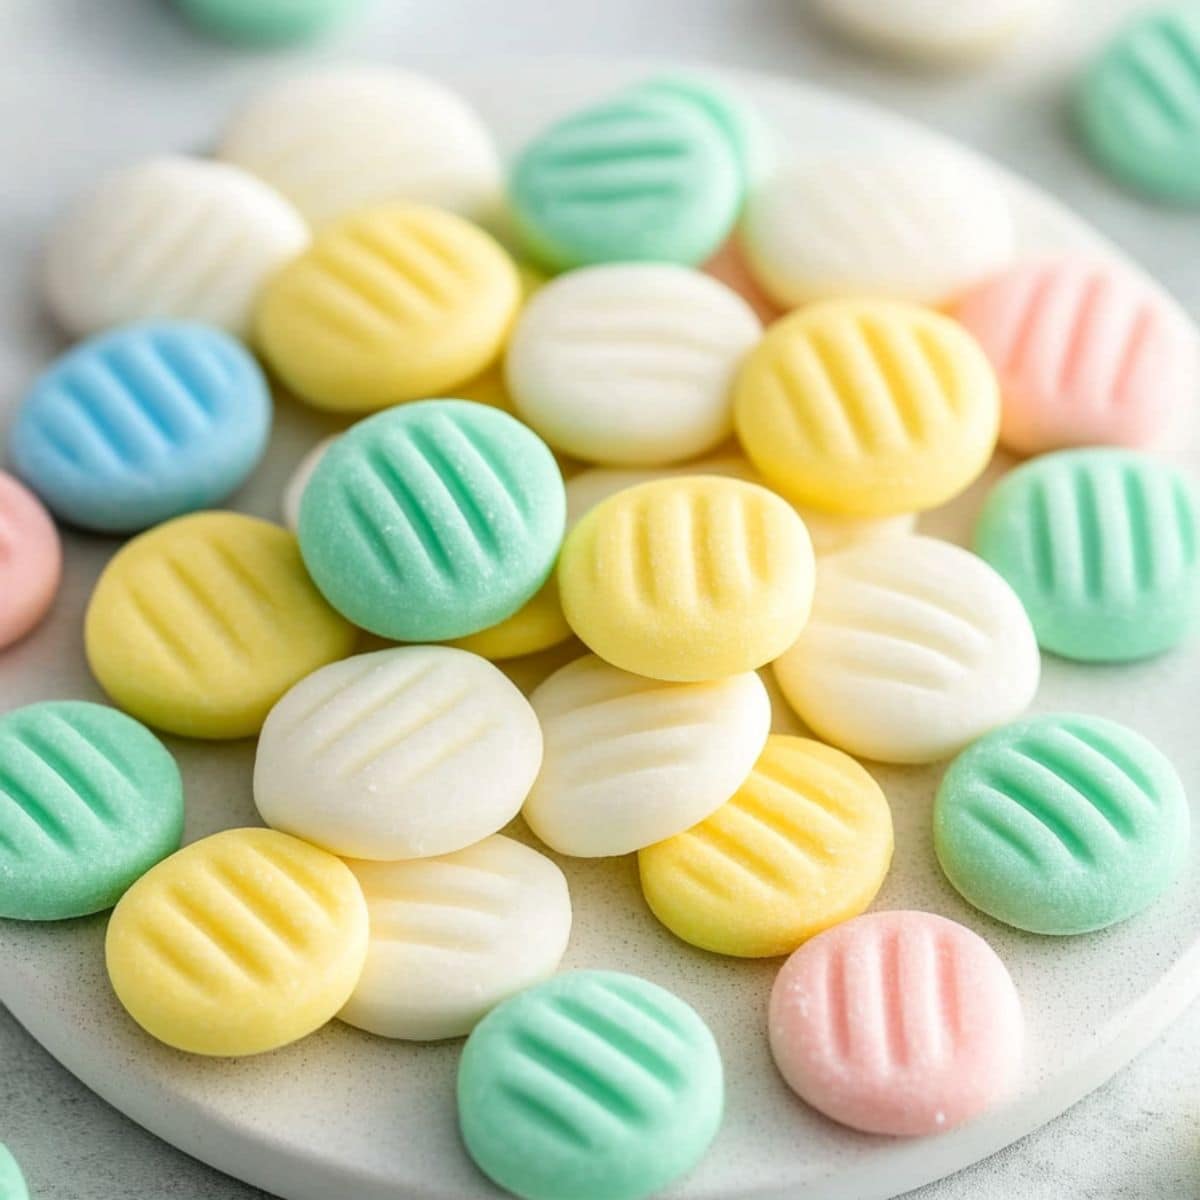
I just rediscovered this classic treat that’s been living in my recipe box: cream cheese mints!
They’re melt-in-your-mouth soft with just the right balance of sweetness and cool peppermint. These mints are treasured homemade candies and will disappear fast.
There’s something magical about how simple ingredients transform into the most delicate, pillowy mints.
Fair warning: these are dangerously poppable, and you’ll reach for “just one more” until half the batch mysteriously disappears.
Why You’ll Love These Cream Cheese Mints
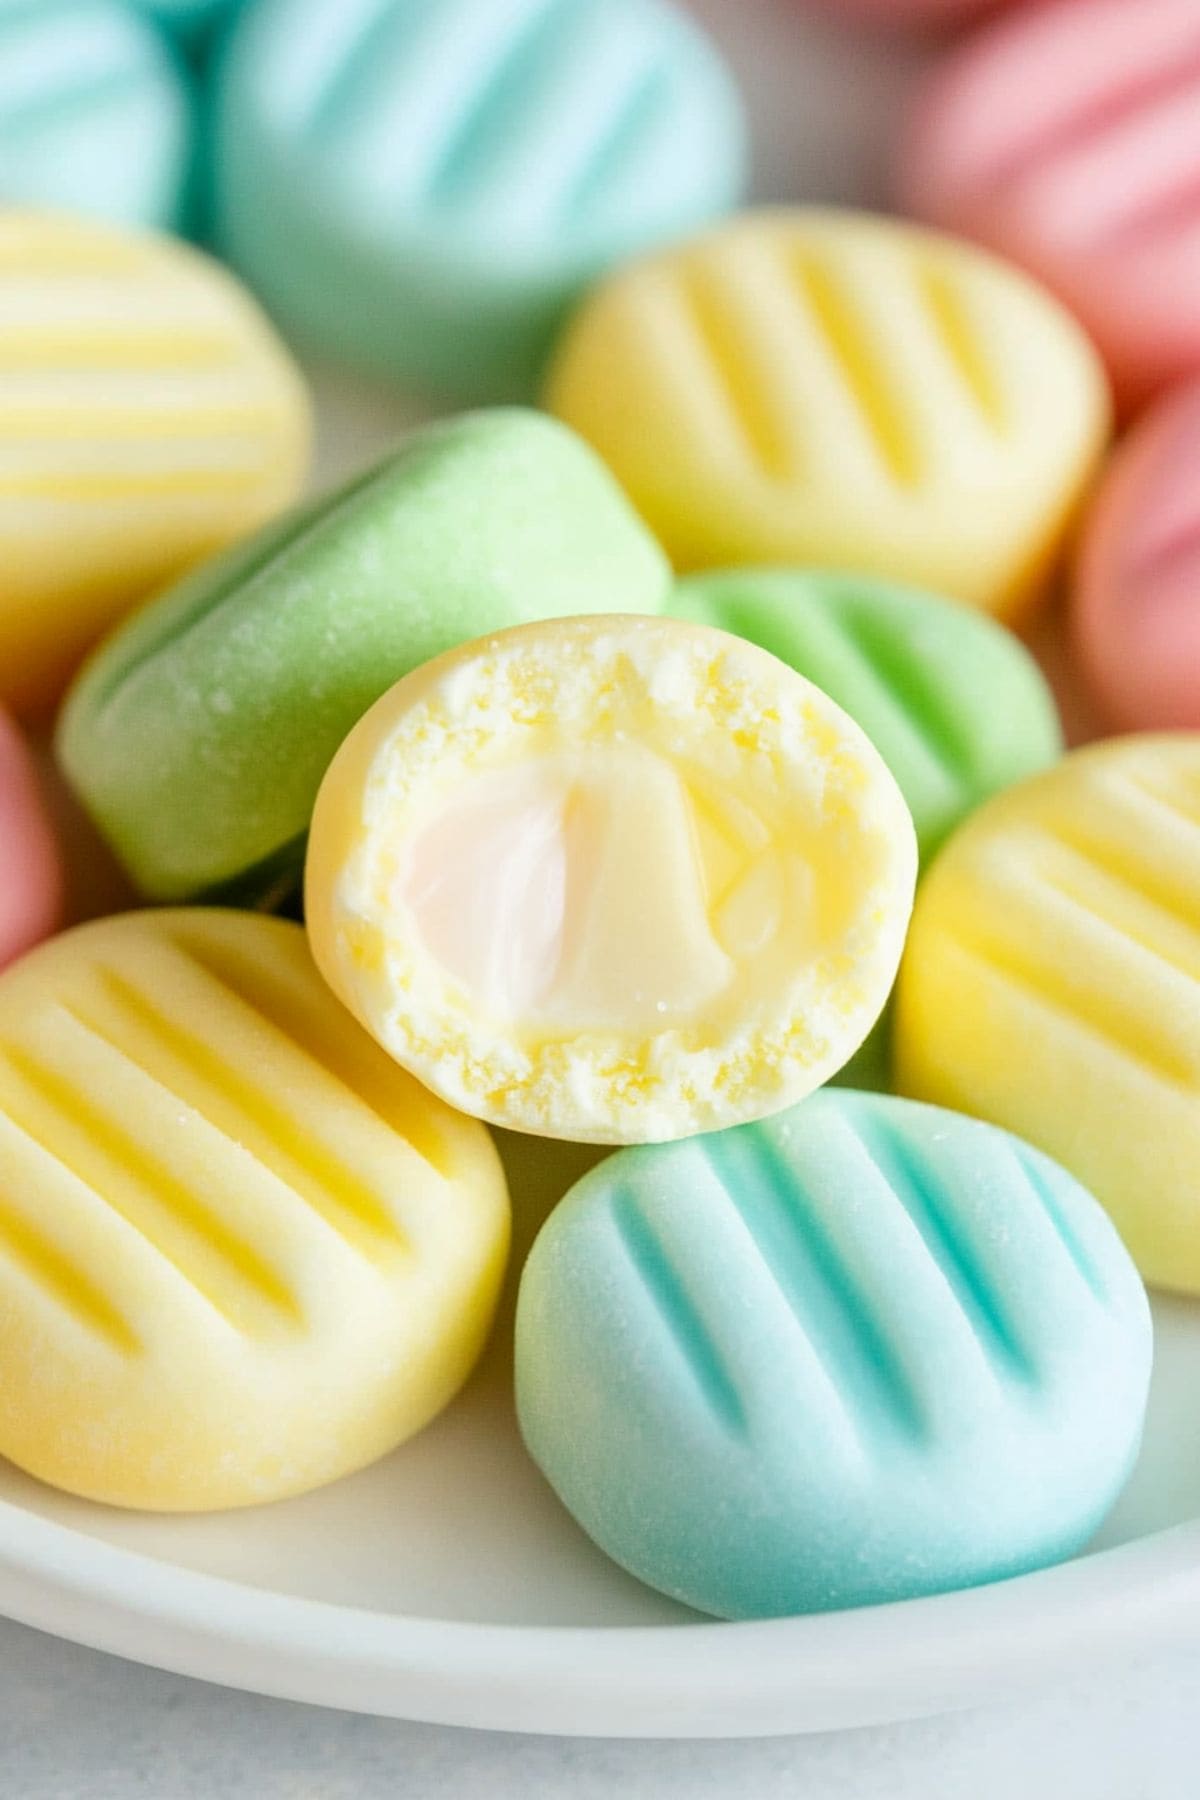
Melt-in-Your-Mouth Texture: The unique combination of cream cheese and powdered sugar creates a delightful melt-in-your-mouth texture. It’s both creamy and refreshing.
Budget-Friendly: These mints use a handful of basic ingredients, and no special equipment is required. They’re an elegant homemade treat that’s surprisingly economical to produce.
Perfect Homemade Gift: They’re an excellent choice for a thoughtful homemade gift. Their elegant appearance and delightful taste make them ideal for wrapping up as party favors or holiday presents.
Easy to Customize: With the option to add gel food coloring, you can easily match these mints to any theme or celebration.
Ingredients
- Cream Cheese: It provides a creamy, tangy base and helps create a smooth, moldable texture.
- Powdered Sugar: It helps the mints hold their shape. Its fine texture ensures a smooth, grit-free consistency.
- Unsalted Butter: It adds richness and helps soften the texture. Using unsalted allows better control of the final salt content.
- Peppermint Extract: It delivers the classic mint flavor. Substitute with vanilla extract for a milder taste.
- Salt: It enhances the overall flavor and balances the sweetness. Just a small pinch is needed.
- Gel Food Coloring (optional): It creates vibrant colors without adding excess liquid to the mixture.
- Granulated Sugar: It provides a sparkly finish and prevents sticking during shaping.

How to Make Cream Cheese Mints
You can have these mints ready to go with a few easy steps!
1. Beat the cream cheese and butter. In a mixing bowl, beat the softened cream cheese and butter together until smooth and creamy, about 2-3 minutes.
2. Add the sugar and peppermint. Gradually add the powdered sugar, one cup at a time, mixing well after each addition until the mixture forms a soft, dough-like consistency. Add the peppermint extract and a small pinch of salt, mixing until fully combined.
3. Color the dough (optional). If you’d like colored mints, add a few drops of gel food coloring to the dough. Mix well until the color is even. You can also divide the dough into portions if you want multiple colors.
4. Shape Pinch off small pieces of dough (about ½ teaspoon each) and roll them into balls. Roll each ball in granulated sugar to coat it lightly. This will prevent sticking when you flatten the mints and give them a nice, sparkly finish.
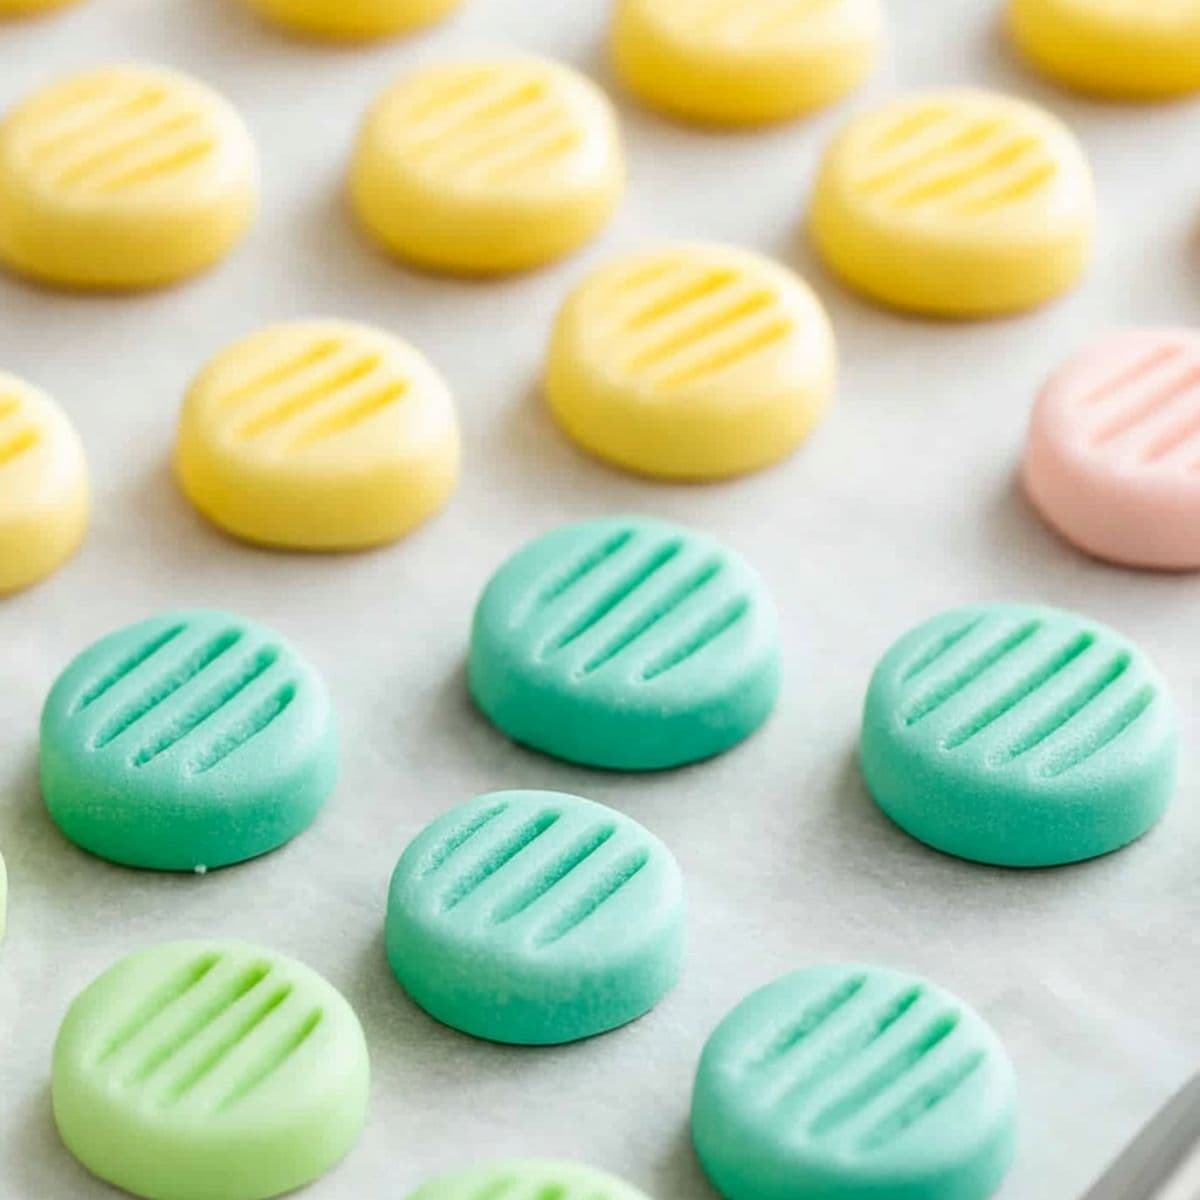
5. Flatten. Place each sugared ball on a parchment-lined baking sheet. Gently press down with a fork, or use a decorative mold if you have one. If you’re using a fork, you can dip it in granulated sugar to keep it from sticking.
6. Air dry. Leave the shaped mints out at room temperature to air dry for at least 24 hours. This allows the mints to firm up to the ideal texture.
Tips for the Best Cream Cheese Mints
These tips will ensure your mints come out perfect.
- Let the cream cheese soften. Ensure the cream cheese is fully softened before mixing to avoid lumps and ensure a smooth texture.
- Go low and slow. Add the powdered sugar one cup at a time to prevent the dough from becoming too stiff or overly sweet.
- Change up the color. Divide the dough into portions and color each differently for a festive assortment of mints.
- Get out of a sticky situation. If your dough becomes too sticky to handle, chill it in the refrigerator for 15-20 minutes before rolling.
How to Store
Here’s how to keep your mints fresh to enjoy in the coming weeks.
To Store: Place the mints in an air-tight container with parchment paper between layers to prevent sticking. Store in the refrigerator for up to 2 weeks.
To Freeze: Arrange the mints in a single layer on a baking sheet and freeze for 1-2 hours until firm. Transfer to a freezer-safe container, separating layers with parchment paper, and freeze for up to 3 months.
Cream Cheese Mints
50
servings20
minutes50
kcalThese old-fashioned cream cheese mints are a blast from the past! They’re sweet, refreshing, and will make you feel like a kid again.
Ingredients
4 oz cream cheese, softened
4 cups powdered sugar
1 tablespoon unsalted butter, softened
1/2 teaspoon peppermint extract
1 small pinch of salt
Gel food coloring of choice (optional)
Granulated sugar for rolling and dusting
Instructions
- In a mixing bowl, beat the softened cream cheese and butter together until smooth and creamy, about 2-3 minutes.
- Gradually add the powdered sugar, one cup at a time, mixing well after each addition until the mixture forms a soft, dough-like consistency. Add the peppermint extract and a small pinch of salt, mixing until fully combined.
- If you’d like colored mints, add a few drops of gel food coloring to the dough. Mix well until the color is even. You can also divide the dough into portions if you want multiple colors.
- Pinch off small pieces of dough (about 1/2 teaspoon each) and roll them into balls. Roll each ball in granulated sugar to coat it lightly. This will prevent sticking when you flatten the mints and give them a nice, sparkly finish.
- Place each sugared ball on a parchment-lined baking sheet. Gently press down with a fork, or use a decorative mold if you have one. If you’re using a fork, you can dip it in granulated sugar to keep it from sticking.
- Leave the shaped mints out at room temperature to air dry for at least 24 hours. This allows the mints to firm up to the ideal texture.
Notes
- Once dry, store the mints in an air-tight container in the fridge for up to 2 weeks or freeze for longer storage.
- Try other extracts, like almond or lemon, for different flavor options.
- Silicone molds can add fun shapes to your mints for a fancy presentation.
- Divide and color portions of the dough to make a colorful assortment.
Did you like the recipe?
Click on a star to rate it!
Average rating 5 / 5. Vote count: 2
No votes so far! Be the first to rate this post.
We are sorry that this post was not useful for you!
Let us improve this post!
Tell us how we can improve this post?


