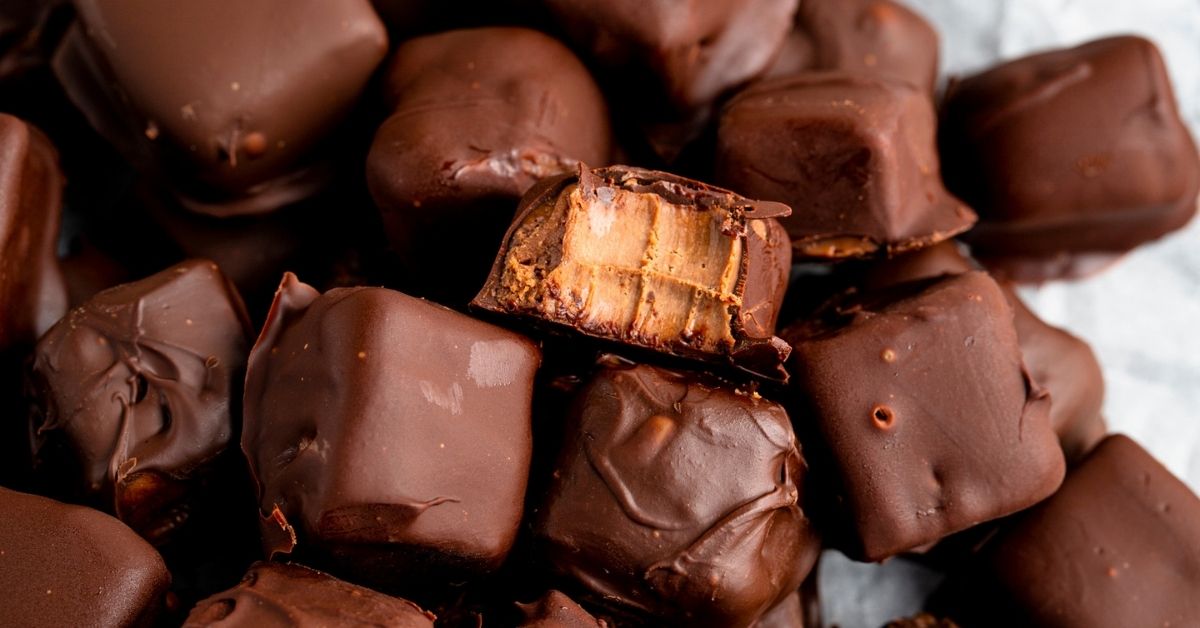
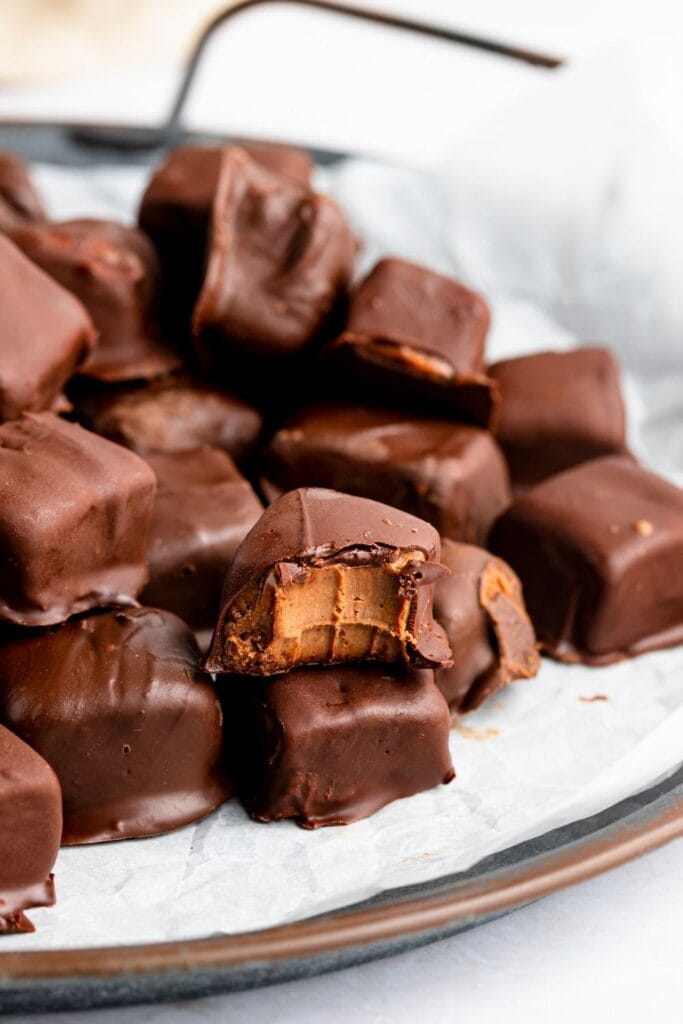
With these Bavarian mints, the holidays have never been better, but they’re delicious any time of year!
They’re ultra-smooth and creamy and oh so decadent. Each square has a perfect balance of rich chocolate and cool peppermint.
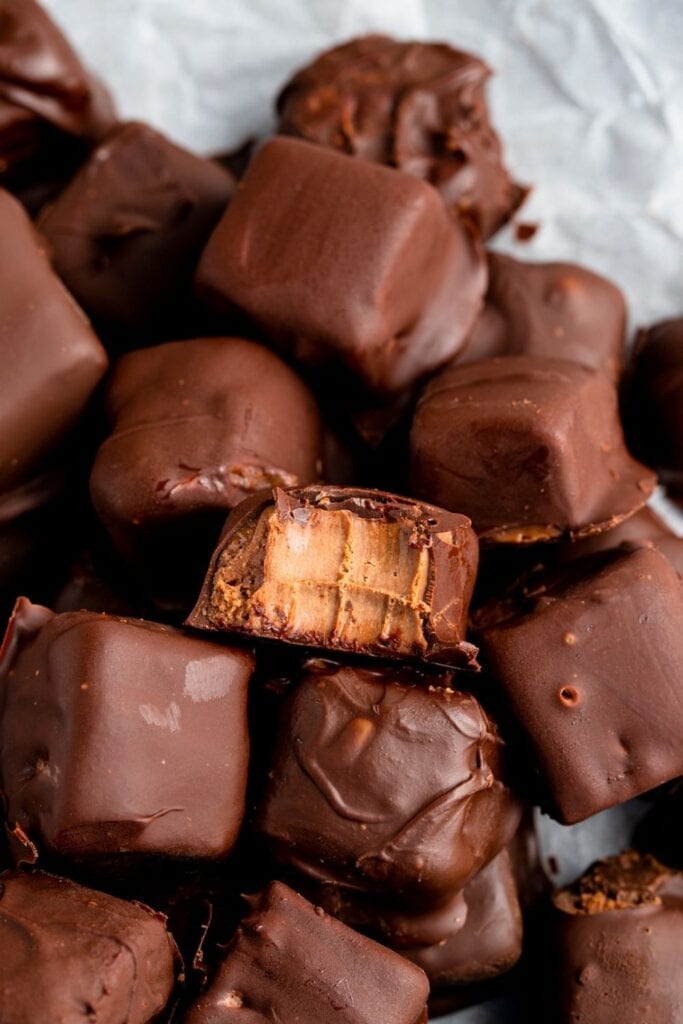
They’re the perfect dessert for holiday feasts. Because they have a pretty long shelf-life, they’re ideal for gifting as well.
Sure, you can always get them from the store, but nothing beats homemade. It also shows your loved ones how much you care.
With this recipe for Bavarian mints, you can look forward to sweet, creamy, and Christmas-y treats! Let’s get started.
Bavarian Mints
Chocolate and mint combine to make the most holiday-worthy candy. Expect nothing but greatness from this recipe.
From the look to the flavor to the texture, these Bavarian mints get an A++. They’re smooth, creamy, and melt-in-your-mouth soft.
The chocolate flavor is on point – rich, luscious, and supremely decadent.
They’re minty, but not too overwhelming that they taste like toothpaste. If you’re a sucker for peppermint chocolate, they’ll surely knock your socks off.
Lastly, they’re a snap to make. Unlike other fudge recipes, you won’t need a candy thermometer to pull it off.
In fact, the most challenging part is waiting for it to set.
What are Bavarian Mints?
Bavarian mints are bite-sized chocolate squares flavored with mint. Think of them as a cross between fudge and thin mints.
They’re so soft and creamy, they melt in your mouth. They look and taste like chocolate fudge, but with a cooling minty flavor.
Don’t take my word for it, though. Try them yourself! This recipe is easy enough, even for non-bakers.
How to Make Bavarian Mints?
First, prepare your baking dish. I like to use an 8×8-inch dish for these mints because it yields fat, chunky squares.
You can also use a 9-inch dish, but the squares will be a little thinner.
Line the dish with parchment paper or aluminum foil. Be sure to leave a bit of overhang on the edges for easier lifting.
Grease the foil with butter so the mixture won’t stick.
Now it’s time to melt the chocolate.
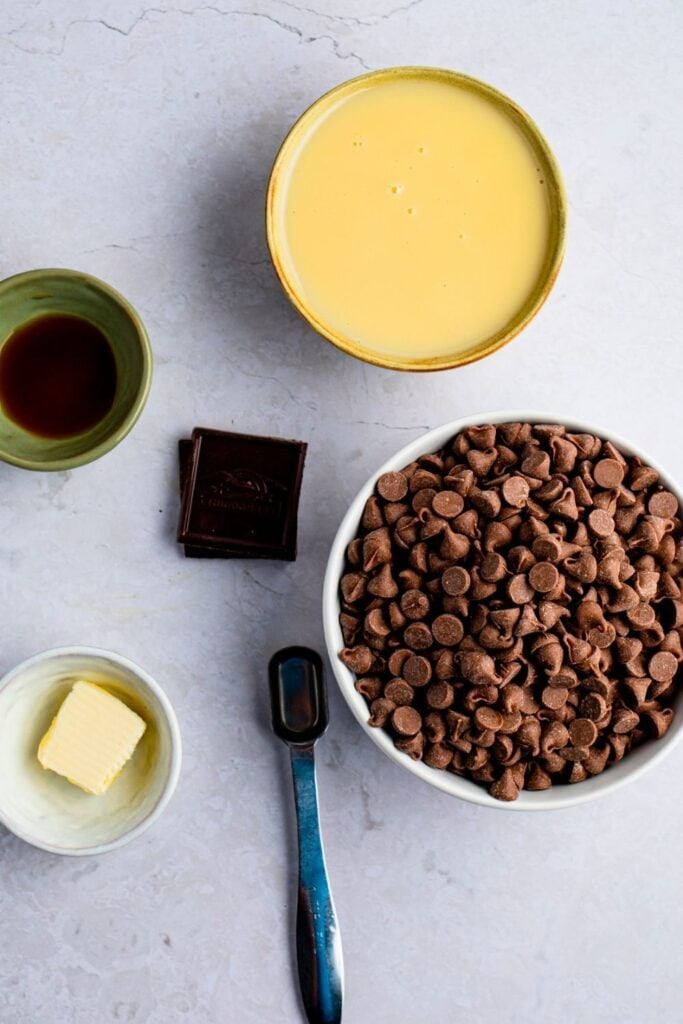
Place the milk chocolate chips, unsweetened chocolate, and butter into a saucepan over low heat. Stir the mixture constantly until melted.
Pro-tip: stick to low heat to prevent the chocolates from burning.
Burned chocolate will be grainy, while perfectly melted chocolate will be smooth and glossy.
Turn off the heat and add the condensed milk and peppermint and vanilla extracts. Stir it well to combine it.
Place the chocolate mixture into a deep bowl and beat at low speed for 1 minute. Up the speed to high and beat for another minute.
Chill the bowl for 5 minutes and whisk it by hand. Repeat the step twice more – the total chill time should be 15 minutes.
Beat it for 2 minutes with an electric mixer one last time.
Pour the fudge mixture into the prepared baking dish, spreading it evenly throughout. Pop it in the fridge to set. This will take at least 2 hours.
Once the mixture has firmed up, lift it out of the dish using the overhangs. Use a sharp knife to cut it into 1/2-inch squares.
There you have it, your very own, homemade Bavarian mints. Enjoy!

Tips for the Best Mints
- Use high-quality ingredients. I like to use Belgian chocolates because they turn out super smooth and silky. My top brand choices are Callebaut, Belcolade, and Ghirardelli.
- Use real butter, not margarine. It adds unparalleled richness and shine.
- Personally, I prefer the flavor of peppermint over mint extract, but feel free to use the latter if you like!
- For the best minty flavor, try creme de menthe oil. Its sweet, minty flavor pairs wonderfully with chocolate. Most groceries don’t have it, though, but you can always order it online.
- Since creme de menthe has a weaker flavor than peppermint, double the amount – 2 teaspoons instead of 1.
- I used a combination of milk chocolate and unsweetened chocolate for this recipe, but feel free to customize it according to your taste preference.
- Don’t substitute sweetened condensed milk with evaporated milk. Just… don’t. The consistency won’t be the same – it’ll be watery instead of thick and creamy.
- If you love the flavor of mint, consider doubling the amount of peppermint extract.
- Speaking of extracts, you can use others to switch up the flavor of your fudge. I’ve tried this recipe with orange extract, and it was a hit.
- These mint squares are already phenomenal, but if you want to level it up even more, dip them in melted chocolate. Milk, dark, semi-sweet, or white – use whatever you desire.
- You can even make holiday-inspired mints by adding food coloring to white chocolate. Any color works!
- For extra peppermint flavor, add crushed peppermint candies or candy canes on top of the Bavarian mixture right before you chill it. You can also dress it up with sprinkles or colored sugar.
- For more chocolatey goodness, add mini chocolate chips to the Bavarian mixture. Freeze the chocolate chips for 30 minutes beforehand so they won’t melt into the fudge.
FAQs
Can I use the microwave to melt the chocolate?
You sure can. Just be mindful not to overcook or overheat it to avoid scorching. Follow these steps for guaranteed chocolate-melting success.
1. Place the chocolates and butter in a microwave-safe bowl.
2. Microwave for 1 minute at 70% power.
3. Stir the mixture until smooth and melted. If the chocolates haven’t completely melted at this point, pop the bowl back in the microwave and heat for another 30 seconds.
Tip: do not microwave the chocolate for over 1 minute, otherwise, you’ll end up with scorched, gritty chocolate.
How about the double boiler?
Definitely. Called the bain-marie or water bath method, it requires a bit more effort than my recipe instructions, but it ensures perfectly melted chocolate. Here’s how:
1. Boil water in the bottom pot. Reduce the heat to low.
2. Add the chocolates and butter to the top pot and place it over the pot of boiling water.
3. Stir the mixture until the chocolates have completely melted.
Pro-tip: if you don’t have a double boiler, DIY it. Just fit a heat-proof bowl on top of the pot of boiling water and melt the chocolates as instructed.
Why did the chocolate melt into a gritty, oily mess?
Yup, this happens. I’ve been there, and it sucks. There are ways to prevent and remedy it, though! But first, here’s an explanation.
Chocolate is made of cocoa powder, cocoa butter, and sugar.
When melted properly, the ingredients should break down into a smooth, silky, and glossy mixture.
However, when they get in contact with as much as a drop of water, the moisture will cause them to stick together, creating a gritty, grainy, curdled mess, called seized chocolate.
Seized chocolate also occurs when you melt the chocolate at an overly high temperature.
For reference, white and milk chocolate can only handle a temperature of 110 degrees Fahrenheit, while dark chocolate can take up to 120 degrees Fahrenheit.
This translates to a 70% power setting in the microwave and low heat on the stove.
So, to prevent chocolate from seizing, keep these guidelines in mind:
- Be sure the bowl and beaters, and other tools are completely dry.
- Do not use wooden utensils as they retain water.
- If using a chocolate bar, break it up into smaller pieces so they melt quicker and evenly.
- If using the double boiler, be sure the bowl won’t come in contact with splashes from the boiling water. Either reduce the heat or keep the water to a below-boil stage.
- If using the microwave, do not go over 70% power. Do not microwave for over 1 minute at a time, either. If the chocolate hasn’t melted completely after stirring, microwave in 30-second increments until melted.
Here are some tips to fix seized chocolate:
- Add more chocolate to cool down the scorched mixture. Add just a few morsels at a time and stir.
- Stir in a spoonful of vegetable oil or hot cream until the clumps smoothen out.
- Strain the chocolate through a sieve to eliminate the lumps.
- If all else fails, don’t throw it out! Add them to your brownie mixture and no one will notice the clumps.
Do I Really Need to Chill The Fudge Mixture?
I hate waiting, too, but unfortunately, you do need to chill the fudge mixture for at least 2 hours. If it hasn’t set properly, it’ll be too soft and squishy to slice.
If you want to speed things up, you can always pop it in the freezer.
If it comes out too hard, just let it thaw for a few minutes – it’ll come to room temperature pretty soon.
How to Store Bavarian mints
Wrap each mint square in wax paper, plastic wrap, or tin foil, and place them in an airtight container or Ziploc bag.
They’ll last for several weeks at room temperature.
I don’t recommend the fridge. The mints will dry up faster there.
You can also freeze them for up to 3 months. Defrost at room temperature for 2 hours, unwrap, and serve.
More Fudge Recipes You’ll Love
