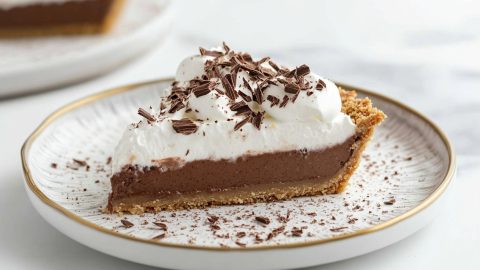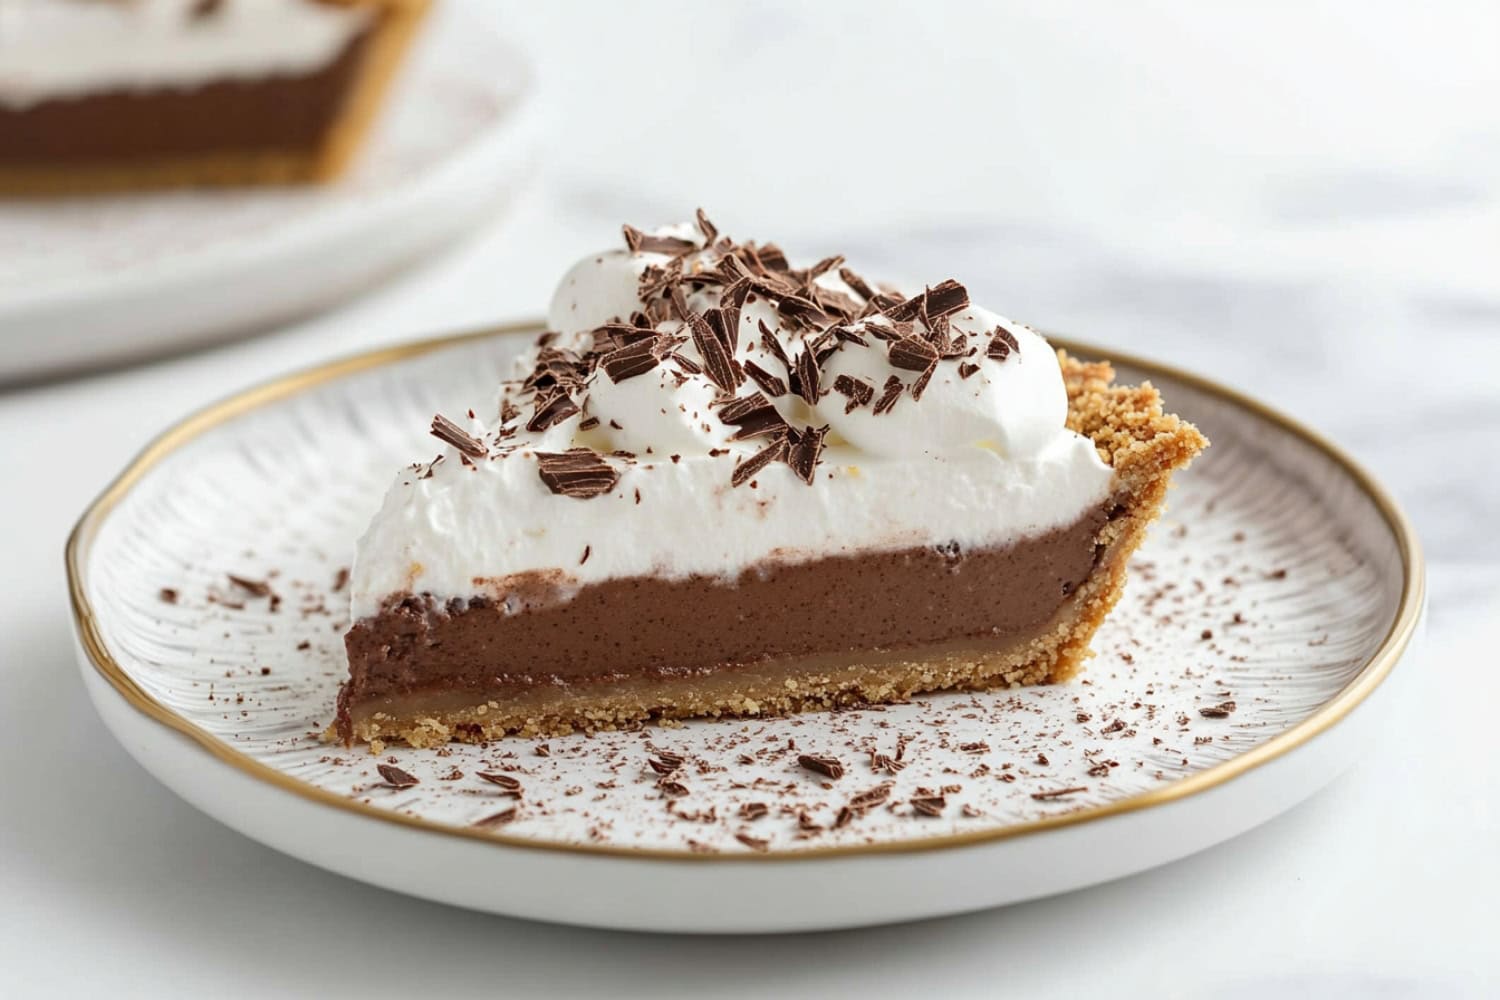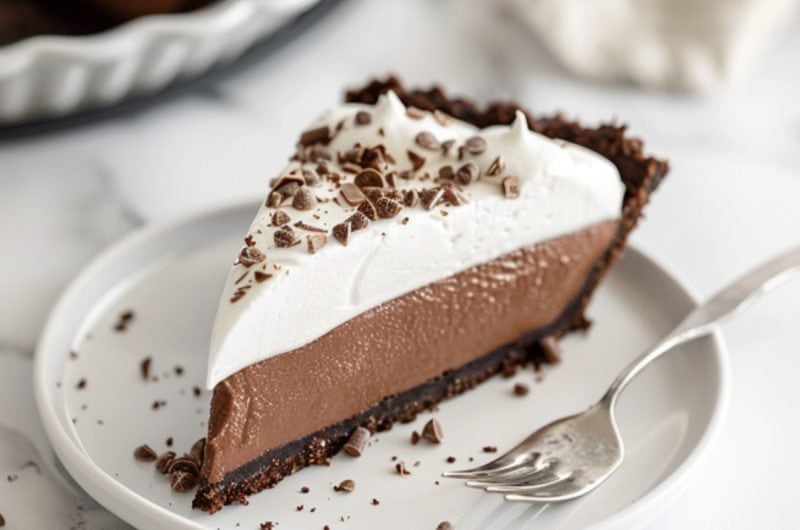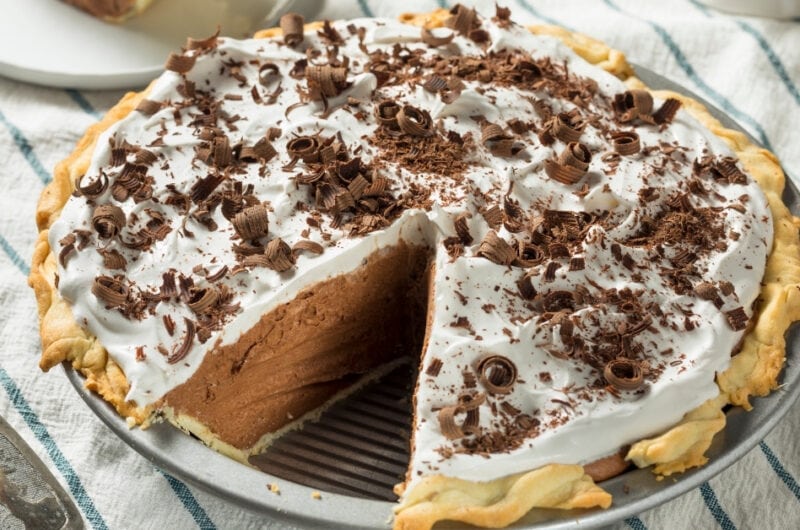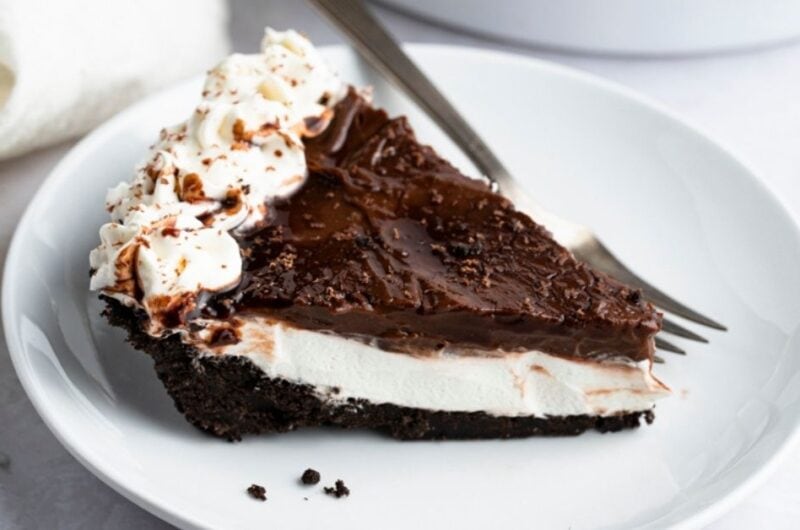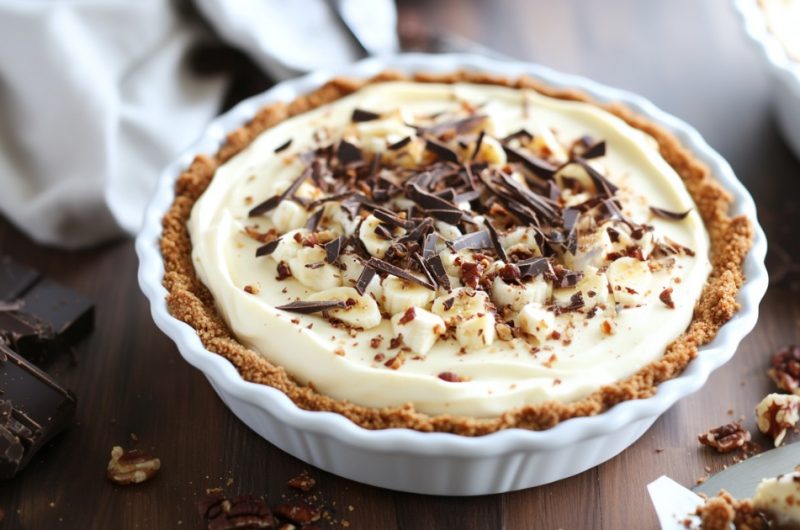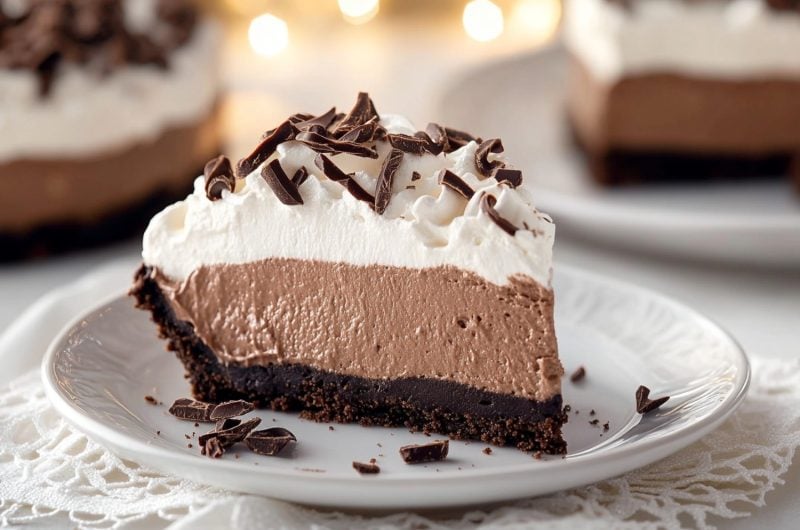
Hey friends! Today, I’m sharing a little slice of heaven that’s my go-to for all occasions: chocolate pudding pie!
It’s everything you want in a dessert: rich, creamy, and oh-so-chocolatey. The best part? It’s super easy to make, so you can spend less time baking and more time having fun.
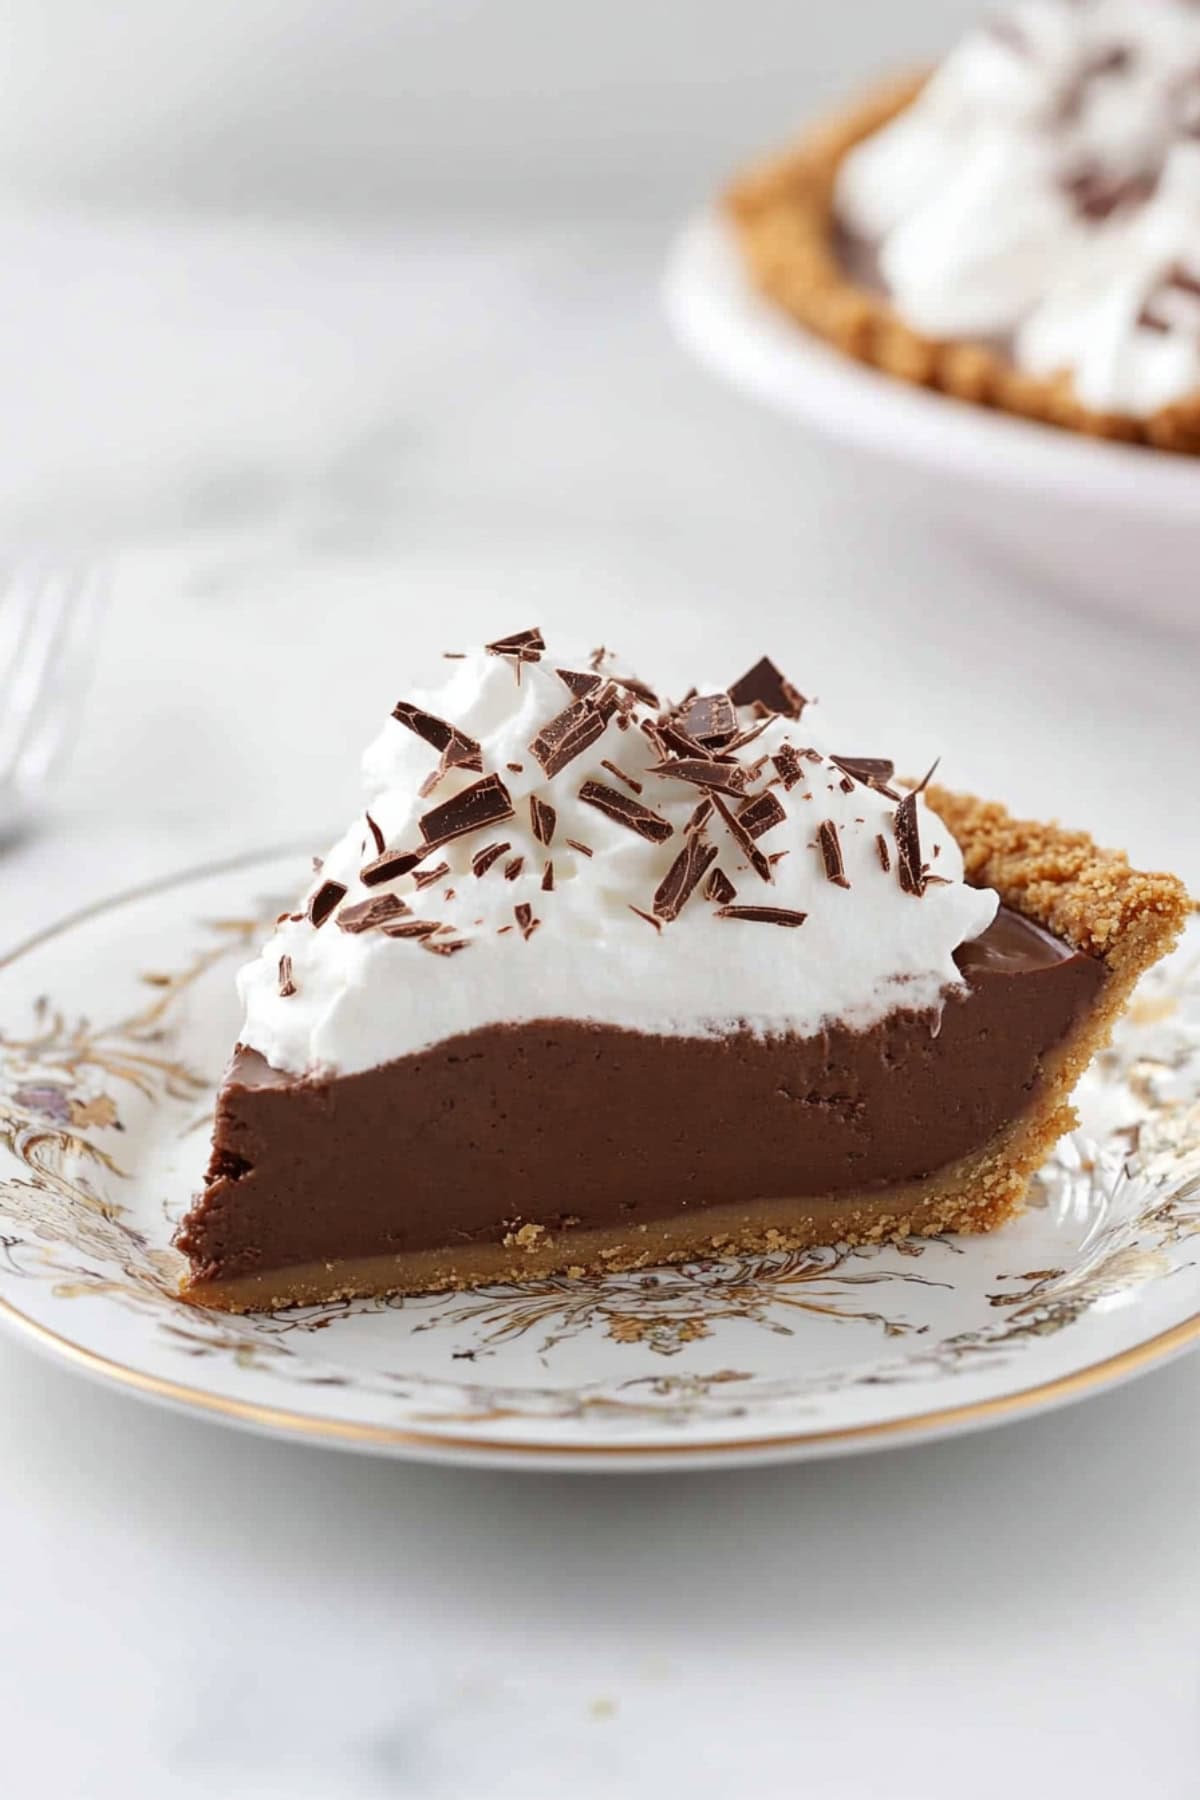
You’ll love the buttery graham cracker crust and the luscious chocolate pudding filling.
And it’s all topped with a fluffy cloud of Cool Whip. YUM!
Why You’ll Love This Chocolate Pudding Pie
Effortless Prep: This pie requires minimal effort. And with fewer than 10 ingredients, it won’t hurt your wallet too much, either.
Rich Chocolate Taste: The pie delivers a deeply satisfying chocolate experience. Plus, the creamy filling pairs perfectly with the crunchy crust and smooth topping.
Versatile & Customizable: The recipe offers flexibility with the crust. (Use graham crackers, chocolate cookies, gingersnaps, etc.) The optional toppings are practically limitless. Use chocolate shavings, sprinkles, or mini chocolate chips.
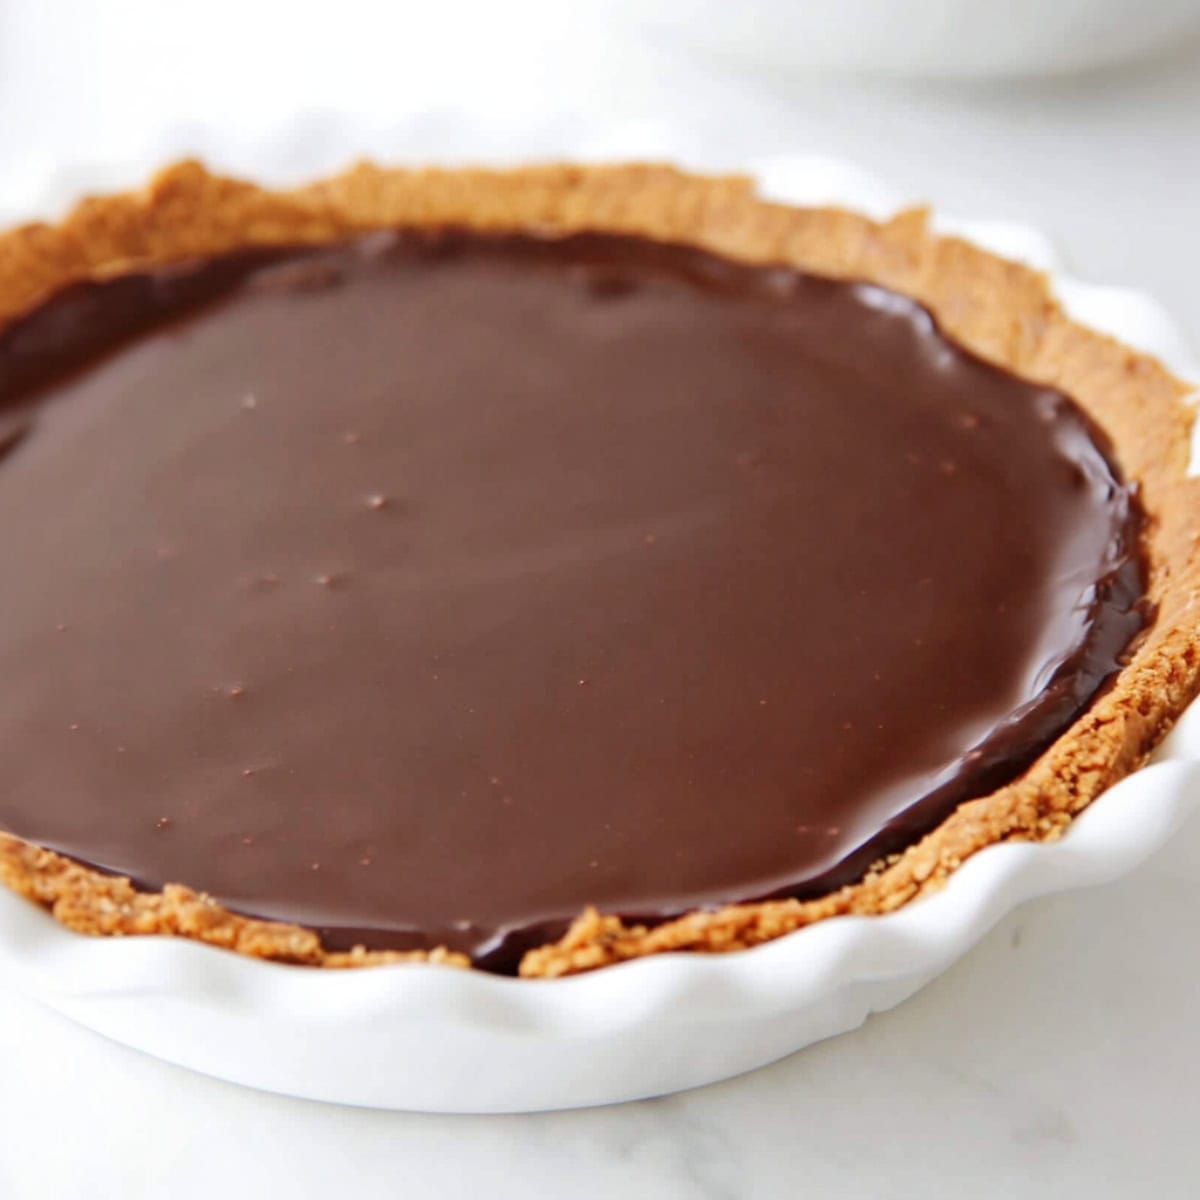
Ingredients
- Crushed Graham Crackers: The sweet, crunchy base that forms the crust when mixed with butter. For an extra chocolatey treat, use chocolate cookie crumbs instead.
- Unsalted Butter: It holds the cracker/cookie crumbs together to form the crust.
- Granulated Sugar: It makes the crust extra sweet and helps create a better bond between the ingredients.
- Instant Chocolate Pudding Mix: Convenient and pre-made, it creates a smooth, creamy chocolate filling.
- Cold Milk: To mix with the instant pudding mix for thickness, creaminess, and consistency.
- Cool Whip: For the light, fluffy topping.
- Optional Garnishes: Add chocolate shavings, sprinkles, mini chocolate chips, or chocolate syrup for extra decoration.
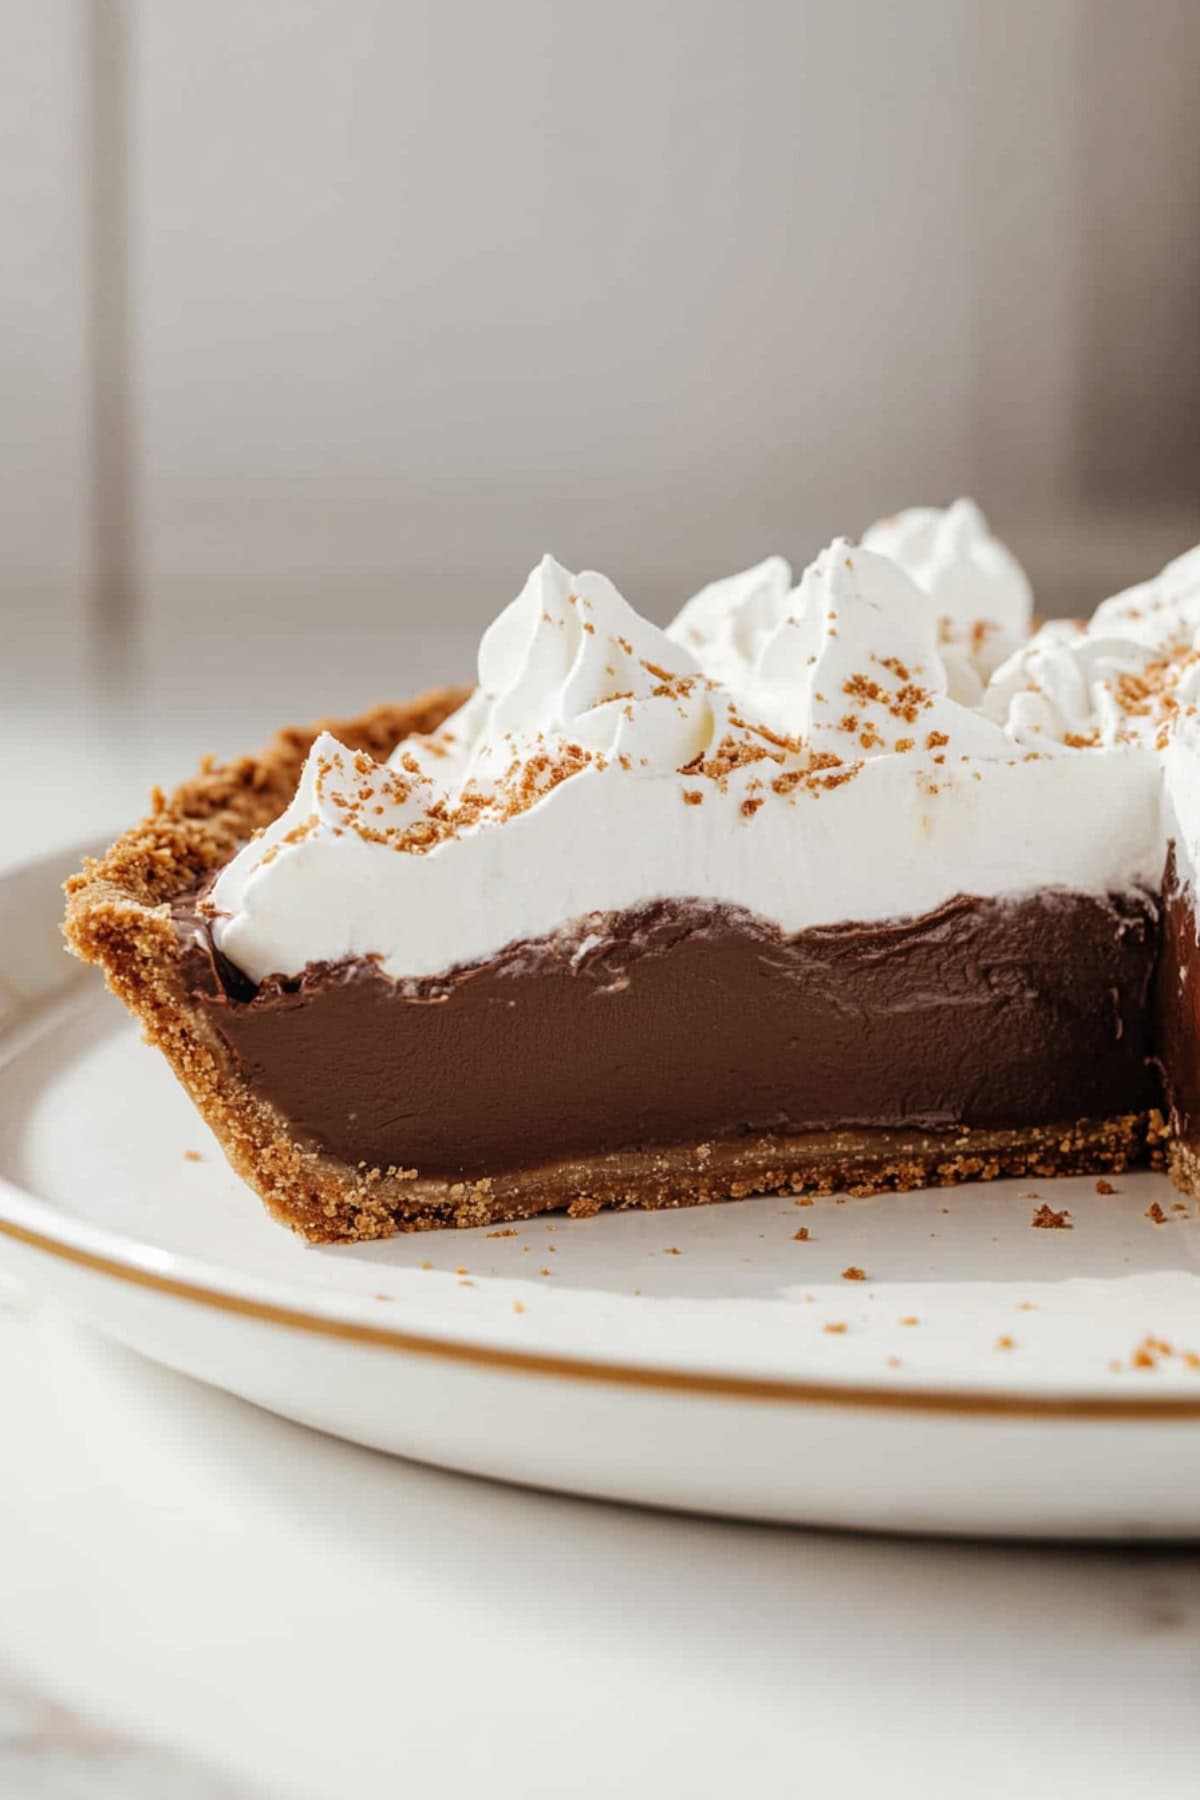
How to Make Chocolate Pudding Pie
No-bake pie recipes are always simple, and this one is no exception. Just follow these easy steps.
1. Prepare the crust. Combine the crushed graham crackers (or cookie crumbs) with melted butter and sugar (if using). Mix until evenly moistened, then press the mixture into the bottom and sides of a 9-inch pie pan. Chill for 30 minutes or bake for 8 minutes at 350 degrees.
2. Prepare the pudding. Whisk the pudding mix and cold milk in a medium bowl for 2 minutes until thick.
3. Assemble. Pour and evenly spread the pudding in the prepared (and cooled) crust. Cover with plastic wrap to prevent a skin from forming. Refrigerate for at least 2 hours.
4. Top and serve. Spread the Cool Whip over the top of the chilled pie, and add extra garnishes as desired. Slice, serve, and enjoy!
Tips for the Best Chocolate Pudding Pie
Since the recipe is so simple, you may not need my tips and best practices. But here they are, just in case.
- Firm up the crust. This is a no-bake pie, and you can keep it that way. Chilling the crust works just fine. However, if you want it a bit firmer, bake the prepared crust at 350 degrees for 8 minutes. Be sure to let it cool completely before adding the filling.
- Milk choice matters. Whole milk will give you the best pudding consistency. It’ll be thick, creamy, and silky smooth. If using skim milk, reduce the amount slightly so the pudding won’t be too runny.
- Use plastic wrap wisely. Press it directly onto the surface of the pudding filling. Don’t leave space between the two. Pressing it against the filling prevents pudding skin from forming.
- Layer carefully! Chill the pie for at least 2 hours, longer if necessary. You want the filling to be perfectly set before adding the Cool Whip. Otherwise, it may sink into the pudding instead of sitting neatly on top.
- Keep things chilly. Don’t set the milk out early. It should be cold when you whisk it with the pudding mix. You can also pop the whisk in the freezer for several minutes so that it’s cold. If making homemade whipped topping (see variations below), chill the bowl and beaters, too.
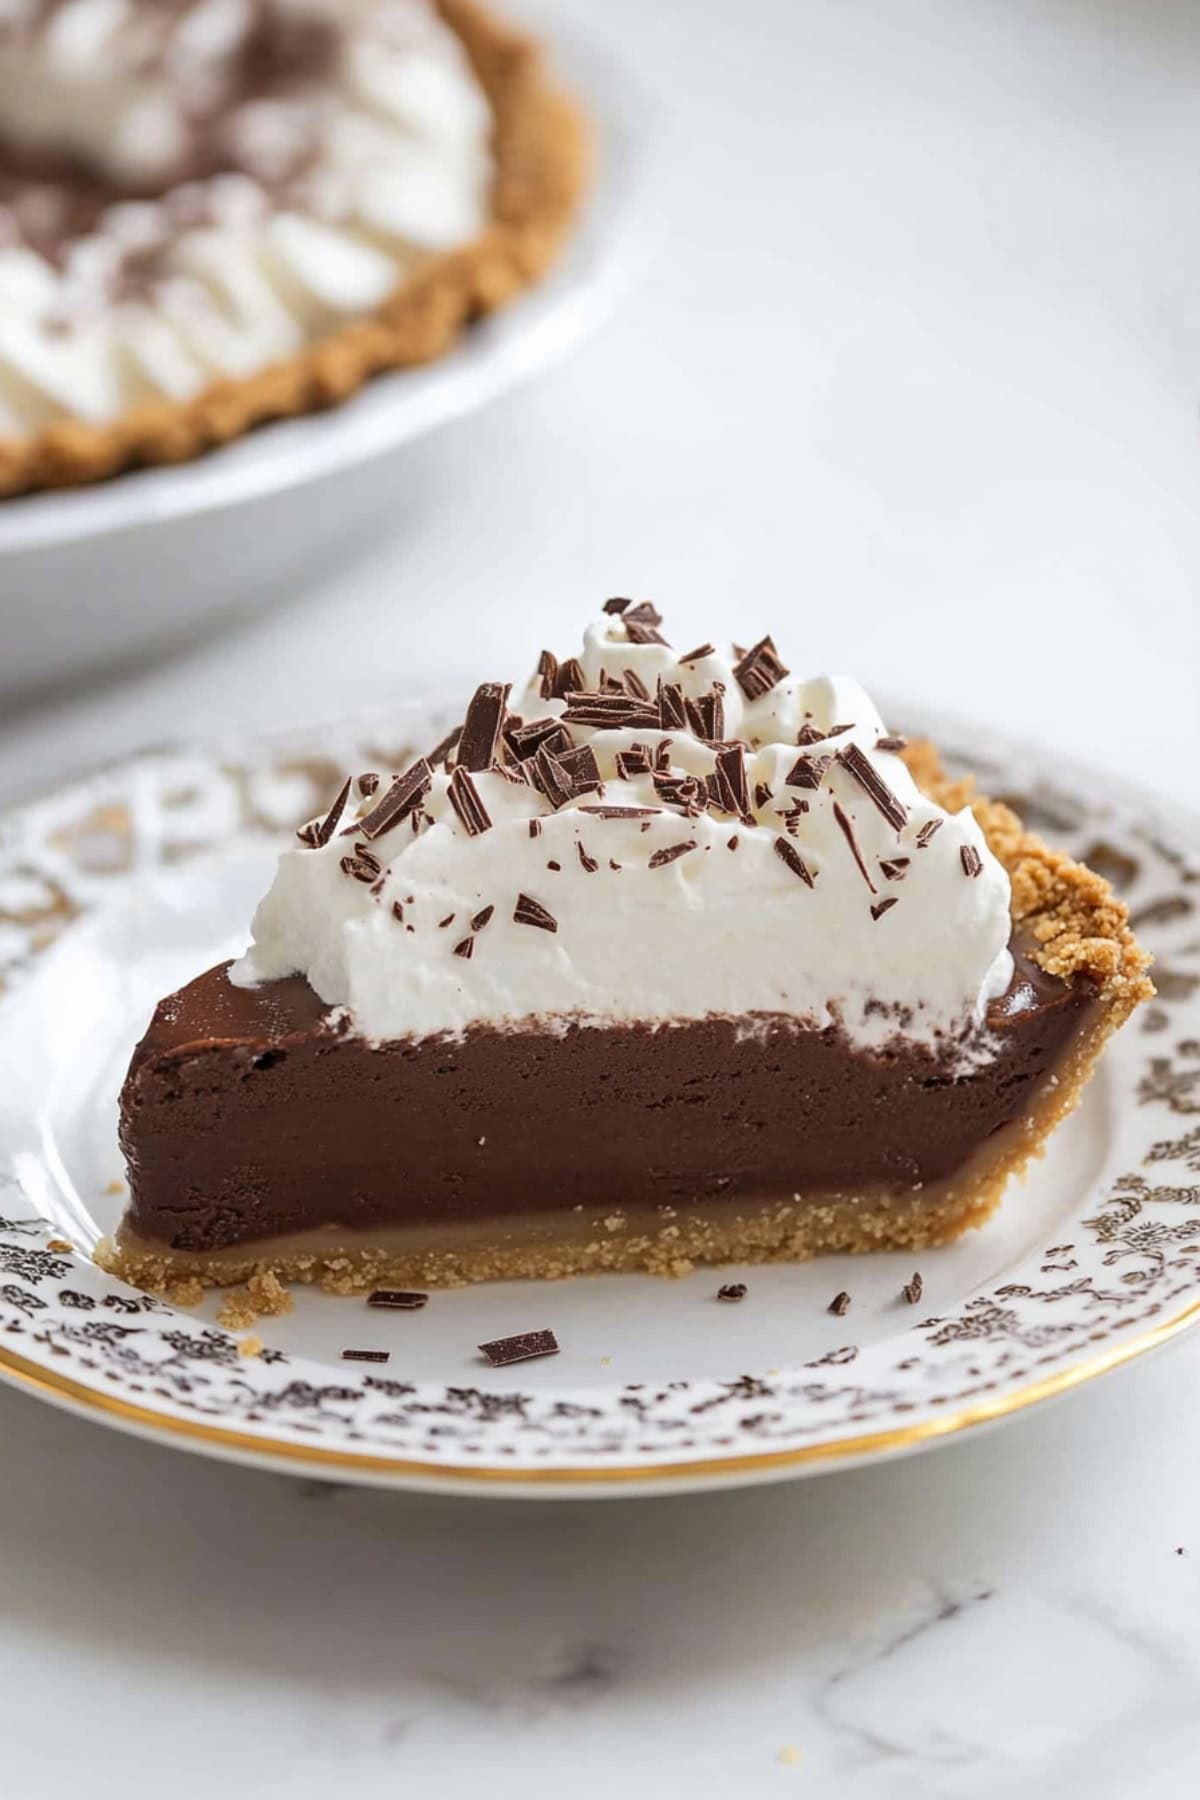
Variations
These variations can help mix things up or make the pie even more quick and convenient:
- Use a store-bought crust. I prefer making my crust from scratch. But if you want to shave a few minutes off the prep time, just pick up a Keebler crust from the store. (Or whatever brand you like best.)
- Make the filling extra-rich. After whisking the milk and pudding mix together, fold in some heavy whipping cream. (1/4 to 1/2 cup should do.)
- Use homemade whipped topping. If you prefer, you can make your own whipped cream. Whip 1 cup of heavy whipping cream to stiff peaks. Then, add 1 teaspoon vanilla and 1 tablespoon confectioners’ sugar.
- Experiment with flavored whipped cream. Try salted caramel, chocolate, or even raspberry whipped cream. Or make it boozy with Baileys or Kahlua whipped cream.
- Garnish creatively! I’ve already mentioned chocolate shavings, sprinkles, mini chocolate chips, and a chocolate drizzle. You can also try fresh berries, crumbled cookies, caramel sauce, or anything else you like!
How to Store
Since chocolate pudding pie is best chilled, storing leftovers is a breeze.
To Store: Cover the pie with aluminum foil or place it in an air-tight container. Refrigerate for up to 3 days. (Note: The pie is safe for even longer, but the crust will likely get soggy after 3 days.)
To Freeze: Wrap the pie tightly in plastic wrap and then again in foil. Freeze it for up to 1 month. Thaw in the fridge overnight before serving. (Note: The pie freezes best without Cool Whip and extra toppings.)
Chocolate Pudding Pie
8
servings10
minutes290
kcalThis creamy chocolate pudding pie will be your new go-to dessert! It’s quick, easy to make, and everyone will devour it!
Ingredients
- For the Crust
1 1/2 cups crushed graham crackers
6 tablespoons unsalted butter, melted
2 tablespoons granulated sugar (optional)
- For the Filling
1 (3.9-ounce) package instant chocolate pudding mix
2 cups cold milk
- For the Topping
1 (8-ounce) tub Cool Whip, thawed
- Optional Garnishes
chocolate shavings
sprinkles
mini chocolate chips
chocolate syrup
Instructions
- In a mixing bowl, combine crushed graham crackers with melted butter and sugar (if using). Mix until evenly moistened. Press the mixture firmly into the bottom and up the sides of a 9-inch pie pan.
- Chill in the refrigerator for at least 30 minutes to set. For a firmer crust, bake at 350 degrees Fahrenheit for 8 minutes, then cool completely.
- In a medium bowl, whisk together the pudding mix and cold milk for 2 minutes until it thickens.
- Pour the pudding into the prepared crust, spreading it out evenly. Cover with plastic wrap (to prevent a skin from forming) and refrigerate for at least 2 hours or until fully set.
- Once the pie is set, spread the Cool Whip evenly over the top. For extra flair, add chocolate shavings, sprinkles, mini chocolate chips, or even a drizzle of chocolate syrup on top.
- Slice, serve, and enjoy this no-fuss, creamy, and chocolatey dessert!
Notes
- Use whole milk for the best pudding consistency.
- Place the plastic wrap directly on the pudding filling to prevent a skin from forming.
- Be sure the filling is fully set before adding the Cool Whip. Otherwise, the two may mix instead of staying separate.
- Use cold milk, a cold whisk, and cold beaters (if making whipped cream from scratch).
Did you like the recipe?
Click on a star to rate it!
Average rating 5 / 5. Vote count: 2
No votes so far! Be the first to rate this post.
We are sorry that this post was not useful for you!
Let us improve this post!
Tell us how we can improve this post?

