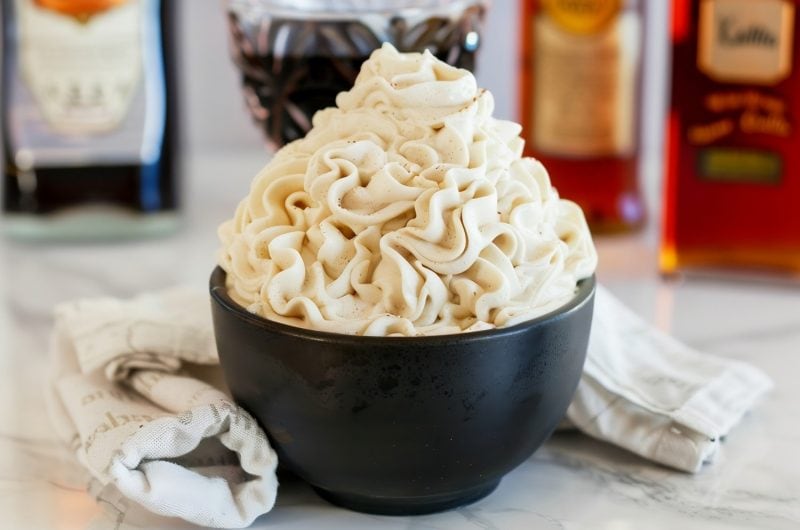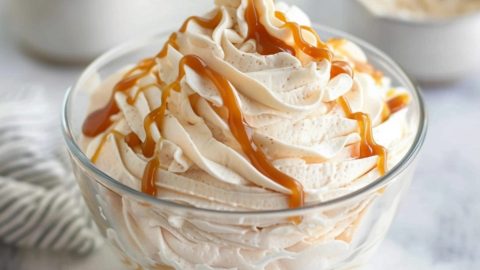


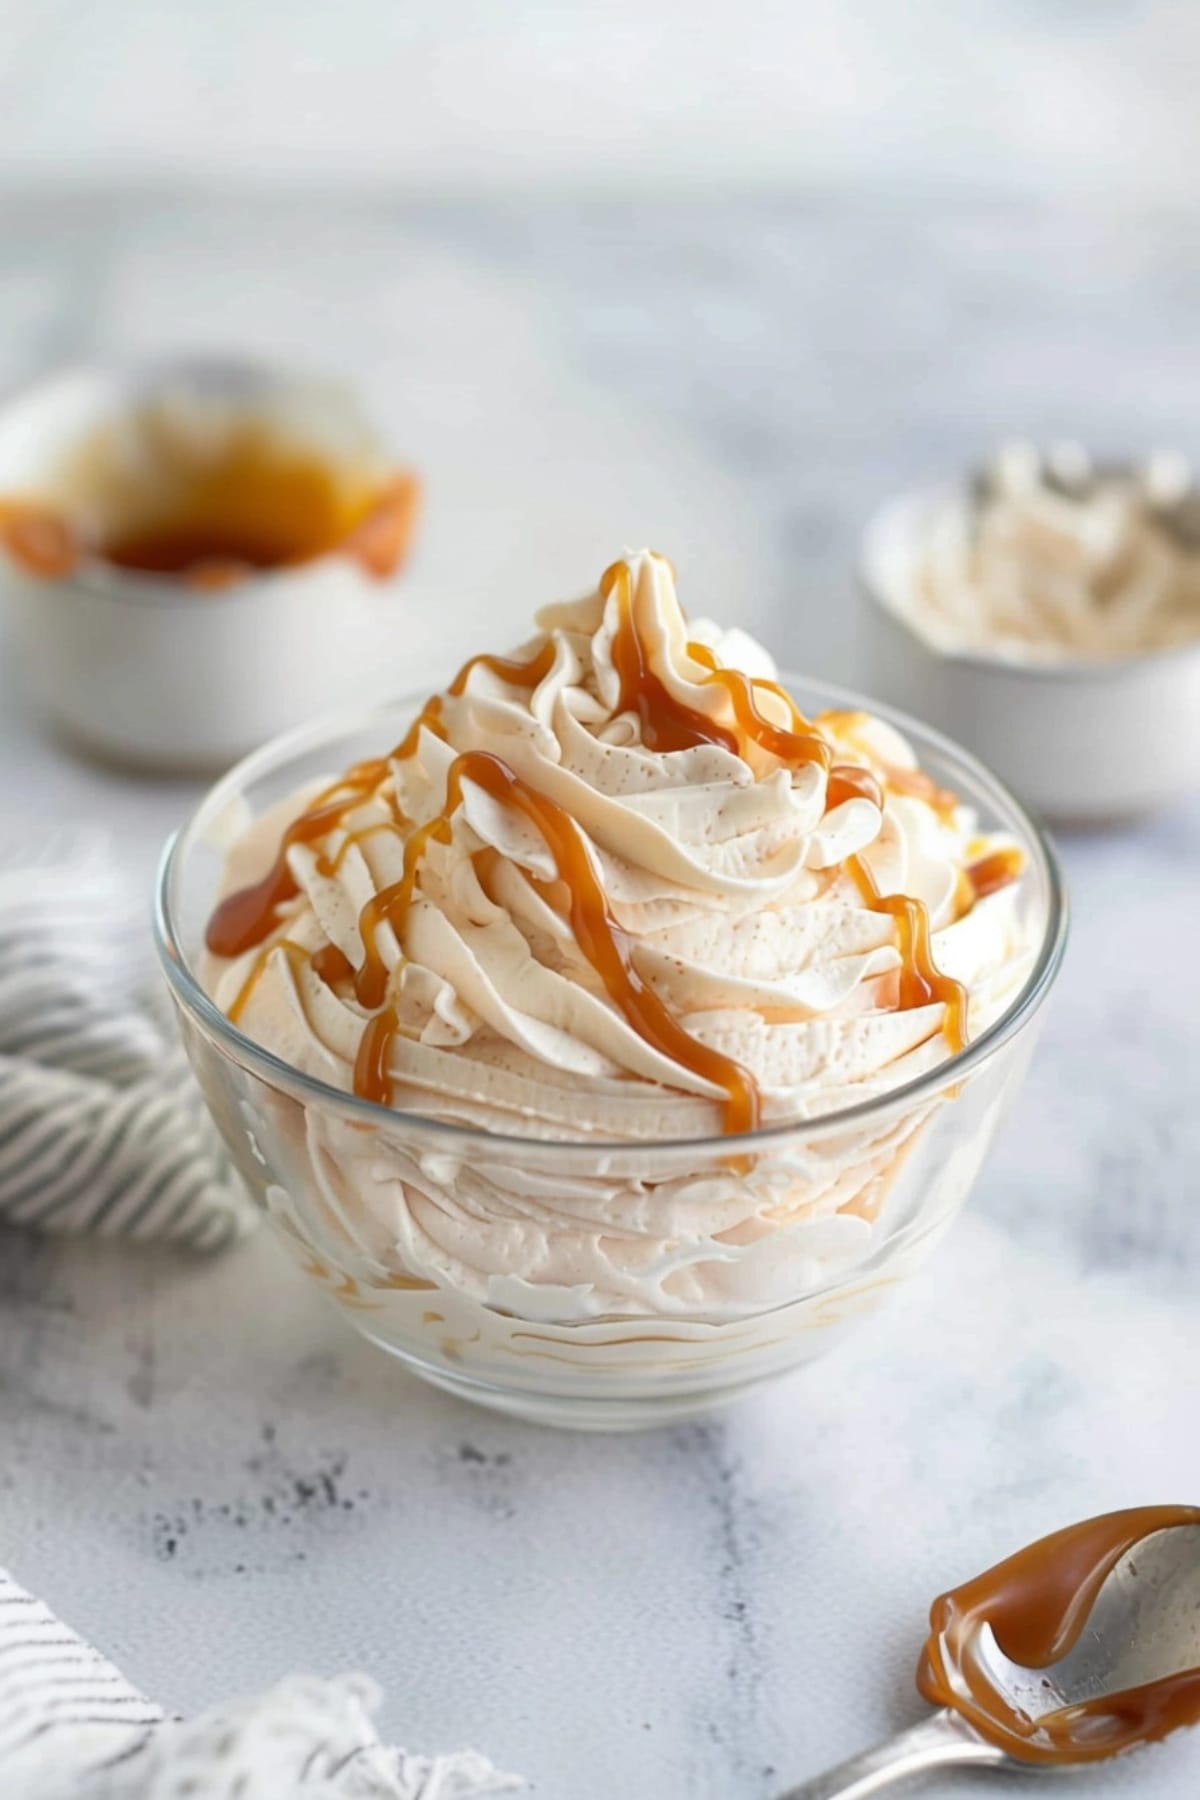
If you have a sweet tooth, you’ll love this salted caramel whipped cream.
Made with only five ingredients, it’s light, fluffy, and ridiculously decadent.
It’s also an easy recipe to tweak. You can make it sweeter or saltier simply by adding a bit more salt or caramel.
It's delicious on cupcakes, desserts, and even waffles and pancakes!
WANT TO SAVE THIS RECIPE?
Why You’ll Love This Salted Caramel Whipped Cream
It only requires ingredients! Actually, powdered sugar is optional, so you can make it with as few as four ingredients. Everything’s also easy to find and budget-friendly.
It's customizable. I love recipes I can play around with and tweak to suit my tastes. Want it extra sweet? Add more powdered sugar or caramel sauce. Like more of a salty bite? Add extra salt!
It's the perfect dessert topping. Seriously, you can put this stuff on anything.

Ingredients
Want to know a bit more about those 5 ingredients? Let’s check them out:
- Heavy Cream – Heavy cream, or heavy whipping cream, is the primary ingredient in this recipe. You simply cannot make whipped cream without it. Don’t try to substitute anything for it. Its high-fat content is imperative to the recipe.
- Caramel Sauce – Look for high-quality caramel sauce, which is not the same as caramel topping. I typically make my own or use Torani or Ghirardelli.
- Vanilla Extract – Just a little will enhance all the other flavors and really bring out the cream’s richness.
- Sea Salt – This ingredient, too, is necessary for the finished product. Don’t substitute regular old table salt. It won’t do the trick.
- Powdered Sugar – Powdered sugar is optional, but it’s an easy way to get the precise sweetness you want.
How to Make Salted Caramel Whipped Cream
Following these steps will ensure your topping turns out perfectly:
1. Chill the equipment beforehand. Pop the bowl and beaters in the freezer for about 15 minutes before starting the recipe.
2. Make the whipped cream. Add all of the ingredients to the chilled bowl. Whip on low then slowly increase the speed until stiff peaks form.
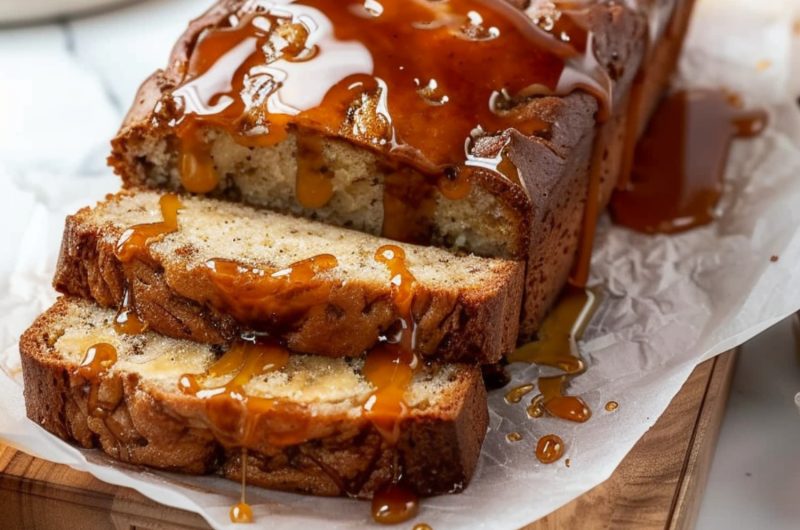
3. Serve. Once the cream is ready, use it immediately. I think it's extra special on this salted caramel banana bread. Enjoy!
Tips for Success
Keep these tips in mind for the very best whipped cream:
- Keep it cold. The cream should be as cold as possible when adding it to the bowl. The caramel sauce should be at room temperature, though.
- Too thin? Chill the finished product for 15 to 20 minutes to thicken it.
- Store-bought vs. homemade caramel? This choice is entirely up to you. Save time by using store-bought caramel sauce. Or ensure the recipe suits your tastes exactly by making it yourself. Either way, ensure it’s high quality.
- Don’t overbeat! If you do, you’ll have salted caramel butter instead of whipped cream.
- Add a (salty) finishing touch. Add a sprinkle of flaky sea salt to the finished whipped cream for an extra salty kick.
Recipe Variations
I don’t mess with this recipe too much. It’s perfect as is. Still, here are a few variations if you want to try them:
- Feeling boozy? Add 1 to 3 tablespoons of bourbon for a delightfully boozy treat.
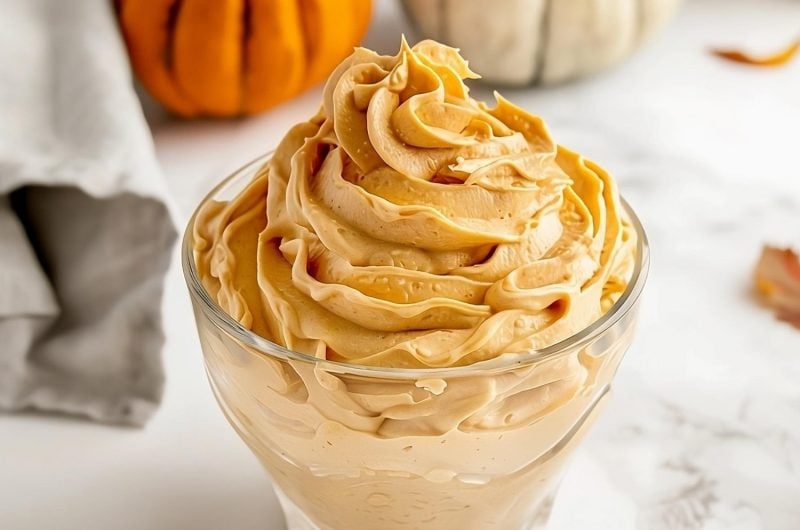
- Add a bit of fall spice. Mix in 1/2 teaspoon pumpkin pie spice, cinnamon, or apple pie spice.
- Make it coffee-flavored. You’ll add 1 teaspoon of espresso powder for this variation.
- Toss in extra vanilla. This recipe already calls for vanilla extract. However, you can add an additional 1/2 teaspoon for a stronger vanilla flavor.
How to Store
If you have leftovers, store them in an airtight container in the fridge for up to 2 days*. The cream tastes best fresh, of course, but you can also make it up to 2 days ahead.
I do not, however, recommend trying to freeze it. Doing so will ruin its texture.
*Note: If you want it to last longer, mix in 1/8 teaspoon cream of tartar. It will help stabilize the cream and extend its life by about 2 days.
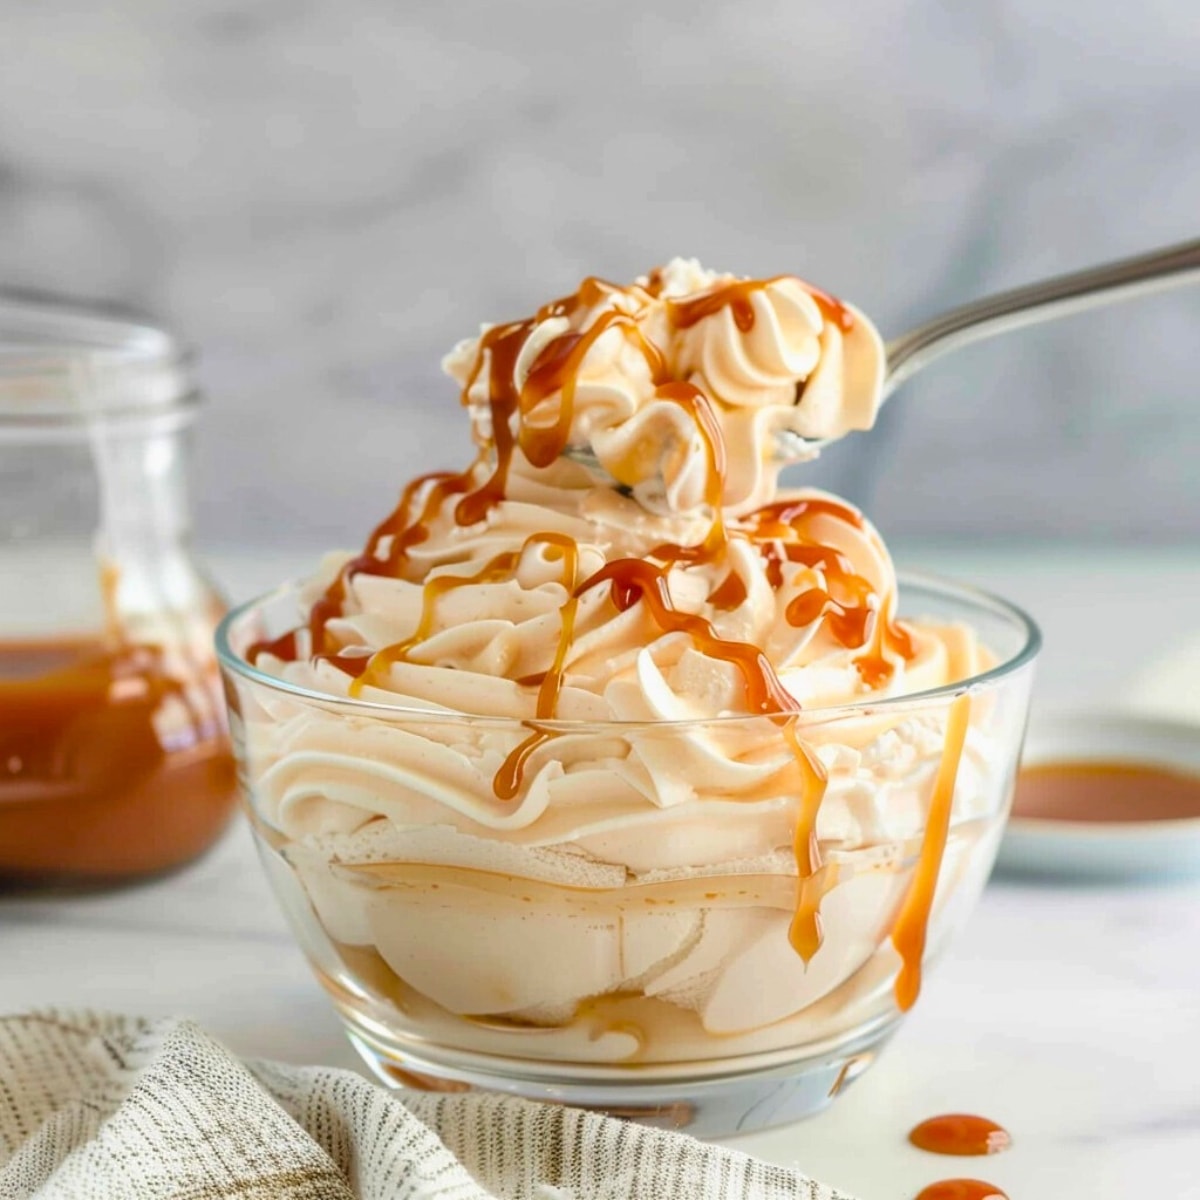
How to Serve Caramel Whipped Cream
This stuff tastes so incredible, I can eat it by itself with a spoon!
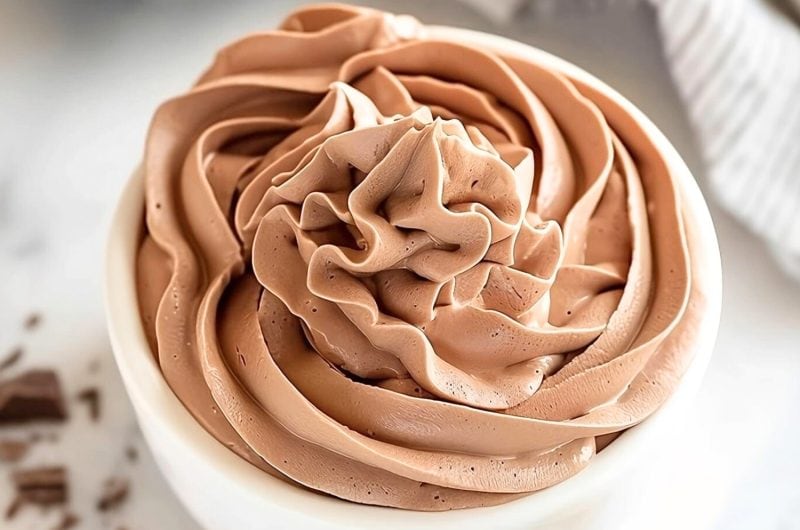
But it tastes even better on fresh fruit and your favorite desserts (like this stunning chocolate fudge cake).
Here are a few of my favorite uses for it:
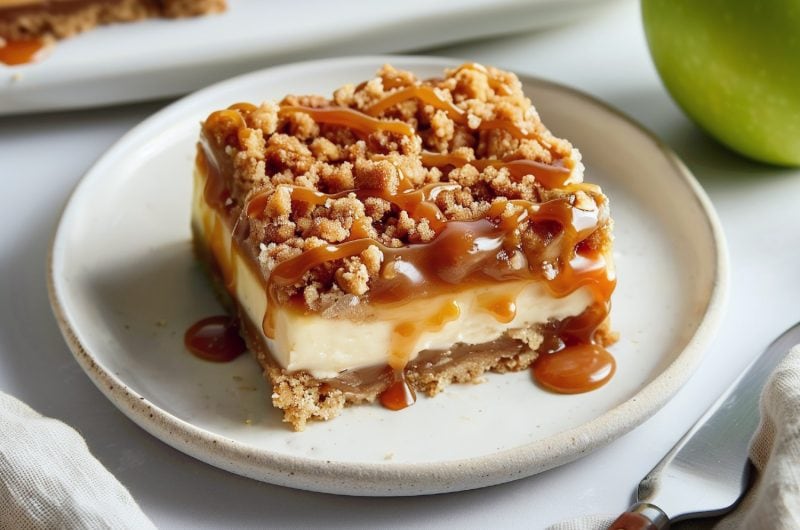
- An icing for desserts, like chocolate cake or apple pie
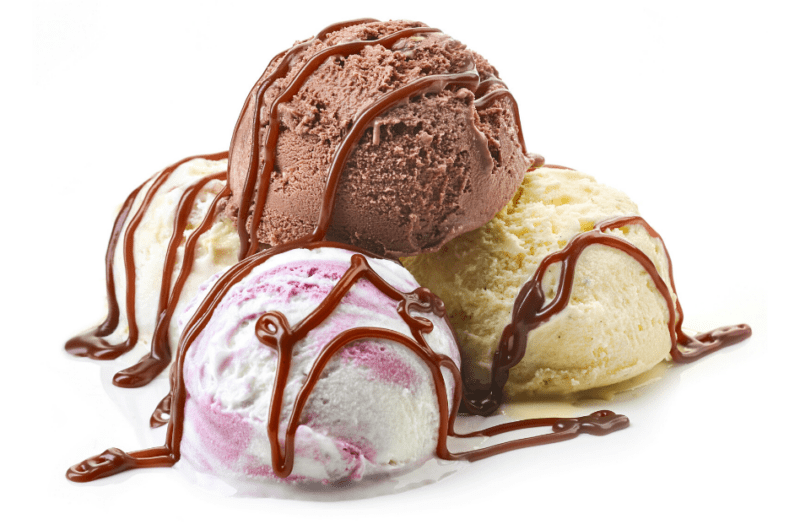
- An added bit of decadence to a bowl of yummy banana ice cream
- A topping for breakfast foods, such as bisquick pancakes or waffles
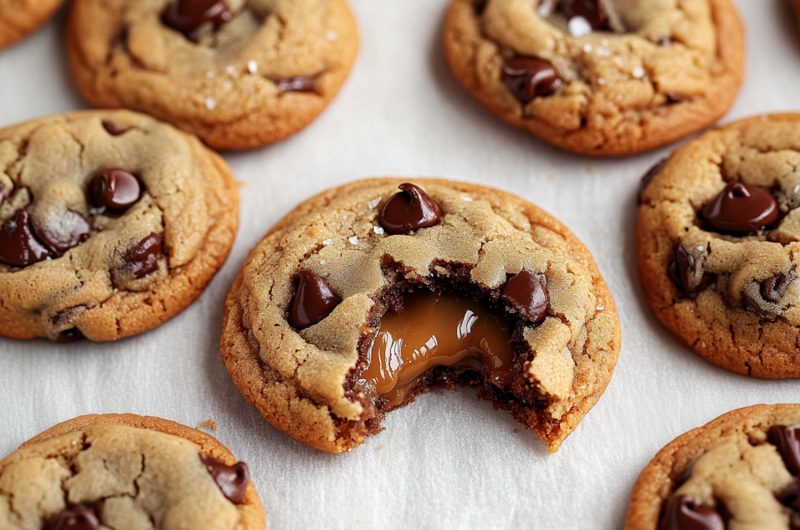
- A frosting for chocolate brownies or cupcakes
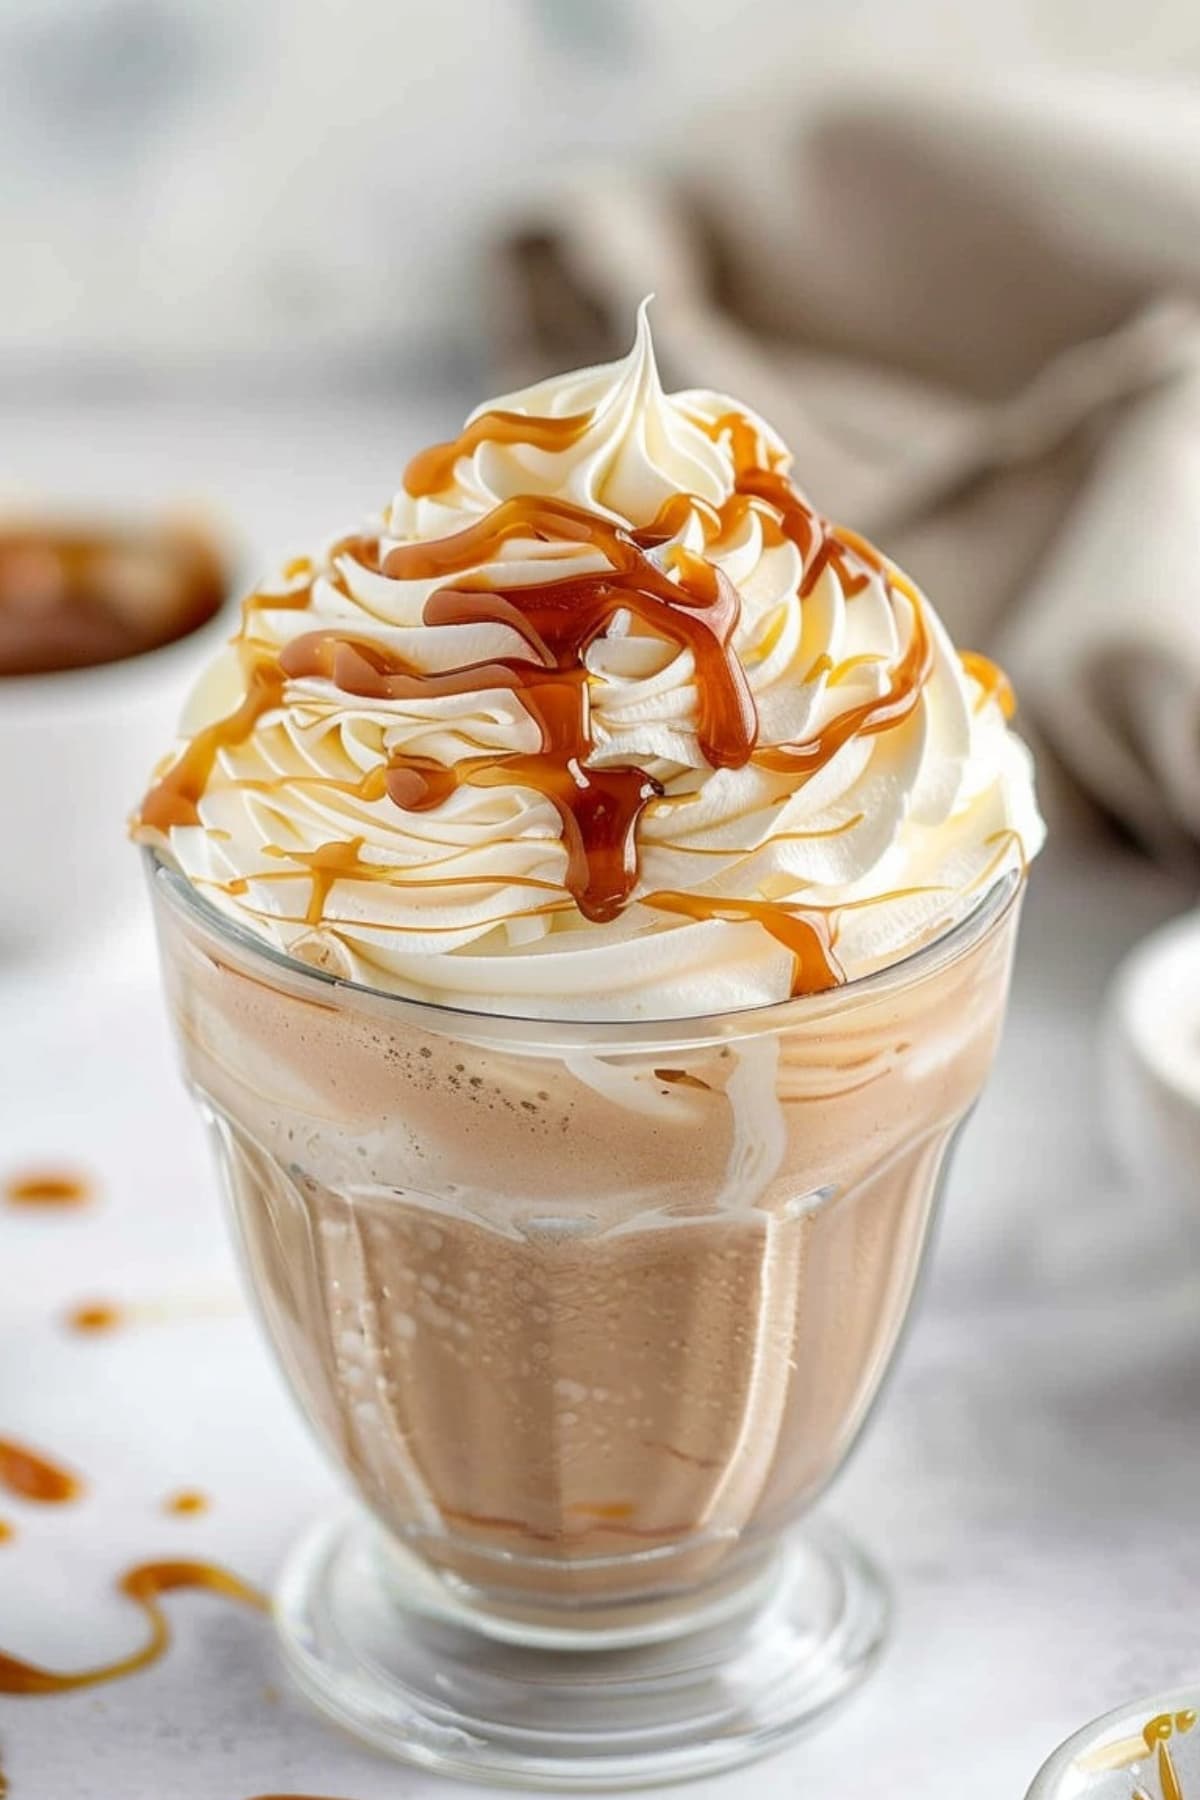
- A topping for (or swirled into) your morning latte or a creamy chocolate milkshake
- A dessert dip for fresh fruits and berries
- An added layer to parfaits or fruit salad
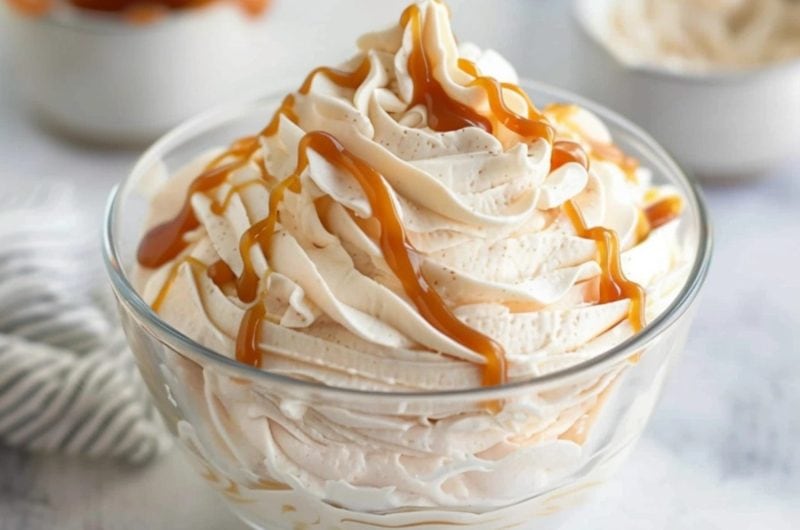
Caramel Whipped Cream
Treat yourself to this incredible salted caramel whipped cream! Use it to top cakes, pies, brownies, pancakes, and more!
8
servings25
minutes25
minutesIngredients
1 cup heavy cream, chilled
3-5 tablespoons caramel sauce or to taste, plus extra for drizzling
1/2 teaspoon vanilla extract
1/2 teaspoon sea salt
1 tablespoon powdered sugar, optional
Instructions
- Chill the mixing bowl and beaters in the freezer for about 15 minutes before starting the recipe. (If using a stand mixer, chill the bowl and whisk attachment.)
- Add the heavy cream, salted caramel sauce, vanilla extract, and a pinch of sea salt to the chilled bowl. If using, also mix in the powdered sugar for added sweetness.
- Start whipping the mixture on low speed, gradually increasing to high.
- Beat until the cream forms stiff peaks, about 3-5 minutes. Be careful not to overbeat, which can turn the cream into butter.
- Taste the whipped cream and adjust the sweetness or saltiness as needed. Then, briefly whip to combine.
- Serve immediately as a topping for desserts, coffees, or fresh fruits. For an extra touch of elegance, drizzle more caramel sauce over it before serving. Enjoy!
Notes
- If using homemade caramel sauce, let it cool completely before using.