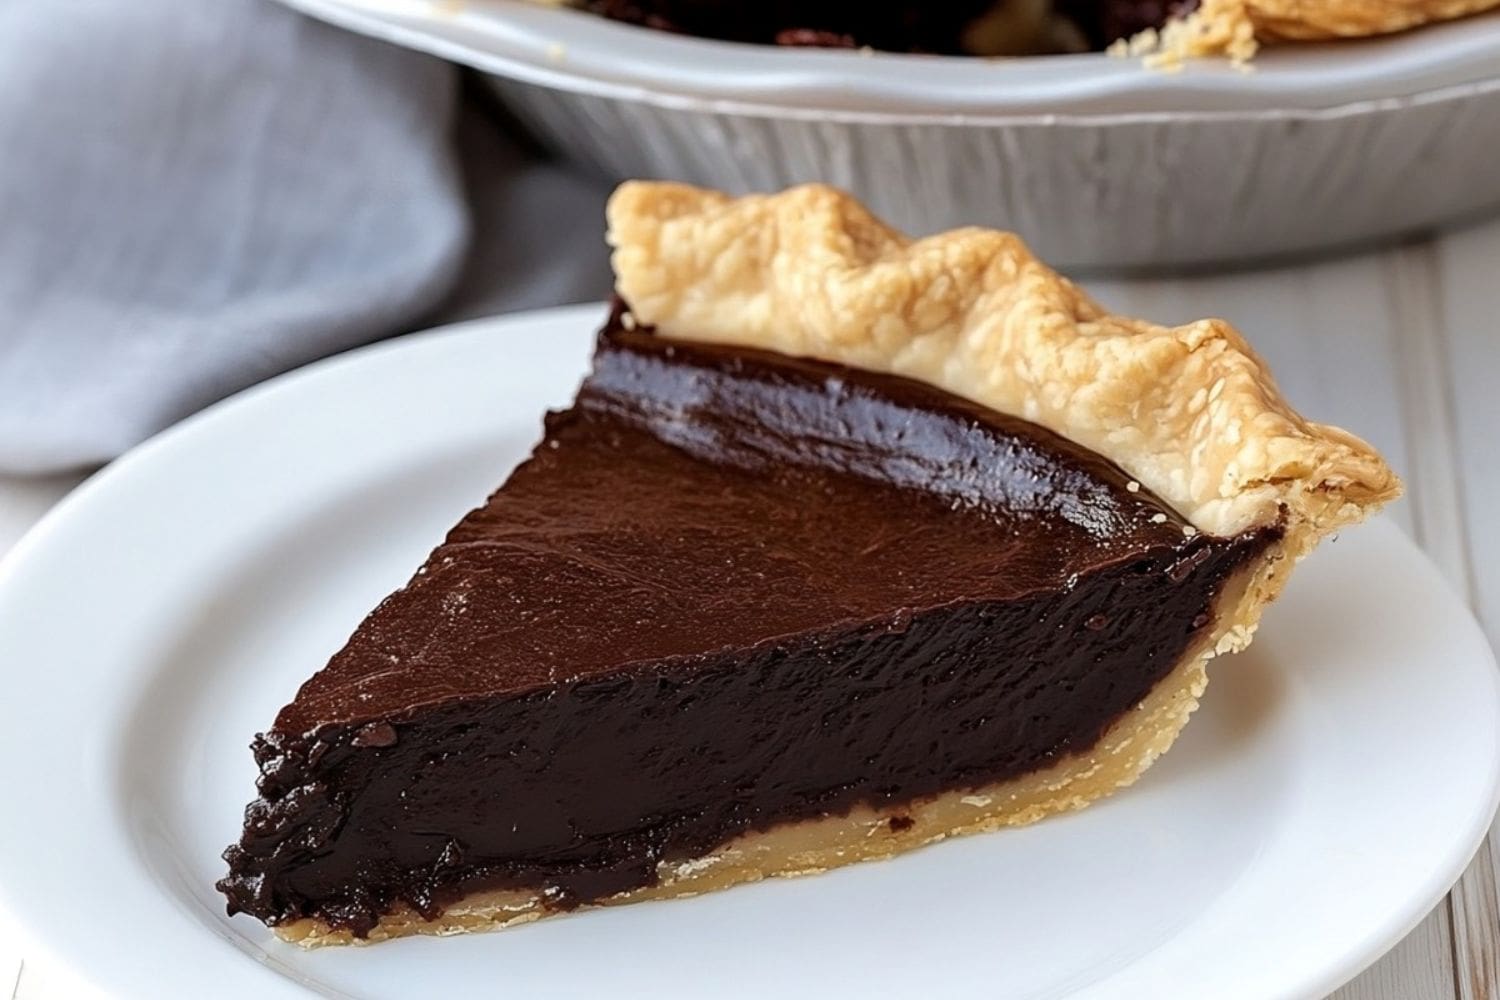
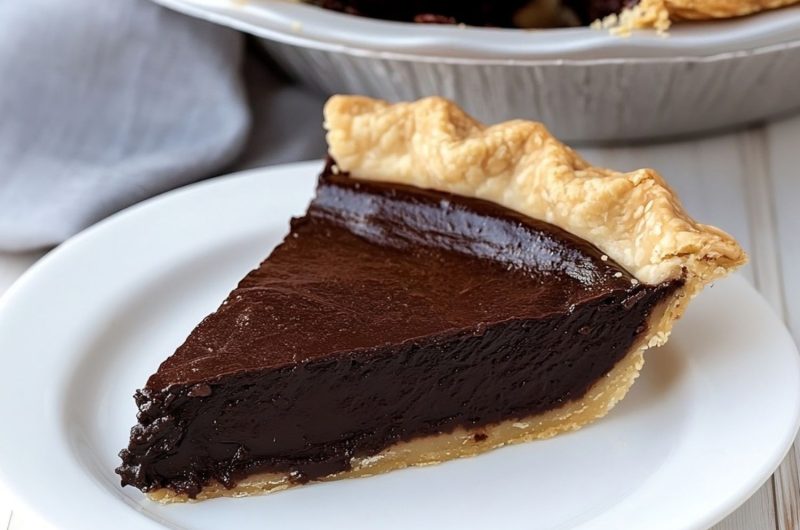
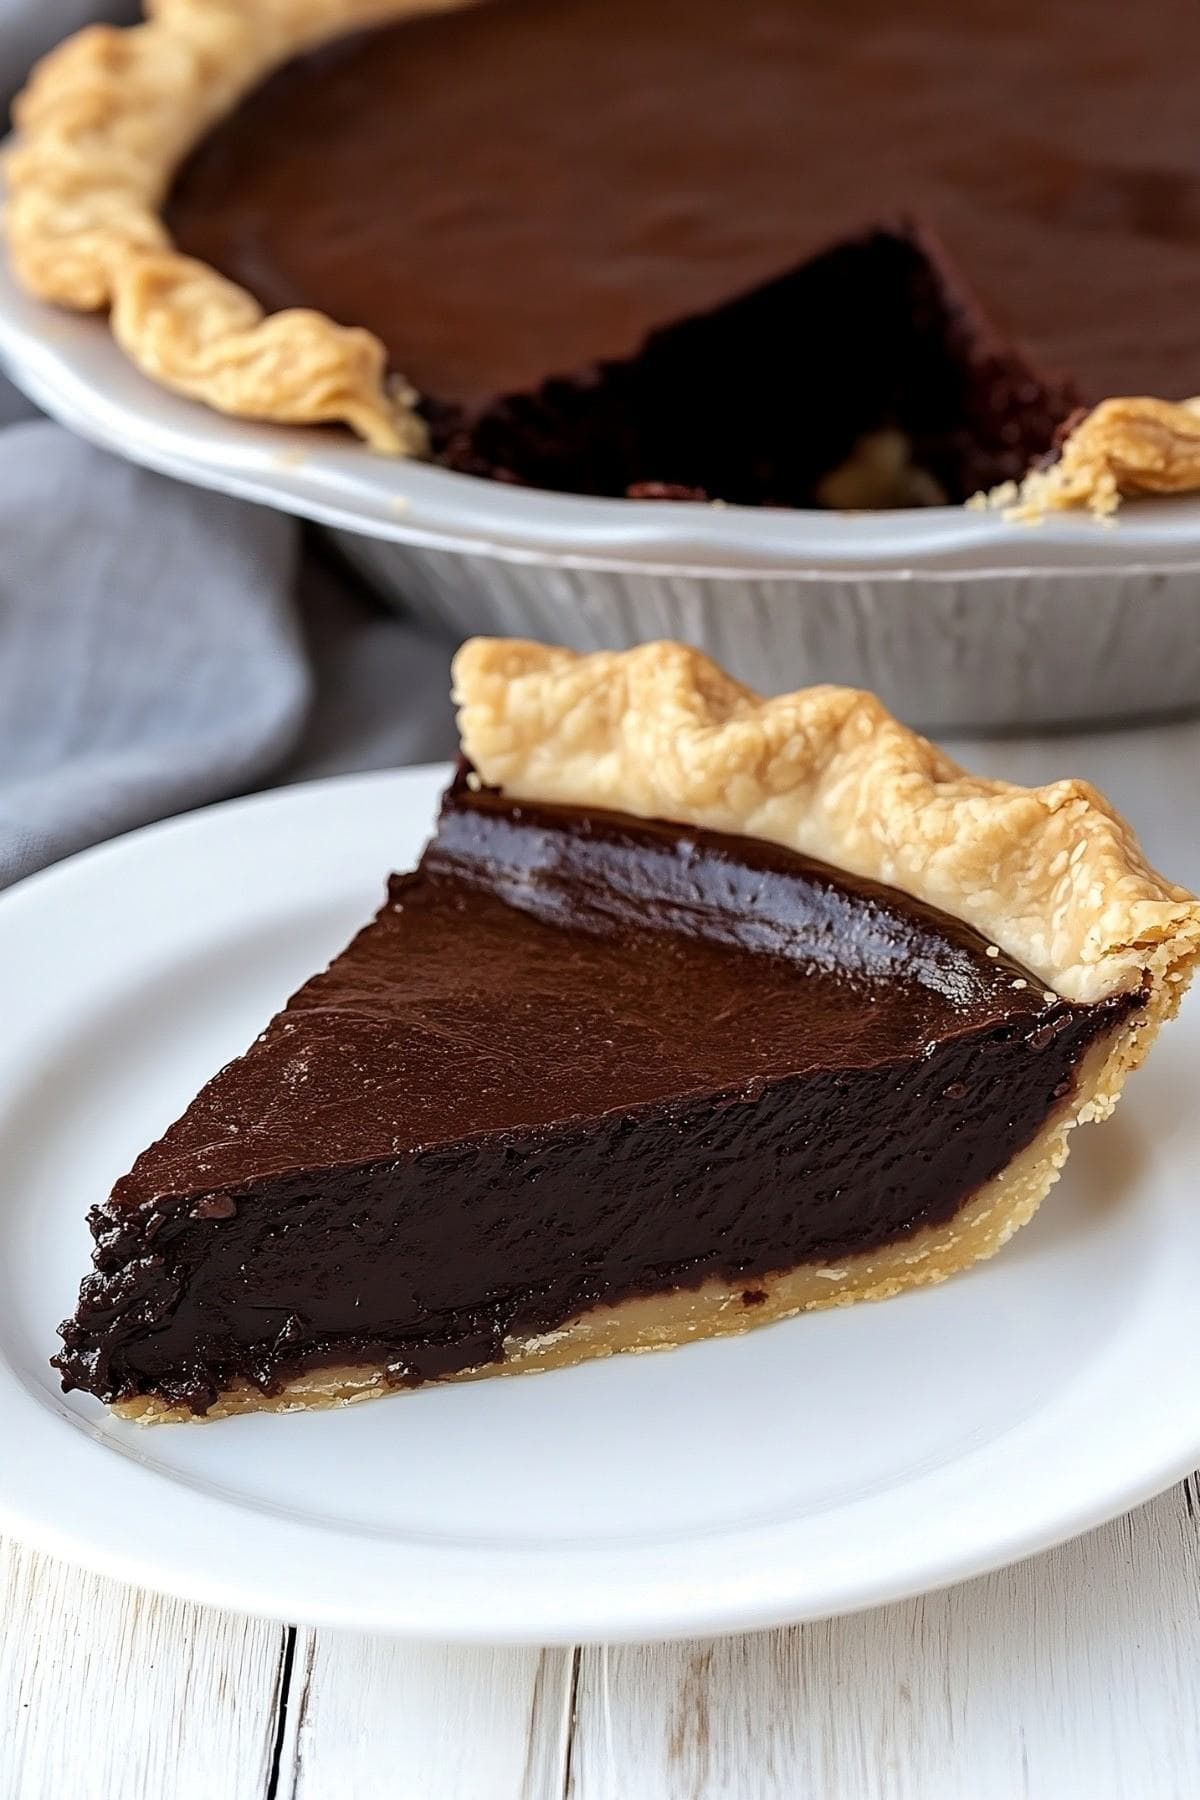
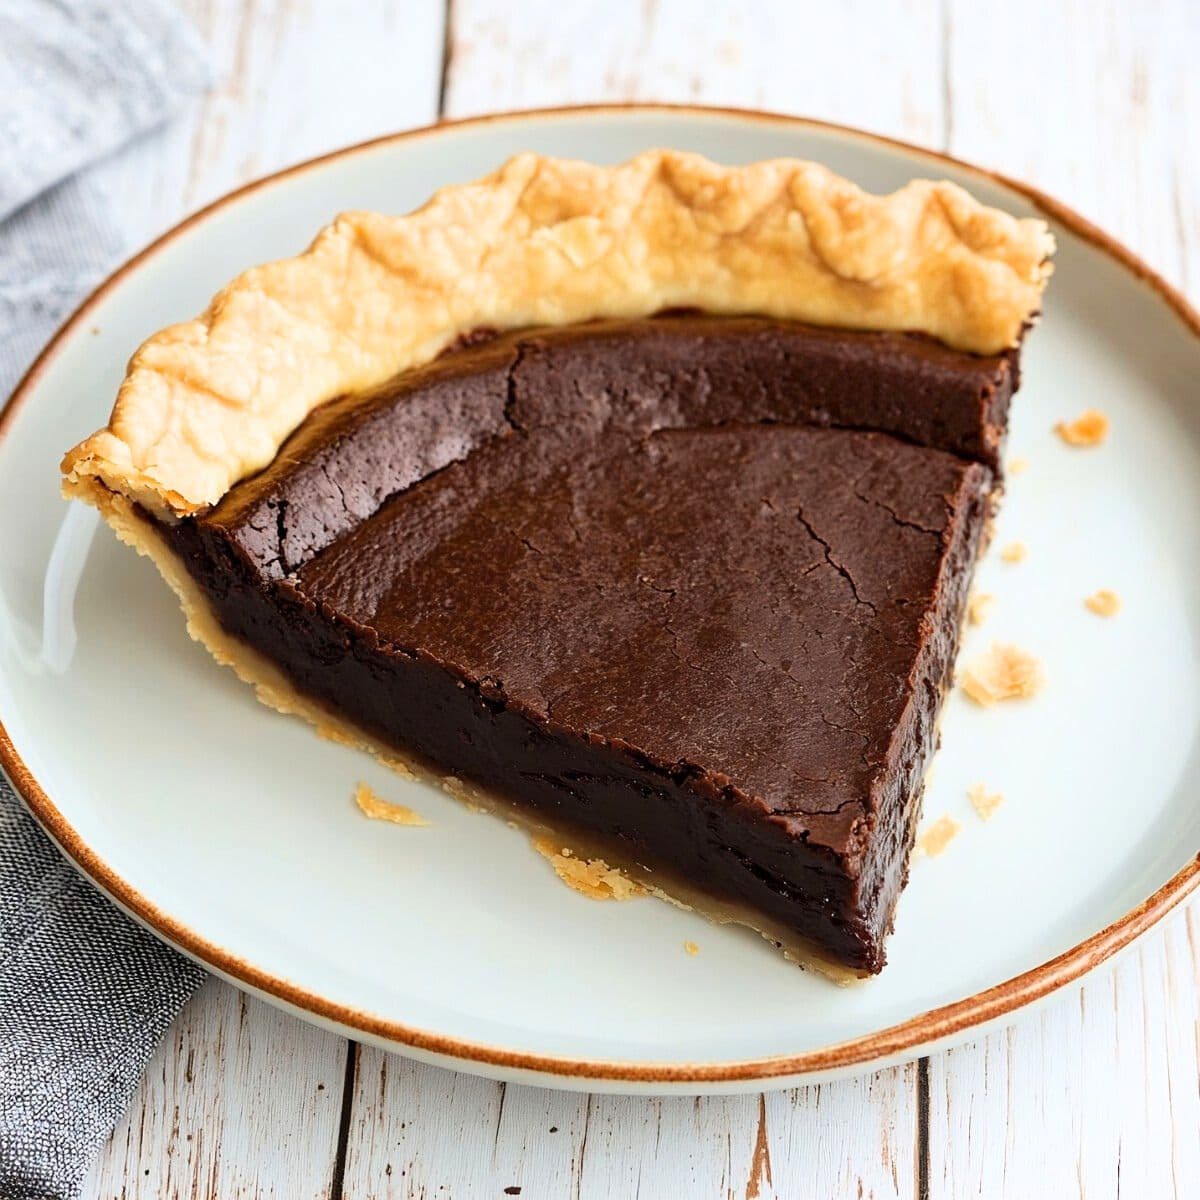
If you love chocolate, you’ll go nuts for this old-fashioned chocolate fudge pie recipe.
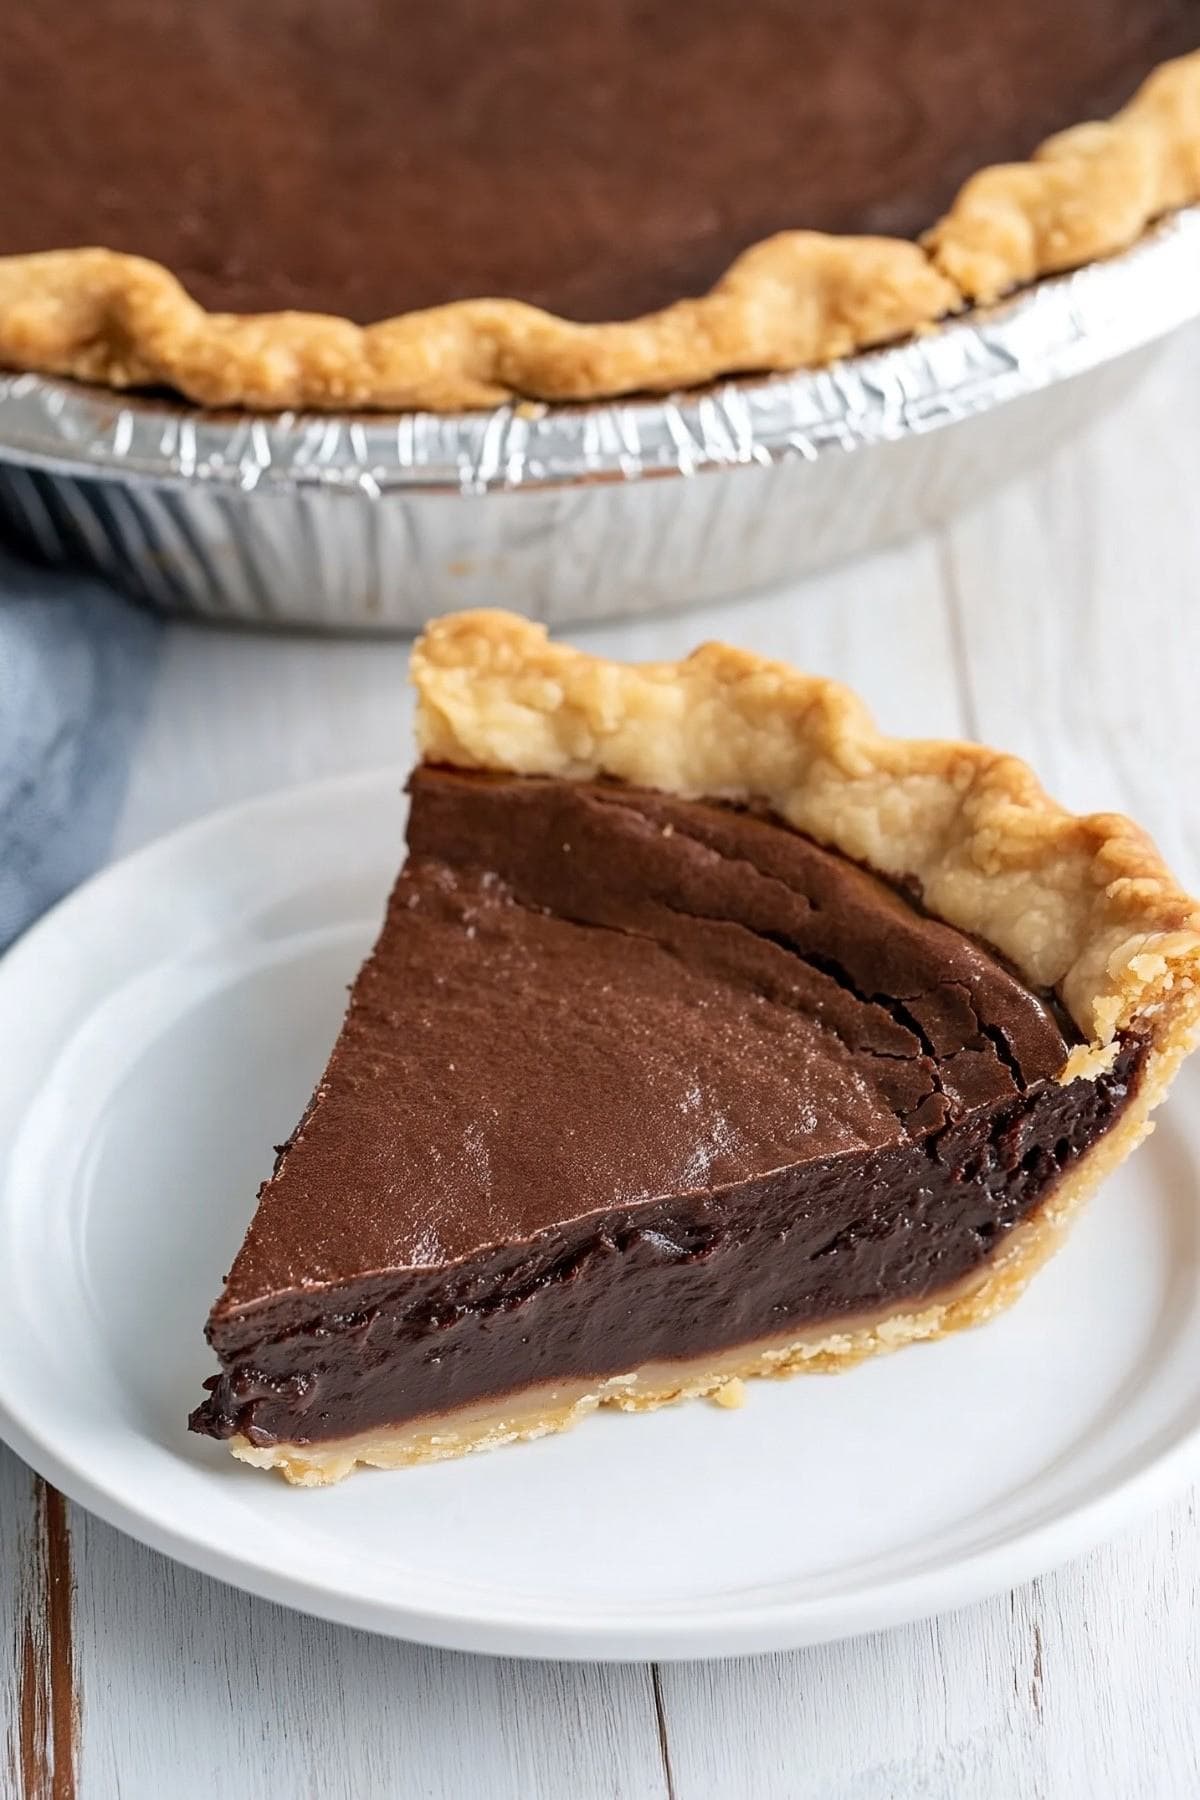
It has a rich, impossibly velvety chocolate filling with the most delightfully flaky crust.
It’s comforting and just the tiniest bit fancy, making it perfect for any occasion.
Better yet, whether you serve it warm or at room temperature, it’ll melt in your mouth with every bite.
Why You’ll Love This Chocolate Fudge Pie
Rich, Decadent Taste: This pie offers an indulgent chocolatey experience to satisfy any sweet tooth.
Simple Ingredients: Made with common pantry staples, it’s convenient and easy to prepare without requiring any special ingredients or equipment.
Homemade Feel: You can use a store-bought or homemade pie crust. Either way, the end result is the same – a comforting, from-scratch dessert that brings joy to any occasion.
Ingredients
- Pie Crust: Grab a 9-inch crust from the store or make one yourself. Both work well. Thaw frozen crusts in the fridge overnight before use.
- Evaporated Milk: For a really rich and dreamy filling.
- All-Purpose Flour: Provides structure to the fudgy filling.
- Chocolate Chips: For that rich, deep chocolate flavor. Use a high-quality brand for the best results.
- Granulated Sugar: Sweetens the chocolate and makes the pie more indulgent.
- Unsalted Butter: Adds richness and a smooth mouthfeel to the filling.
- Large Eggs: For a creamy consistency and to hold everything together.
- Vanilla Extract: Add just a little to enhance the chocolatey flavor and add a subtle depth and warmth.
- Salt: Another flavor enhancer. You won’t add much, but it works beautifully.
How to Make Chocolate Fudge Pie
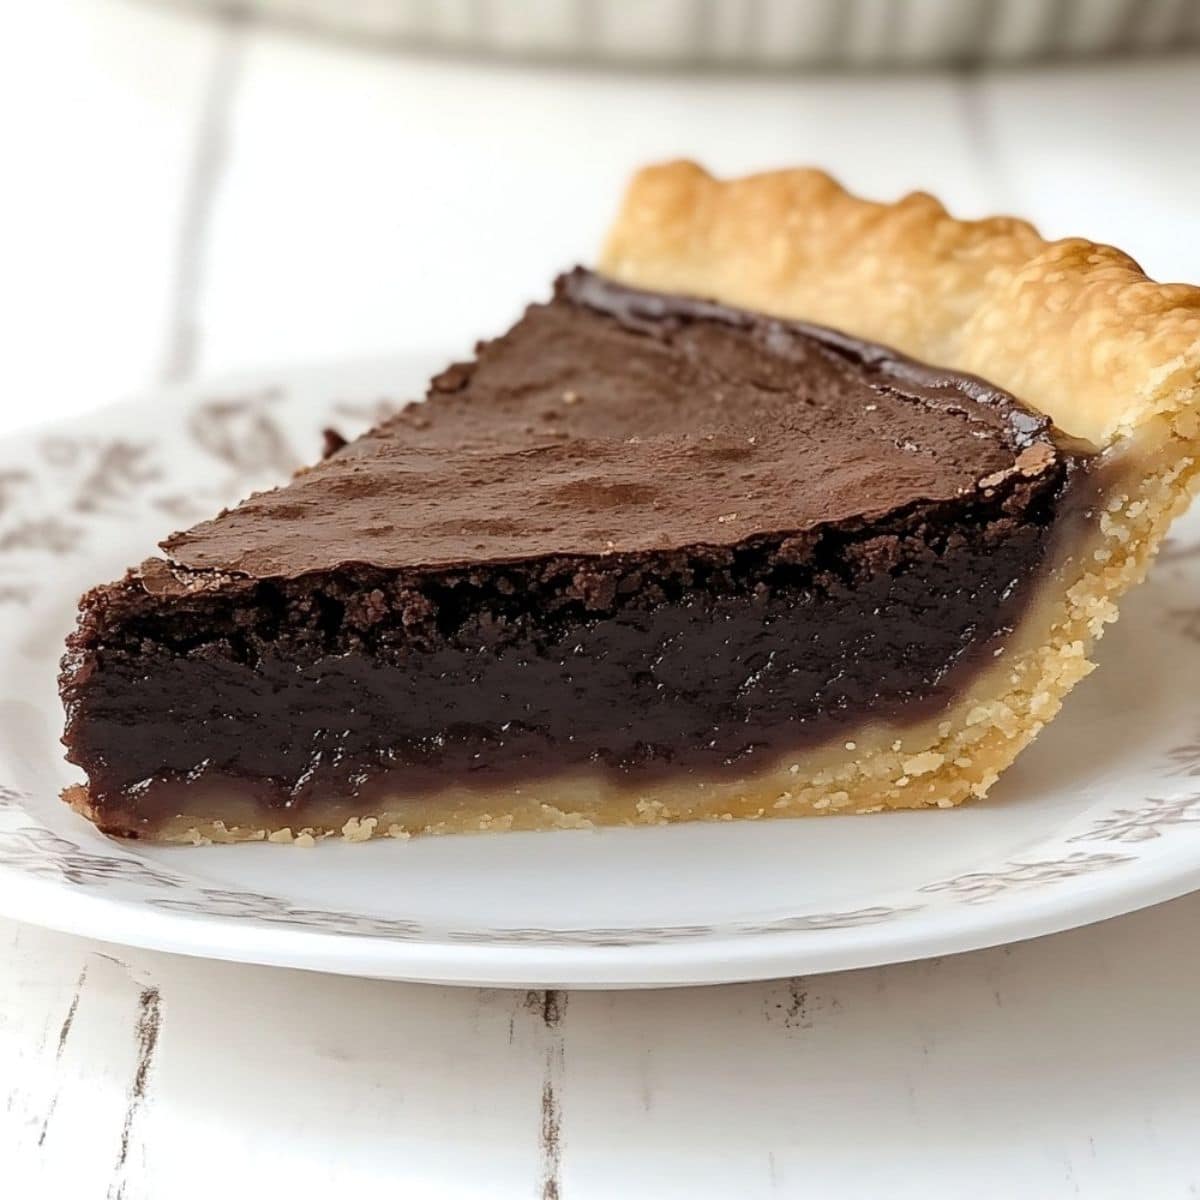
The rich, gooey chocolate filling of this pie is what dreams are made of – it’s like a warm hug for your taste buds.
Think of it like the most fudgy brownie pie you’ll ever eat. Swoon!
And yet, it comes together in fewer than ten steps.
1. PREHEAT the oven to 350 degrees Fahrenheit with a baking tray on the center rack.
2. MELT the butter, milk, and chocolate chips in the microwave until smooth, stirring well between each spin.
3. ADD the flour and sugar, mix to smooth, then blend in the eggs, yolk, vanilla, and salt until just combined. Pour into the crust.
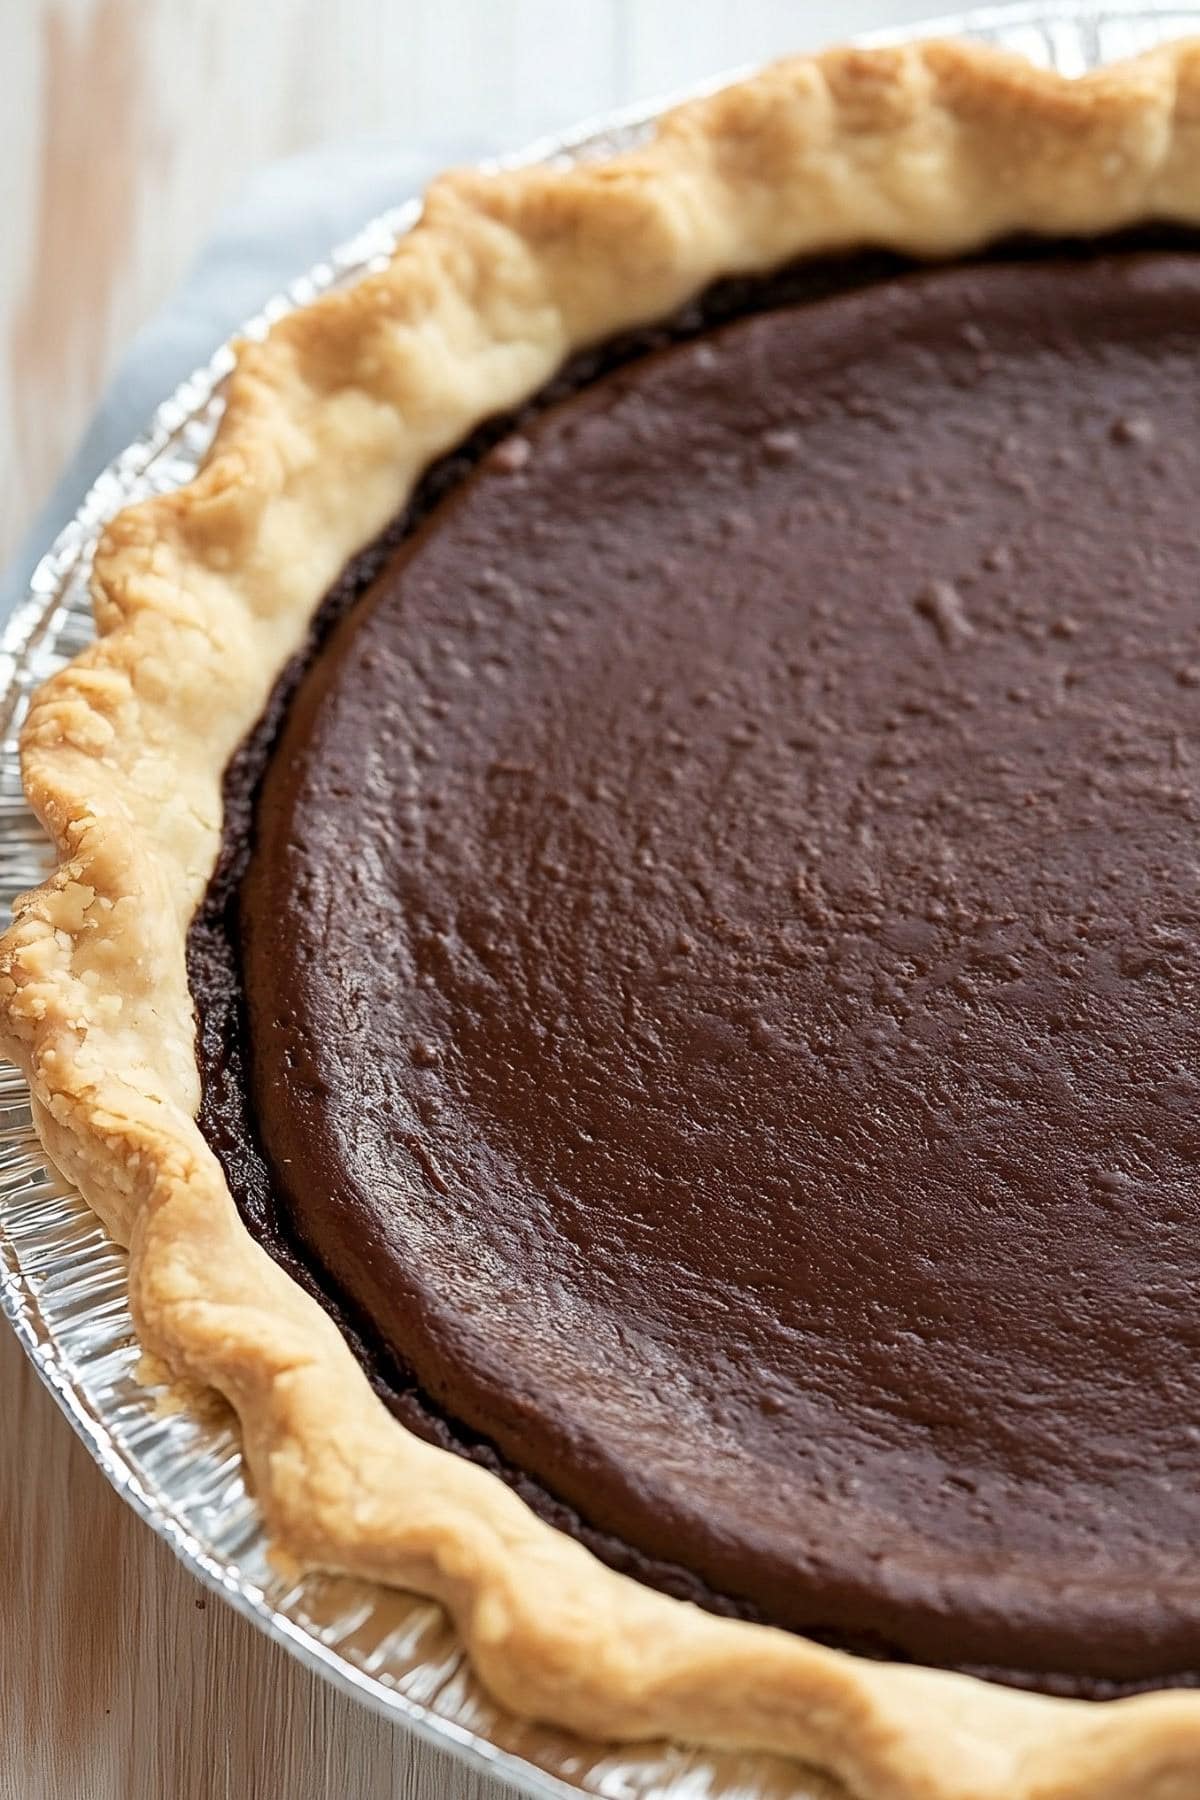
4. BAKE on the hot baking sheet for 45 to 50 minutes, or until the edges are set and the center is slightly jiggly.
5. COOL on a wire rack for at least 30 minutes. Then, slice, serve, and enjoy.
Tips for the Best Chocolate Fudge Pie
One of the things I love most about this pie is how easy it is to make.
With just a handful of simple ingredients, you can whip up a dessert that tastes like it came straight from a fancy bakery.
Plus, the smell as it bakes is enough to have all the neighbors knocking on your door.
Never made fudge pie before? Check out these tips:
- Buy high-quality ingredients. Stick to real vanilla extract (not imitation) and quality chocolate chips. The better your ingredients, the better the pie will taste.
- Use room-temperature eggs. They’ll incorporate more easily into the filling mixture if they aren’t cold.
- Don’t overmix. Stop stirring as soon as the wet and dry ingredients are combined. If you overmix the two, your filling may come out tough and chewy.
- Don’t skip the hot tray. Not only does it make cleaning up spills a breeze, but the heat will guarantee the bottom of the pie is perfectly baked.
- The center should be jiggly. If the center is still somewhat jiggly but the edges are set, it’s done. The middle will continue to firm up as the pie cools.
- Don’t cut too soon. Give the pie AT LEAST 30 minutes to cool, rest, and set. Longer is even better. If you cut into it too early, the filling will likely spill and become a hot mess.
Variations
I know you’ll love this recipe as is. But if you want to experiment, I have a few fun ideas below:
- Blind bake the crust. That way, you don’t need to worry about the hot tray. 10 minutes should be enough, but you’ll need to cover the crust to keep it from burning.
- For a thicker, fudgier pie. Use 1.5x the filling ingredients and bake a few minutes longer. Fair warning, though: this will make the pie unbelievably rich!
- Make the crust fancy. For a prettier aesthetic, use a pie dish with scalloped edges. You can also use cookie cutters to cut shapes out of the edges.
- Experiment with flavors. Try a mix of white and dark chocolate or add a teaspoon of espresso powder.
- Add mix-ins. Part of the reason I love this pie is because the filling is so silky smooth. If you don’t mind a bit of texture, though, you can incorporate chopped pecans, sliced almonds, or other crushed nuts.
- Remember the toppings. You can top the pie with practically anything! Whipped cream, vanilla ice cream, coffee ice cream, caramel whipped topping, etc. Chocolate shavings or a dusting of cocoa powder would also suffice.
How to Store
This pie stores and freezes beautifully, making it easy to deal with leftovers. If you have any leftovers to deal with, of course.
To Store: Cover the cooled pie with aluminum foil or plastic wrap and refrigerate it for up to 5 days.
To Freeze: Wrap the cooled pie tightly in plastic wrap. Then, wrap it again in foil. Freeze in a freezer-safe bag for up to 3 months. Thaw in the fridge overnight before reheating.
To Reheat: You can simply set the chilled pie out and enjoy it once it’s warmed to room temperature. If you want to reheat it, do so for 5 to 10 minutes in the oven (300 degrees). Or reheat individual slices in the microwave for 15 to 30 seconds.
More Desserts for Chocolate Lovers
Guinness Chocolate Cupcakes
Baileys Chocolate Mousse
Chocolate Espresso Cookies
Chocolate Swiss Roll Cake

