


Have you ever had chicken katsu?
If not, you're in for a treat! From the crispy, golden crust to the juicy, tender chicken inside, there’s so much to love.
WANT TO SAVE THIS RECIPE?
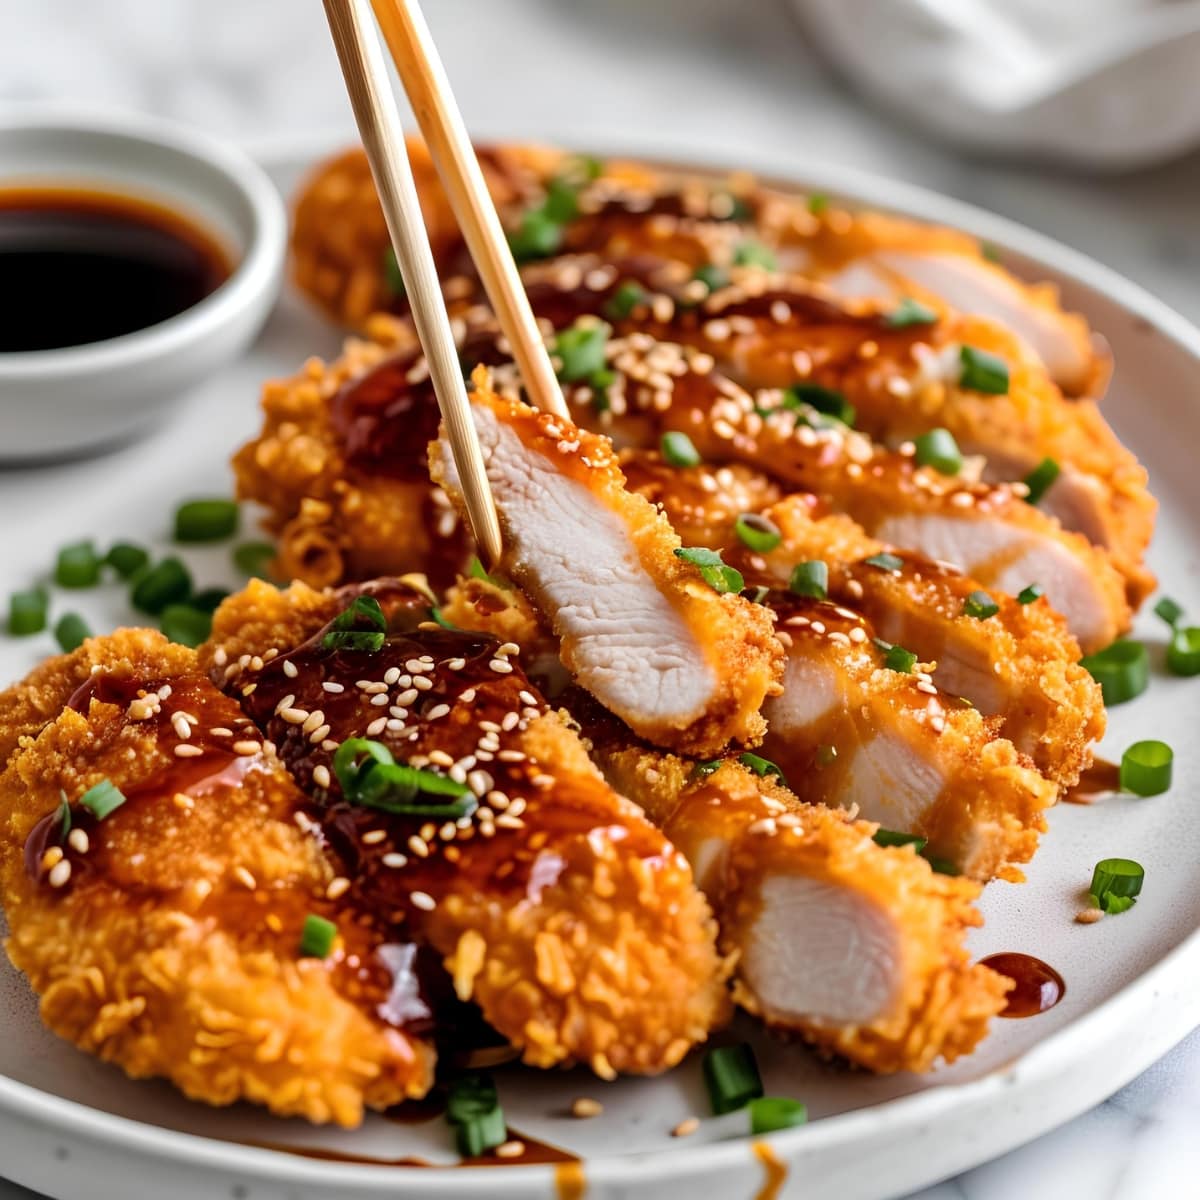
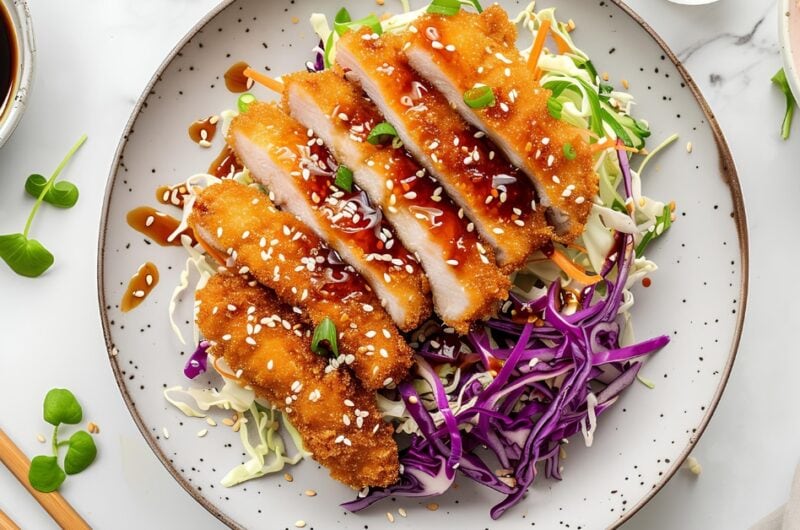
Chicken katsu is a Japanese-style breaded, fried chicken cutlet. And once you try it, you may never go back to regular fried chicken.
So, stick around whether you’re new to the dish or a katsu pro. I will dig into mouth-watering details, tips, and playful twists on this classic dish!
So, skip the takeout this week. Try making chicken katsu at home, instead. Don’t forget the Tonkatsu sauce!
What Is Chicken Katsu?
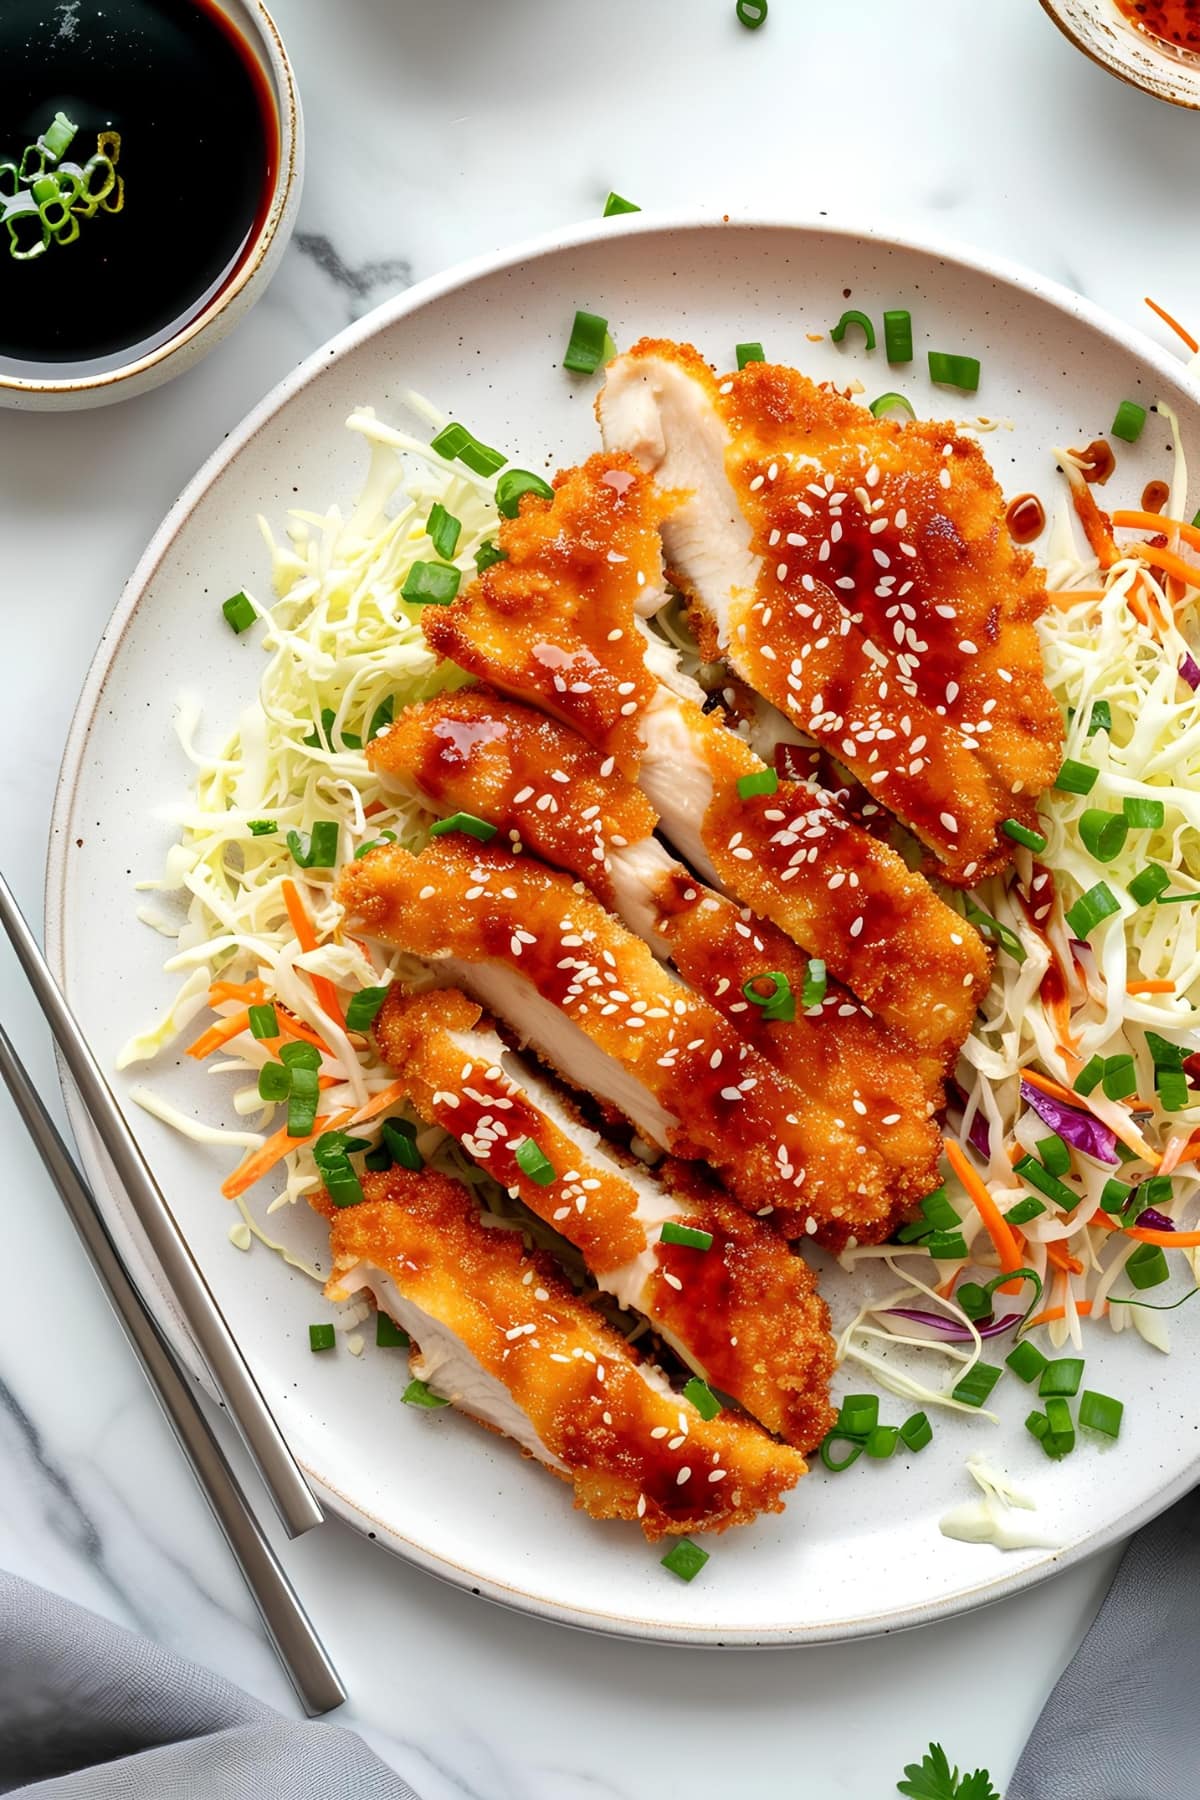
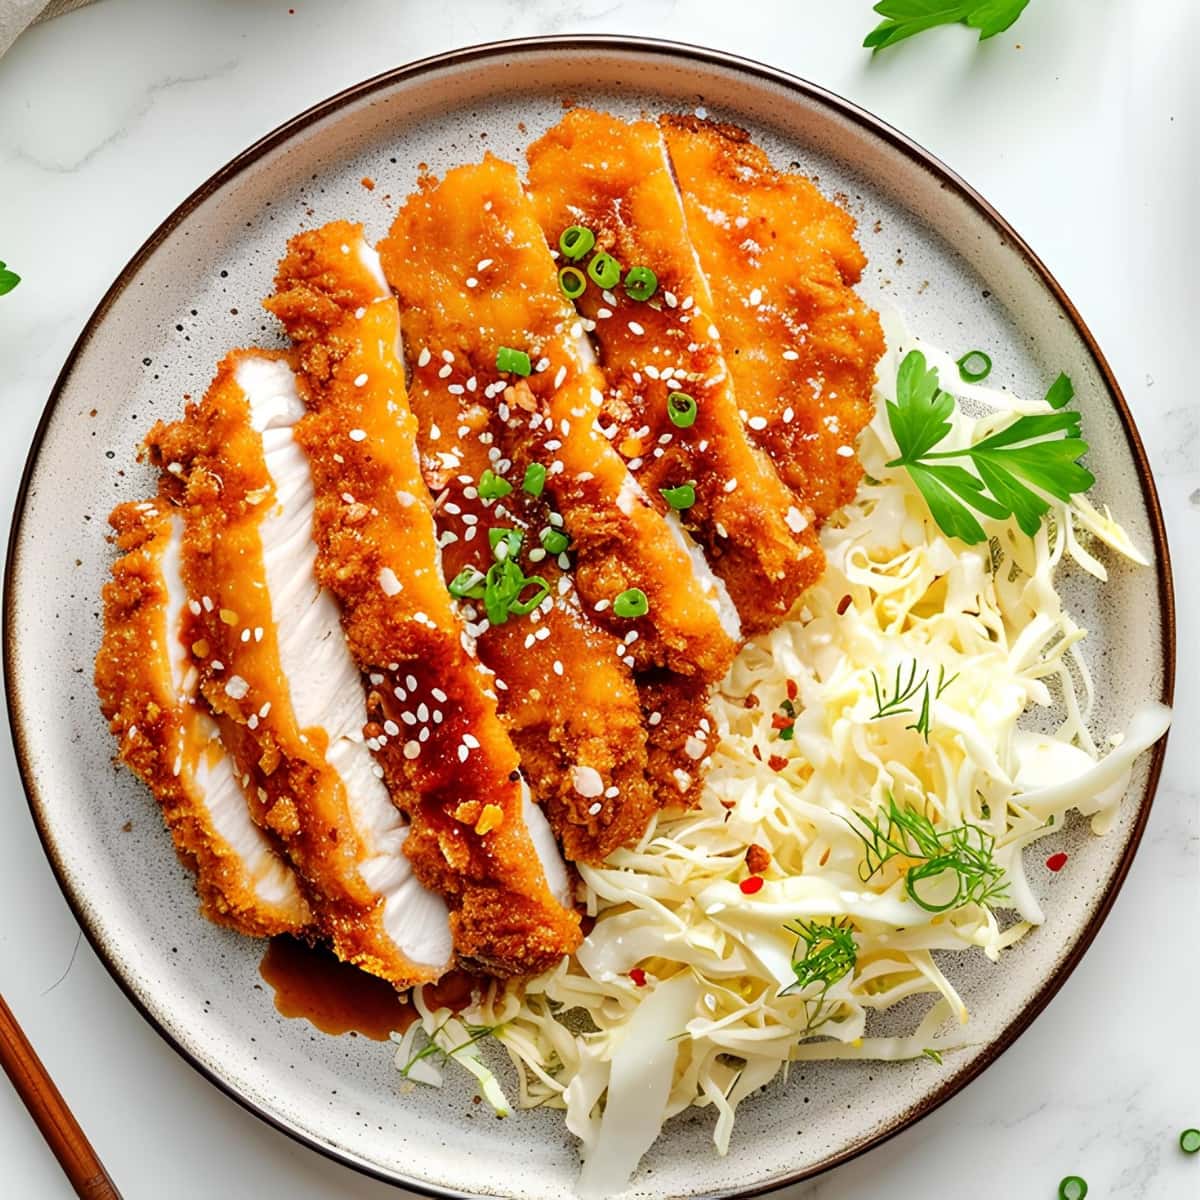
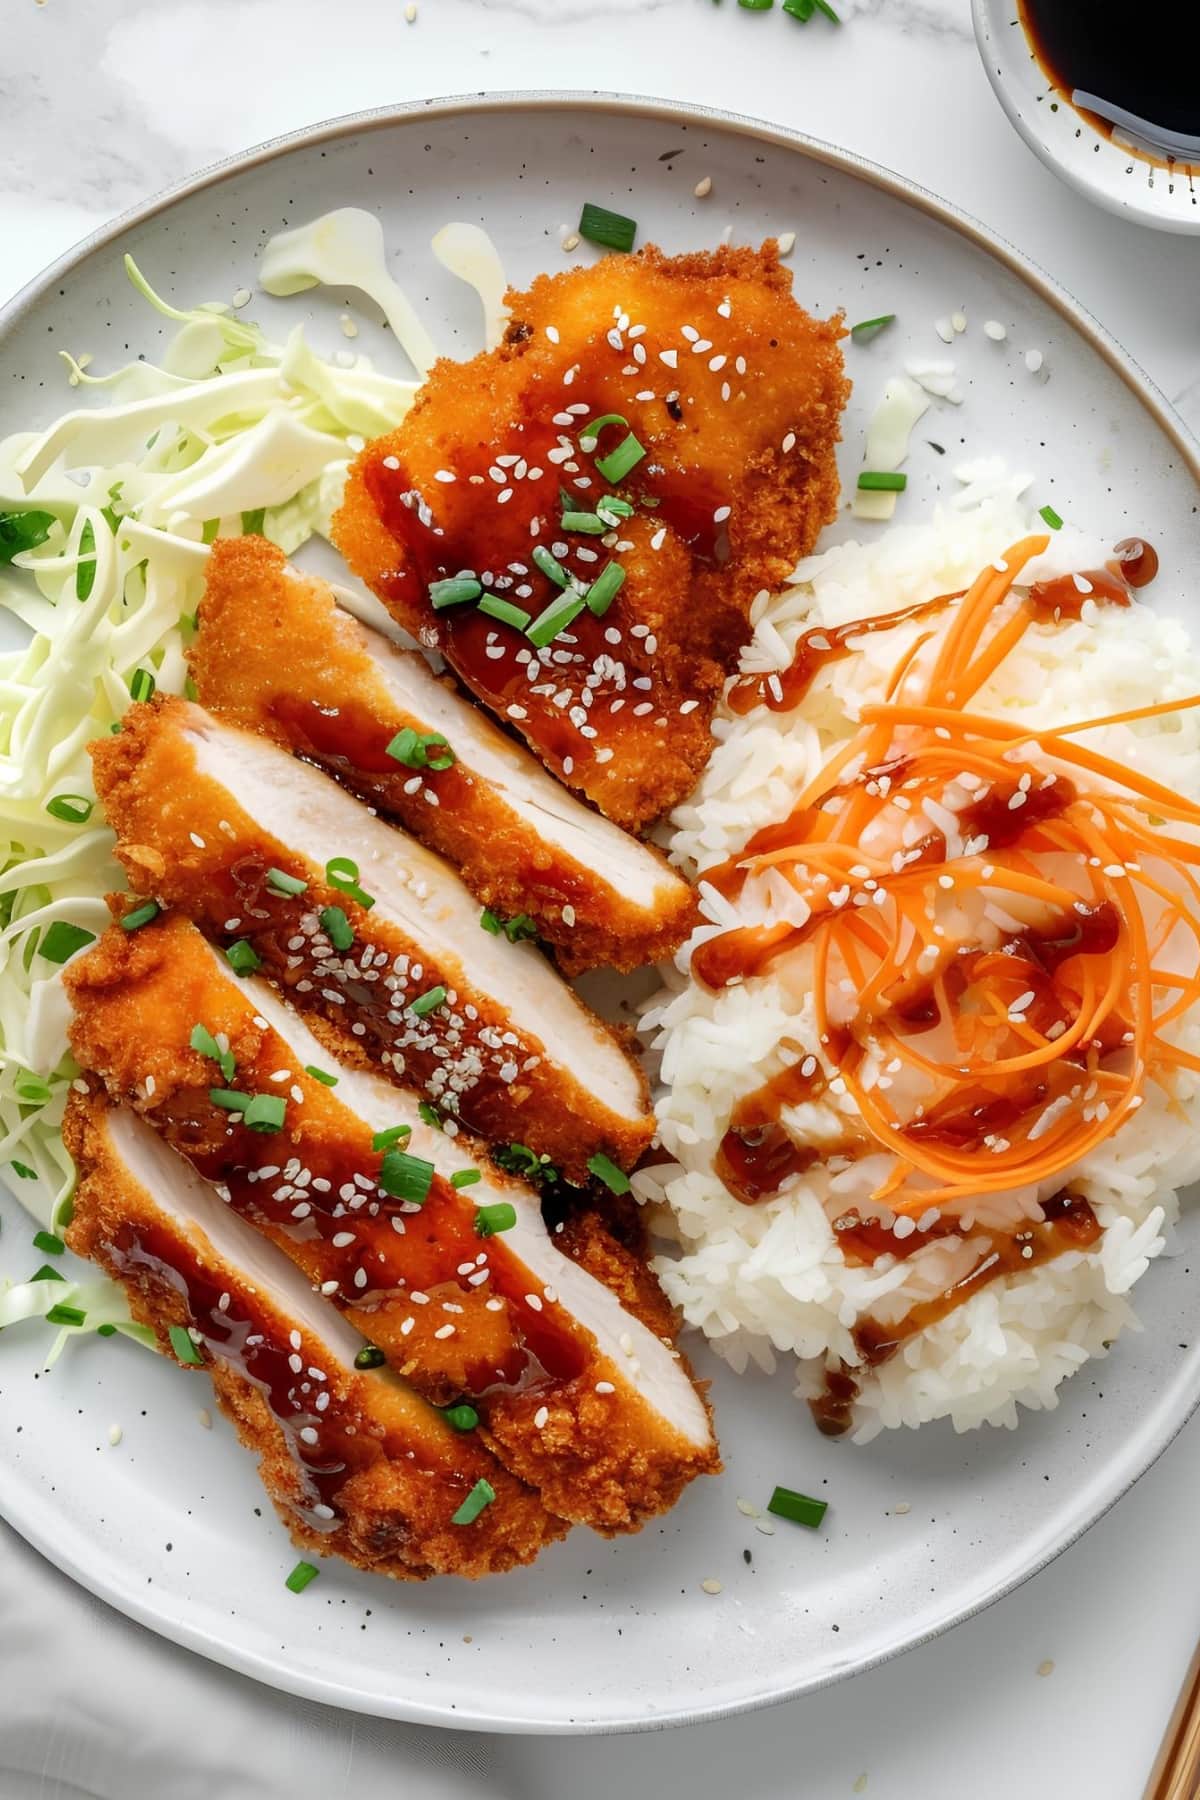
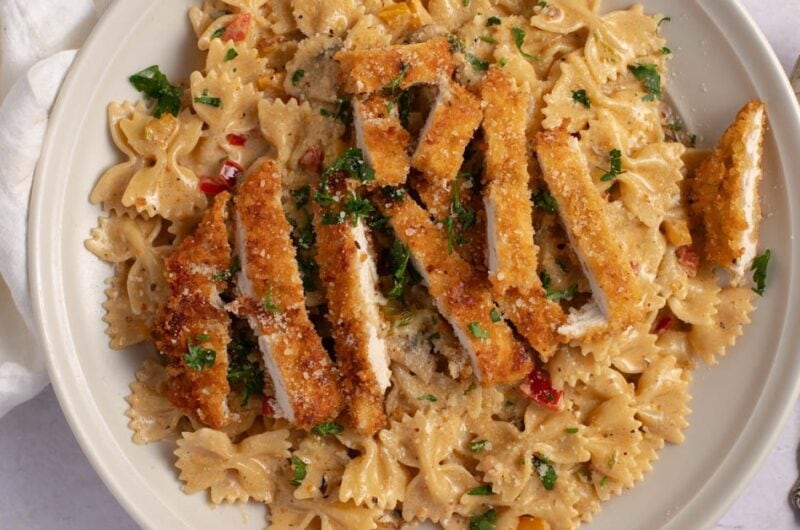
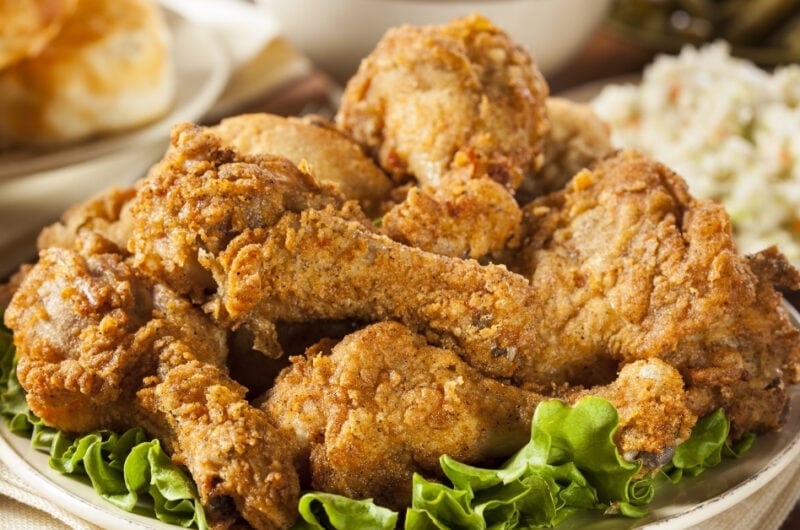
Chicken katsu is a delicious fried chicken dish. Most menus serve it with steamed rice and crunchy cabbage slaw. It’s a big hit in Japan!
Sometimes, chefs jazz it up and toss that crispy chicken cutlet over katsu curry.
Or they slide it into a sandwich or even over a bowl of udon noodles. Yum, right?
So, how is it made? Take a chicken breast, give it a good pounding, and sprinkle on some salt and pepper.
Next, dip it in flour, dunk it in a beaten egg, and roll it in Japanese breadcrumbs. Oh, the fun part is coming up!
Time to fry!
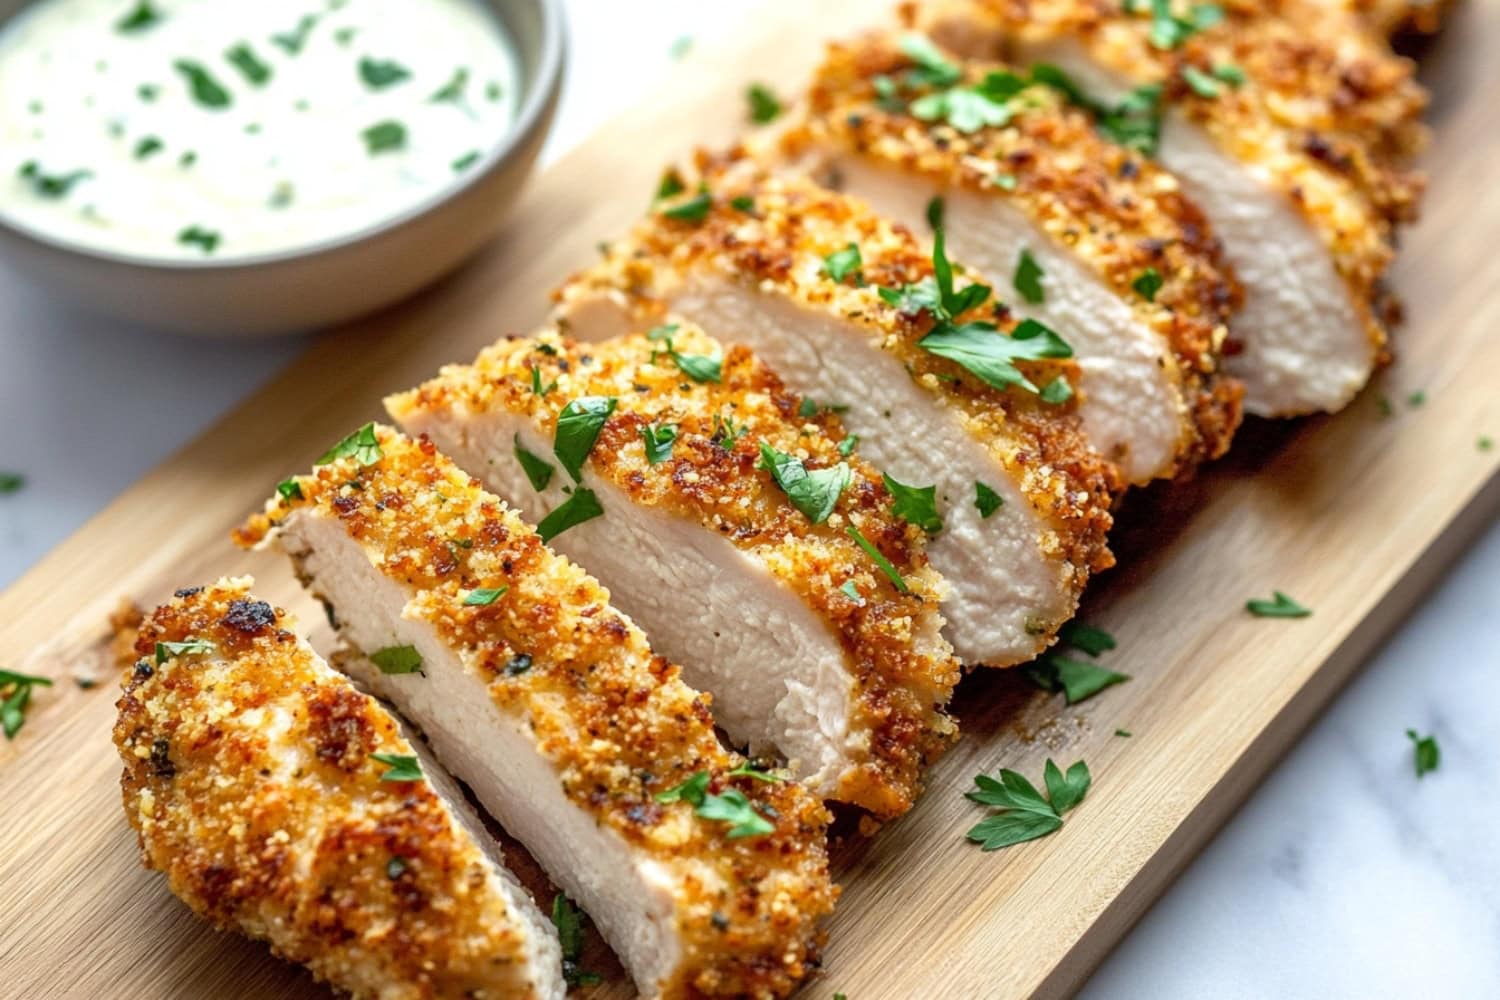
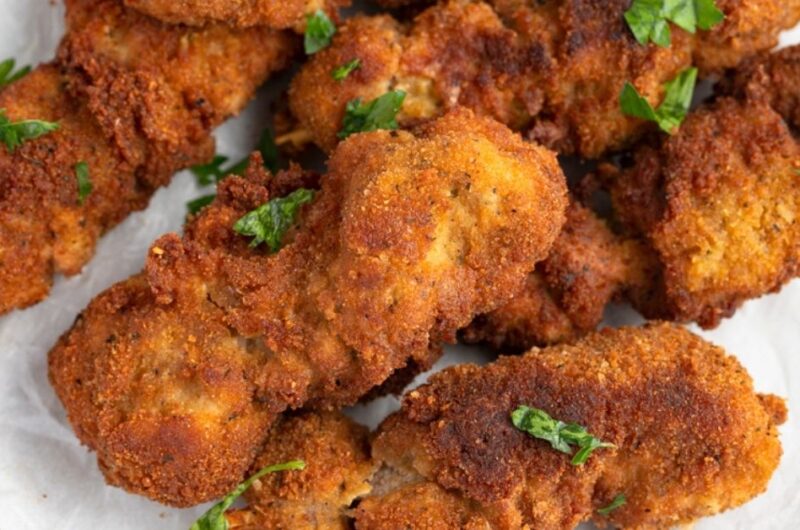
Deep fry the coated chicken until it is golden and crispy brown. Is your mouth watering yet?
The Japanese often serve it with a tangy, Japanese-style barbecue sauce.
Do you want to try making it at home? I’ve got a recipe just for you! Let’s cook!
Ingredients
First, the ingredients. Here’s what you need to whip up chicken katsu:
- Chicken Breasts (skinless, boneless)- The star of the show. Pound them to the perfect thickness to ensure they cook evenly. You can use chicken thighs for more flavor.
- Salt and Pepper- These two add just the right amount of zing to wake up the flavor of the chicken. Simple, yet oh-so-important!
- All-Purpose Flour- This handy-dandy stuff helps the egg stick to the chicken. Think of it as the glue.
- Egg (whisked)- Submerge the chicken so the panko crumbs can cling tight. Whisk it for easy dipping and better coverage.
- Panko Bread Crumbs- These Japanese breadcrumbs give the chicken that signature crunch. They’re lighter and airier than regular breadcrumbs, making the katsu super crispy.
- Frying Oil- The frying oil turns everything golden and delicious. Any oil works, but choose one with a high smoke point to get that ideal sizzle.
How to Make Chicken Katsu
Just follow these simple steps to make chicken katsu:
1. Season the chicken: Grab the chicken breasts and pound them to 1/2 inch thickness.
Sprinkle the chicken with a generous amount of salt and pepper.
2. Prep the coating ingredients: Arrange three shallow dishes. Flour goes in the first, whisked egg in the second, and panko bread crumbs in the third.
3. Coat the chicken: First, dip the chicken in the flour, shake off the extra, and give it an egg bath. Finish it with a panko press for that extra crunch.
4. Fry the chicken: Crank up the heat to medium-high and get the oil sizzling in a large skillet.
Slide in the coated chicken and fry until golden brown. It takes about 3 or 4 minutes on each side.
5. Drain and serve: Carefully fish the chicken out of the skillet and onto a paper towel-lined plate. There you have it, enjoy!
Tips for the Best Chicken Katsu
Here are some tips and tricks to make the best chicken katsu possible:
- Butterfly the chicken. Cut it almost in half, horizontally. Start in the middle of the thickest part and carefully slice it so it opens like a book. Do not cut all the way through.
- Add a splash of oil to the egg. This helps the meat bond better to the flour and panko. A dash of oil in the egg mixture will do wonders.
- Panko is your best choice. Forget regular breadcrumbs. Japanese panko is where it’s at! Lighter, crispier, and full of crunch, it’s just superior.
- Coat the chicken generously. Flour, egg, panko- ensure the chicken is dressed to impress.
- Test the oil with some chopstick magic. Need to know if your oil is hot? Dip a wooden chopstick in. Bubbles mean it’s time to fry!
- Lower the chicken into the oil slowly. Lower the chicken away from you. You don’t want hot oil splashing out at you! And remember to work in batches, so you don't overcrowd the pan.
- Deep Frying Tips: Use a medium-sized pot with enough oil. Check the temperature with a thermometer, and keep those crumbs in check.
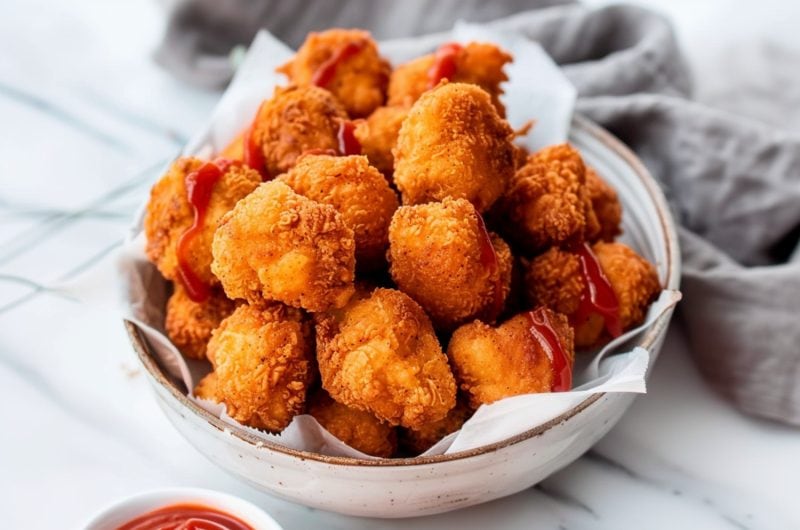
- Try it with pork. Got pork cutlets? Swap them in! This is also very common in Japanese cuisine.
Serving Suggestions
How do you serve chicken katsu? Try one of these ways:
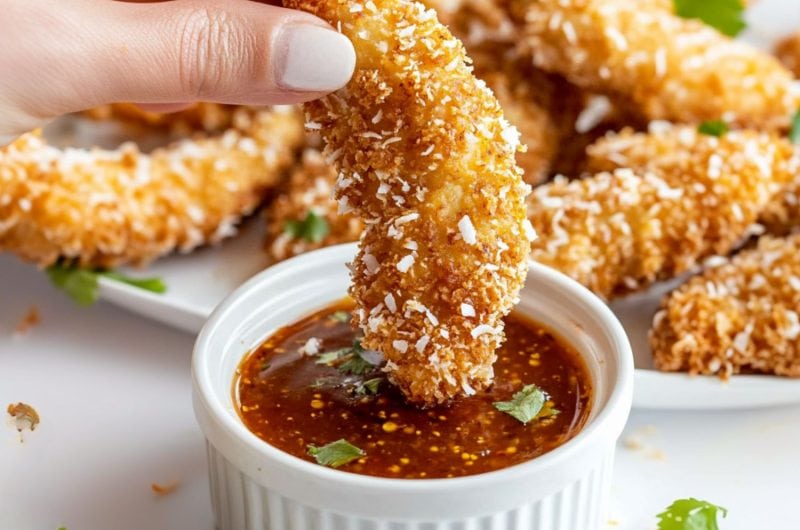
- Tonkatsu Sauce: This thick and sweet sauce is the sidekick every chicken katsu needs. Homemade or store-bought, Tonkatsu sauce can tie the whole dish together.
- Shredded Cabbage Salad on the Side: Balance your crispy chicken with shredded cabbage. Drizzle with tonkatsu sauce or sesame dressing for a refreshing crunch that balances the rich katsu.
- Japanese Curry Sauce: Want a bold twist? Pair your katsu with curry sauce!
- Katsu Sandwich: Who said sandwiches were boring? Tuck the chicken katsu in a bun or between two glorious pieces of sandwich bread.
- Katsu Donburi: Got some leftover chicken katsu? Turn it into katsudon, the rice bowl that makes leftovers even better.
How to Store
Got leftovers? Here’s how you store it.
- The refrigerator: You can keep the chicken katsu in an airtight container for 2-3 days.
- The freezer: After frying the chicken katsu, cool it down and stash it in an airtight container.
- Reheating: Ready to serve it up again? Preheat the oven to 350 degrees Fahrenheit, and in 15-20 minutes, it will be ready to enjoy. Or use an air fryer. Both ensure a still-crispy chicken.
Chicken Katsu Recipe (Easy + Crispy)
Japanese chicken katsu is deliciously crispy on the outside but tender and juicy inside. Serve it with rice or ramen for an easy and tasty weeknight meal.
4
servings15
minutes10
minutes297
kcalIngredients
4 chicken breast halves (skinless, boneless), pounded to 1/2-inch thickness
Salt and pepper, to taste
2 tablespoons all-purpose flour
1 egg, whisked
1 cup panko bread crumbs
1 cup frying oil, or as needed
Instructions
- Butterfly and/or pound your chicken breasts until they are 1/2 inch thick. Sprinkle both sides of the chicken breasts with salt and pepper to your preference
- Arrange three separate shallow dishes. In the first dish, place the flour. In the second, pour the whisked egg. In the third, add the panko bread crumbs.
- Coat the chicken breasts in the flour, making sure to shake off any excess.
- Next, dip them into the egg, ensuring a complete coat.
- Finally, press them into the panko crumbs, ensuring they are well-coated on both sides.
- Heat the oil in a large skillet over medium-high heat. Once hot, place the coated chicken into the oil. Fry until golden brown, which should take 3 or 4 minutes on each side.
- Carefully remove the chicken from the skillet and transfer to a plate lined with paper towels to drain excess oil. Serve warm and enjoy!
Notes
- Chicken or pork? Why not both? You can totally use pork cutlets instead of chicken.
- Pan-packing problems? Are you frying more than one or two cutlets at a time? Hold your horses! Crowding the pan is a no-no if you want crispy goodness.
- Keep that temperature up. You want the oil to stay at around 340 degrees Fahrenheit.
- Serve it your way. From classic cabbage and tonkatsu sauce to a tasty katsu sandwich, there's a style for everyone.


7 Comments
Just wanted to tell you that I used your exact recipe but I sprayed them with cooking spray and put them in the air fryer at 375 degrees for about 6 minutes per side and they came out crispy and delicious with very little fat. Going to make this one often. Family loved it
I do this, but I do not use that amount of oil. I saute the chicken breasts in equal amounts of butter an ole. I start with a Tblsp of each. I add more, depending upon the number of chicken breasts.
Since I’m not a big fan of frying, can I bake them instead? Thanks.
Hi Claudia!
Yes, you can bake these if you want. They won’t be quite as crisp, but should still be yummy.
Here’s how I do it:
1. Butterfly the chicken and season with salt and pepper.
2. Optional: toast the panko in a skillet with a little butter to crisp it up.
3. Dredge and coat the chicken in egg, flour, and breadcrumbs.
4. Arrange the chicken on a wire rack on a baking sheet.
5. Bake at 425°F for about 12-15 minutes, flipping halfway, then let them rest for 5 minutes before serving.
Let me know how they turn out 🙂
I love all your recipes! The problem is I can’t decide what to cook first! Thanks for sharing all of these amazing recipes 😍
I simply love your style of writing and making every recipe clear and refreshingly easy! Keep a good work with more recipes, and usuful tips. I already have quite a collection of recipes that <i am going to try. I am lactose sensitive, so I have to go a bit around to adjust ingredients, but it is not a problem. Your recipes are worth my trying.
All the best in the New Year!
Thank you so much, Mirta! I wish you all the best this year as well!