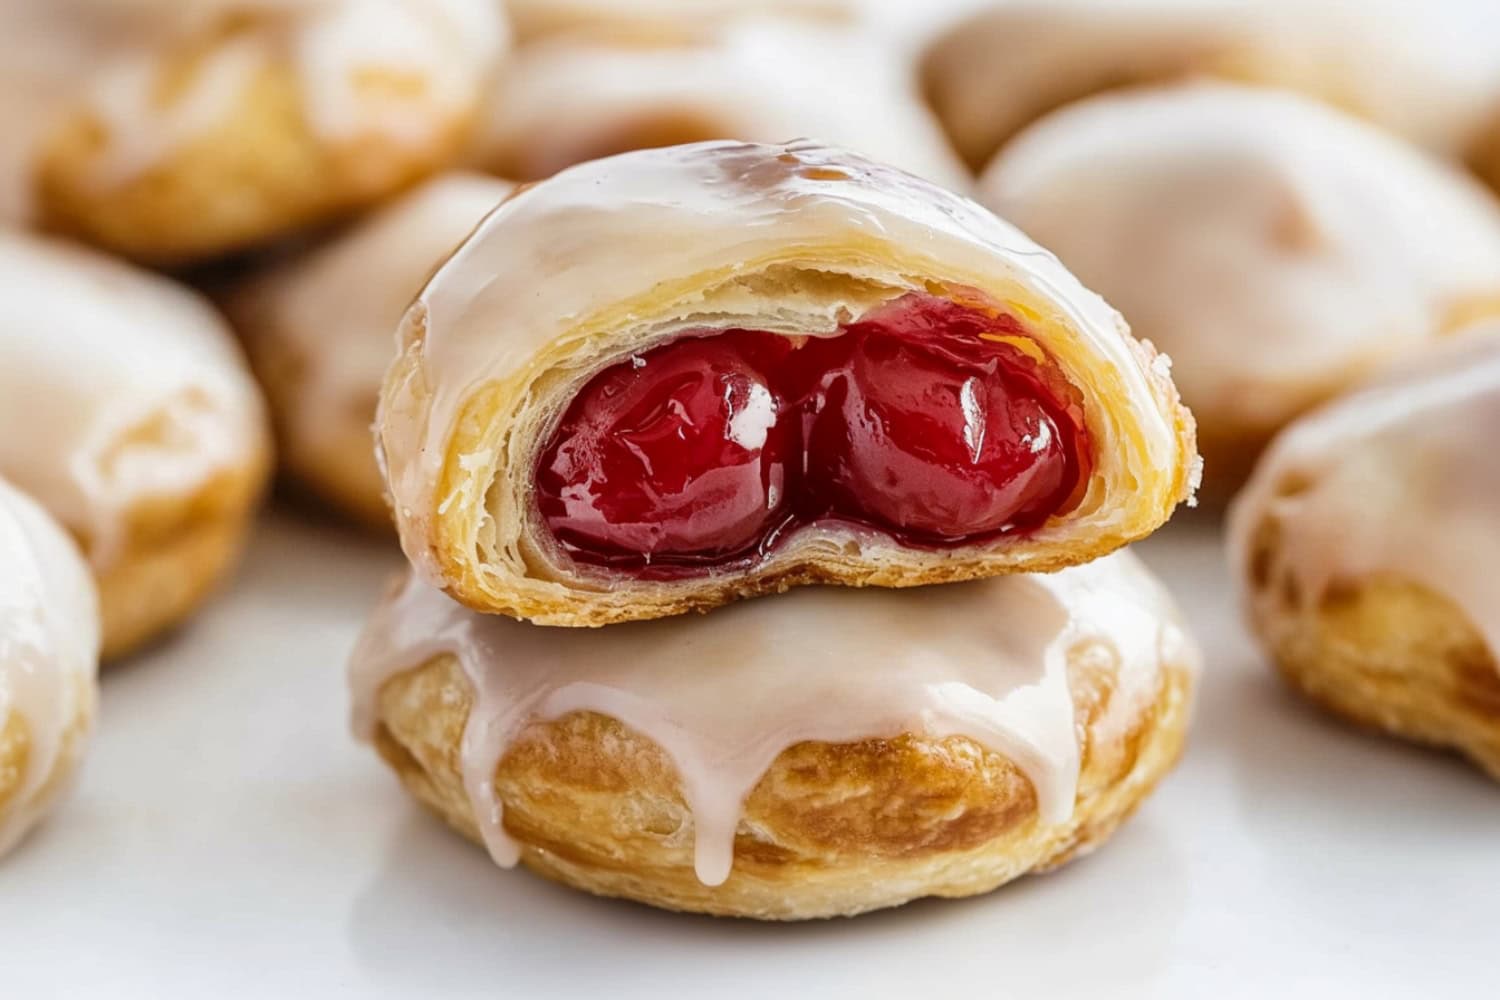
These bite-sized cherry pie bombs are delightful, handheld treats that come together in about 20 minutes with just four key ingredients.
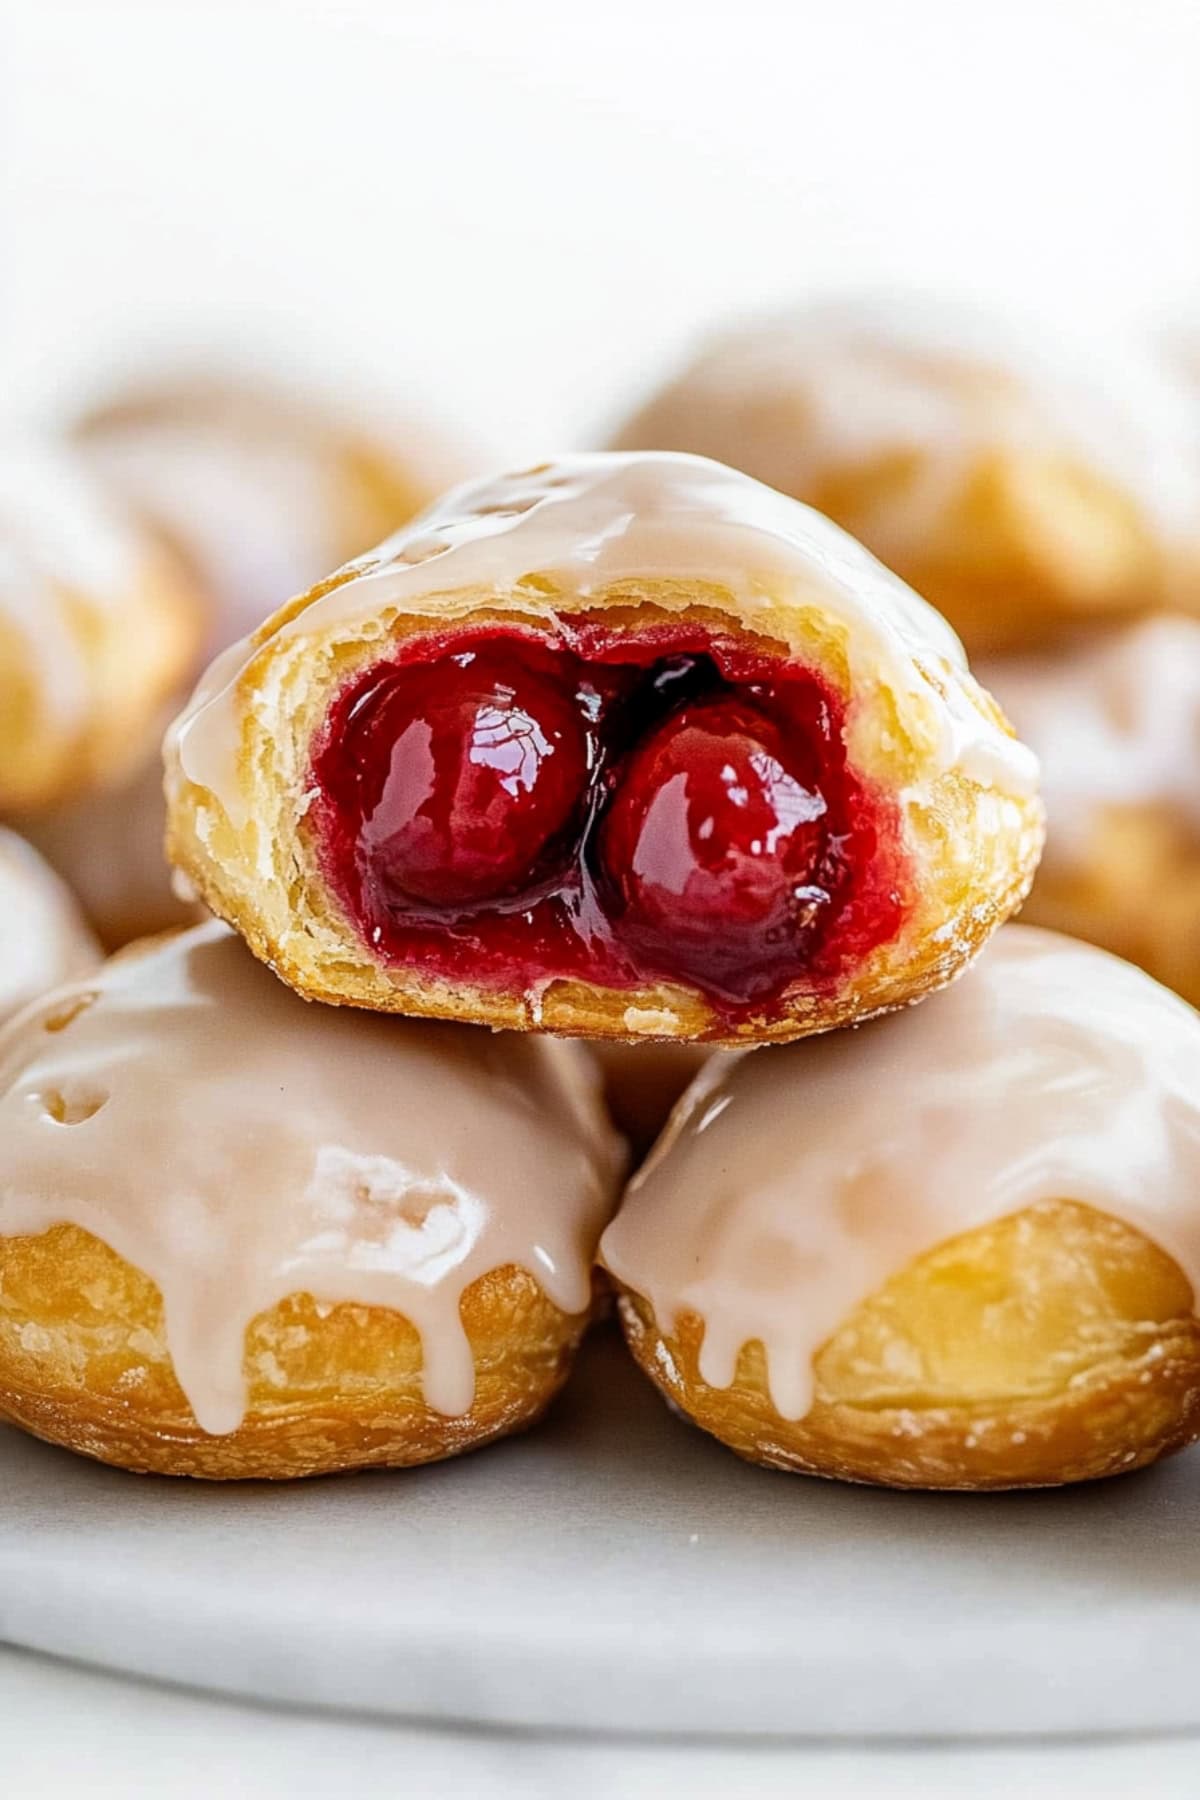
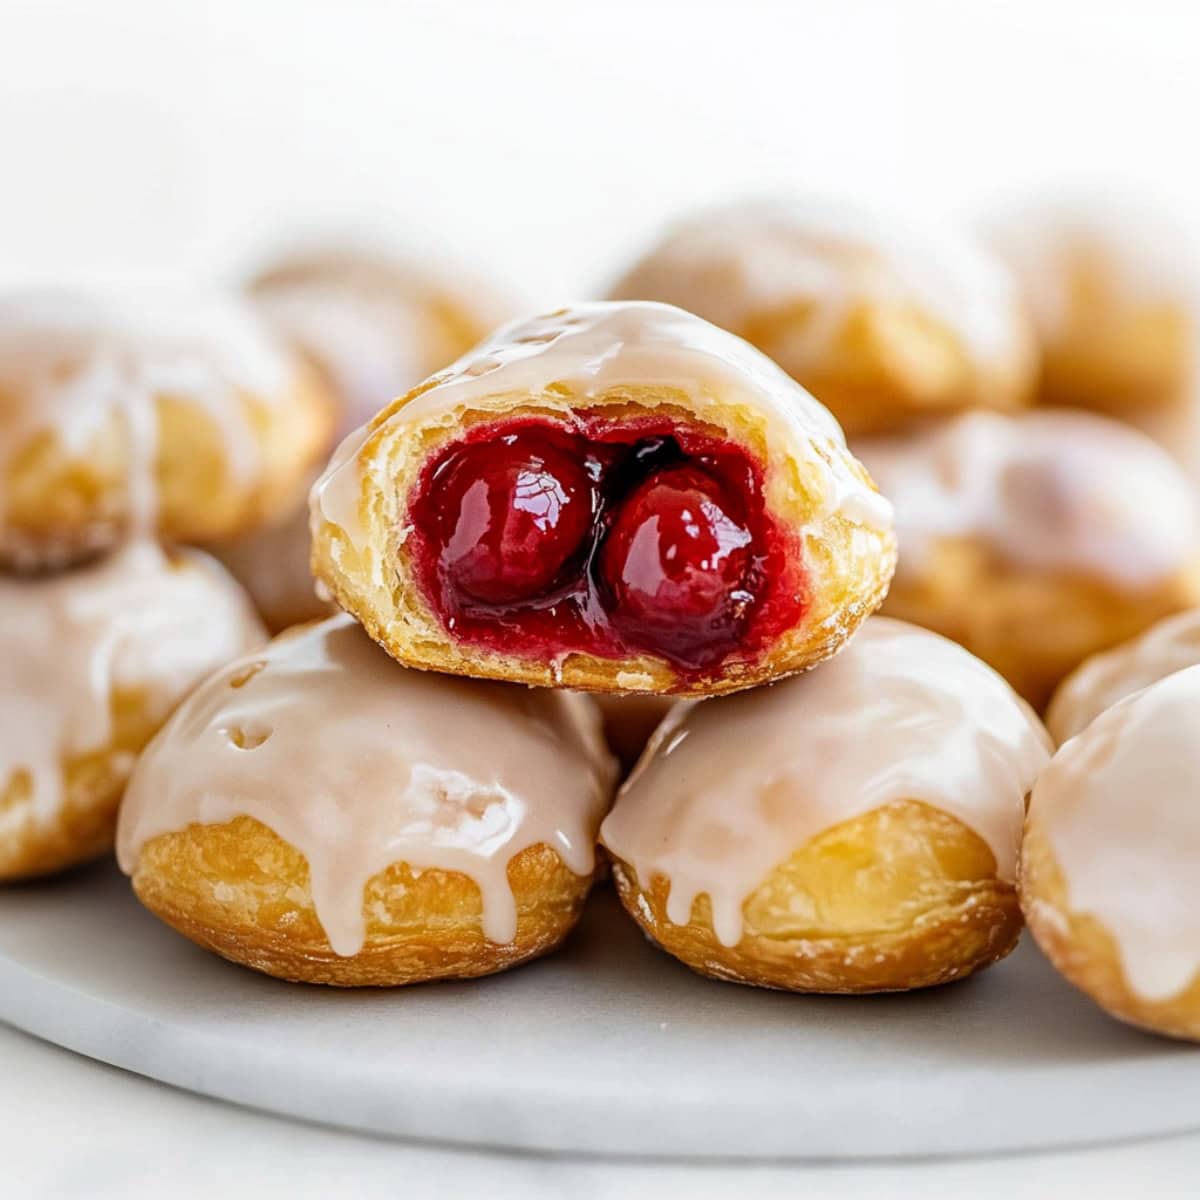
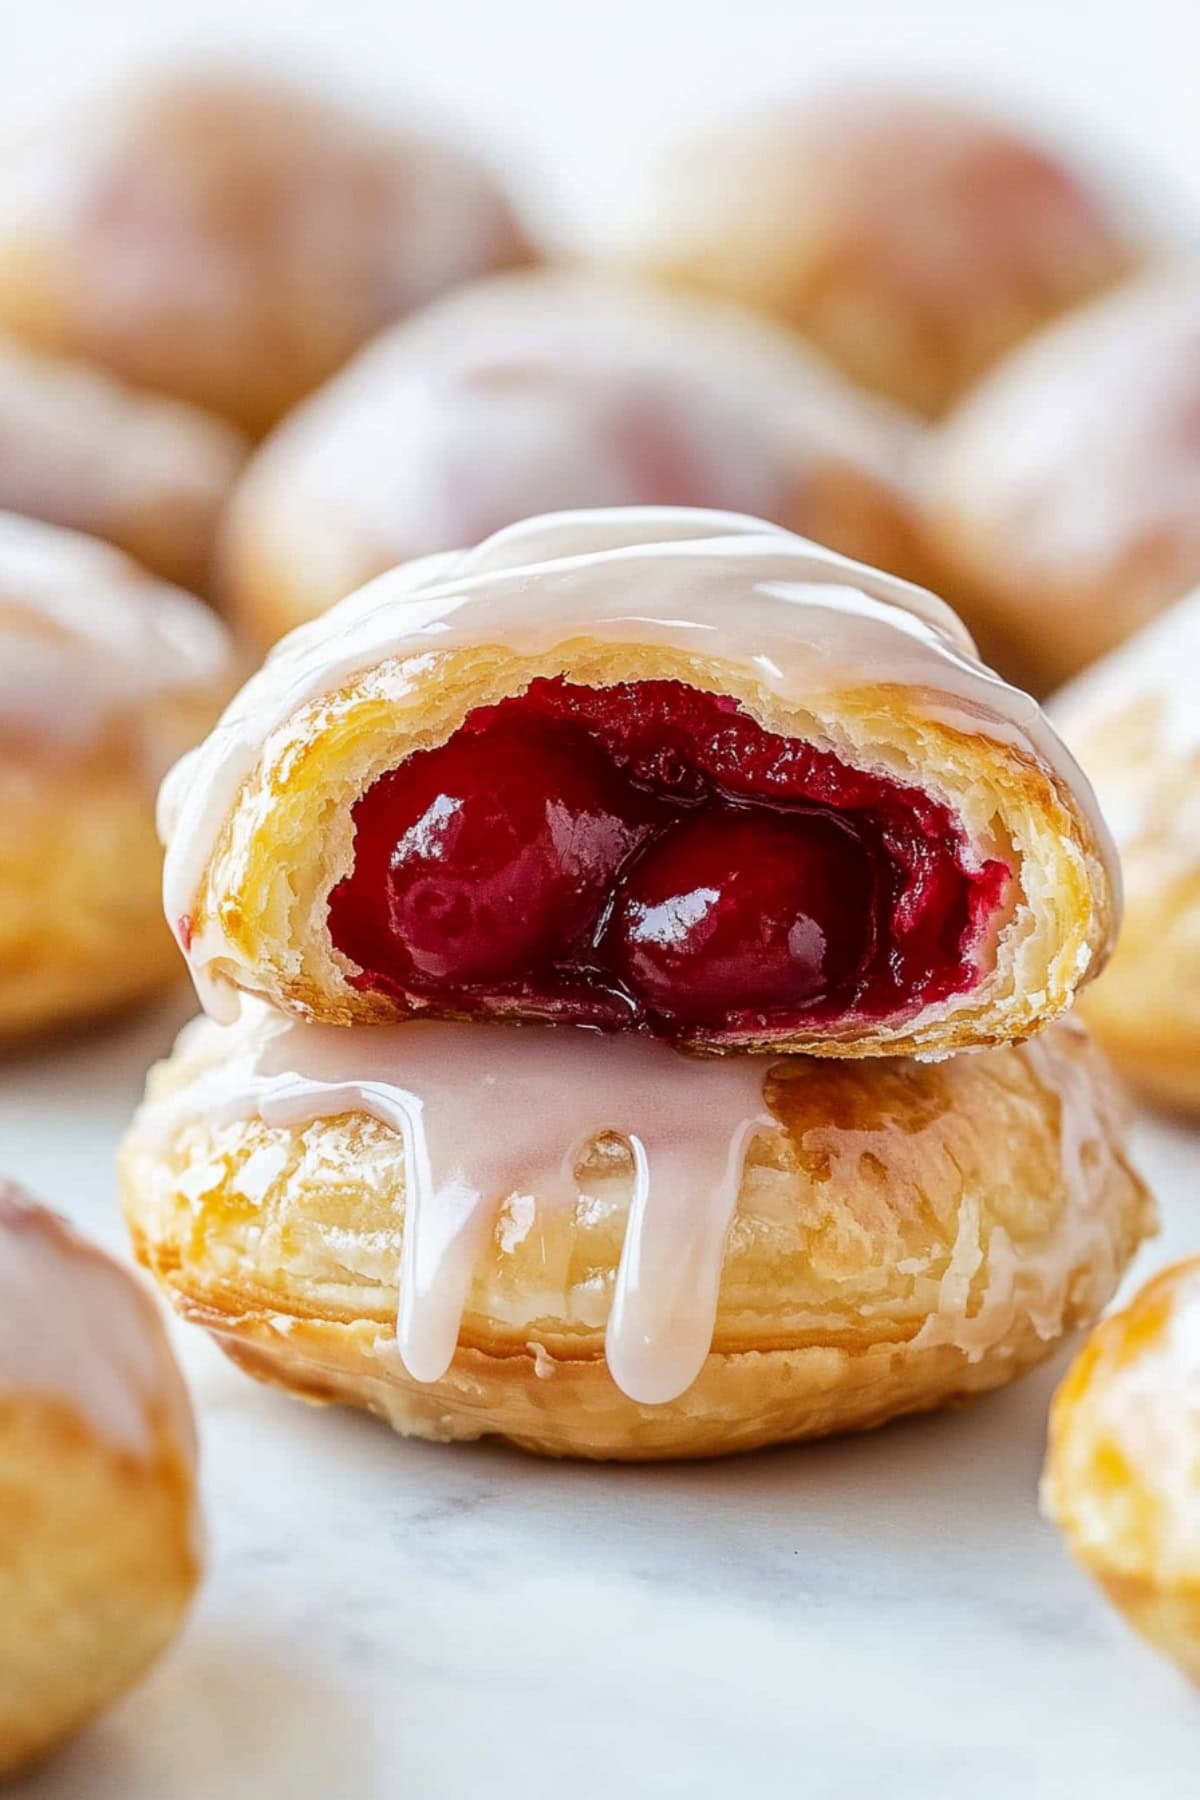
Each golden-brown morsel bursts with warm cherry filling and is crowned with a silky sweet glaze.
They’re ideal for holiday gatherings, weekend brunches, or as a yummy afternoon snack.
Better yet, they’re incredibly easy to make, yet look like you spent hours in the kitchen.
Why You’ll Love These Cherry Pie Bombs
Sweet, Buttery Taste: The combination of buttery biscuit dough and sweet cherry filling creates a delightful taste experience that is sure to satisfy dessert lovers.
Budget-Friendly: Thanks to the refrigerated biscuit dough and canned pie filling, this is a great way to keeps costs down.
Quick Prep: Whether baking, air frying, or frying in oil (methods for all below!), you can have a batch of these ready in under 30 minutes.
Party-Perfect: Their individual serving size and handheld nature make them ideal for buffets, potlucks, or casual gatherings.
Ingredients
- Refrigerated Biscuit Dough: Pre-made dough serves as the outer shell of the bombs, creating a golden-brown pastry exterior.
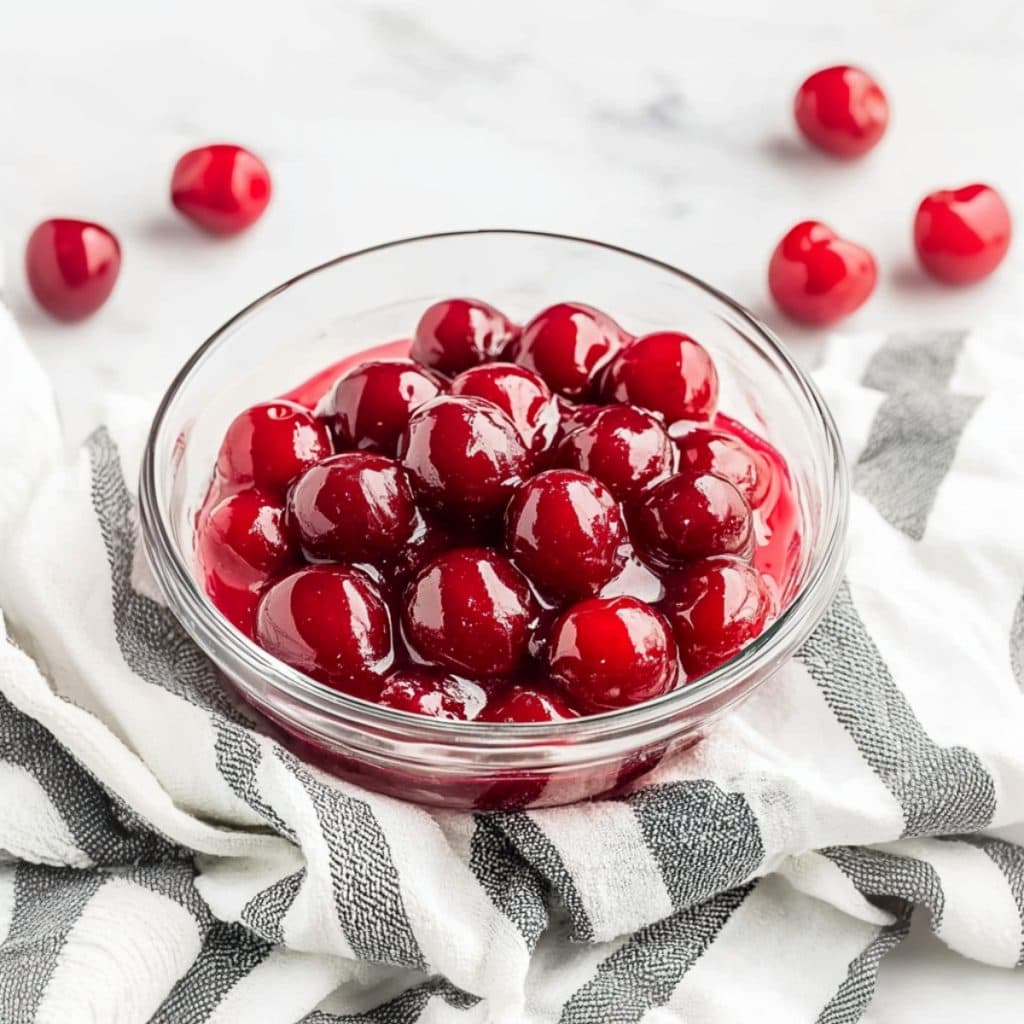
- Cherry Pie Filling: Sweet, thick, and full of whole cherries, it’s bright red and wonderfully saucy.
- Powdered Sugar: Also known as confectioner’s sugar, it dissolves easily to create a smooth, sweet glaze.
- Whole Milk: Combines with the powdered sugar to create the proper glaze consistency, allowing for easy drizzling.
How to Make Cherry Pie Bombs
Imagine biting into a warm, buttery biscuit that gives way to a sweet burst of cherry goodness.
It’s like having a mini pie all to yourself, without any of the fuss!
Here are the simple steps:
1. PREHEAT the oven to 375°F and line a baking sheet with parchment paper. OR preheat the air fryer to 330°F. OR heat 2–3 inches of vegetable oil in a deep skillet to 350°F.
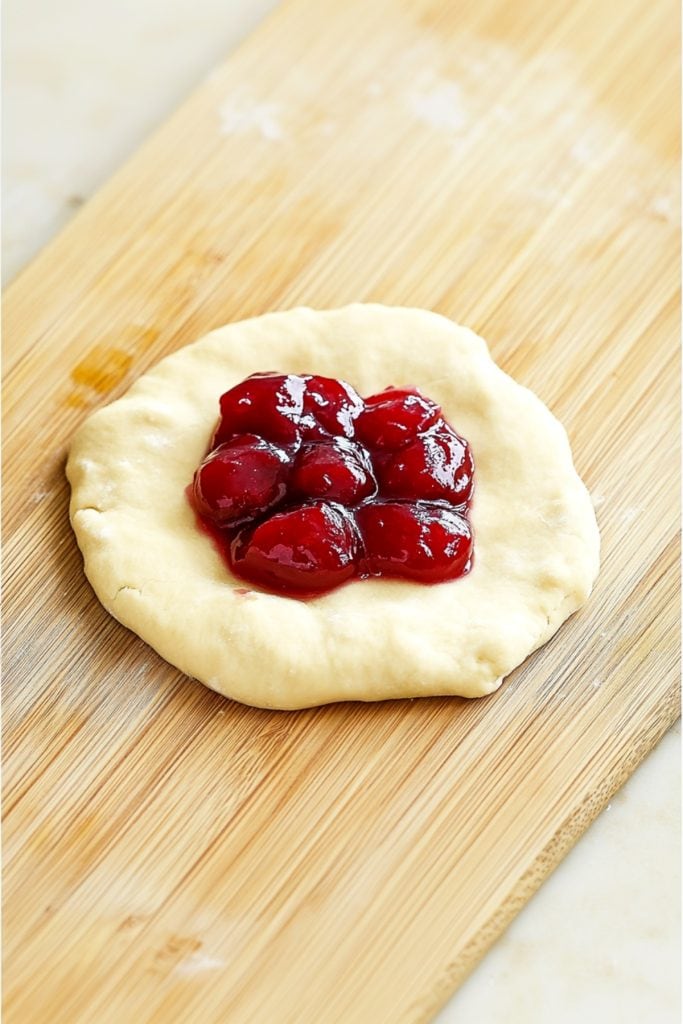
2. SPLIT the biscuits in half horizontally to create two thin layers. Flatten slightly with your fingers to form small circles.
3. FILL each dough circle with 1 tablespoon of cherry pie filling. Pull the edges up around the filling and pinch tightly to seal.
4. BAKE: Place the cherry bombs seam-side down on the prepared baking sheet, leaving 2 inches of space between them. Brush with melted butter and bake for 12–15 minutes, until golden brown.
5. AIR FRY: Lightly spray the air fryer basket with olive oil. Place the cherry bombs seam-side down, leaving space between each. Brush with melted butter and air fry for 8–10 minutes, until golden brown.
6. FRY: Gently lower the cherry bombs seam-side down into the hot oil. Fry in batches for 2–3 minutes per side, until golden brown. Transfer to a paper towel-lined plate to cool.
7. WHISK the powdered sugar and milk until smooth. Adjust the consistency with more milk or powdered sugar as needed.
8. COAT the cherry bombs with glaze and allow to set on a wire rack for 5–10 minutes.
9. SERVE warm or at room temperature. Enjoy!
Tips For the Best Cherry Pie Bombs
Whether you’re a fan of cherries or just love a good pastry, these cherry pie bombs are sure to become a favorite.
I can’t wait for you all to try them and share the joy!
But before you begin, be sure to check out these tips for success:
- Work the dough carefully. Carefully pull them apart, then gently flatten each biscuit to avoid tearing. You just want an even thickness for consistent cooking.
- Avoid overfilling. Use only 1 tablespoon of cherry pie filling to prevent leaks during cooking.
- Seal tightly. Pinch the edges of the dough well to keep the filling from seeping out. Lightly brush the edges with water to ensure better sticking.
- Monitor the cooking time. Whichever method you choose, keep an eye on the bombs so they don’t over-brown.
- Glaze consistency. It should be thick enough to coat the bombs but not so thick you can’t drizzle it over them.
- Cooling time. Let bombs cool for 5–10 minutes before glazing to prevent melting.
- Skip the glaze. Instead, brush the warm bombs with melted butter and coat evenly in cinnamon sugar.
- Variations. You can use any pie filling you like here, such as apple or blueberry. Or try adding mini chocolate chips for extra decadence!
How to Store
Served warm with sweet glaze, these are so good, you’ll need a lot of willpower to keep from devouring them all in one go!
Having said that, as with most dough-based desserts, they’re best enjoyed fresh.
Still, you have a couple of storage options:
To Store: Place cooled cherry pie bombs in an airtight container and store at room temperature for 2-3 days. Separate layers with parchment paper to prevent sticking.
To Freeze: Freeze uncooked Cherry Pie Bombs on a baking sheet until solid, then transfer to a freezer-safe bag or container for up to 3 months. Thaw in the refrigerator overnight before cooking and glazing.
To Reheat: Warm leftovers in the microwave for 10-15 seconds or in a 350°F oven for 5-7 minutes. Be careful not to overheat, as the filling can become extremely hot.
More Handheld Treats You’ll Love
Apple Pie Egg Rolls
Pumpkin Whoopie Pies
Peach Hand Pies
Apple Fritter Bites

