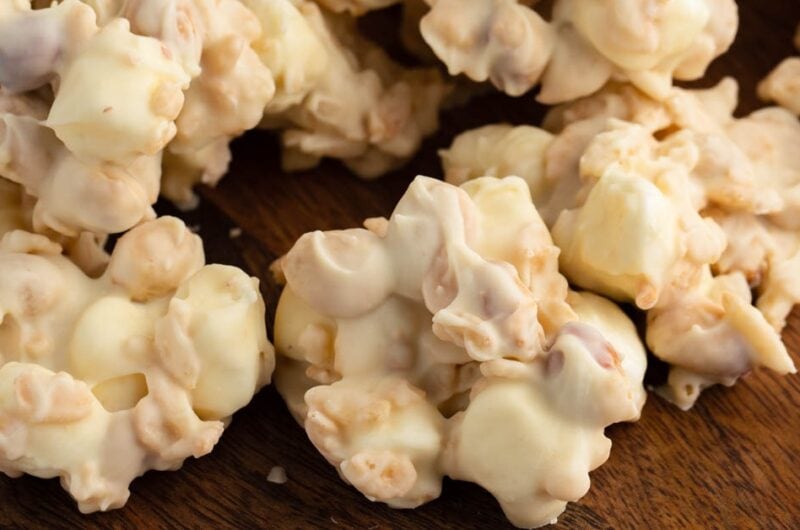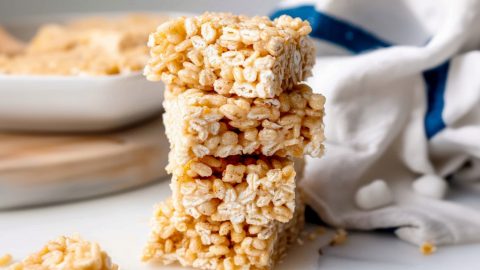


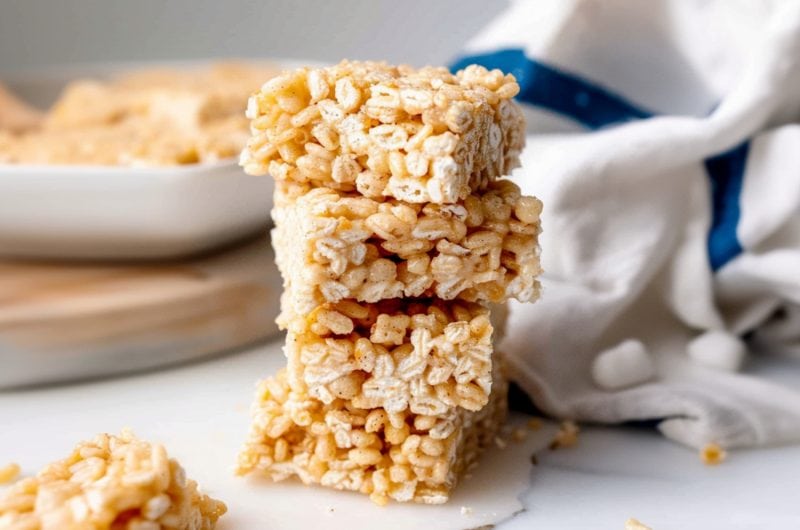
After trying these brown butter Rice Krispie treats, I'm totally addicted! Don't get me wrong, the original recipe is a classic. But browning the butter adds a rich, nutty flavor.
These gooey squares of goodness will take your snack game to a whole new level. Plus, the aroma is incredible.
WANT TO SAVE THIS RECIPE?
I whipped up a batch last night, and my kitchen smelled like a cozy, buttery heaven!
When you're in the mood for a nostalgic treat with a grown-up twist, give these brown butter Rice Krispie treats a try. Your tastebuds (and your inner child) will thank you!
Ingredients for Brown Butter Rice Krispie Treats
You can make this easy recipe with just five ingredients. Here’s everything you need:
- Unsalted Butter – For making the brown butter. It gives this classic a rich, nutty flavor that’s irresistible! I recommend using unsalted butter and then salting to taste.
- Mini Marshmallows – Use mini marshmallows instead of regular-sized marshmallows. They melt more readily, making the treats super ooey-gooey.
- Vanilla Extract – Add just a splash to enhance the sweetness.
- Salt – For enhancing the flavor! It also helps balance the sweetness.
- Rice Krispie Cereal – The key ingredient to add so much texture. Be sure to use a fresh box for the best results.

How to Make Brown Butter Rice Krispie Treats
Ready to sink your teeth into a sweet and nutty Rice Krispies treat? Then grab your ingredients and let’s brown that butter!
1. Brown the butter. Melt the butter over medium heat for about 3-5 minutes. Swirl the pan occasionally until the butter foams.
2. Add the marshmallows. Remove the pan from the heat. Stir in 8 cups of marshmallows.
3. Combine all the ingredients. Add the vanilla extract, salt, cereal, and the remaining marshmallows to the marshmallow butter mixture. Fold gently until well combined.
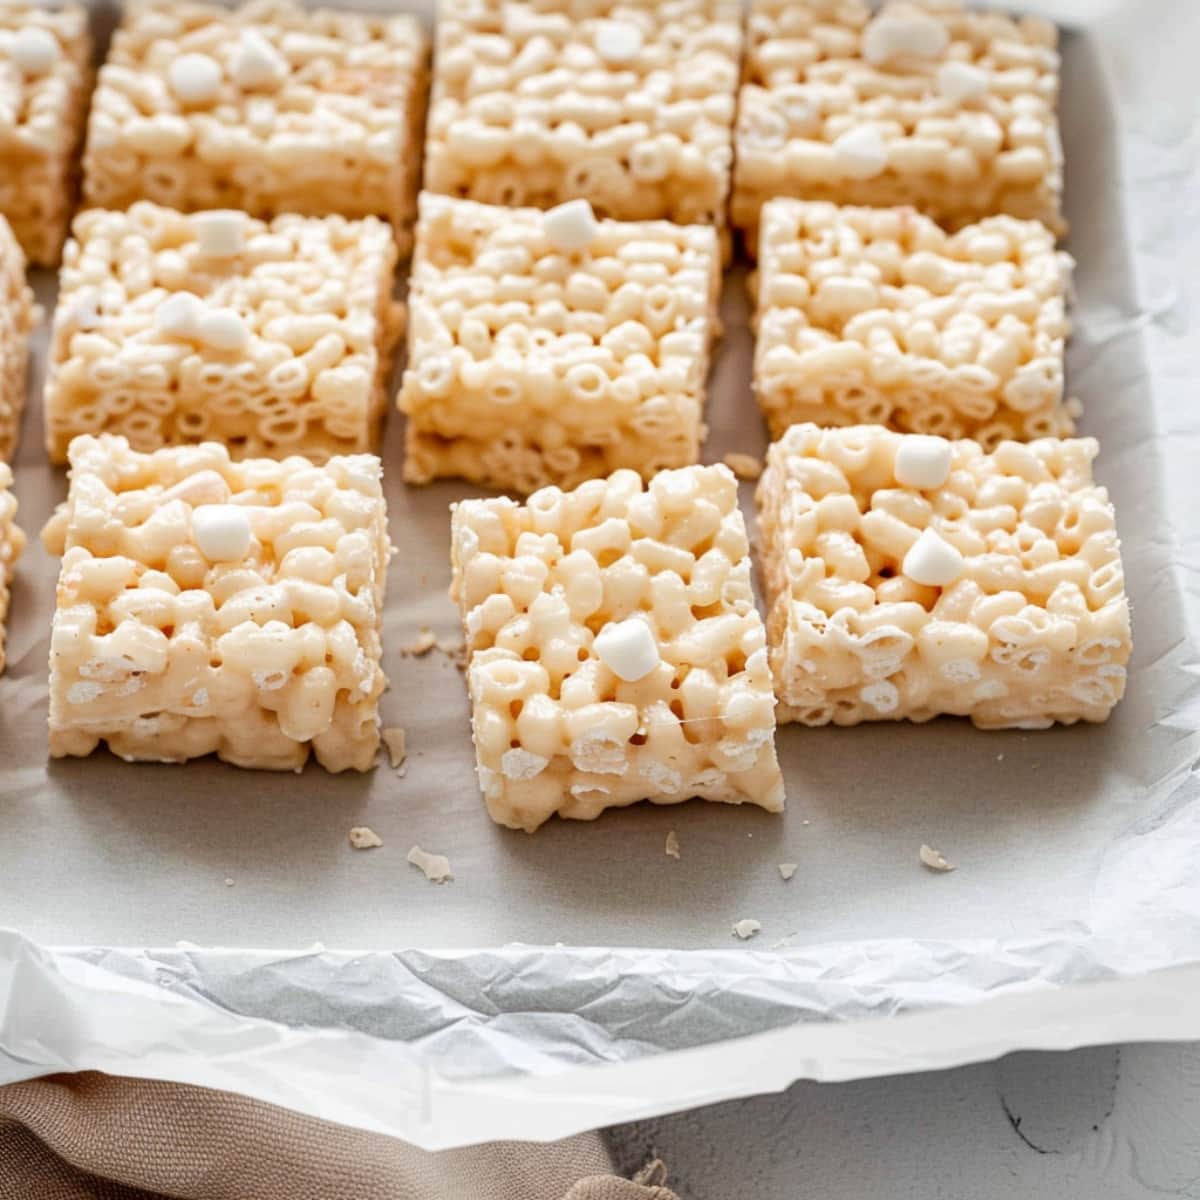
4. Transfer and cool. Press the mixture into a greased 9×13 inch baking pan. Let it cool for about 1 hour.
5. Cut into bars. Serve and enjoy!

Tips for the Best Rice Krispie Treats
Rice Krispie treats are the easiest dessert in the world to make. But these tips make them even better:
- Don’t press too hard! Rice Krispie treats should be light, airy, and fluffy. Don't push hard when you press them into the pan or they'll be too dense.
- Use parchment paper. Instead of greasing the pan, you can line it with parchment paper. It will prevent sticking and doesn’t require extra butter or oil.
- Beware of burning the butter! The butter can go from brown to burned pretty quickly. Keep an eye on it and stir frequently to avoid overcooking.
- Adjust the salt. Are you using salted butter instead of unsalted? If so, skip the added salt. Or start with less and adjust to taste.
- Up the decadence. Drizzle caramel, chocolate, or peanut butter on top for an extra decadent dessert. You can also add mix-ins like M&M’s or mini chocolate chips.
- Swap out the cereal. You don’t have to stick to using just regular Rice Krispies! Try Cocoa Krispies for a chocolatey version or Fruity Pebbles for a color, fruity treat.
- Add a salty twist. Sprinkle the treats with flaked sea salt or chopped nuts for a salty-sweet twist.
How to Store
My family loves it when we have leftover Rice Krispie treats. They’re the perfect afternoon pick-me-up.
Follow these tips for storing to keep them fresh:
To Store: Store leftover Rice Krispies in an air-tight container at room temperature for up to 5 days. You can also refrigerate them for up to a week.
Can You Freeze Rice Krispie Treats?
You can freeze Rice Krispie treats, but I don’t recommend it.
Freezing causes them to harden, so you don’t get that classic light and airy texture.
If you go this route, I recommend wrapping them tightly in plastic wrap. Then, place them in a freezer-friendly zip-top bag.
You could also try layering them between wax paper in an air-tight container. Both will help reduce freezer burn.
Either way, it’s best to enjoy them within 6 weeks to 2 months.
More Easy Dessert Recipes
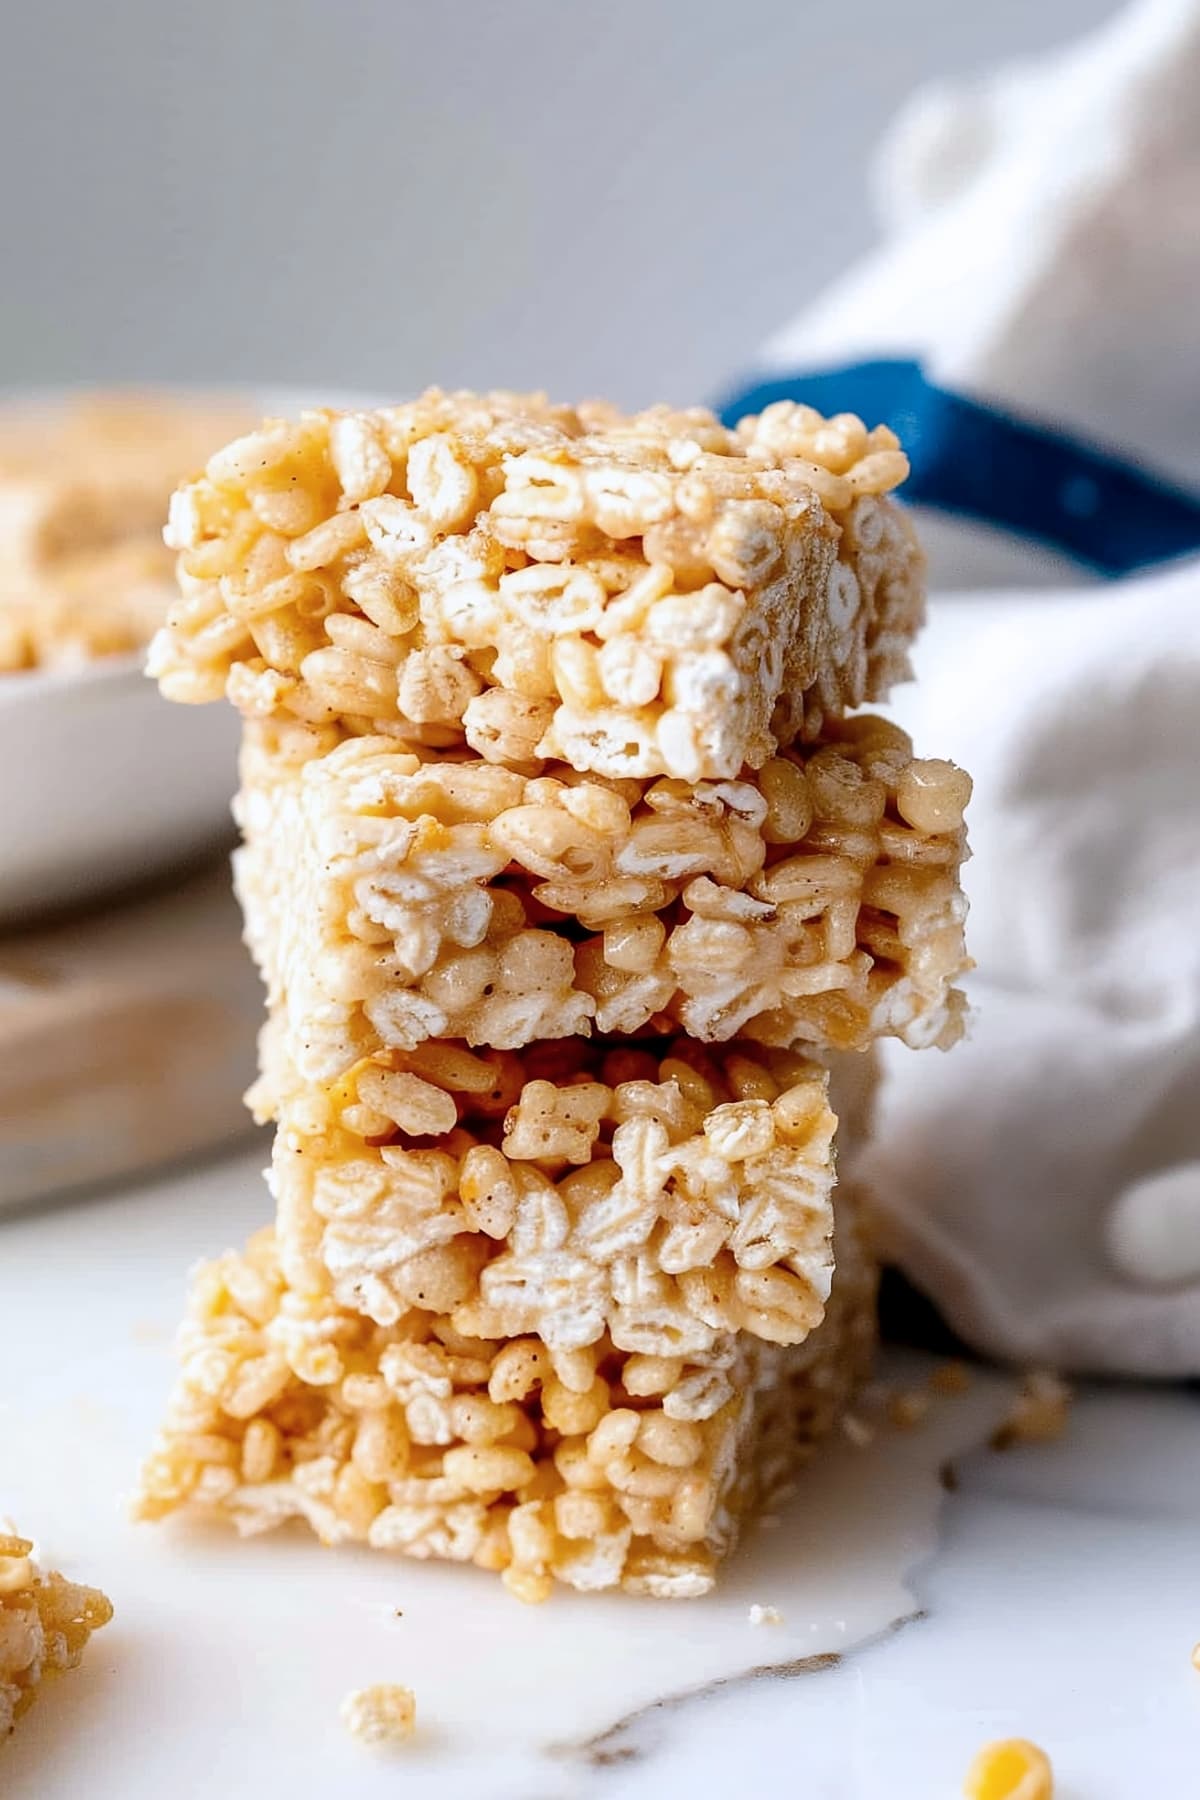
Brown Butter Rice Krispie Treats
These brown butter Rice Krispie treats will make you feel like a kid again! This variation on the classic treat is sweet, simple, and to die for!
12-16
servings5
minutes10
minutes1
hourIngredients
8 tablespoons (1 stick) unsalted butter
10 cups mini marshmallows, divided
1/2 teaspoon vanilla extract
1/4 teaspoon salt
9 cups Rice Krispie cereal
Instructions
- In a large saucepan, melt butter over medium heat. Swirl the pan occasionally until the butter foams, then browns and smells nutty, about 3-5 minutes. Watch closely, as butter can burn quickly.
- Once browned, remove the pan from heat and immediately add 8 cups of marshmallows. Stir constantly until smooth.
- Add the vanilla extract and salt, stirring again. Add cereal and the remaining 2 cups of marshmallows. Fold gently until everything is coated in marshmallow fluff.
- Press the mixture into a greased 9×13 inch baking pan. Let cool completely at room temperature, about 1 hour.
- Cut into bars and serve. Enjoy!