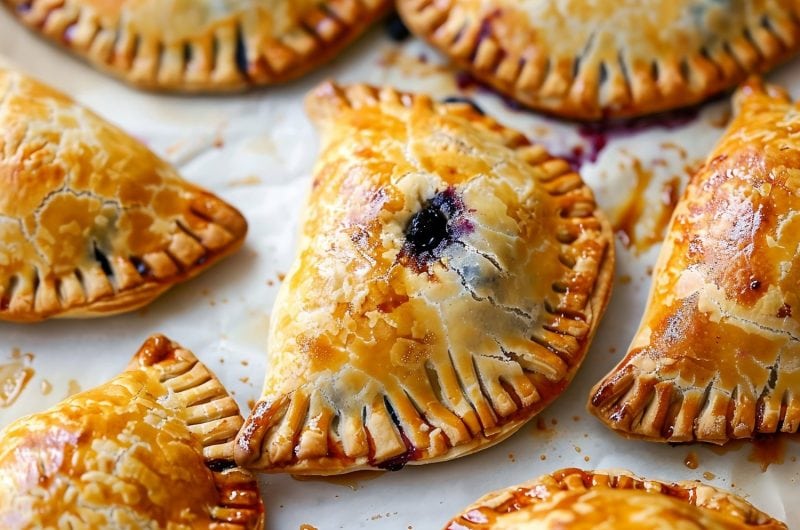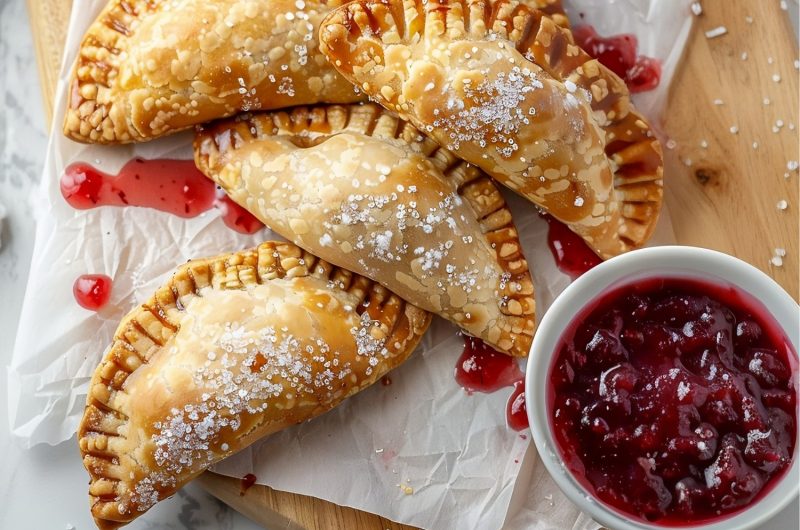

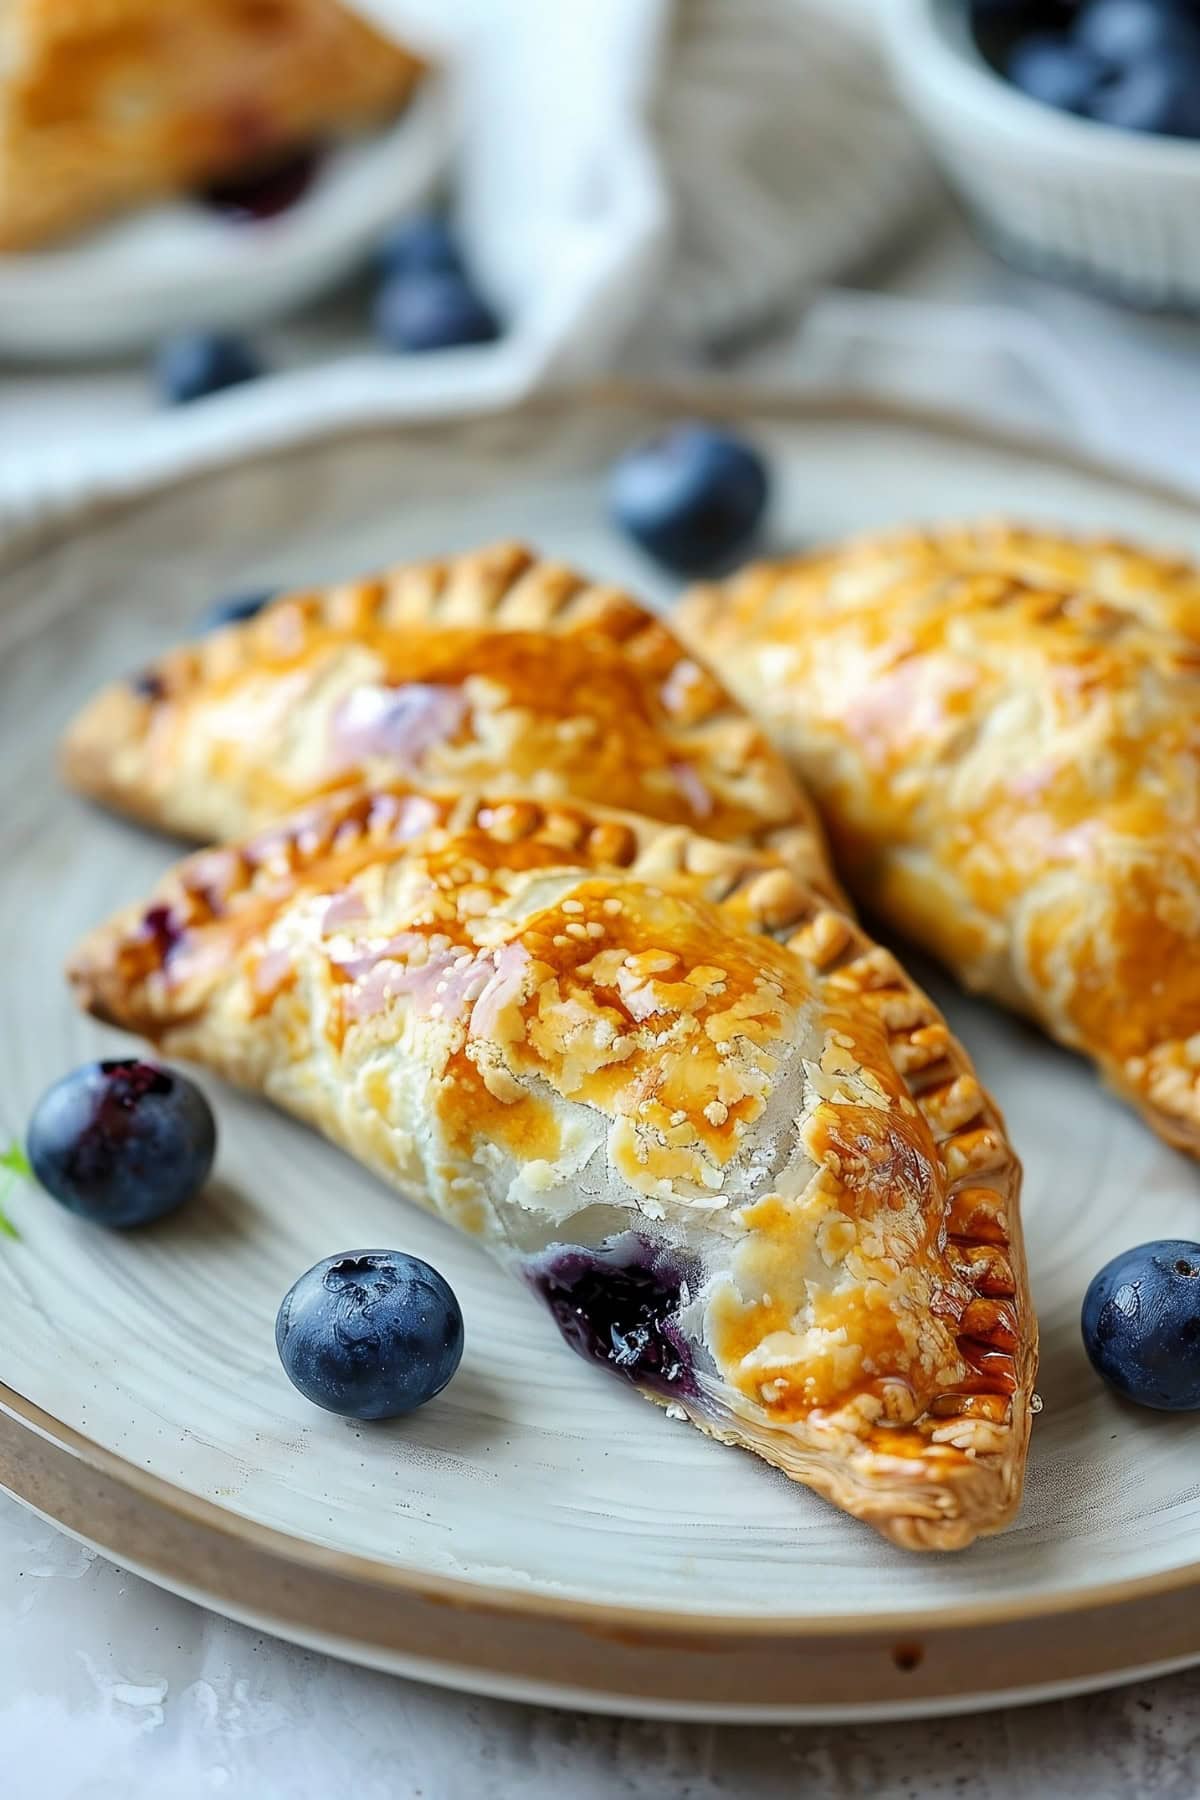
Hand pies are one of my favorite sweet treats, and blueberry hand pies are some of the best.
With their flaky, golden crusts and juicy berry filling, they’re THE summer dessert.
Make them for picnics, potlucks, or a quick after-dinner indulgence. Either way, they’re a fast, easy, and delicious way to enjoy fresh blueberries.

Why You’ll Love These Blueberry Hand Pies
Perfectly Portable: Handheld desserts are always convenient, and you can make them for practically any occasion – without worrying about how people will eat them.
Time-Saving Simplicity: You’ll use pre-made pie crusts and a quick-to-assemble filling, so you can have them ready in no time.
Fun for the Kids: Making these hand pies with your littles is an excellent idea. The cutting isn’t difficult, but you can do that part if you’re worried. There’s still plenty of filling, sealing, and folding for the kiddos to do.
Delightful Taste: The hint of lemon in these hand pies sets off the blueberries perfectly. And don’t even get me started on that flaky, golden crust.

Ingredients
- Refrigerated Pie Crusts: Using these as the foundation will save you time and hassle. They’re flaky, buttery, and mouth-wateringly delicious. Be sure to get a brand you know and enjoy.
- Fresh Blueberries: You’ll love their plump, juicy sweetness. Avoid frozen berries for this recipe.
- Granulated Sugar: To enhance the berries’ natural sweetness and round out their tartest edges.
- Cornstarch: To thicken the blueberry filling and prevent messiness.
- Lemon Juice and Zest: Use fresh for the best results. It adds a nice hint of citrus that brightens the berries beautifully.
- Egg & Milk: For the egg wash, which creates a pretty golden glaze on the crust.
- Coarse Sugar: Though optional, it adds a nice bit of texture and visual appeal. It also gives the pies a delightful crunch.
How to Make Blueberry Hand Pies
These babies are sweet, fruity, jammy, and loaded with buttery pastry in every bite.
But do you know the best part? They’re so easy to make!
Thanks to store-bought pie crust and a super quick filling, these can be on the table in less than an hour.
Follow these steps to make your very own blueberry hand pies:
1. COOK the blueberry filling ingredients over medium heat, stirring often, until thick and jammy. Transfer to a bowl to cool.
2. UNROLL the pastry and cut out as many 3-inch circles as you can. Layer them on a parchment-lined baking sheet and chill.
3. PREHEAT the oven to 400 degrees Fahrenheit and line a second baking sheet with parchment paper.
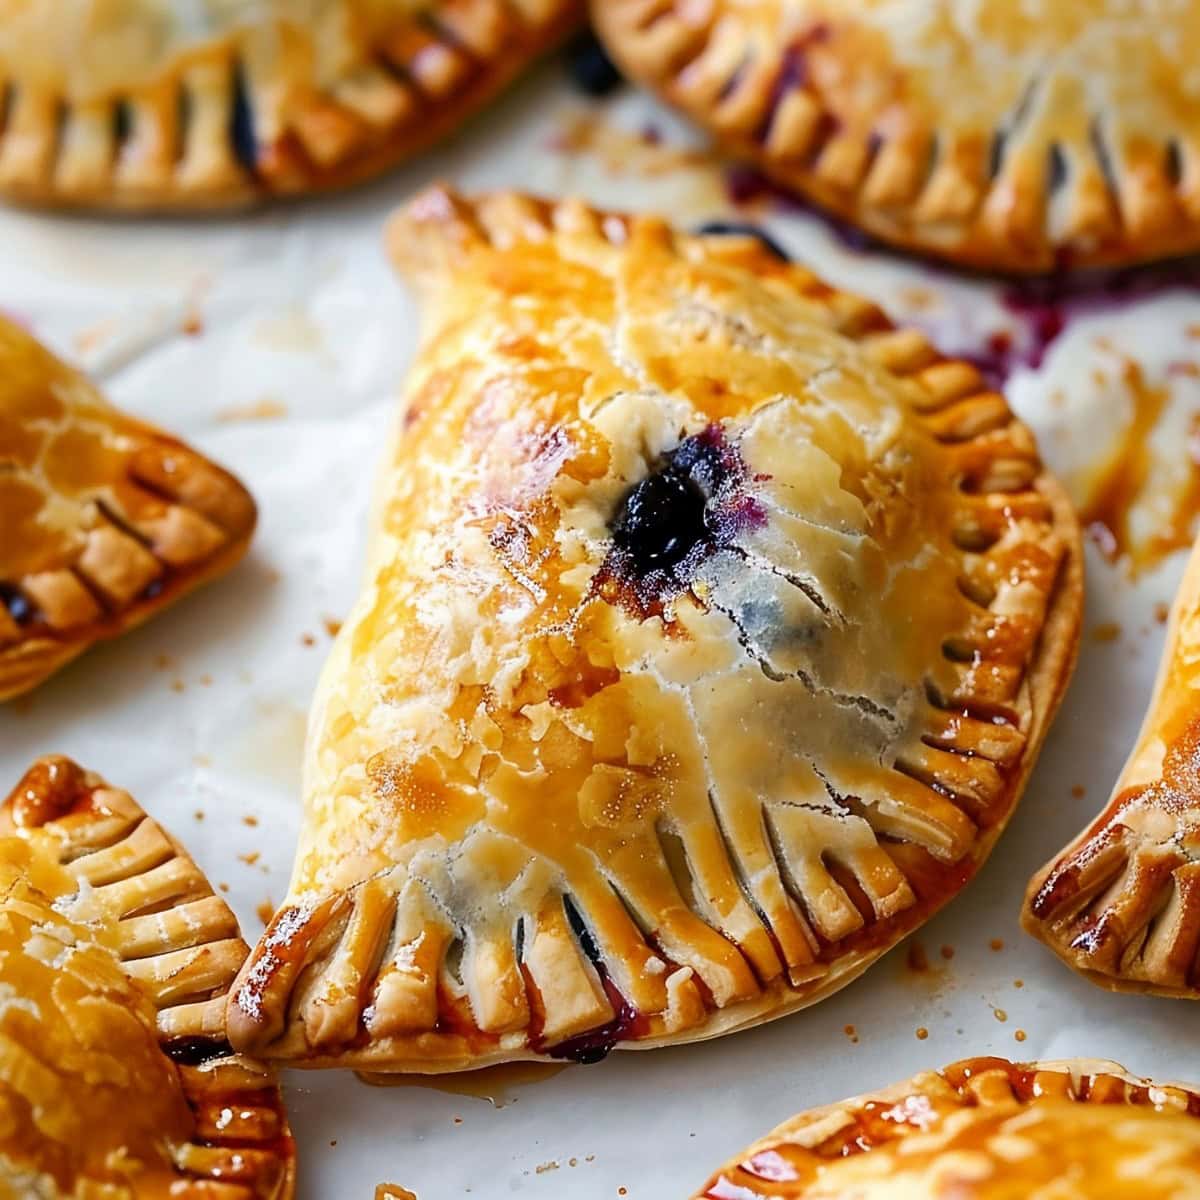
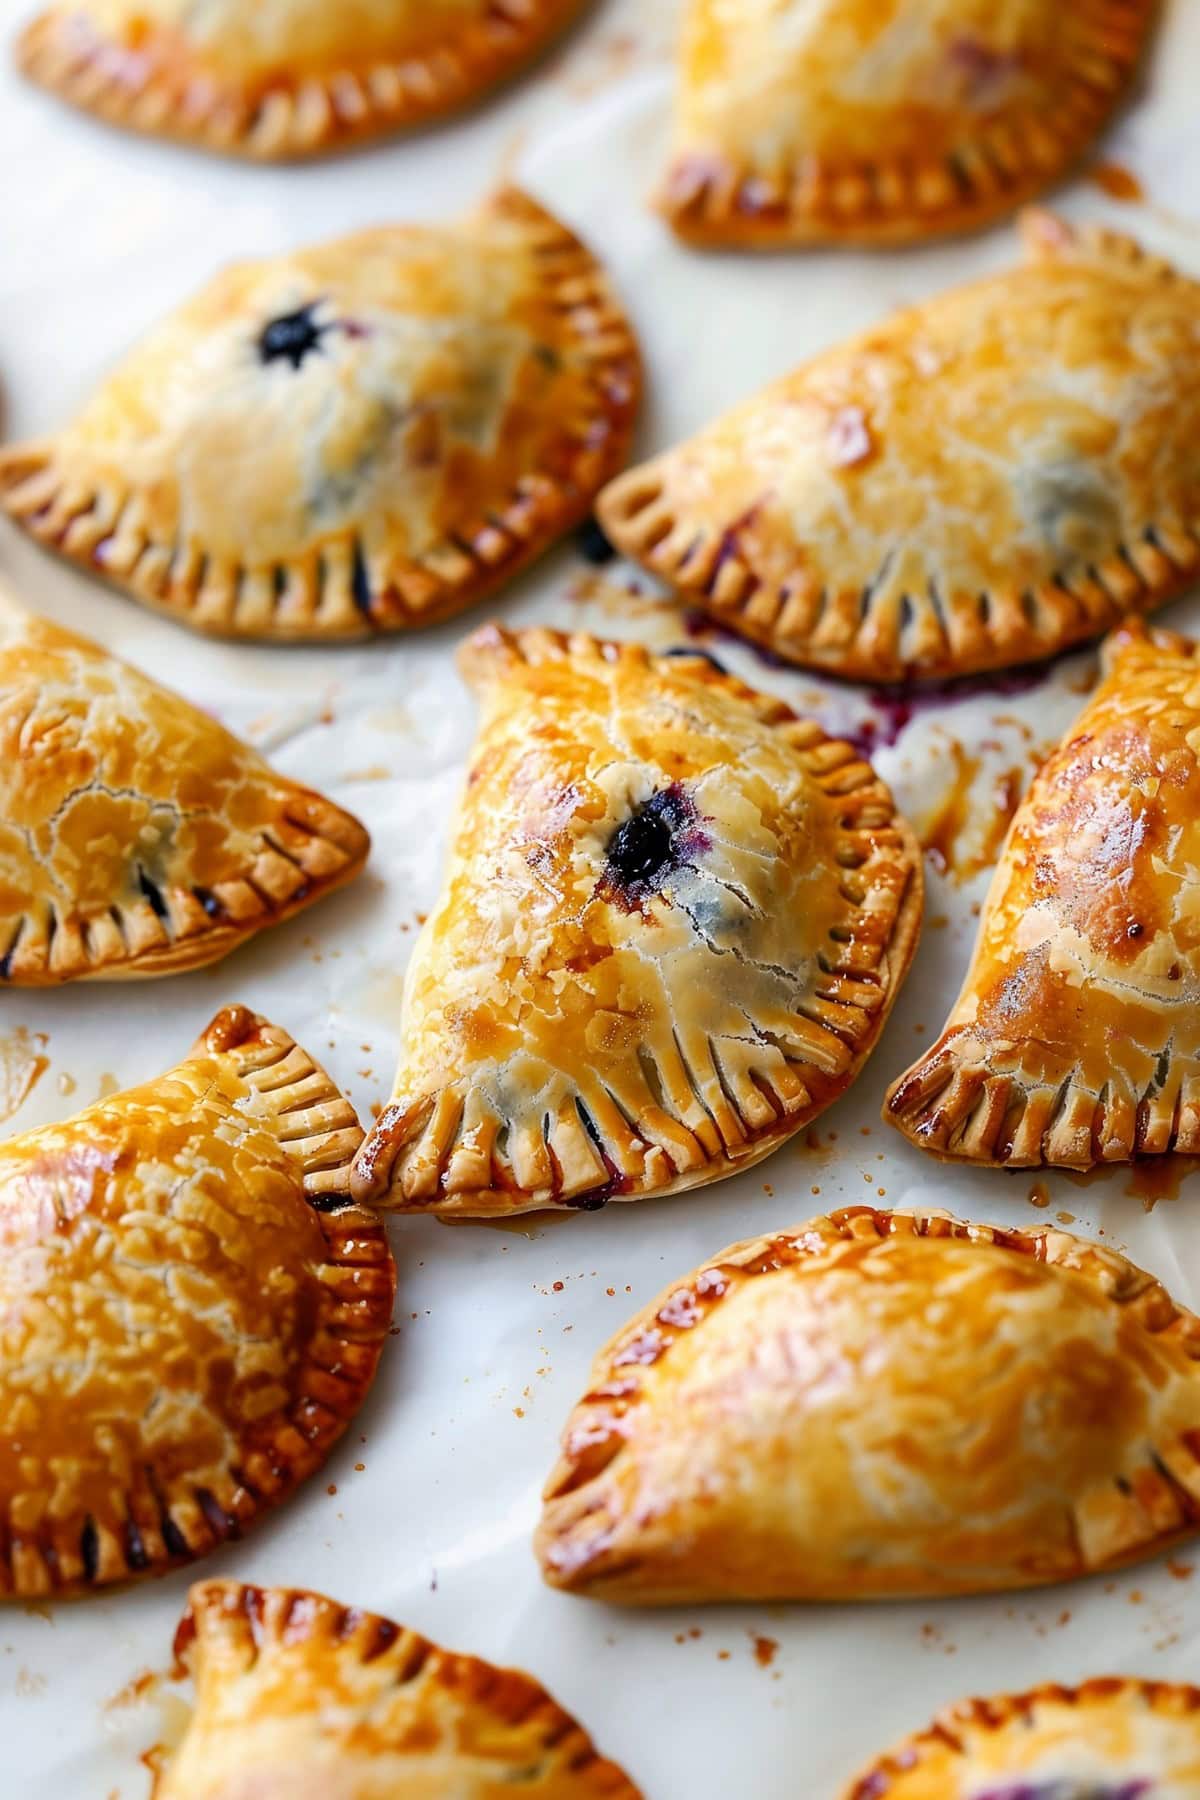
4. FILL each circle with about 1 tablespoon of the blueberry filling. Brush some egg wash around the edges, fold the circles in half-moon shapes, then seal with a fork.
5. BRUSH more egg wash over the tops and arrange them on the baking sheets with about 2 inches between each. Sprinkle with coarse sugar, if desired, and cut slits in the tops to allow steam to escape.
6. BAKE for 15 to 20 minutes, until golden.
7. COOL until warm or at room temperature. Dig in!
Tips for the Best Blueberry Hand Pies
Whether you’re an experienced baker or just starting out, you’ll find these hand pies a breeze to make and a joy to eat.
Most of these tips are fairly commonplace, but it’s nice to have them all in one place.
- Stick to refrigerated pie crusts. If you prefer homemade, go for it. But I love the convenience of store-bought pastry.
- Refrigerate the pastry. After cutting and then again after shaping the pies, if you have the time. The colder the pastry, the flakier it’ll be.
- Add vanilla. A teaspoon or two in the filling will really dial up the warmth.
- Cool the filling. I like to spread it into a wide, shallow dish so it cools faster. This makes it easier to work with and will prevent the dough from getting too soggy.
- Don’t overfill & seal tightly. It’s tempting to overfill these pies, but too much filling will cause them to burst. That’s also why we seal the edges with a fork.
- Try different fillings. You can make hand pies with practically any fruit filling. Love cherry or apple? That’s fine! You can even use a mixed berry filling if you prefer. And yes, you can use canned filling, too!
How to Store
Like most mini pie recipes, these hand pies taste best when fresh. If you have leftovers, though, you don’t have to trash them.
To Store: Let the pies cool fully. Then, refrigerate them for up to 5 days in an airtight container. They taste best if eaten within 2 days.
To Freeze: Freeze assembled (unbaked) or baked (and cooled) pies on a baking tray until solid. Transfer to a freezer bag for up to three months.
Thaw baked pies in the fridge overnight. Bake frozen pies right out of the freezer. Just add a few extra minutes in the oven.
To Reheat: Reheat chilled pies in the oven at 350 degrees for 10 to 15 minutes. You can also use a toaster oven, though the timing depends on the make and model. Start at 5 minutes and go from there.
More Summer Pie Recipes Your Family Will Love
Strawberry Pie Bars
Coconut Cream Pie
Frozen Strawberry Lemonade Pie
Cherry Pie Bars
Blueberry Hand Pies
18
servings10
minutes15
minutes122
kcalThese easy blueberry hand pies feature a flaky, golden crust and a juicy blueberry filling. This classic combo creates a burst of summer in every bite.
Ingredients
2 cups fresh blueberries
1/4 cup granulated sugar
2 teaspoons cornstarch
zest and juice of 1/2 lemon
1 (14 ounce) package refrigerated pie crusts (2 crusts)
2 eggs, lightly beaten for egg wash
2 tablespoon milk
coarse sugar for sprinkling, optional
Instructions
- In a medium saucepan, combine 1/2-3/4 of the blueberries with the sugar, cornstarch, lemon zest, and juice. Turn the heat to medium and cook, stirring frequently, until thickened, about 5 minutes.
- Add the remaining blueberries, stir well, then pour the cooked filling into a shallow, heatproof dish to cool.
- Unroll the refrigerated pie crusts on a lightly floured surface. Use a 3-inch round cookie cutter to cut out as many circles as possible from the pie crusts. Re-roll scraps to cut additional circles. You should get around 18-20.
- Lay the circles on a parchment-lined baking sheet (overlapping is okay) and refrigerate them while the blueberry filling cools.
- Preheat the oven to 400 degrees Fahrenheit (205°C), and line a second baking sheet with parchment paper.
- Lay the chilled pastry circles on a lightly floured surface. Place about 1 tablespoon of the blueberry mixture in the center of each. Leave a border around the edges.
- In a small bowl, beat the eggs and milk until smooth. Brush a small amount on the border of each pastry circle, then carefully fold the dough over to create a half-moon shape. Press the edges with a fork to seal.
- Arrange the hand pies on the baking sheets, leaving 2 inches between each. Brush the egg wash over the top and sprinkle with coarse sugar for texture, if desired. Cut small slits on top of each pie to allow steam to escape.
- Bake for 15-20 minutes or until the crust is golden brown and the filling is bubbling.
- Cool the pies on the trays for 5-10 minutes before moving to a wire rack to cool. Serve warm or at room temperature. Enjoy!
Notes
- Chill the cut dough circles for 15 to 30 minutes before filling them. After filling and sealing the hand pies, and chill again for 15 to 30 minutes before baking. This will keep the pastry flaky.
- Allow the filling to cool fully before adding it to the dough.
- Don’t overfill the pies, and seal them tightly to prevent leaking.
Did you like the recipe?
Click on a star to rate it!
Average rating 5 / 5. Vote count: 2
No votes so far! Be the first to rate this post.
We are sorry that this post was not useful for you!
Let us improve this post!
Tell us how we can improve this post?


