
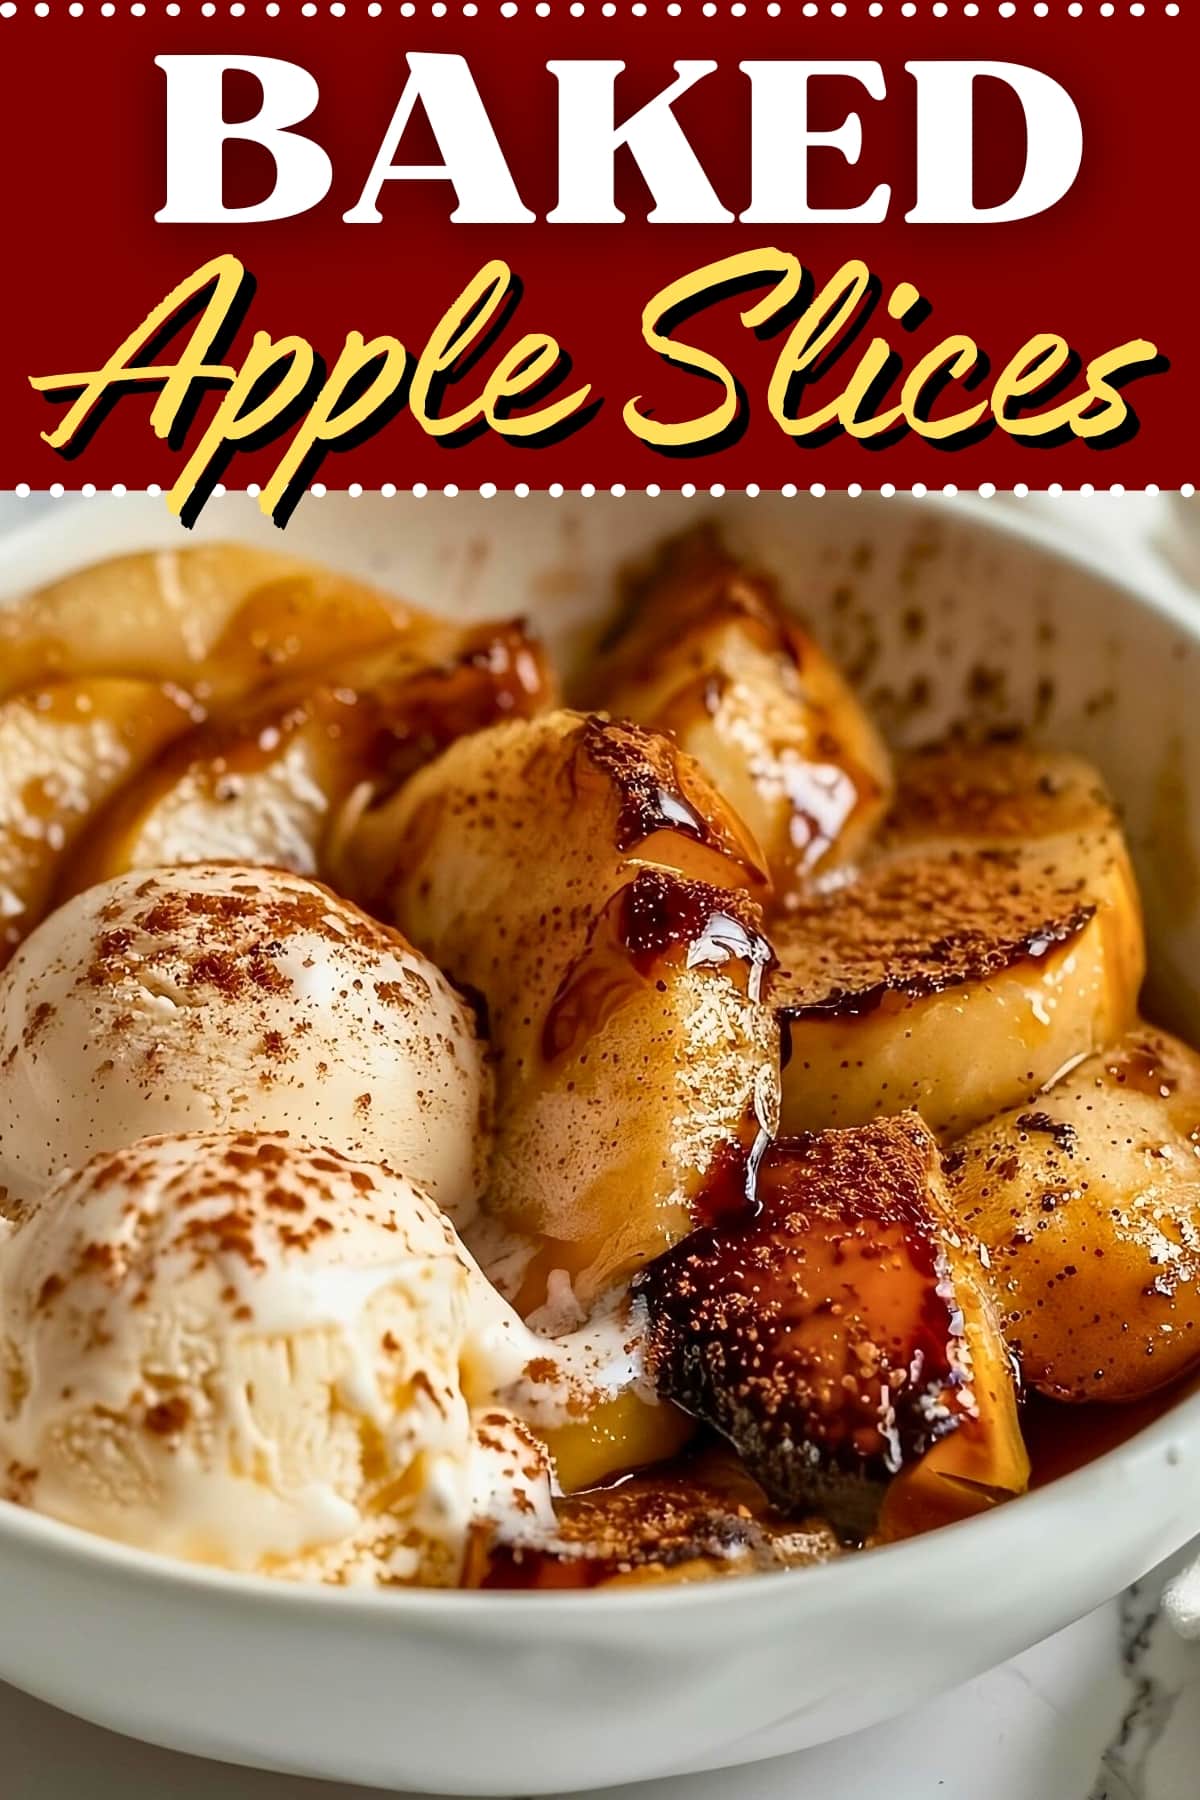
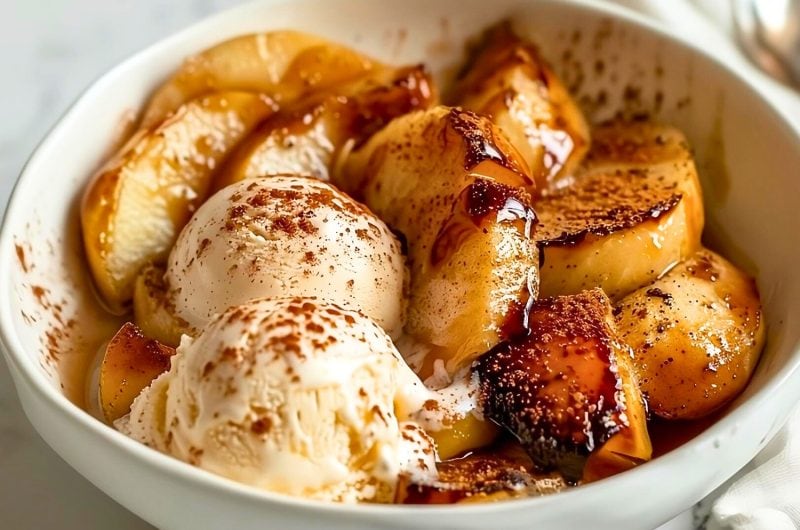
These incredible baked apple slices are easy, delicious, and will make your house smell like heaven!
When I pulled them out of the oven, I couldn’t resist immediately taking a bite. The combination of tender apples, rich cinnamon sugar, and buttery goodness is pure bliss.
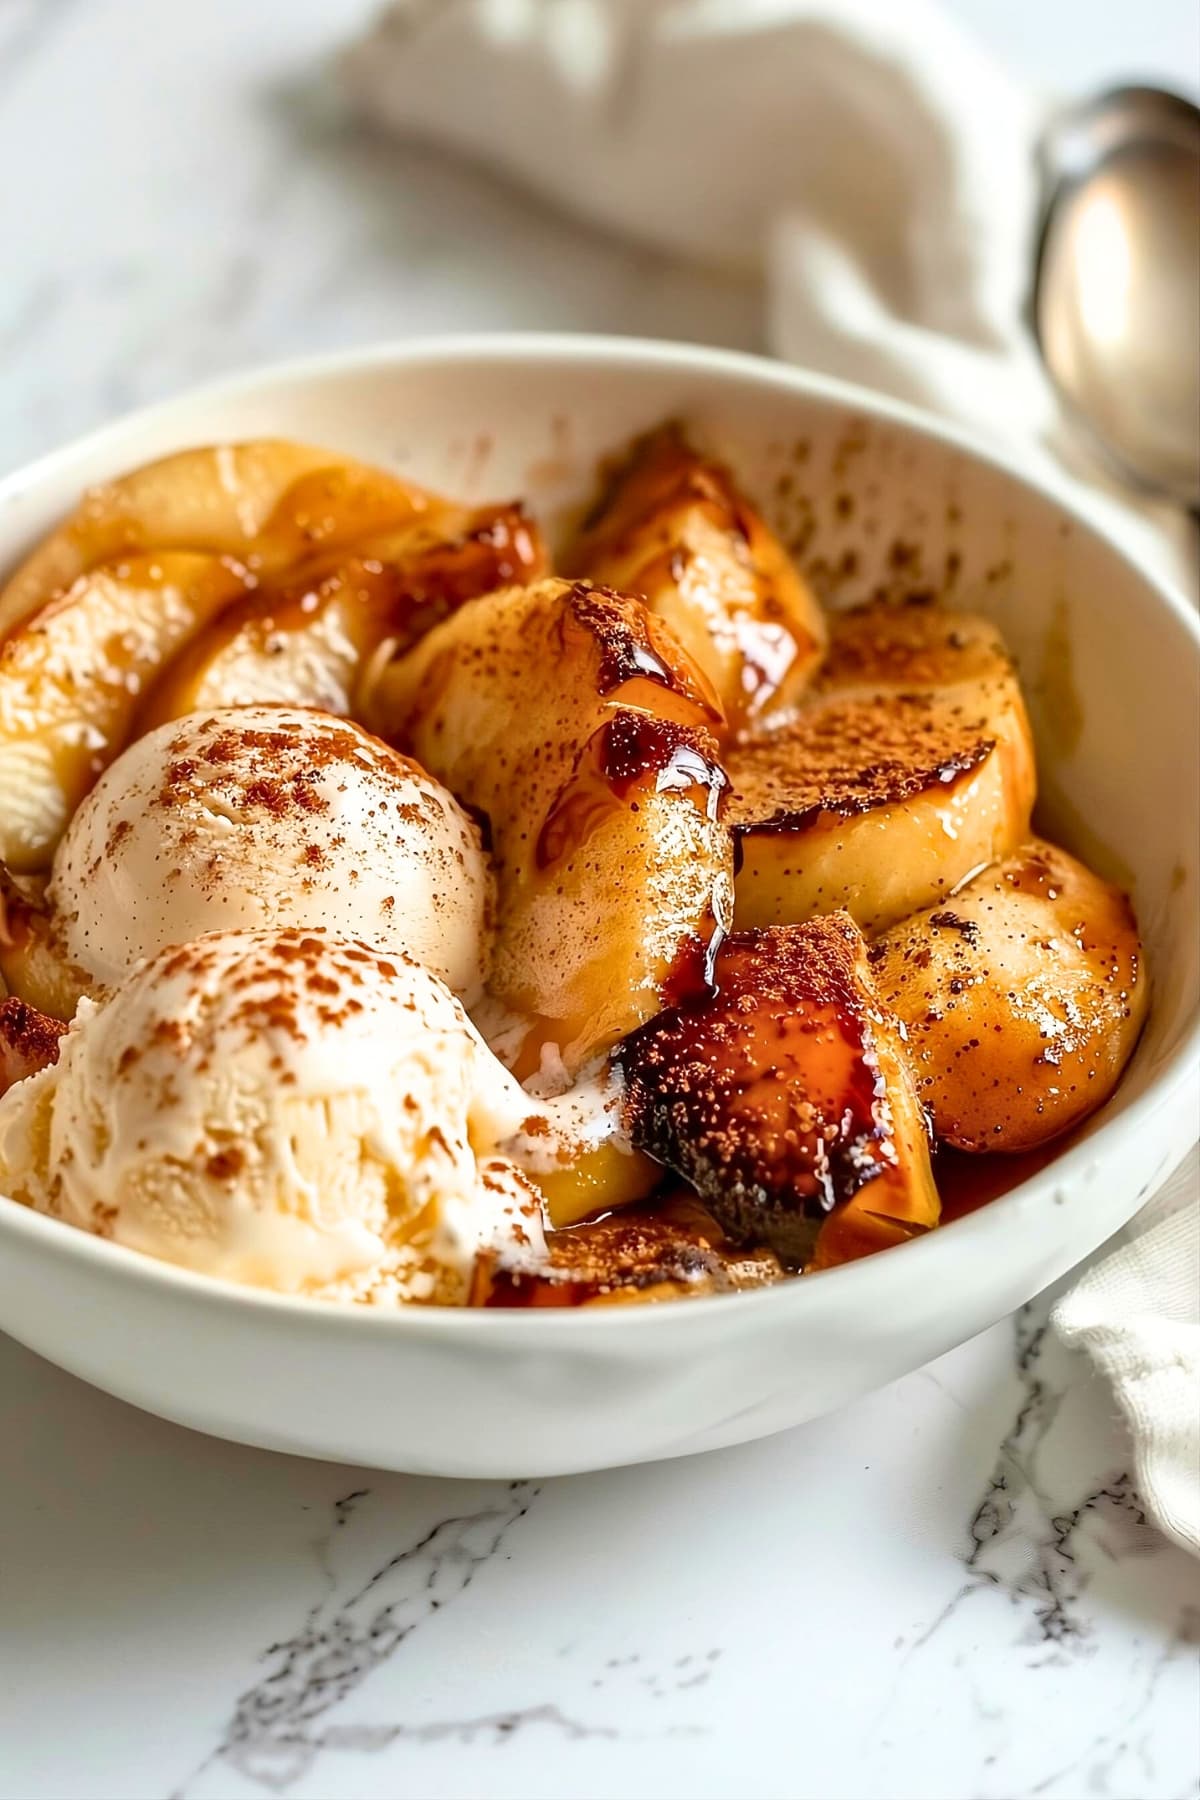
The best part is, they’re so easy to make! They’re the perfect healthy treat.
Easy Baked Apple Slices
Baked apples are one of my favorite fall desserts, but you can enjoy them anytime. I make them several times a year.
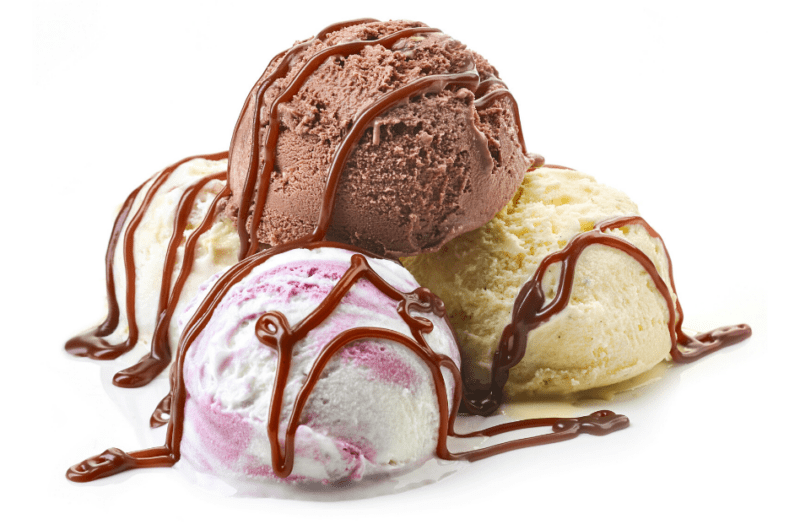
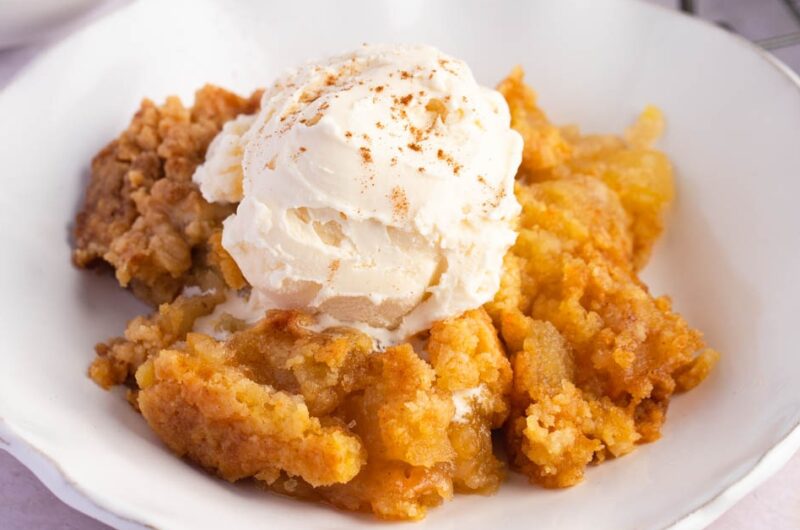
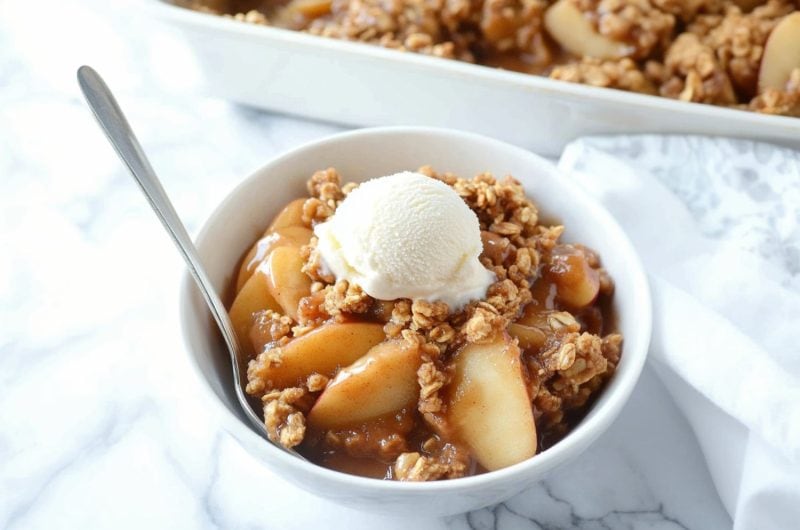
They’re warm, comforting, and bursting with flavor. I love serving them with a scoop of vanilla ice cream or a dollop of whipped cream. Every time I make this for guests, they swoon with delight.
Plus, the recipe is so simple that any beginner chef can handle it.
Ingredients
Here’s what you need for this easy dessert:
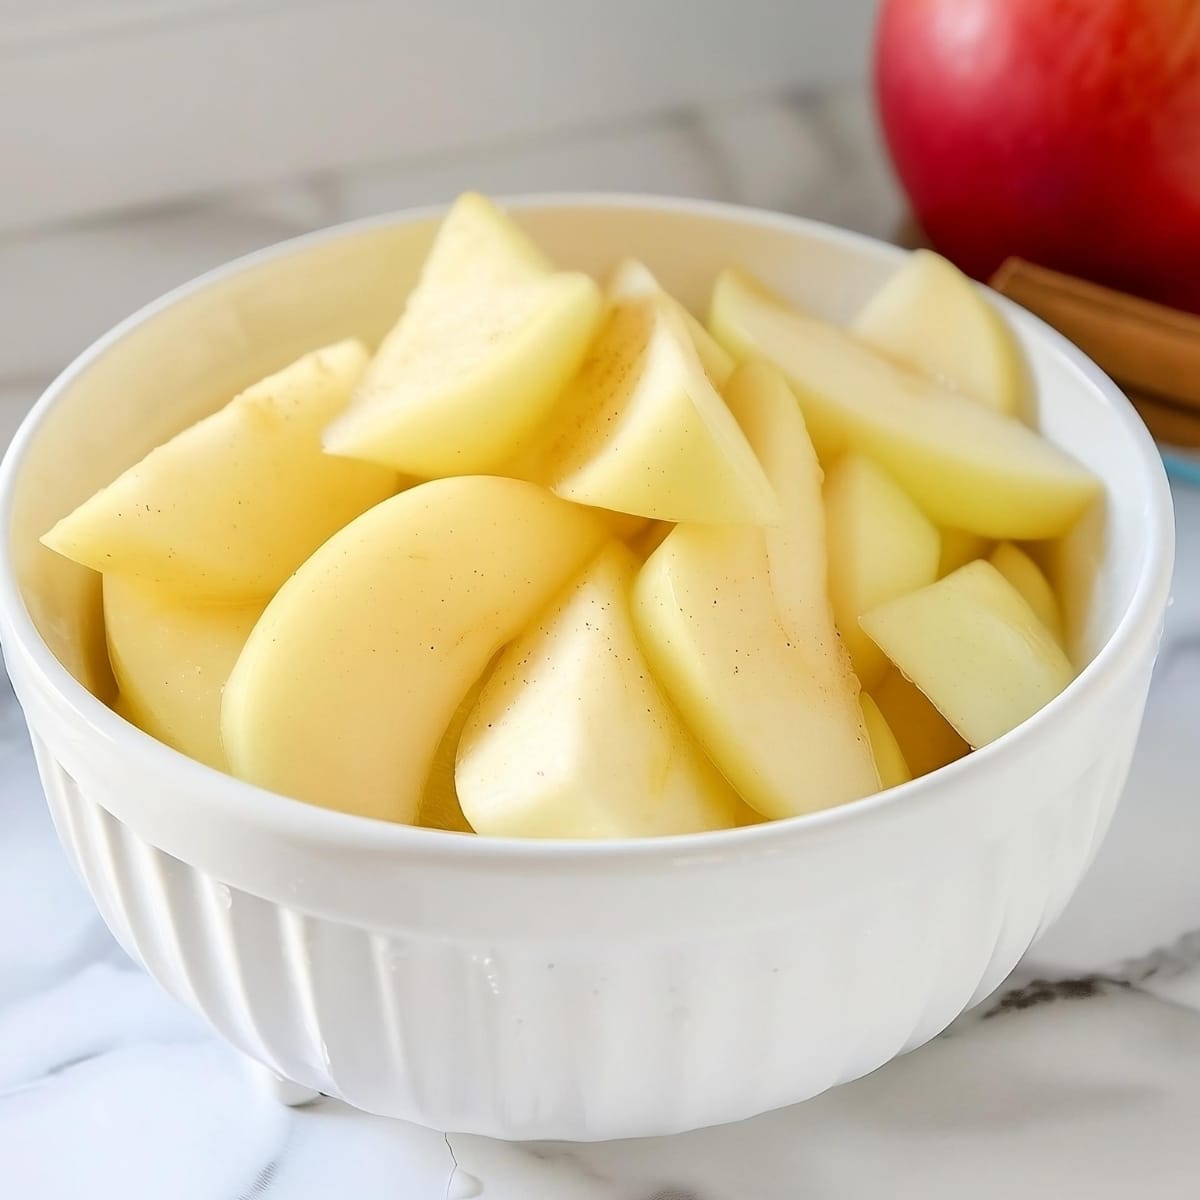
- Apples – You need four medium-sized apples. The best apples for baking are ripe and firm. I usually stick to Granny Smiths, Honeycrisps, and Fujis.
- Unsalted butter – Butter helps all the other ingredients stick to the apple slices. It also provides a rich, delicious flavor.
- Light brown sugar – For sweetness and fall flavor, light brown sugar works better than granulated sugar.
- Ground cinnamon & nutmeg – These spices pull the dish together. They’ll also make your house smell phenomenal.
- Vanilla extract & salt. A little of each will help enhance all the other flavors in the recipe.
If you want to add additional toppings, round those up, too!
Do You Need to Peel the Apples?
Whether or not you peel the apples is entirely up to you. This recipe instructs you to peel them. However, some people enjoy the extra texture of leaving the peels on.
Plus, apples with peels have more vitamins and minerals, and they add a pop of color to the dish.
How to Make Baked Apple Slices
Follow these steps to make baked apple slices:
1. Prep. Line a baking sheet with parchment paper and preheat the oven to 350 degrees. Measure out and melt the butter, and peel, core, and slice your apples.
If you want, you can also measure out all the other ingredients beforehand.
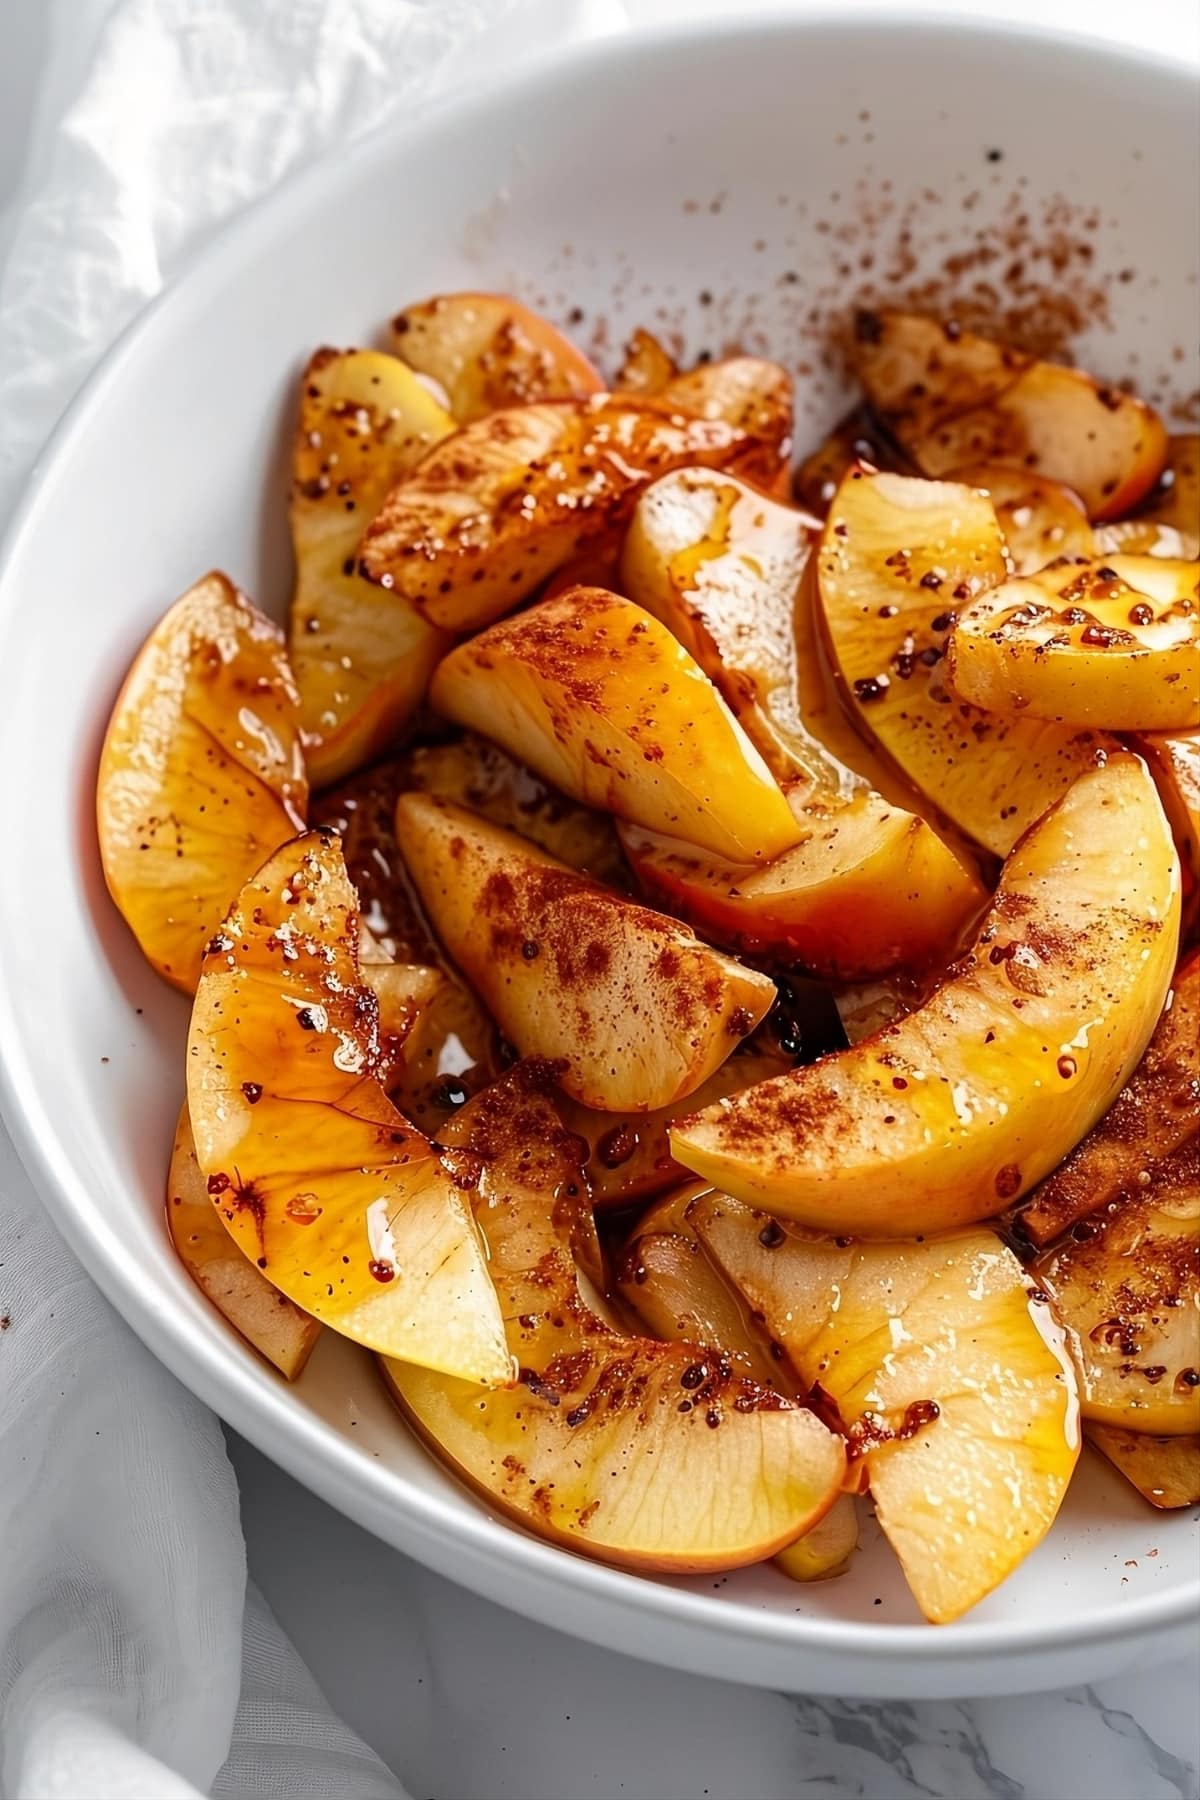
2. Coat the apples. Place everything except the optional toppings in a large mixing bowl. Stir or toss to thoroughly coat the apple slices in the butter and seasonings.
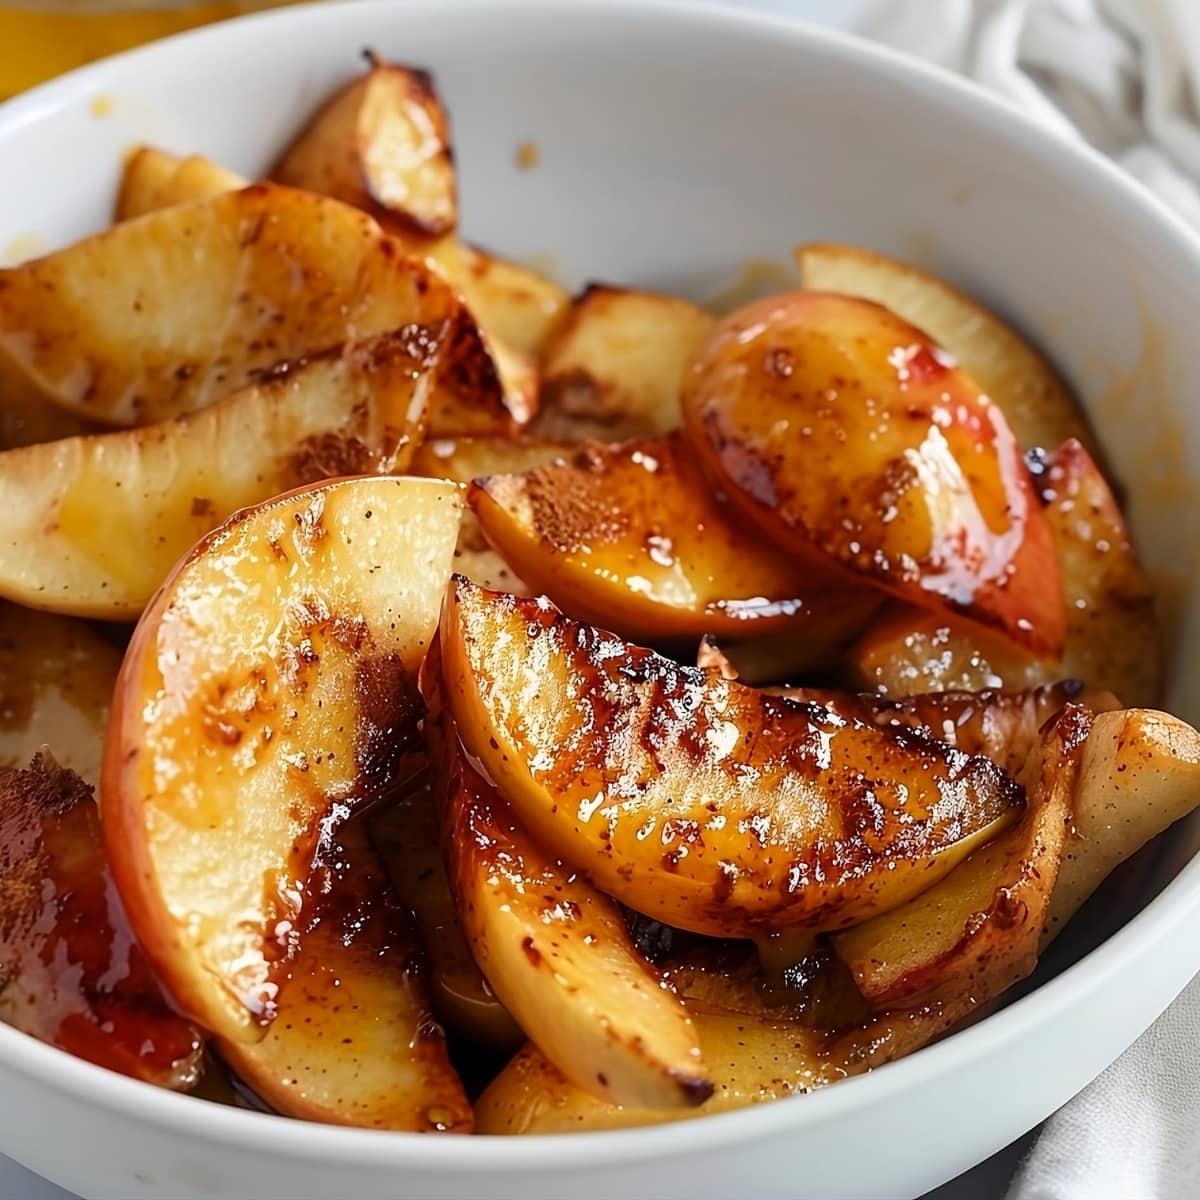
3. Bake. Lay the slices in a single layer on the prepared baking sheet. Bake for 20 to 25 minutes or until they just start to caramelize.
4. Serve. Serve the apple slices warm with any desired toppings. Enjoy!
Serving Suggestions
Baked apples taste phenomenal without any toppings. After all, the brown sugar/cinnamon combo is always a winner. Still, if you want to add toppings, here are some to try:
- “Creams” – Top them with vanilla ice cream, Cool Whip, or homemade whipped cream. Their soft, creamy textures pair well with the apples’ firmer texture.
- Nuts – Try toasted almonds or pecans. Granola is another excellent option. All provide crunch, texture, and a rich, earthy flavor.
- Yogurt – Yogurt is a healthier alternative to the “cream” options above.
- Caramel sauce – Nothing pairs better with caramel than apples and cinnamon. Drizzle some warm caramel sauce over the apples for a taste of true decadence.
You can also mix things up a bit and use the apples as your topping. Spoon them over a freshly baked cake, fluffy pancakes, or a bowl of warm oatmeal for a tasty morning treat.
How to Store
I never have leftover baked apple slices when I make them. But if you do, here are some storage tips:
- To Store: Let the apple slices cool completely, then transfer to an air-tight container. Refrigerate for up to 4 days.
- To Freeze: Store fully cooled apple slices in a freezer-safe container. Freeze for up to 3 months.
- To Reheat: Let frozen baked apple slices thaw in the refrigerator overnight. Then, reheat the chilled leftovers in a baking dish in the oven. (350 degrees until warm.) You can also reheat smaller portions in the microwave. Heat in 30-second increments until warm.
More Apple Dessert Recipes
If you love apples as much as I do, you’ll appreciate these other apple desserts:
- Granny Smith Apple Pie
- Easy Apple Fritters
- Air Fryer Apple Pies
- Mountain Dew Apple Dumplings
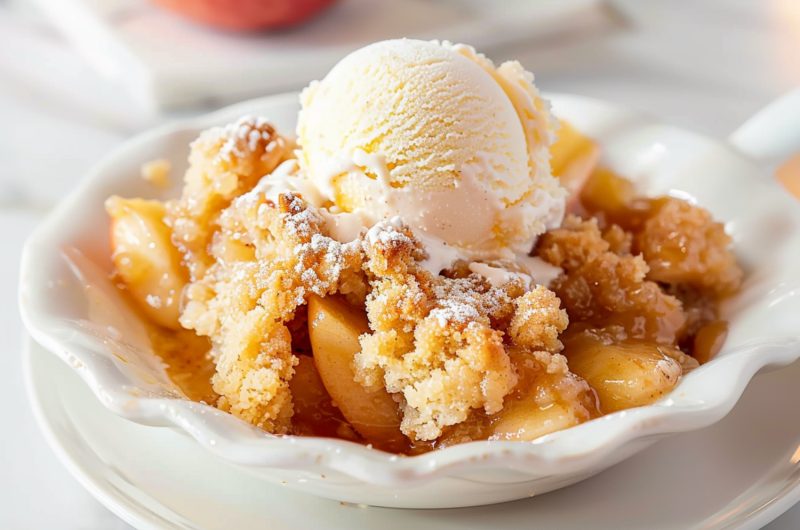
- Easy Apple Crumble
Baked Apple Slices
4-6
servings10
minutes20
minutes35
minutesThese baked apple slices are coated in warm cinnamon and sugar. Served with vanilla ice cream, they’re an irresistible treat!
Ingredients
4 medium apples, peeled, cored, and sliced into thin wedges
1 tablespoon unsalted butter, melted
2 tablespoons light brown sugar
1 teaspoon ground cinnamon
1/4 teaspoon ground nutmeg
1/2 teaspoon vanilla extract
a pinch of salt
ice cream for serving (optional)
whipped cream for serving (optional)
Instructions
- Preheat the oven to 350 degrees Fahrenheit. Cover a baking sheet with parchment paper.
- Add the apple slices, butter, sugar, cinnamon, nutmeg, vanilla, and salt to a large bowl. Toss the apples in the mixture thoroughly until they’re evenly coated.
- Transfer the apple slices to the parchment-covered baking sheet. Arrange them in a single layer without overlapping them.
- Bake until the apples are tender and starting to caramelize. (Approximately 20 to 25 minutes.)
- Remove from the oven and serve warm. Top with ice cream or whipped cream if desired. Enjoy!
Notes
- Use fully ripe apples. They’ll hold up best while baking and will provide the best taste.
- Want a healthier treat? Leave out the brown sugar. Use maple syrup or honey instead. You can also leave off the optional toppings or substitute yogurt.
- Be generous with the seasonings. The cinnamon and nutmeg add a lot of flavor to the apples. Don’t skimp on them. You can also experiment with others, such as ginger or cloves.
Did you like the recipe?
Click on a star to rate it!
Average rating 4.9 / 5. Vote count: 13
No votes so far! Be the first to rate this post.
We are sorry that this post was not useful for you!
Let us improve this post!
Tell us how we can improve this post?







2 Responses
Hi Kim
I made your recipe for Baked Apple Slices – AMAZING !!
Thank-you for including your recipe.
I am a Mother of 6 grown kids ( 4 Sons, 2 daughters ) and became a single Mom when the kids were all under 10 years. I am also
5TH generation baker, although I do not run a bakery – friends and family keep me busy lol. My favourite genre of book is of course a Cookbook and will read it cover to cover. A special interest in older cookbooks from pre 1970 from churches or ladies clubs that put together cookbooks. Simple, affordable, home style 💕.
So that is who I am and I am very impressed with your blog !!
Well done you, Kim !
My question is: Would you be so kind as to share a recipe for Caramel or preferably Butterscotch sauce please ? Thank-you Kim
Hi Sherrie-Lynne!
Thank you so much for your comment. So happy your enjoyed the apple slices.
And wow, 6 kids! You’re a warrior!!
I can’t believe we don’t have a recipe for caramel/butterscotch yet. Ill have to get onto that 🙂
Until then, here’s the recipe I use:
Butterscotch Sauce (makes 1 cup)
4 tablespoons unsalted butter
1/2 cup packed dark brown sugar
1-2 teaspoon sea salt
1/2 cup heavy cream, room temp
1 teaspoon vanilla extract
1 tablespoon whiskey, dark rum, or bourbon (optional)
1. Melt the butter in a medium, heavy-bottomed saucepan over medium heat, but don’t let it boil.
2. Add the brown sugar, salt, and cream. Stir, and now bring the mix to a boil. Scrape the sides with a spatula now and then and let it boil for 4-5 minutes. It should look smooth, dark, and not grainy.
3. Take the pot off the heat and stir in the vanilla and booze, if using. Then, pour it into a heat-proof container, let it cool completely, and cover. It’ll hold well in the fridge for 1-2 weeks.
It will thicken as it cools, but to soften, it just needs to be warmed in the microwave for 10-20 seconds.