
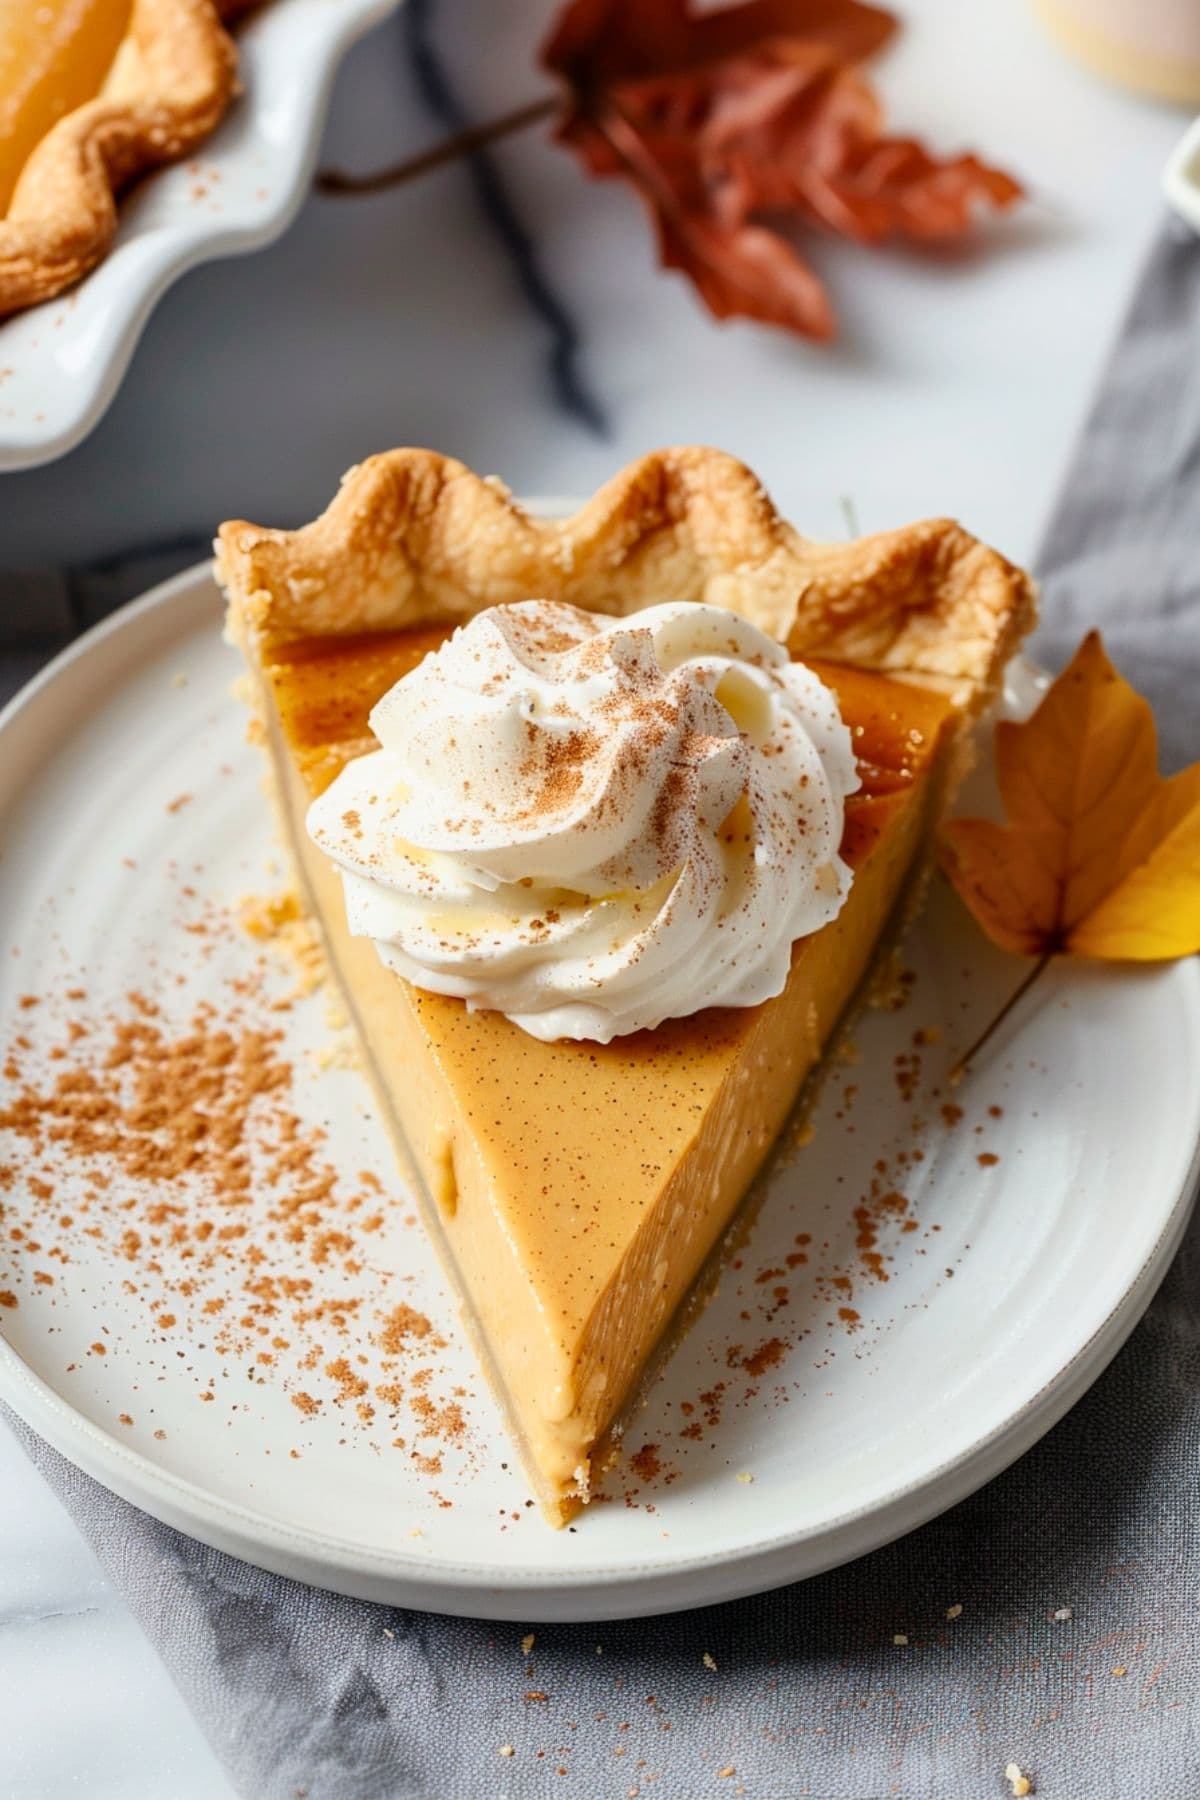
Maple cream pie tastes like a lovely stroll through Massachusetts trees in the fall. It’s the sweet essence of autumn disguised as a dessert.
Each bite combines the rich, complex sweetness of maple syrup with a silky smooth custard. And it’s all nestled in a buttery, flaky pie crust.
The result is a decadent sweet treat perfect for fall – or any time you’re craving a seriously indulgent treat! Trust me, you won’t be able to get enough.
Why You’ll Love This Maple Cream Pie
Seasonal Showcase: You can have this pie any time of year. But as the kids say, it “hits hardest” in the fall.
Make-Ahead Magic: This recipe features an overnight chilling option, perfect for making ahead of time.
Terrific Taste & Texture: Infusing maple syrup into creamy custard creates a luxurious, indulgent dessert. You’ll love its deep, rich, sweet flavor and buttery crust.
Ingredients
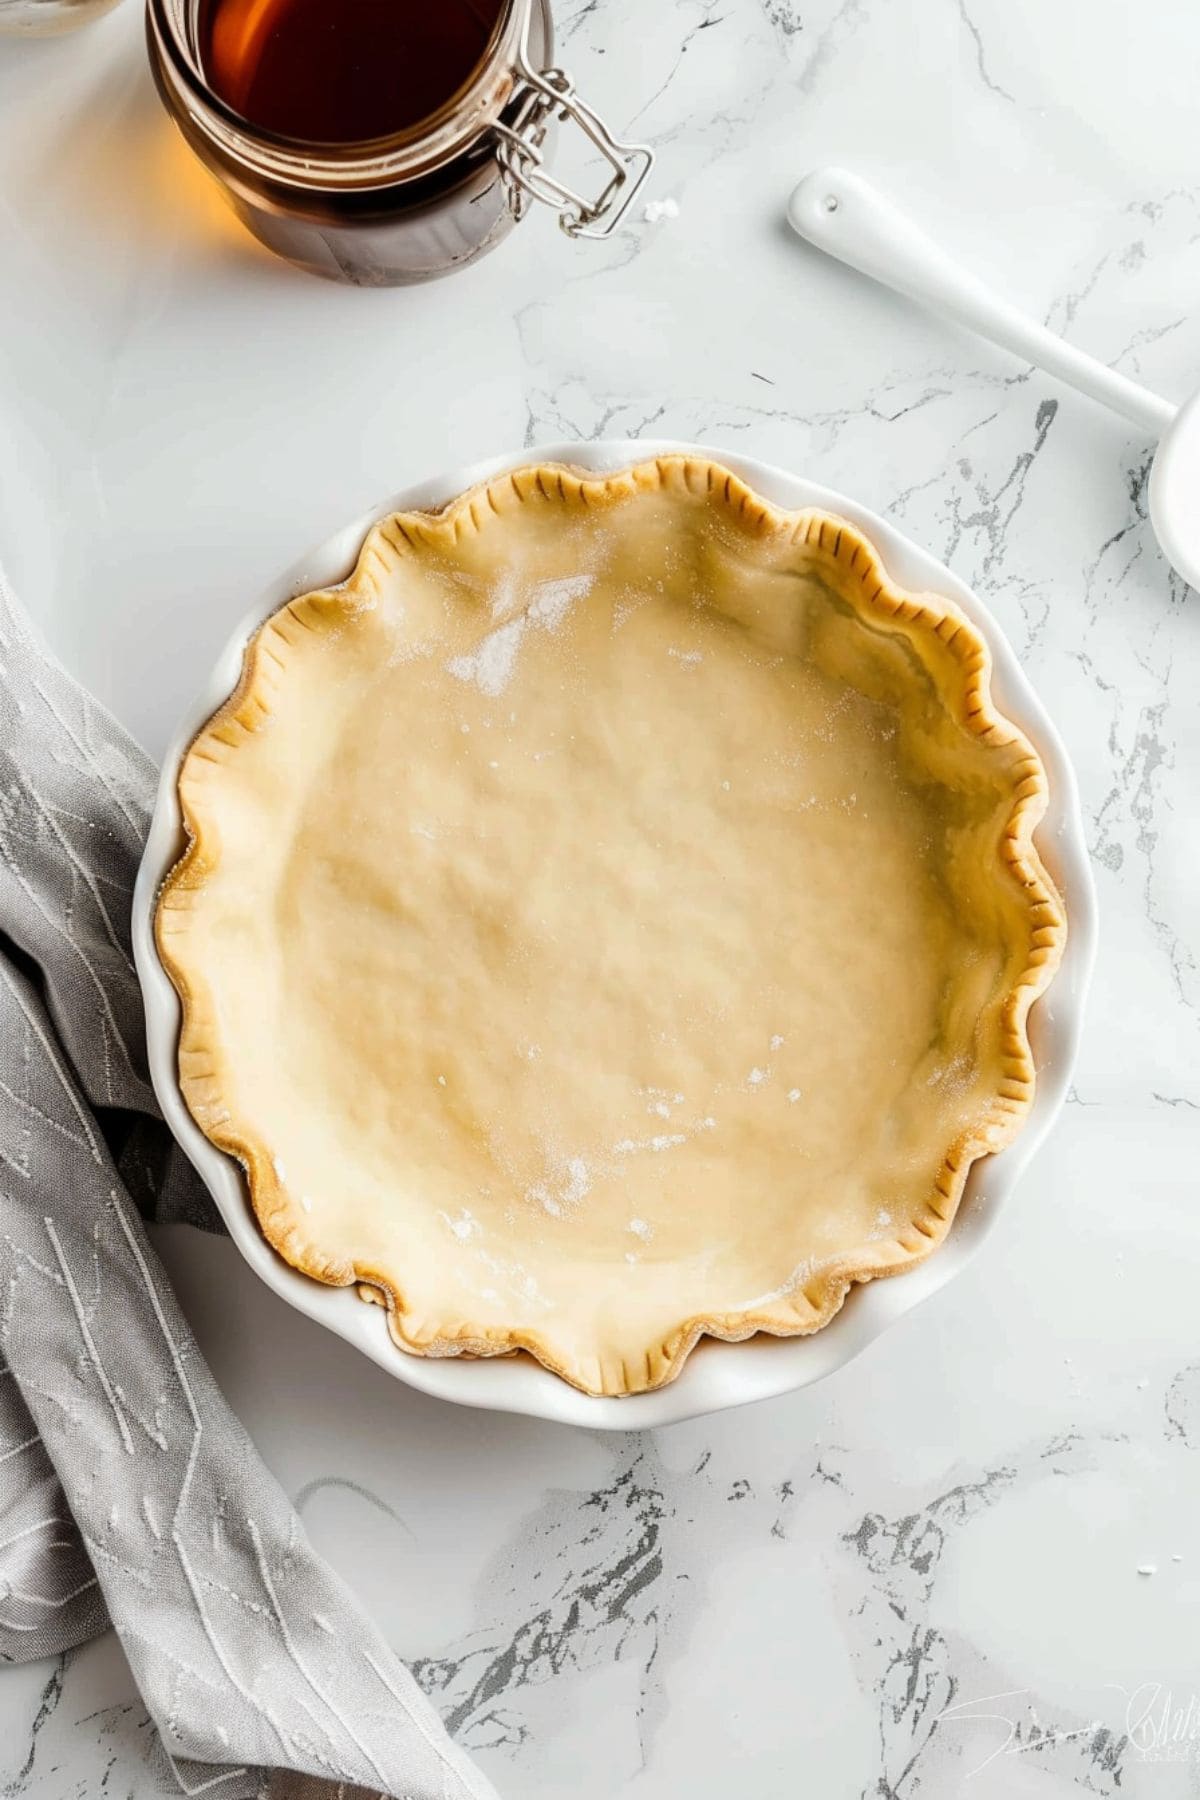
- Pre-Baked 9-inch Pie Crust: You could make it from scratch, but let’s keep things simple, shall we?
- Pure Maple Syrup: Robust and intensely maple-y, it infuses the custard with a complex sweetness. Be sure it’s pure maple and not synthetic pancake syrup.
- Whole Milk and Heavy Cream: For the custard. It makes it creamy, smooth, and super rich.
- Butter: The secret ingredient that makes the filling extra decadent.
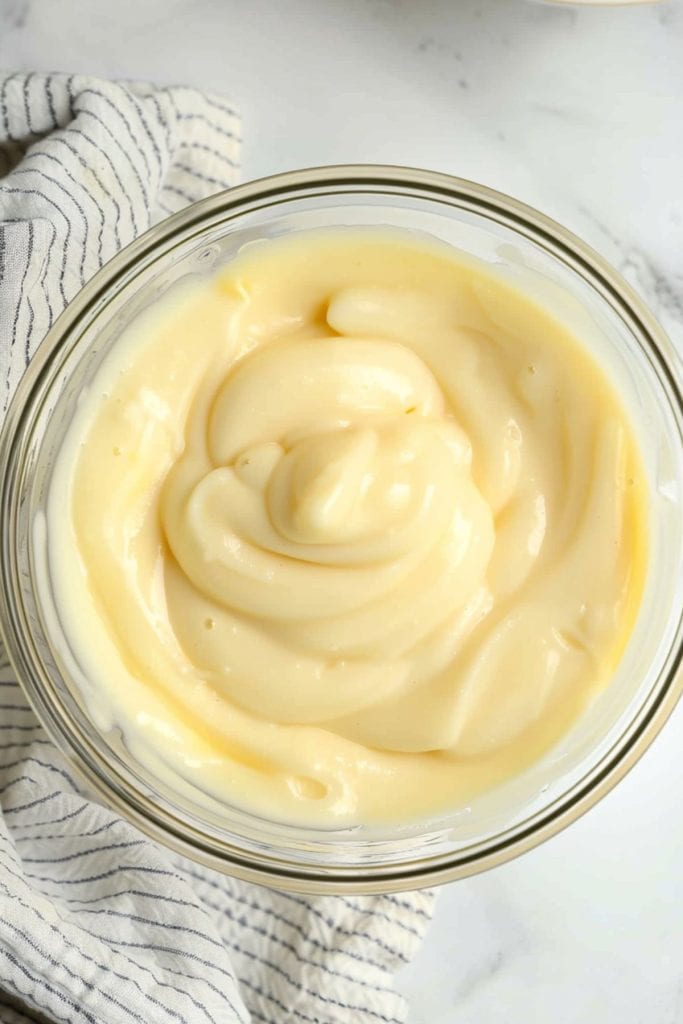
- Egg Yolks: To thicken the custard filling and make it silky smooth. They also contribute to the pie’s beautiful golden color.
- Cornstarch: The key to setting the custard.
- Salt: Add a pinch to balance out all the sweet ingredients.
- Vanilla Extract: A simple splash will round out the flavors with a warm, inviting aroma.
How to Make Maple Cream Pie
I’ve been on a baking spree lately, and let me tell you, this pie is my new crowning glory.
It’s like autumn wrapped in a flaky crust, and it’ll make you weak in the knees.
There are several steps to making this pie. Fortunately, they’re all delightfully simple.
1. REDUCE the maple syrup by boiling then simmering until it’s thick and reduced by half.
2. HEAT the milk and cream while the syrup reduces. Just until it starts to simmer.
3. WHISK the eggs and cornstarch until smooth, then temper with the hot milk mixture.
4. COOK the hot egg and milk mixture for a couple of minutes, then whisk in the salt and reduced maple syrup. Keep whisking until it thickens.
5. STRAIN it through a sieve and stir in the vanilla and butter.
6. POUR the hot custard into the pre-baked pie crust. Press plastic wrap directly onto the surface and leave to cool on the counter for one hour before chilling.
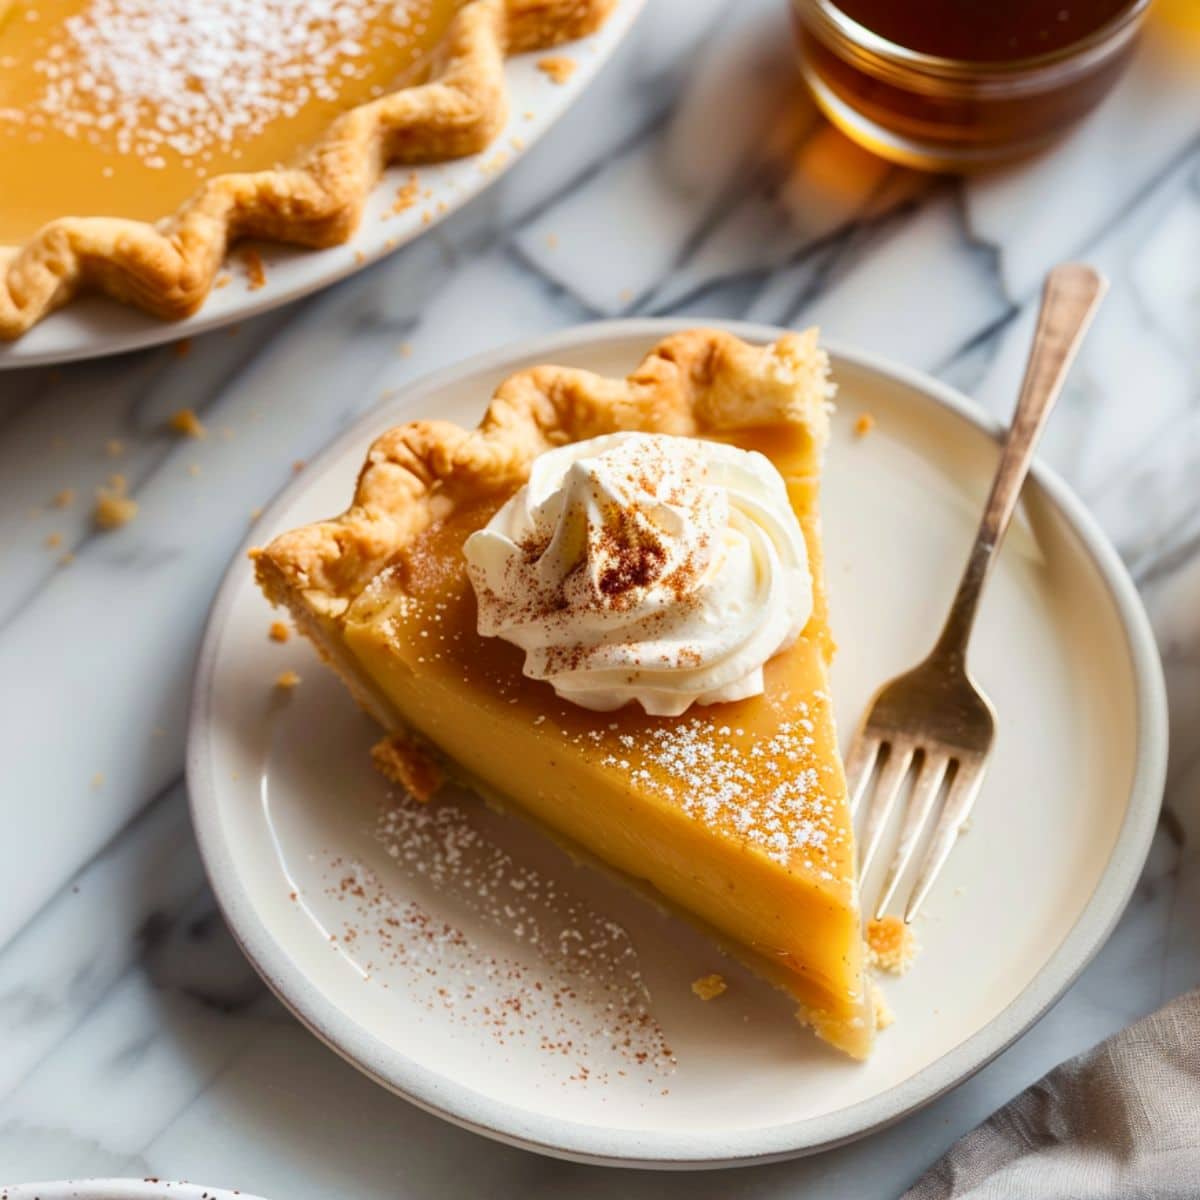
7. TOP with whipped cream and enjoy!
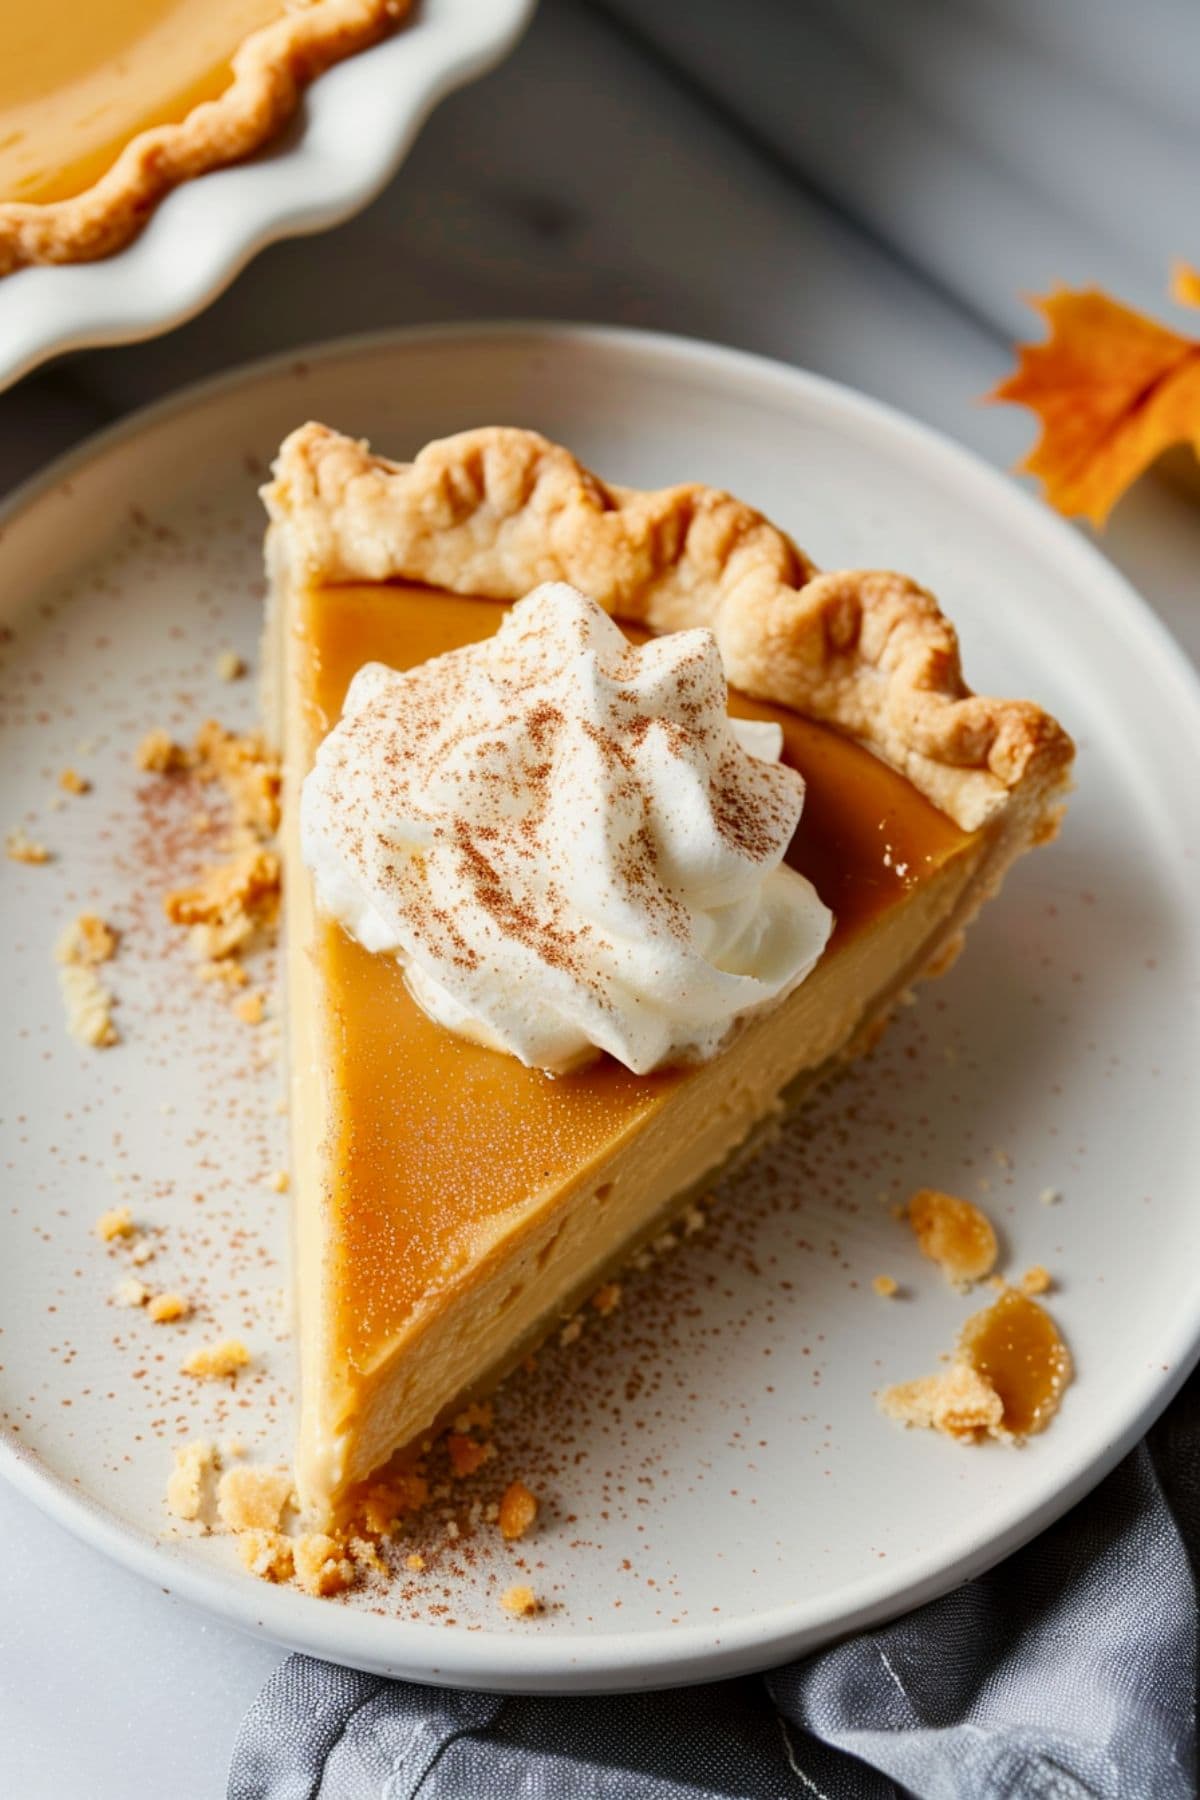
Tips for the Best Maple Cream Pie
I’m not usually one to brag, but I’ve outdone myself this time.
When the aroma of maple syrup filled my kitchen, I may or may not have licked the spoon… okay, I definitely did!
This pie is just the perfect balance of sweet and creamy. And with a dollop of whipped cream on top, it’s like a cozy hug for your taste buds.
When it comes to pie recipes, I always have several tips to share, and this one is no exception! I’ve also included a few variations near the end.
- Use high-quality maple syrup. Avoid imitation maple syrups and those geared toward topping pancakes and waffles. You want the real thing for this pie.
- Prevent a soggy crust. Before adding the custard, brush the bottom of the crust with egg white to add a moisture barrier.
- Monitor closely. When reducing the syrup, don’t leave the stove unattended. You’ll need to stir frequently and possibly even adjust the heat, as syrup can be quick to burn.
- Remember to strain. Stir the filling until it’s as smooth as possible. Then, pour it through a sieve to strain it. Don’t skip this step! Straining gives the filling its silky smooth texture.
- Use a homemade crust. You’ll need to make the pastry in advance, then bake the crust and let it cool FULLY before adding the filling. You can even experiment with different types, such as a gingersnap or even an Oreo crust.
- Jazz up the toppings. Top the pie with a flavored whipped cream, candied pecans, or a drizzle of extra syrup. Or come up with your own topping variations!
- Add spices. For a warm, spiced twist, add a pinch of cinnamon or nutmeg to the custard. Chopped, crystallized ginger is another great option.
How to Store
Fair warning: this pie has addictive properties.
I’ve already had two slices today, and I’m eyeing a third. Who needs self-control when you have maple cream pie, right?
Of course, some of you will have more willpower than me. So, here’s how to keep leftovers fresh:
To Store: Cover the pie tightly with plastic wrap or foil. Refrigerate it for 3-4 days, although it tastes best if eaten by day two.
Note: I don’t recommend freezing this pie, as the custard won’t thaw well.
More Cream Pie Recipes You Just Have to Try
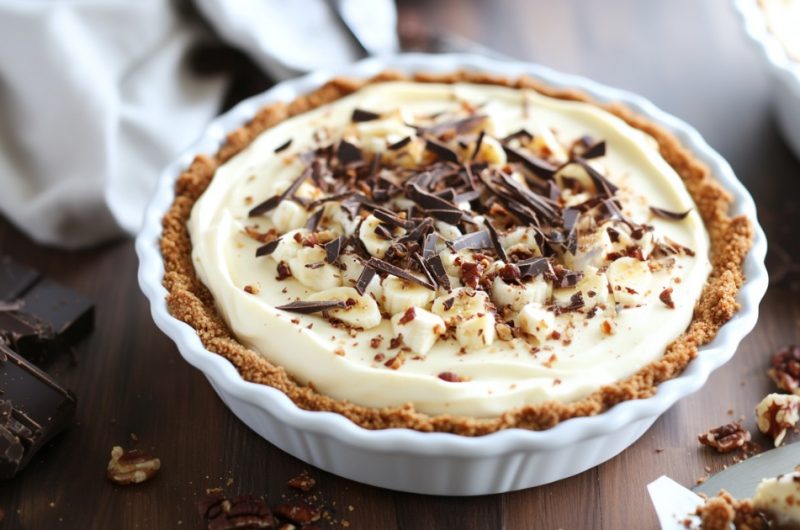
Piña Colada Cream Pie
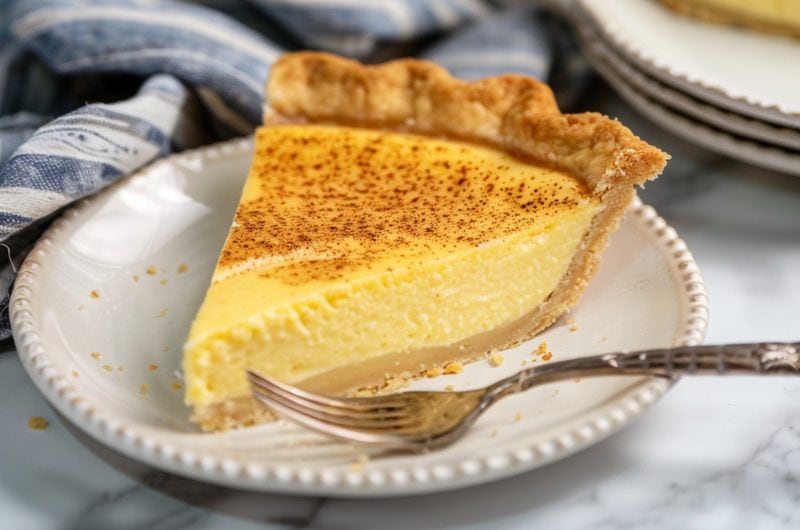
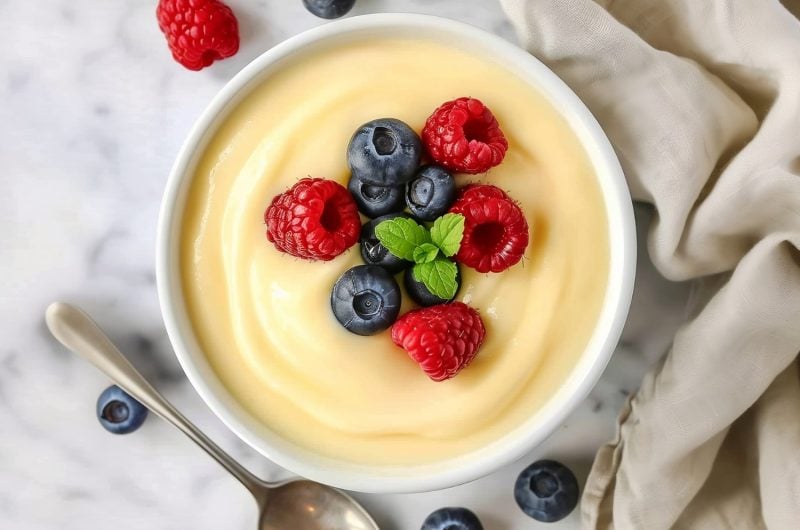
Vanilla Cream Pie
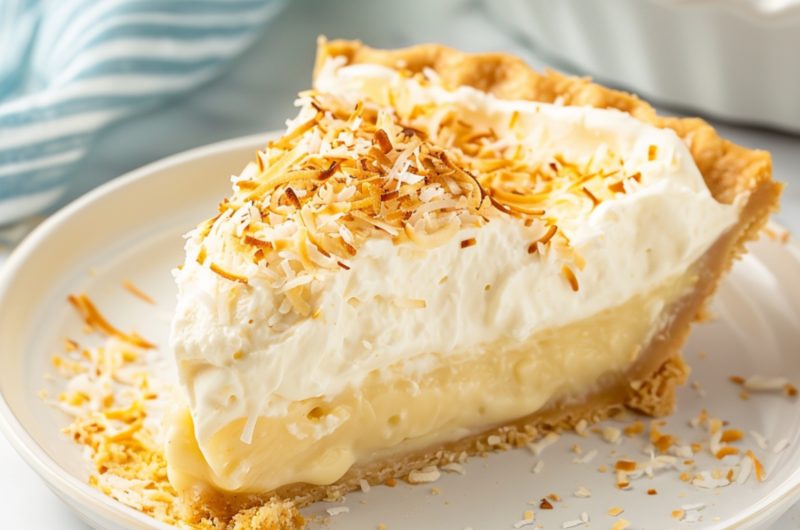
Lemon Cream Pie
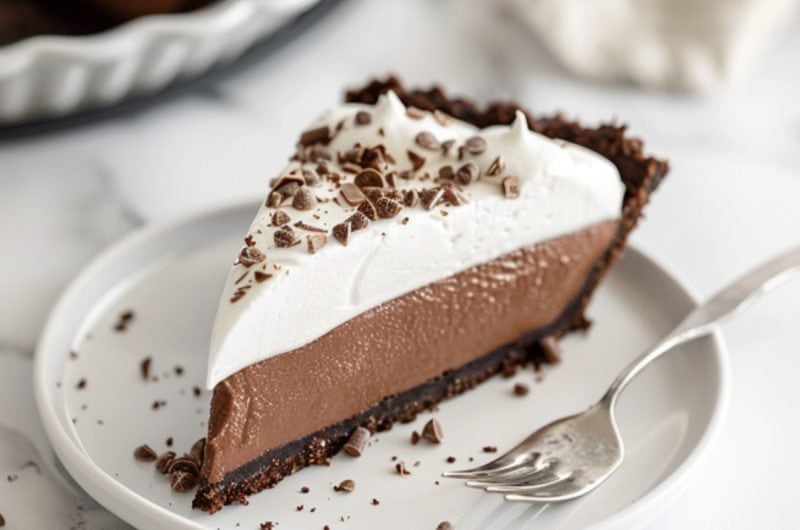
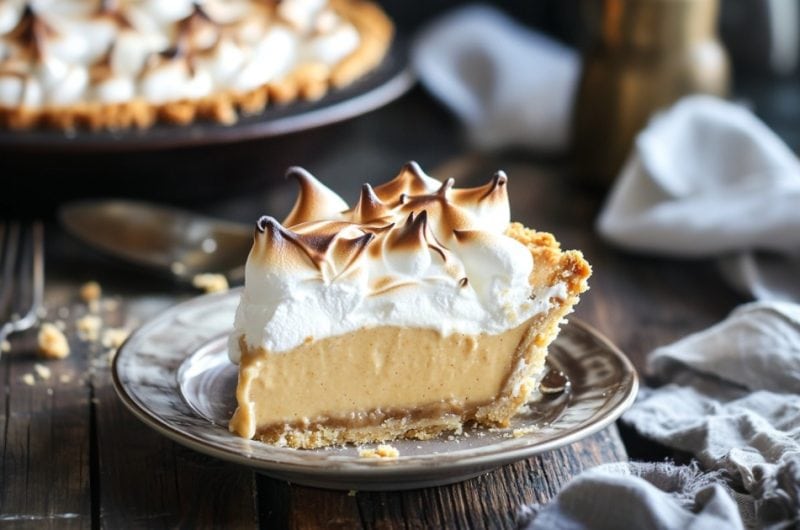
Boston Cream Pie
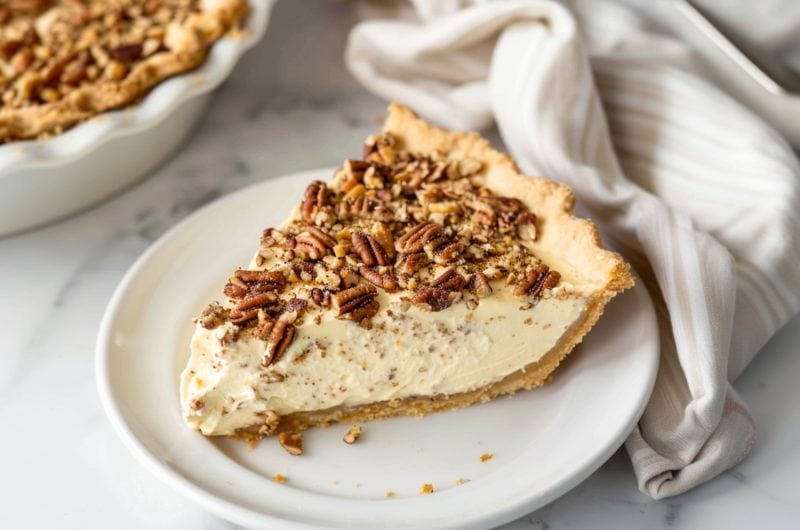
Maple Cream Pie
8
servings10
minutes20
minutes450
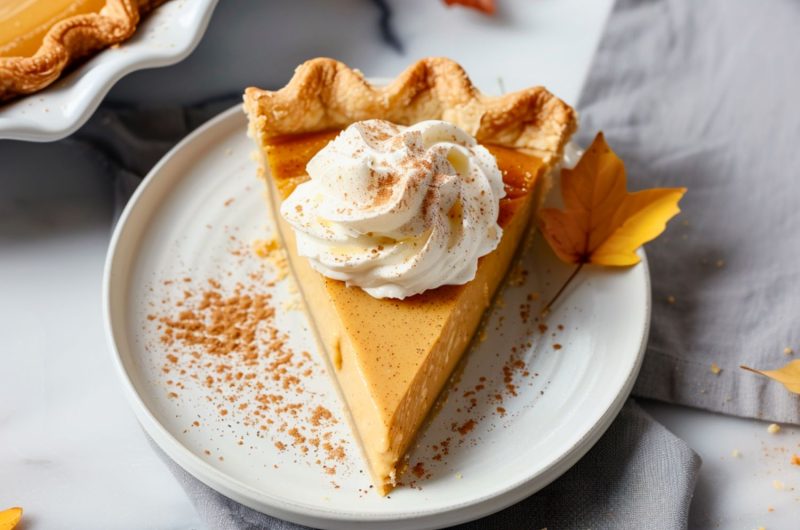
kcalEmbrace the sweet essence of fall with this heavenly maple cream pie. It features a rich, silky-smooth custard nestled in a perfectly flaky crust.
Ingredients
1 1/4 cups pure maple syrup
2 cups whole milk
1 cup heavy cream
6 large egg yolks, room temperature
1/4 cup cornstarch
1/2 teaspoon salt
2 tablespoons butter, softened
1 teaspoon vanilla extract
1 (9-inch) pie crust, pre-baked
Instructions
- In a medium saucepan, bring the maple syrup to a boil over high heat. Reduce the temperature to medium-low and simmer it for about 10 minutes, until the syrup has reduced by half. Remove from the heat.
- While the maple syrup reduces, warm the milk and cream in a separate large saucepan over medium heat, stirring frequently, until it just begins to simmer around the edges.
- In a large bowl, whisk the egg yolks and cornstarch until thick and smooth. Very carefully stream about half of the hot milk mixture into the bowl, whisking constantly to prevent the eggs from scrambling. This is best done with a ladle.
- Pour the hot egg and milk mixture back into the large pot with the remaining hot milk and cream. Whisk constantly over medium heat until smooth, about 1-2 minutes.
- Add the salt and reduced maple syrup and keep cooking and whisking until the custard is thick, about 5-6 minutes.
- Immediately strain the custard through a sieve and stir in the butter and vanilla extract. Then pour the hot custard into the pre-baked pie crust. Press a sheet of plastic wrap directly onto the surface of the filling to keep a skin from forming.
- Let the pie cool for an hour at room temperature before transferring to the fridge for at least 4 hours or overnight.
- Serve chilled with whipped cream, if desired. Enjoy!
Notes
- Use high-quality maple syrup for the best taste and texture.
- Monitor the reducing syrup closely and stir frequently to prevent burning.
- Before adding the custard, brush the bottom of the crust with lightly beaten egg whites. Doing so will add a moisture barrier and prevent sogginess.
Did you like the recipe?
Click on a star to rate it!
Average rating 5 / 5. Vote count: 1
No votes so far! Be the first to rate this post.
We are sorry that this post was not useful for you!
Let us improve this post!
Tell us how we can improve this post?








2 Responses
Hi Kim, this Maple pie sounds awesome. I’m a wee bit confused about the maple syrup, do you reduce the 1 1/4 cups to half & then use that reduced amount or do you reduce some syrup & then measure 1 1/4 c of the reduced syrup so there’s a full 1 1/4 c of syrup added to the recipe?
Hi Donna!
You’ll reduce the 1 1/4 cup and then use that leftover amount.
It gives you the same amount of flavor but doesn’t thin out the batter 🙂