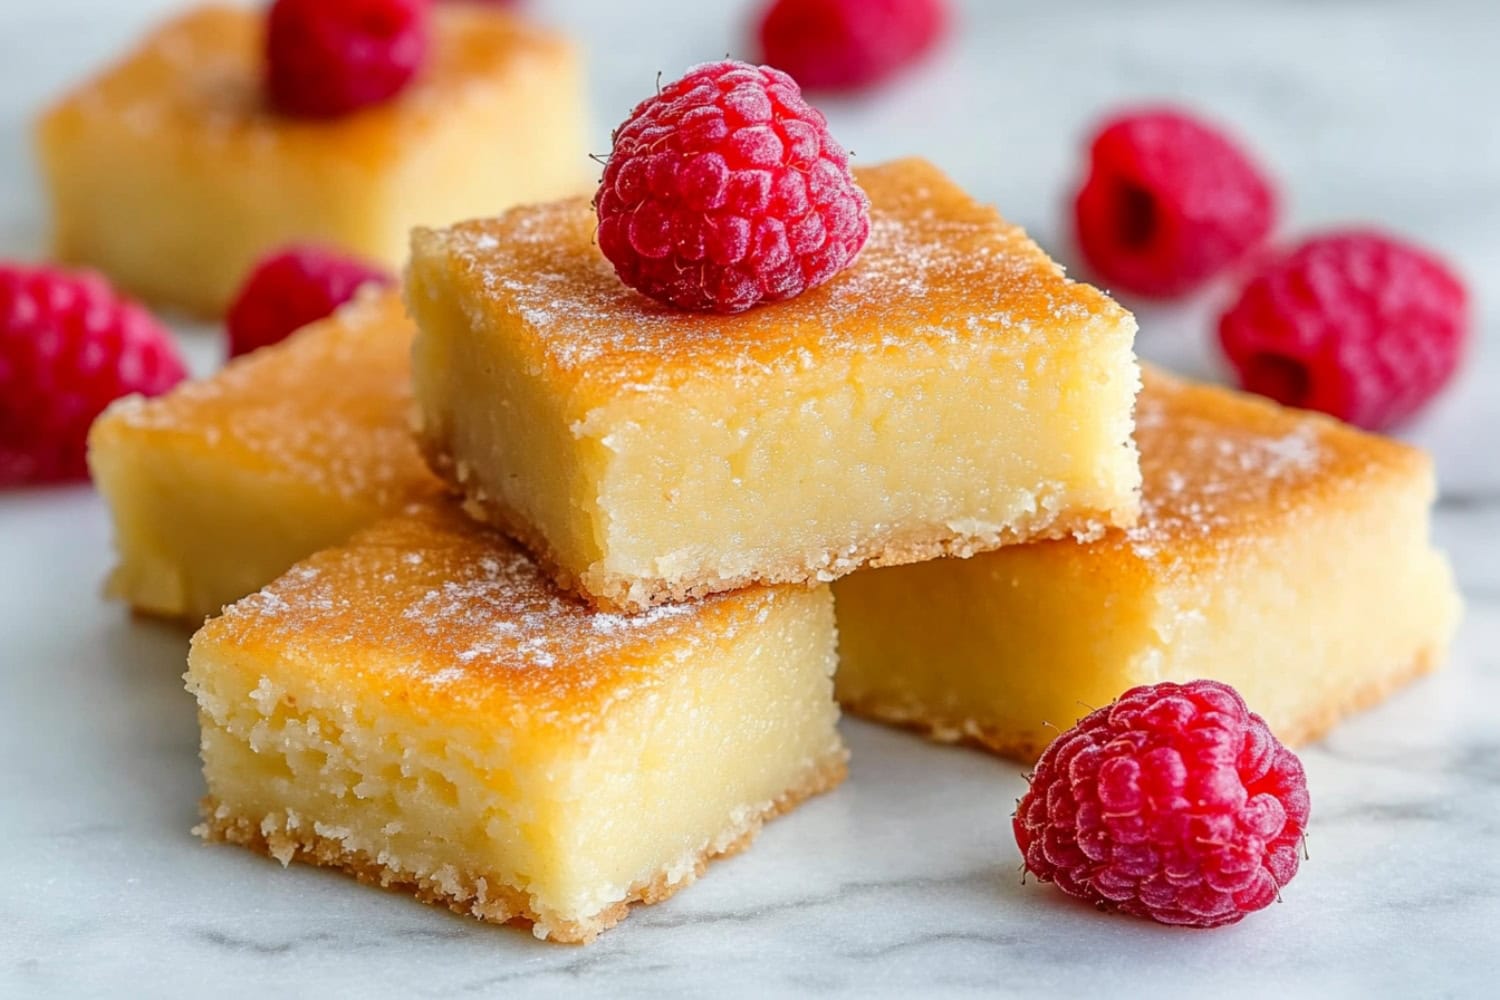
Aloha, friends! Today, I’m excited to share my Hawaiian butter mochi recipe.
This chewy coconut dessert will absolutely blow your taste buds away. And as it bakes, your kitchen will be filled with irresistible tropical aromas.
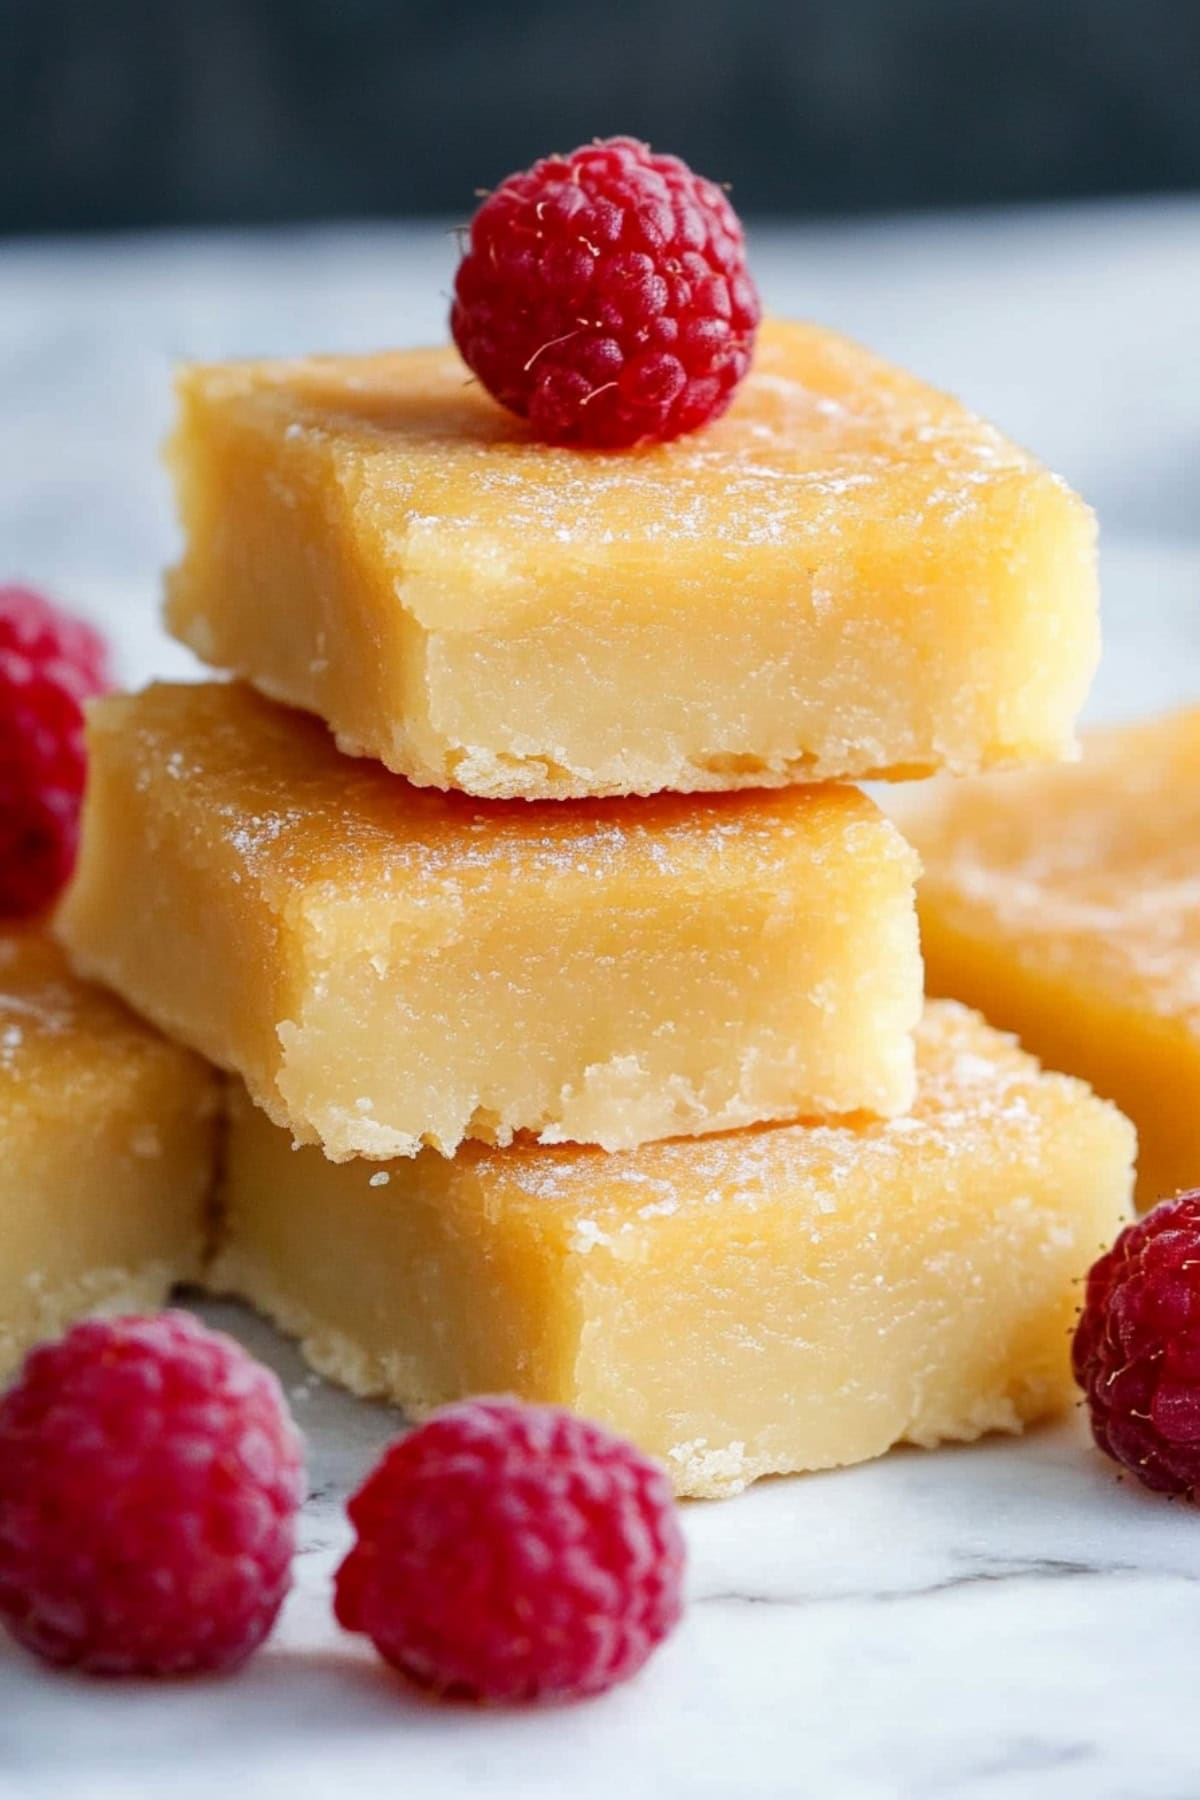
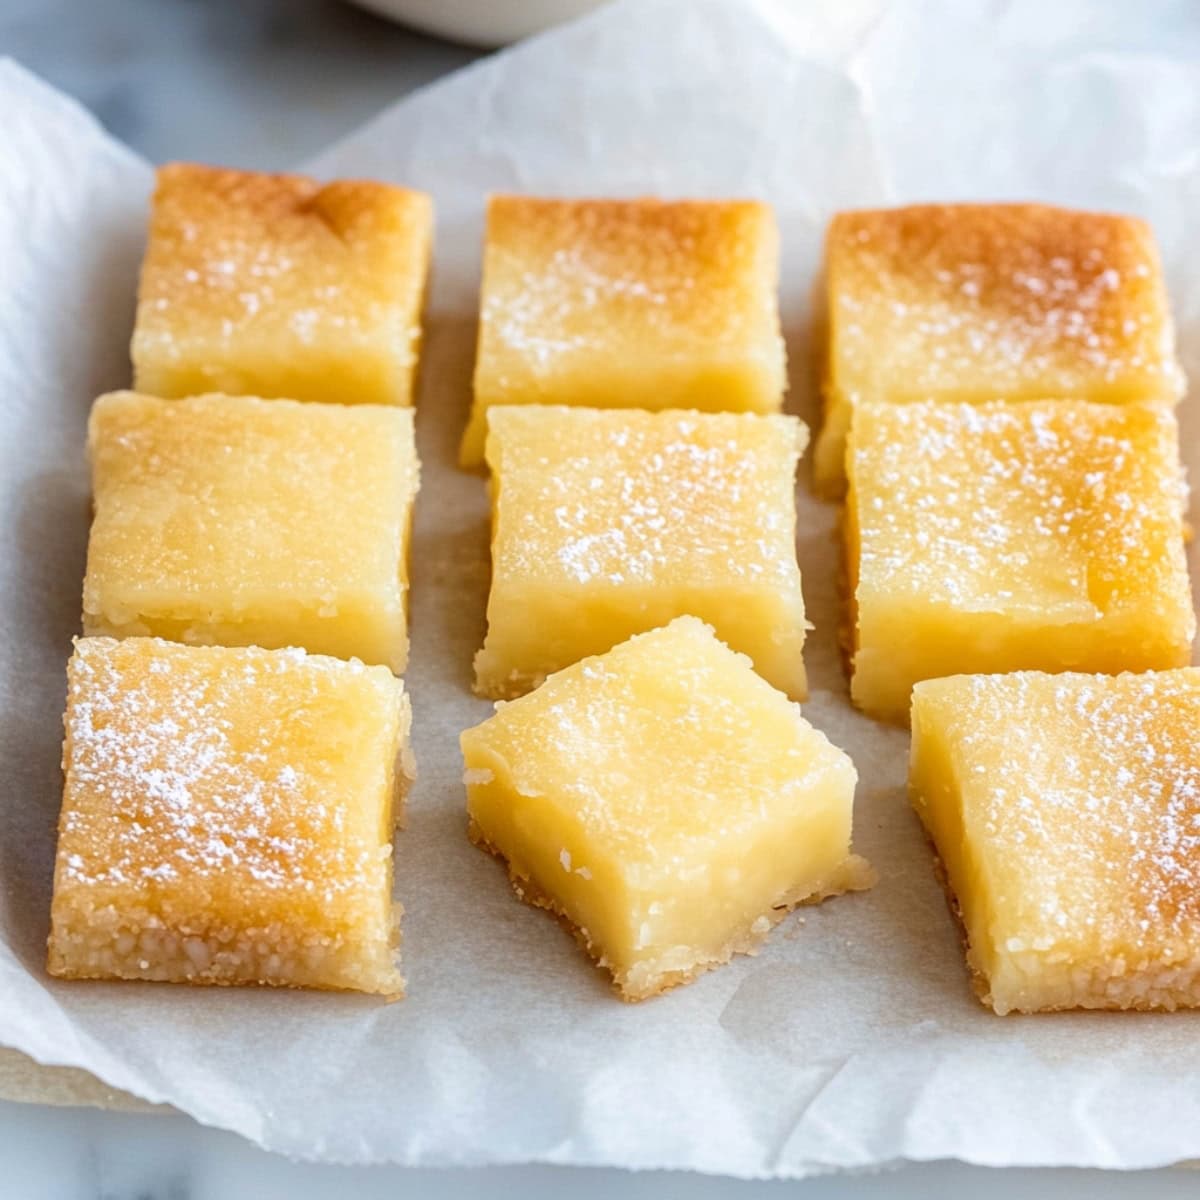
A simple mix of butter, sugar, coconut milk, and sweet rice flour, it’s sticky, custardy, and absolutely delicious.
Butter mochi is a staple at Hawaiian potlucks and gatherings. Once you taste it, you’ll understand why.
What Is Butter Mochi?
Butter mochi is a deliciously chewy Hawaiian dessert made with sweet rice flour (also known as mochiko), coconut milk, sugar, and butter.
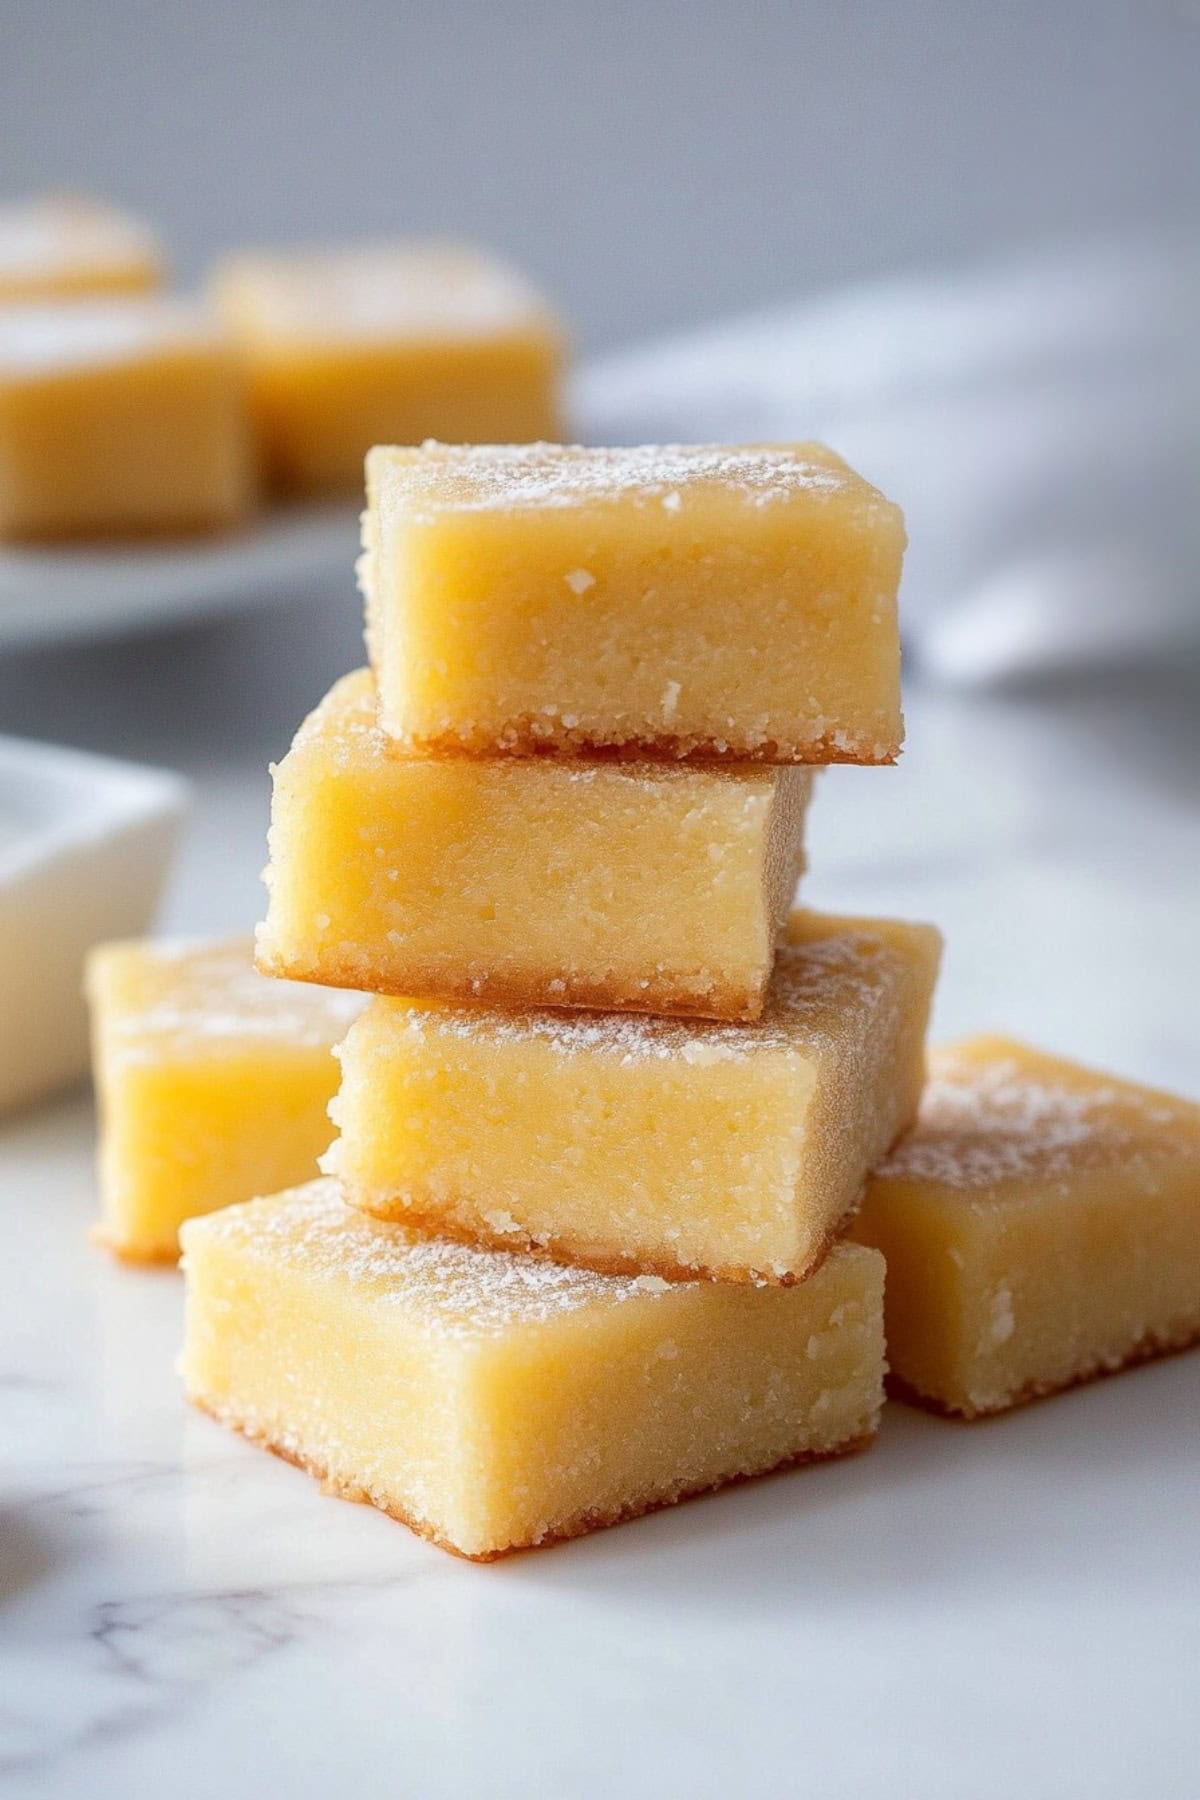
It’s a wonderful cross between a cake and a chewy mochi treat.
Unlike traditional mochi, which can be sticky and soft, butter mochi is baked, giving it a golden, crisp top.
What makes butter mochi so special is its balance of textures and flavors. The sweet rice flour gives it that signature chewy bite, while the butter and coconut milk add richness and a tropical flair.
It’s naturally gluten-free, too, making it ideal for parties.
Why You’ll Love This Hawaiian Butter Mochi
Uniquely Chewy Texture: Unlike standard mochi, which can be gummy, Hawaiian mochi is chewy, sticky, and to die for.
Easy Elegance: Impress guests with a dessert that looks and tastes gourmet but requires minimal effort and pantry ingredients.
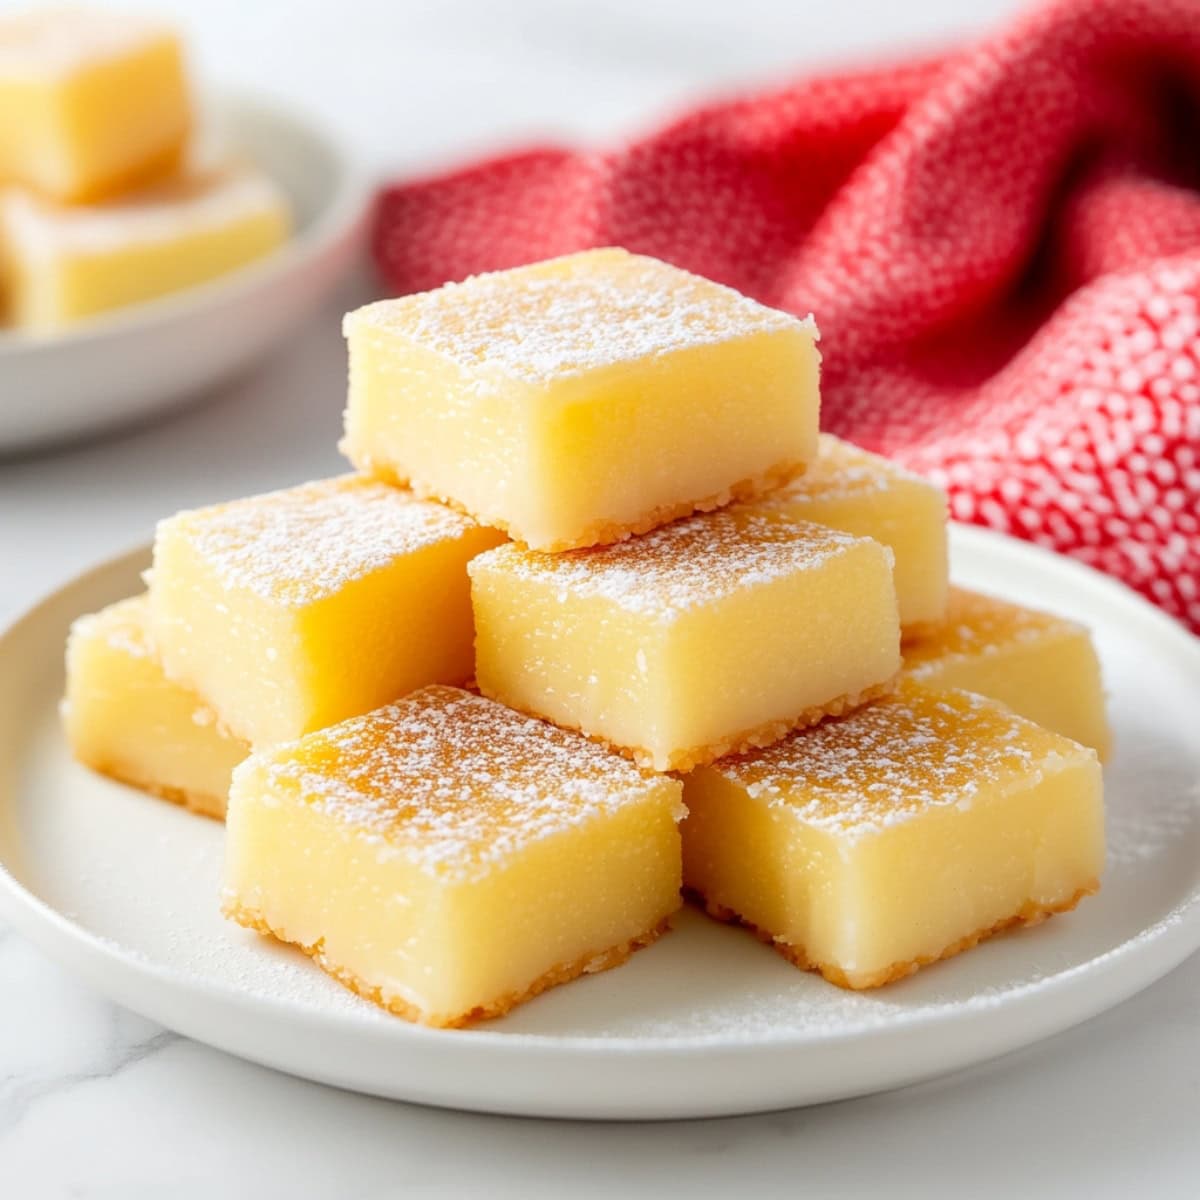
Versatile: Enjoy this adaptable dessert warm or cold, as a snack, dessert, or even breakfast.
Cultural Fusion: Explore the delicious blend of Hawaiian and Japanese culinary traditions in one recipe. It offers a taste of island life from the comfort of your home kitchen.
Ingredients
- Mochiko Sweet Rice Flour: The star ingredient that gives butter mochi its signature chewy, sticky texture.
- Granulated Sugar: Adds the perfect amount of sweetness.
- Baking Powder: Provides a slight lift and cakiness to the dense mochi.
- Salt: Enhances all the flavors and tempers the sweetness.
- Unsalted Butter: Lends a luxurious, melt-in-your-mouth richness to every bite.
- Vanilla Extract: Infuses the mochi with a subtle, fragrant aroma.
- Large Eggs: Act as a binder and give structure to the mochi.
- Unsweetened Coconut Milk: Imparts a tropical, nutty flavor that compliments the butter beautifully.
- Whole Milk: Adds creaminess and depth to the overall taste and texture.
How to Make Hawaiian Butter Mochi
The magic ingredient here is mochiko, a sweet rice flour that gives the dessert its signature texture.
Combined with rich butter, aromatic vanilla, and creamy coconut, this recipe creates a harmonious symphony of flavors.
And yet, it’s a breeze to whip up!
1. PREP: Set the oven to 350°F. Grease the 9×13-inch pan or line it with parchment paper.
2. WHISK: Blend the mochiko flour, sugar, baking powder, and salt in a large bowl.
3. MIX: In a separate bowl, whisk the melted butter, vanilla, beaten eggs, whole milk, and coconut milk until smooth.
4. BLEND: Make a well in the dry ingredients, pour in the wet mixture, and whisk until smooth.
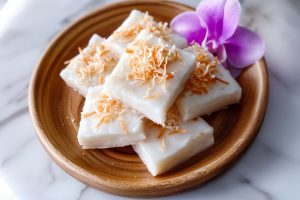
5. STRAIN: Pour the batter into the prepared pan, and sprinkle shredded coconut on top if desired.
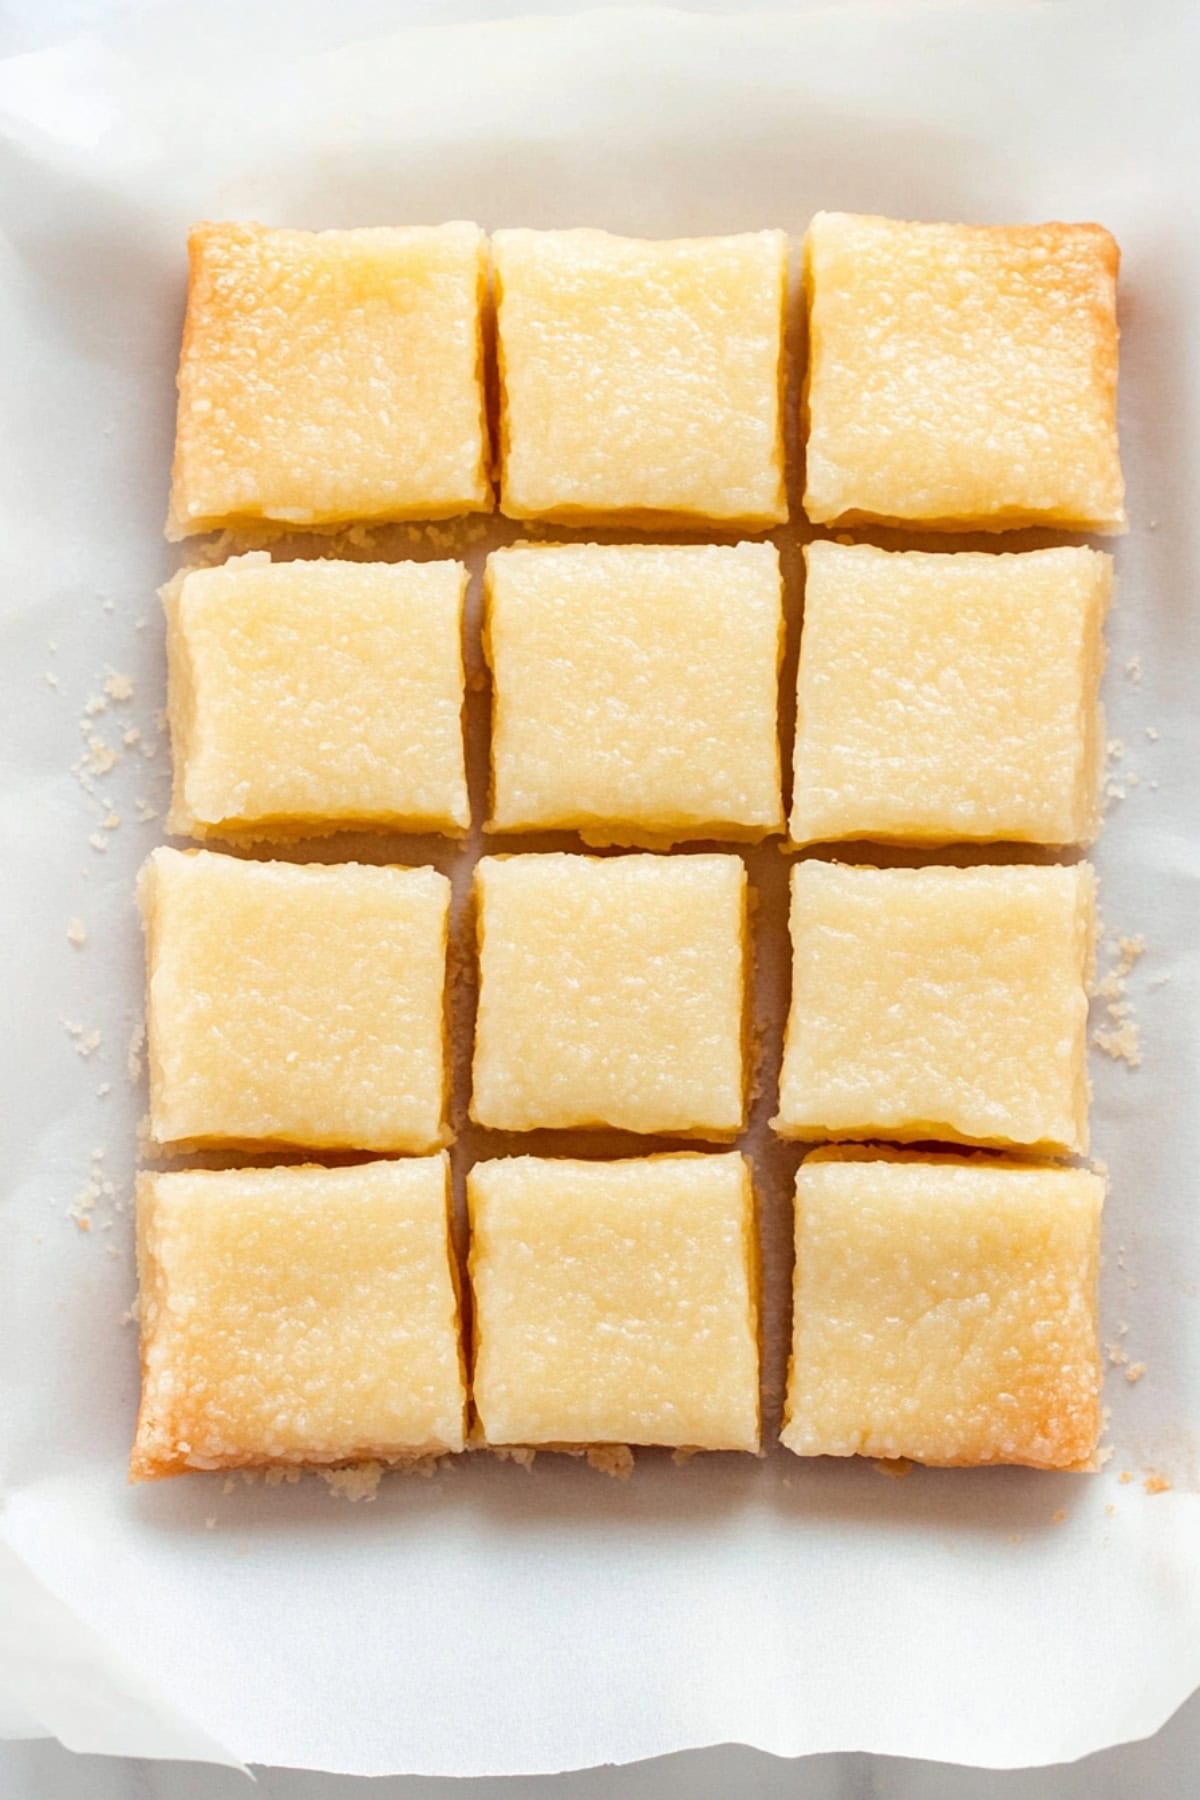
6. BAKE: Cook for 50-60 minutes until golden brown, with a slightly sticky texture. Cool in the pan, then slice and dive in!
Tips For the Best Hawaiian Butter Mochi
One of the joys of making butter mochi is its simplicity. Just mix the ingredients, pour the batter into a pan, and let the oven work its magic.
But if you’ve never made it before, check out these tips before you begin:
- Choose the correct flour. Be sure to use mochiko sweet rice flour, not regular rice flour. Otherwise, you will not achieve the signature chewy mochi texture.
- Butter temperature. To avoid cooking the eggs, wait for the melted butter to cool slightly before mixing it with the other wet ingredients.
- Don’t be gentle. Rice flour is gluten-free so you can whisk this pretty vigorously to remove lumps.
- Strain the batter. This will guarantee it’s lump-free.
- Remove air bubbles. After pouring the batter into the baking pan, wait 2-3 minutes for it to settle, then gently tap the pan on the counter to pop any air bubbles.
- Adjust the butter. For a lighter, cakier texture, reduce the butter to 1/4 cup. For denser mochi, use the full 1/2 cup.
- Variations. Add 1 cup of unsweetened shredded coconut to the batter before baking for more coconut flavor. Or try ube extract, matcha powder, or pandan extract to change the color and flavor.
How to Store
This dreamy Hawaiian dessert has stolen my heart with its irresistibly chewy texture and rich, buttery flavor.
So much so, my first batch vanished within a day!
Got more willpower than me? Here’s how to store it:
To Store: Place cooled butter mochi in an airtight container at room temperature for up to 3 days or in the fridge for a week. Bring it to room temperature before serving for the best texture.
To Freeze: Wrap individual portions in plastic and foil, then place in a freezer-safe container or bag. Freeze for 2-3 months.
More Classic Hawaiian Recipes to Try
Haupia (Hawaiian Coconut Pudding)
Hawaiian Pulled Pork Sandwich
Hawaiian Macaroni Salad
Hawaiian Roll French Toast

Hawaiian Butter Mochi
20
servings15
minutes1
hour258
kcalHawaiian butter mochi is a simple yet irresistible treat featuring a lusciously chewy texture and buttery coconut flavor. One bite, and you’ll swoon.
Ingredients
1 (16 ounce) box mochiko sweet rice flour
2 cups granulated sugar
2 teaspoons baking powder
1/2 teaspoon salt
1/2 cup unsalted butter, melted and cooled
2 cups whole milk
1 (13.5 ounce) can unsweetened coconut milk
4 large eggs, lightly beaten
2 teaspoons vanilla extract
1/2 cup unsweetened shredded coconut, optional
Instructions
- Preheat the oven to 350°Fahrenheit. Grease a 9×13-inch baking pan with butter or line it with parchment paper. Set aside.
- In a large bowl, whisk the mochiko flour, sugar, baking powder, and salt until well combined.
- In a separate bowl, whisk the melted butter, whole milk, coconut milk, eggs, and vanilla until smooth.
- Make a well in the center of the dry ingredients and pour in the wet. Whisk well until no lumps remain.
- Strain the batter into the baking pan and sprinkle the shredded coconut on top, optional.
- Bake for 50-60 minutes until the top is golden brown. The mochi will have a slightly sticky texture, so a toothpick inserted in the center may have a few moist crumbs.
- Allow the mochi to cool completely in the pan before cutting into squares. Serve and enjoy!
Notes
- Be sure to use mochiko sweet rice flour, not regular rice flour, to get the signature chewy mochi texture.
- For a lighter, cakier texture, reduce the butter to 1/4 cup. For denser mochi, use the full 1/2 cup.
- After pouring the batter into the baking pan, wait 2-3 minutes for it to settle, then gently tap the pan on the counter to pop any air bubbles.