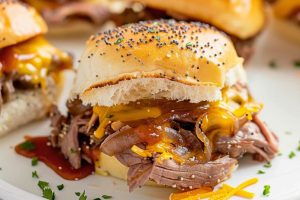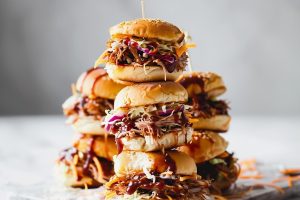
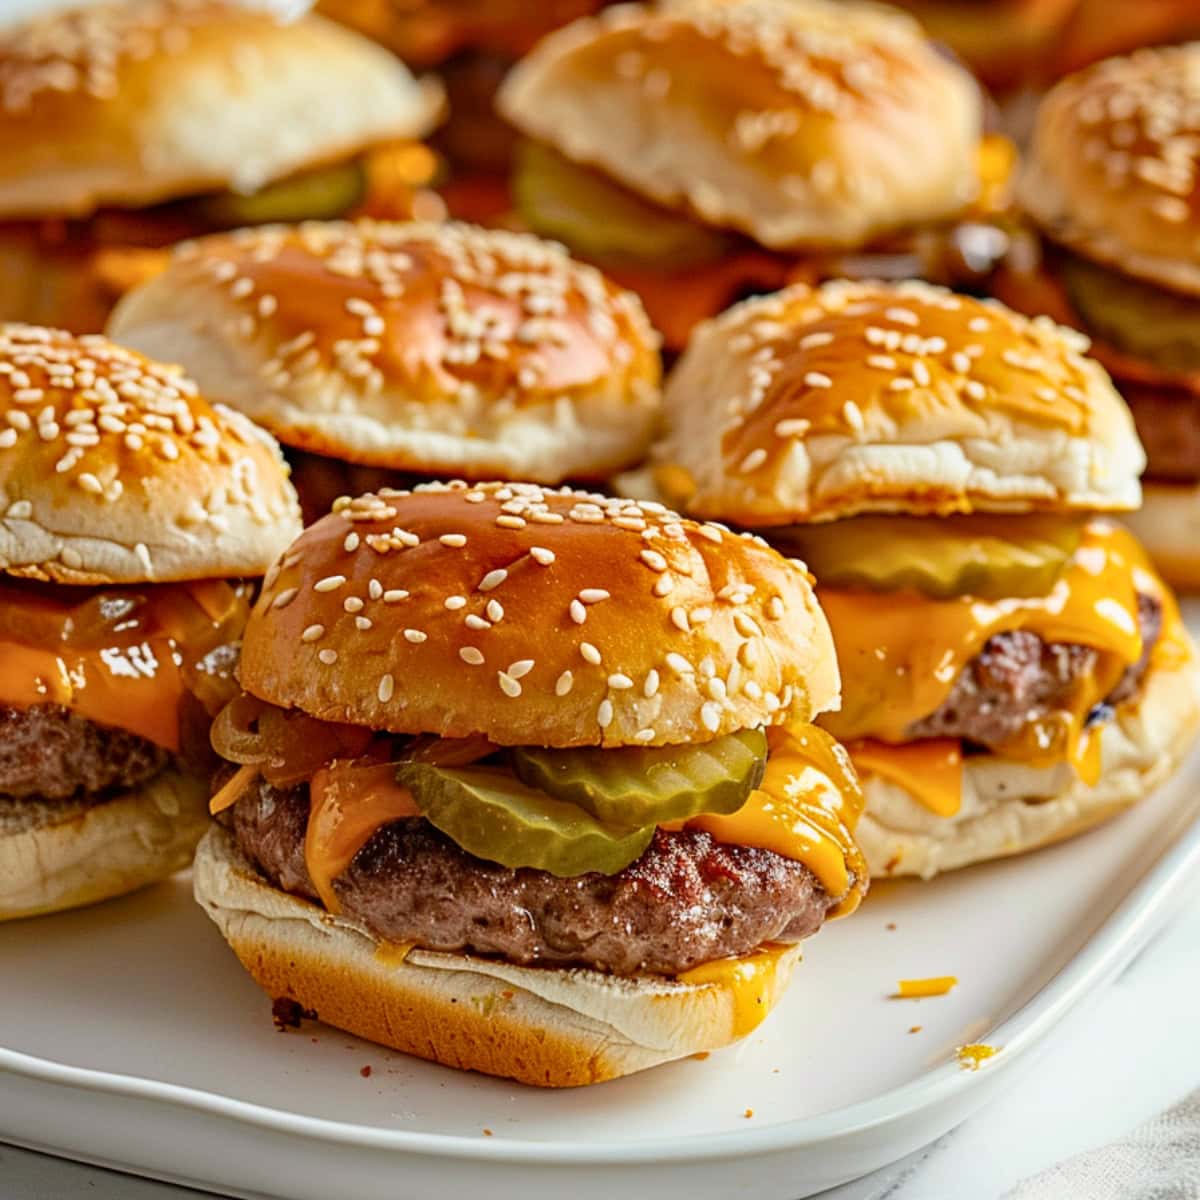
These cheeseburger sliders are about to be your new obsession!
These little guys pack all the flavors of a classic cheeseburger into the perfect handheld size.

These cheeseburger sliders are ideal for any occasion, from game-day snacks to summer cookouts. They’re a breeze to make and always a crowd favorite.
Plus, their miniature size means you can easily sneak seconds (or thirds!) without feeling too guilty.
Why You’ll Love These Cheeseburger Sliders
Quick Cooking: Sliders cook up much faster than full-size burgers, so you can get dinner on the table in a flash. Less time manning the grill means more time enjoying your meal.
Crowd Pleasers: Cheeseburger sliders are the perfect party food. Their small size and classic flavors make them irresistible crowd-pleasers.
Endless Customization: From the type of cheese to creative toppings, sliders offer endless possibilities for customization. Mix and match toppings so everyone can craft their perfect mini burger.
Ingredients
- Slider buns: I like to use Hawaiian rolls here. I love how their mild sweetness complements the savory meat.
- Ground beef: Opt for lean ground beef to keep things less greasy while still juicy. A leaner mix like 90/10 or 80/20 strikes the right balance.
- Seasonings: I use a mix of onion powder, garlic powder, salt, and pepper to flavor the beef.
- Vegetable oil: A dab of oil prevents sticking and gives your patties a golden sear.
- Mayonnaise, ketchup, and yellow mustard: Whisk these three together for a creamy, tangy sauce.
- Shredded cheddar cheese: It’s all about that melt! Cheddar brings a sharpness and gooeyness that ties everything together.
- Dill pickles: They introduce a pop of tang and crunch. Their acidity cuts through the sliders’ richness.

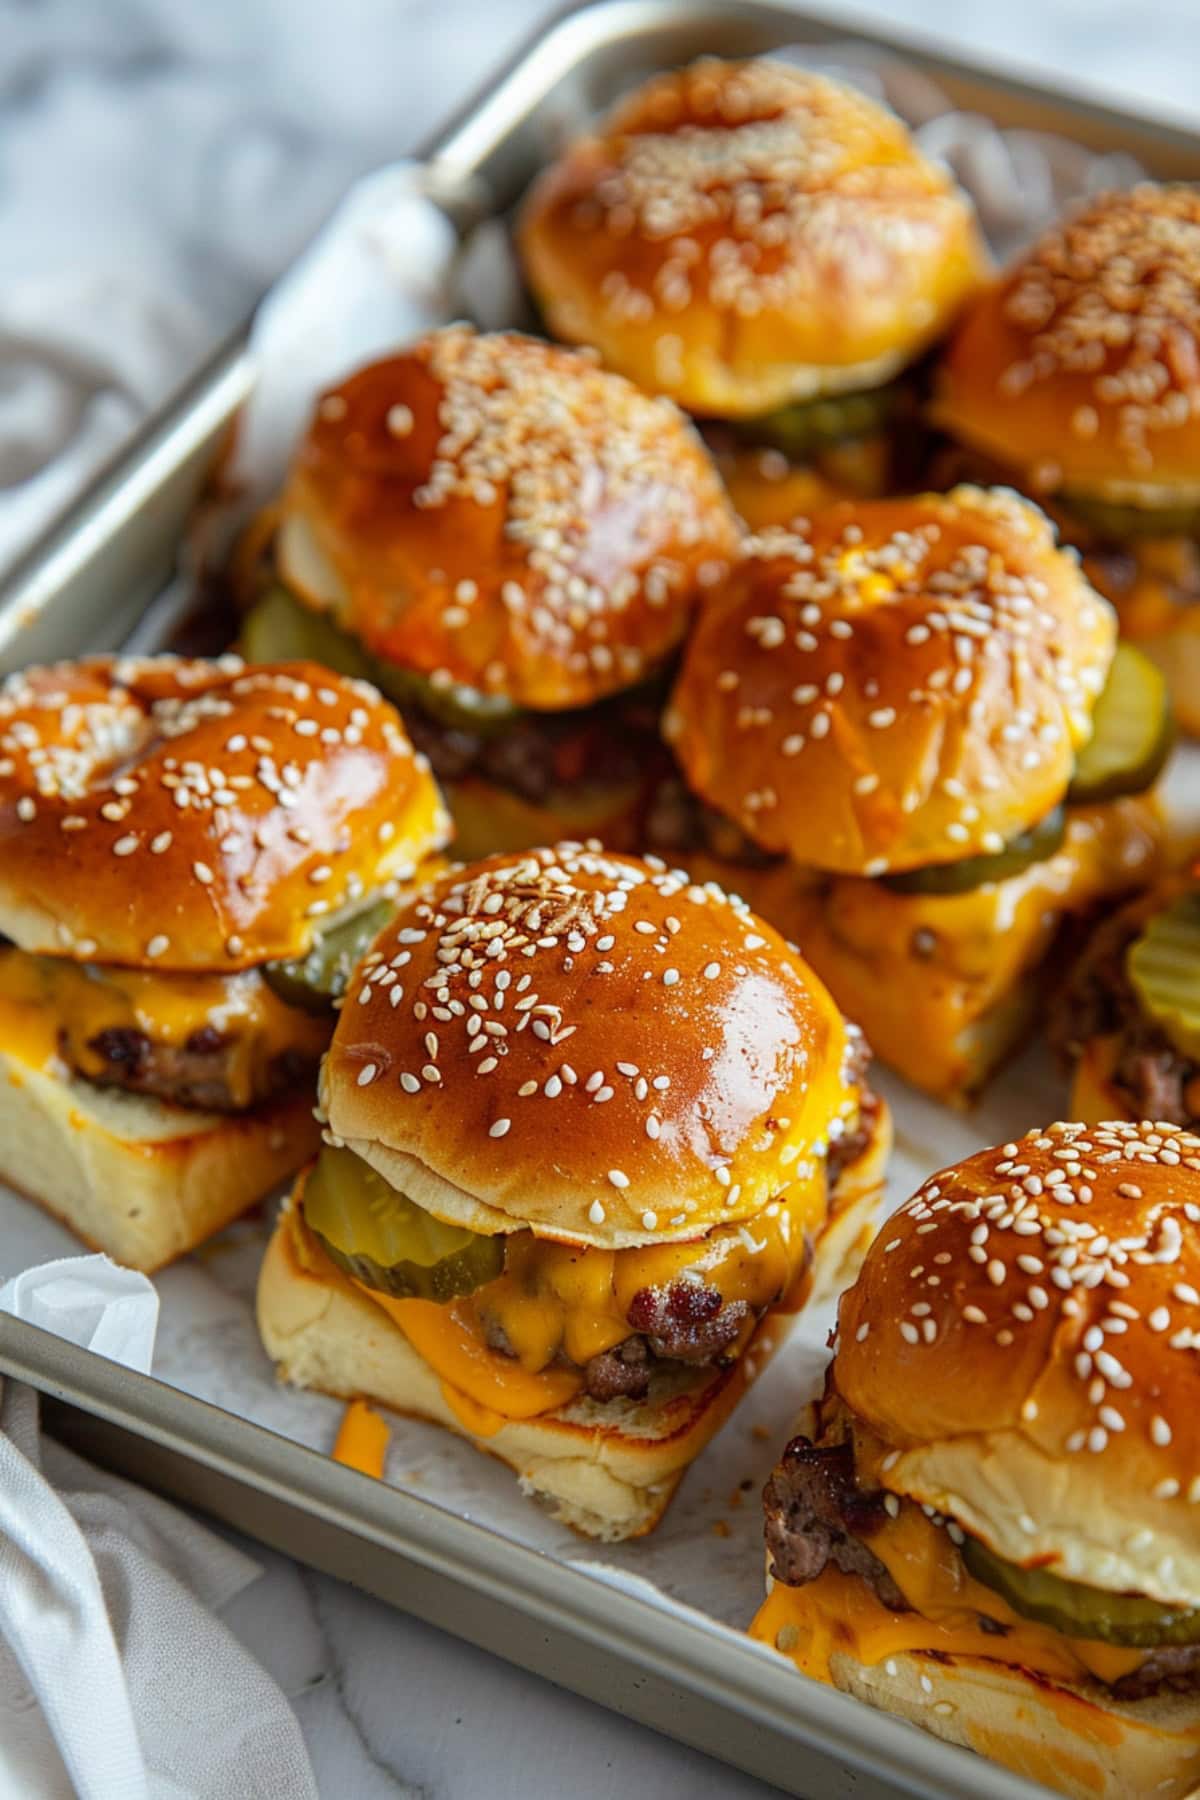
How to Make Cheeseburger Sliders
Here’s how to make easy, show-stopping cheeseburger sliders.
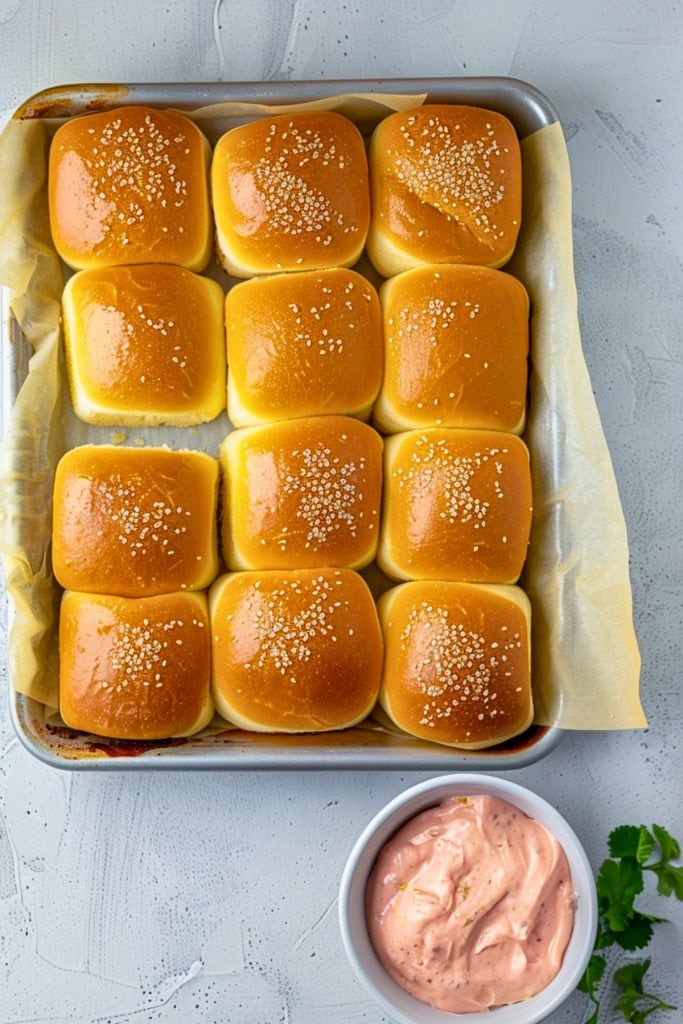
1. Prep. Preheat the oven to 375 degrees Fahrenheit and line your baking pan with parchment paper. Split your slider buns and lay out the bottoms.
2. Mix the meat. In a bowl, combine the ground beef with your seasonings. Do not overmix!
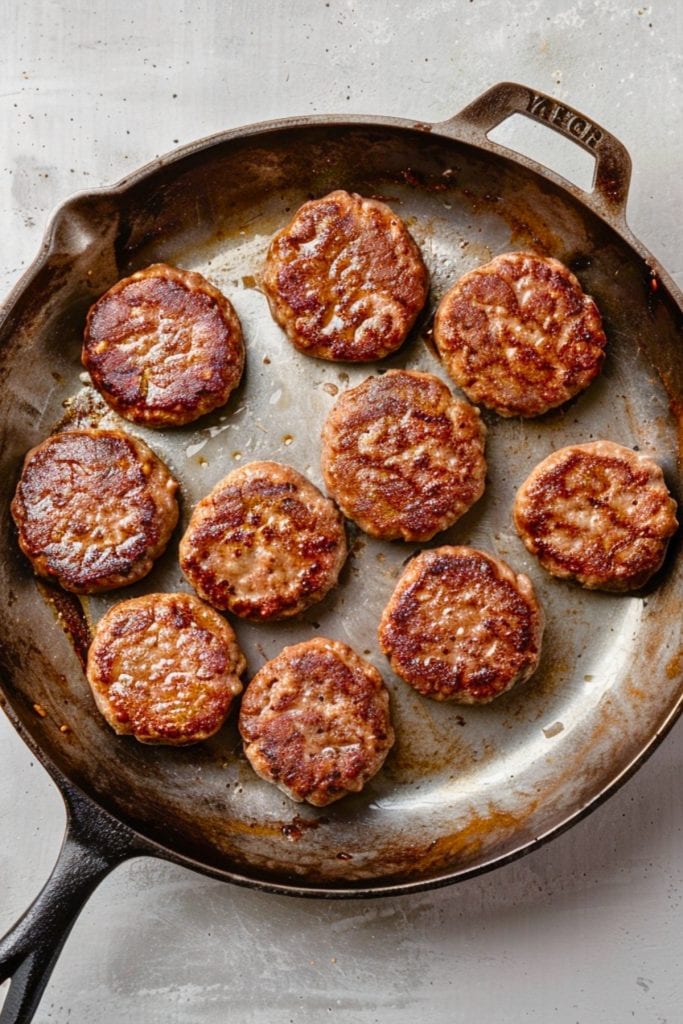
3. Shape and cook the patties. Form the mixture into 12 patties. Cook in an oiled skillet over medium-high until nicely browned, about 3-4 minutes per side.
4. Whisk up the sauce. Stir together the mayonnaise, ketchup, and mustard. Spread the sauce mix on the cut sides of your buns.
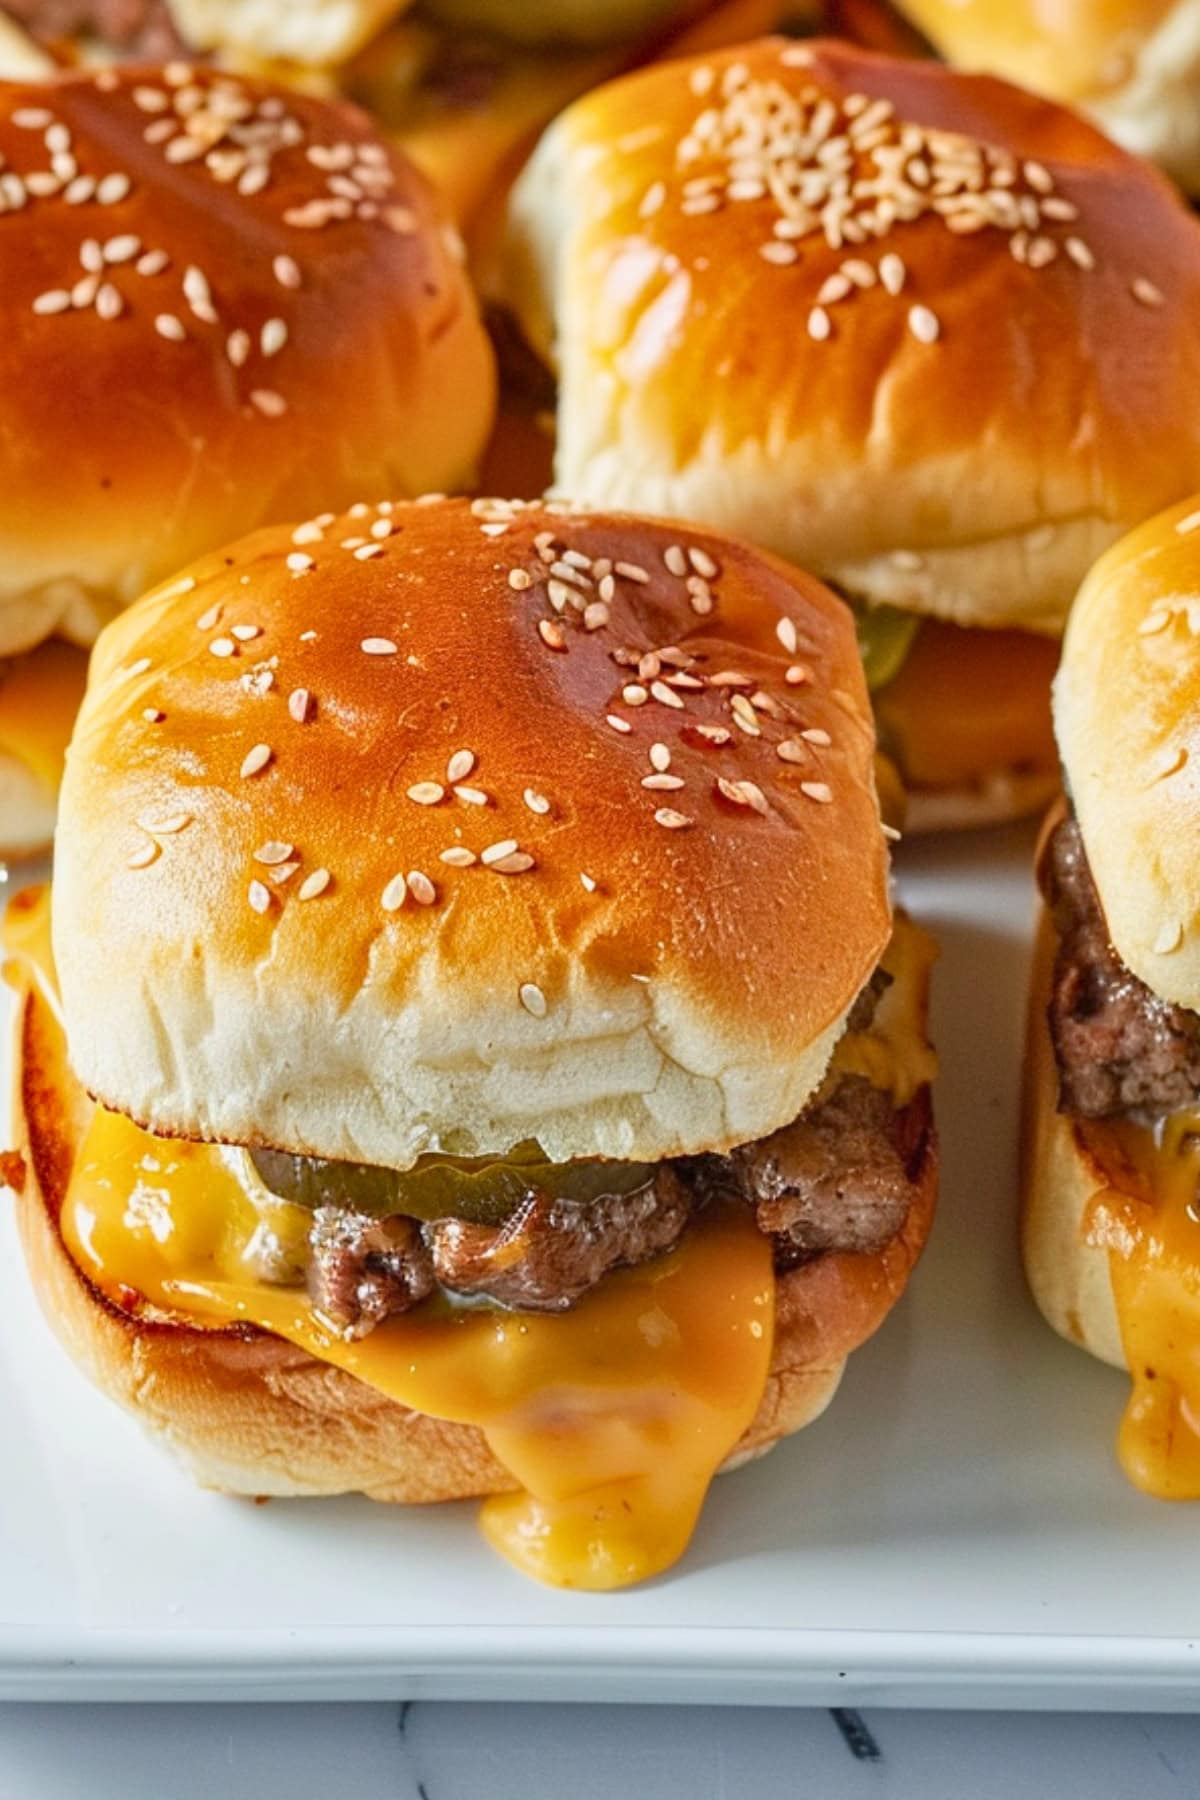
5. Assemble. Top the bottom buns with cheese, patties, then pickles. Cap them with the top buns.
6. Bake. Pop them in the oven for 8-10 minutes until the cheese is melty and the buns are toasty.
7. Serve. Serve them hot, and watch them disappear!
Tips for the Best Cheeseburger Sliders
Here are some tips to help you make sliders like a pro:
- Be gentle! Mix the ground beef just enough to combine. Overworked meat yields tough and dry patties.
- Watch the temperature. Use an instant-read thermometer to ensure your sliders hit the perfect internal temperature. For medium rare, it should read 130-135°F.
- Ditch the excess fat. Spoon out any fat and liquid from the beef to avoid soggy buns.
- Make a cheese barrier. Place cheese beneath and atop the patty. It helps lock in moisture without drenching the buns.
- Try a sesame seed trick. Elevate your buns by brushing the tops with melted butter, then sprinkling sesame seeds on top.
- Rest the burgers. After baking, cover the sliders and let them rest for a few minutes. This helps distribute the juices evenly and ensures the cheese is perfectly melted.
- Do a toothpick trick. Insert a toothpick in the center of each slider to keep all the components together.
Variations
Spice up your cheeseburger sliders with these creative twists next time around.
- Pack on some peanut butter. Don’t knock it till you try it. A dollop of peanut butter can transform your cheeseburger slider into a sweet-savory treat.
- Mix up the toppings: Beyond the classics, think about adding tomatoes, extra pickles, or bacon.
- Be cheesy. Experiment with different cheese options. Each brings its own personality to your sliders.
- Go lean and mean. Swap out beef for ground turkey or chicken for a lighter take on the traditional slider.
- Sauce things up. Slather your buns with a zesty Big Mac sauce for an extra flavor kick.
- Grill ’em: For a charred taste, wrap your sliders in foil and grill them until the cheese melts.
How to Store
Prep your cheeseburger sliders in advance or store them with these tips.
To Make Ahead: Assemble the sliders a day in advance. Cover and chill until it’s time to bake. Take them out of the fridge 20 minutes before baking, and bake as instructed.
To Store: Refrigerate leftovers for 2-3 days.
To Freeze: For longer storage, wrap individual sliders tightly and freeze. This way, you can reheat them without thawing a whole batch. Thaw on the counter before reheating.
To Reheat: Reheat sliders in the oven wrapped in foil at 350°F for about 20 minutes. Or, zap a single slider in the microwave wrapped in a paper towel.
What to Serve with Cheeseburger Sliders
Turn this appetizer into a meal with sides that complement their flavors perfectly.
- Potato Wedges: Their crispy exterior and fluffy inside offer a satisfying contrast to the sliders’ juicy fillings.
- In-N-Out sauce: Dipping sliders in this tangy, creamy sauce enhances their flavor and adds a moist texture.
- Onion Rings: The crunchy, savory bite of onion rings pairs wonderfully with the softness of sliders.
- Sweet Potato Fries: Their sweet flavor and crispy texture make a delightful counterpoint to the savory meat.
- Tater Tots: These bite-sized potato morsels add a fun, crispy texture to your meal.
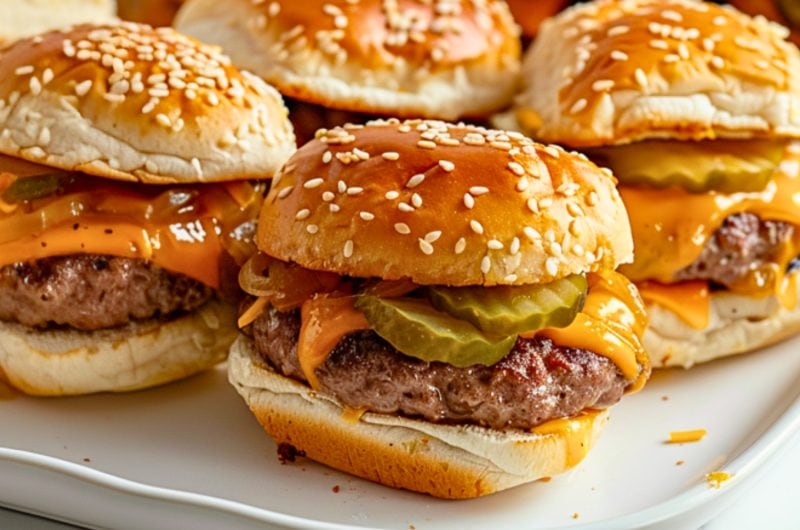
Cheeseburger Sliders
12
servings15
minutes20
300
kcalThese cheeseburger sliders are a must for any party! They have everything you love about burgers in a portable, bite-sized form.
Ingredients
12 slider buns
1 pound ground beef
1/2 teaspoon onion powder
1/4 teaspoon garlic powder
1/4 teaspoon salt
1/4 teaspoon black pepper
1 tablespoon vegetable oil
1/4 cup mayonnaise
1 tablespoon ketchup
1 teaspoon yellow mustard
1/2 cup shredded cheddar cheese
1/4 cup diced dill pickles
Instructions
- Preheat the oven to 375°Fahrenheit (190°Celsius). Line a baking sheet with parchment paper. Cut the slider buns in half horizontally. Place the bottom half of the sliders on the baking sheet.
- In a large bowl, combine ground beef, onion powder, garlic powder, salt, and pepper. Mix gently until just combined. Do not overmix.
- Heat the oil in a large skillet over medium-high heat. Form the beef mixture into 12 small patties, about 2 inches in diameter. Cook for 3-4 minutes per side or until browned and cooked through.
- Mix the mayonnaise, ketchup, and yellow mustard together in a small bowl.
- Spread the cut sides of the buns with the mayonnaise mixture.
- Layer each bottom bun with cheese, a cooked beef patty, and pickles (plus any additional toppings). Place the top bun on each slider.
- Arrange the assembled sliders on the prepared baking sheet. Bake for 8-10 minutes or until the cheese is melted and the buns are lightly toasted. Serve immediately and enjoy!
Notes
- Use 80/20 beef for the best results.
- For buns, King’s Hawaiian Rolls are popular, but any small roll, like potato buns, will do.