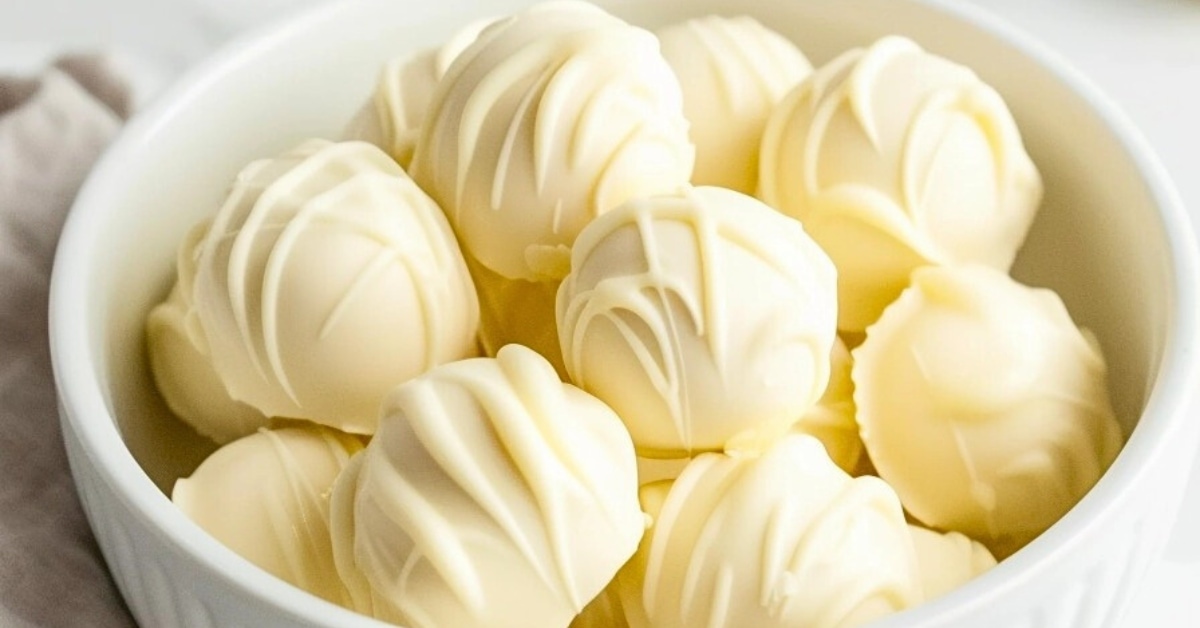
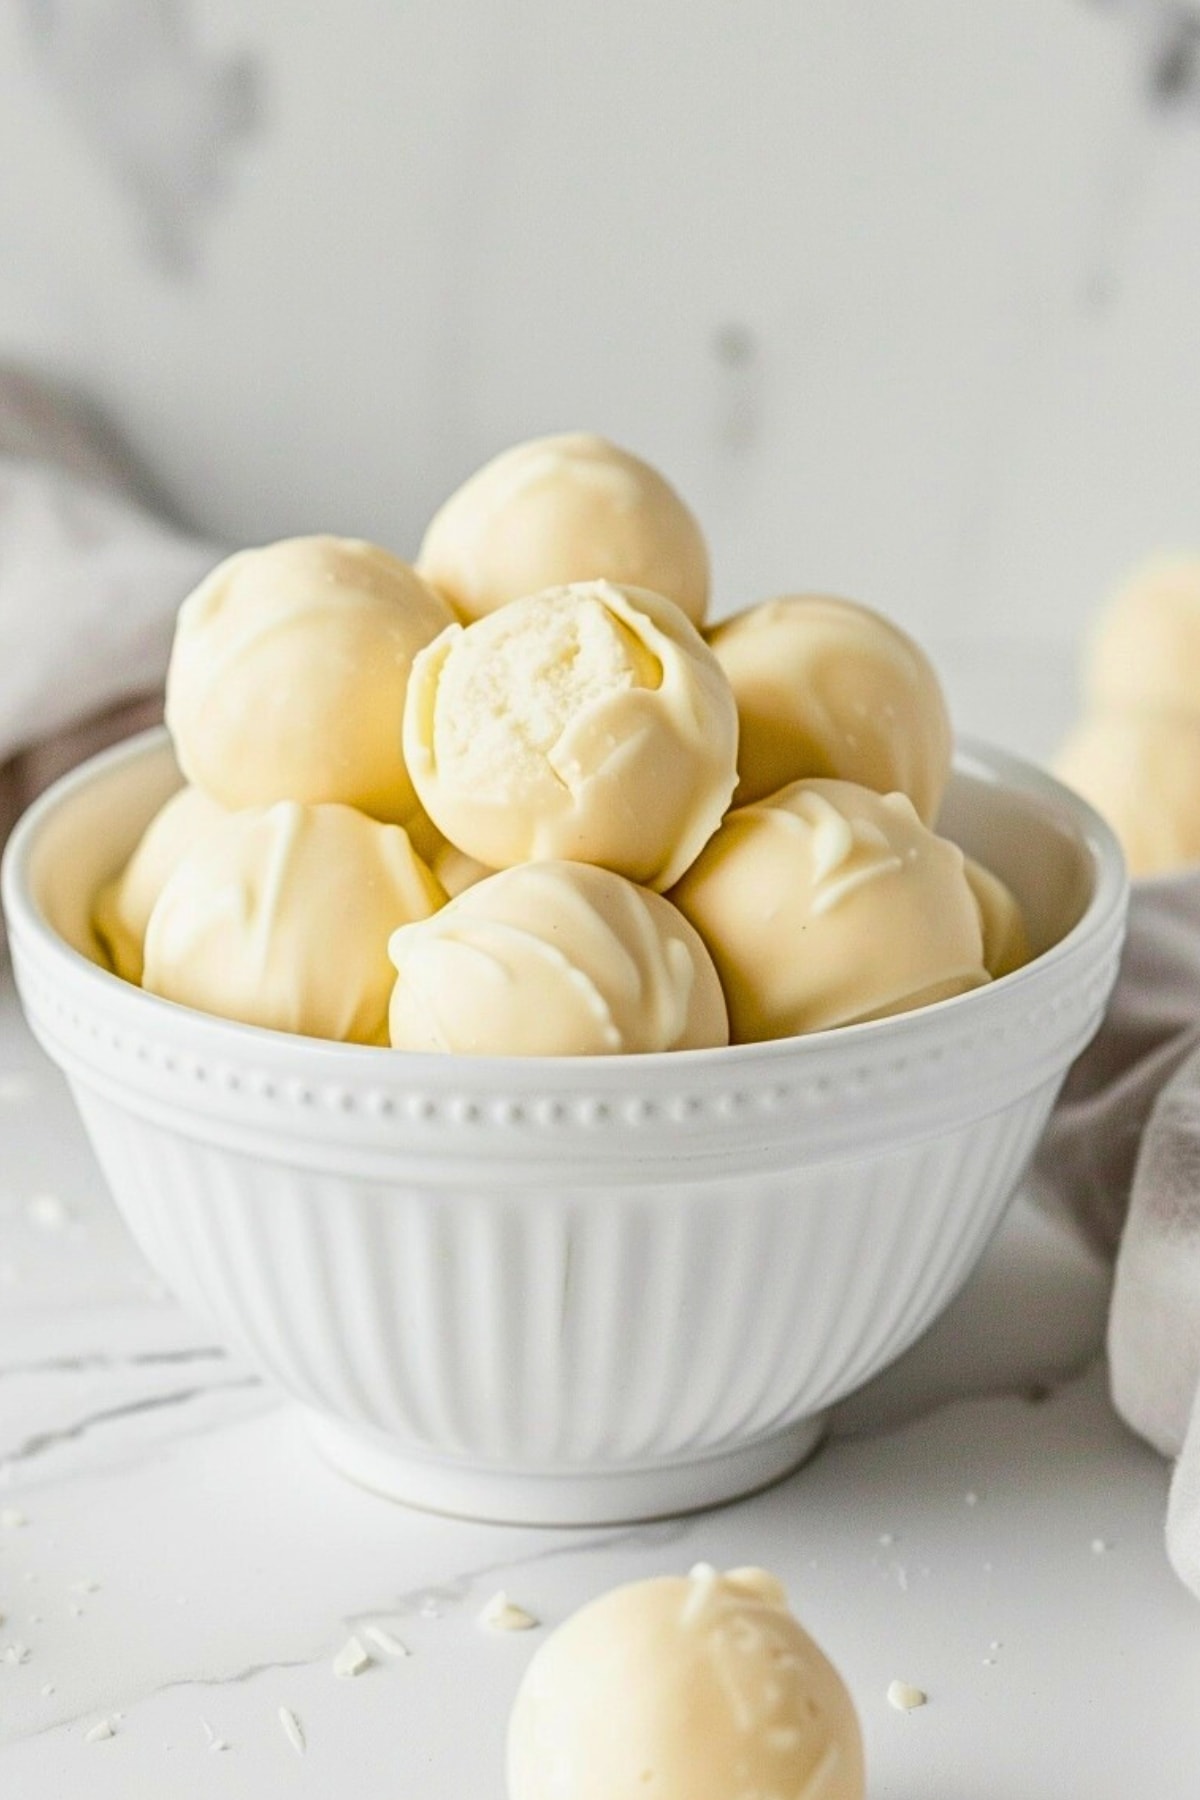
You’re guaranteed to fall in love with these white chocolate truffles!
They blend white chocolate with cream and butter to make a sweet, creamy, luxurious treat.
They’re so buttery, they melt in your mouth. And they’re surprisingly easy to make!
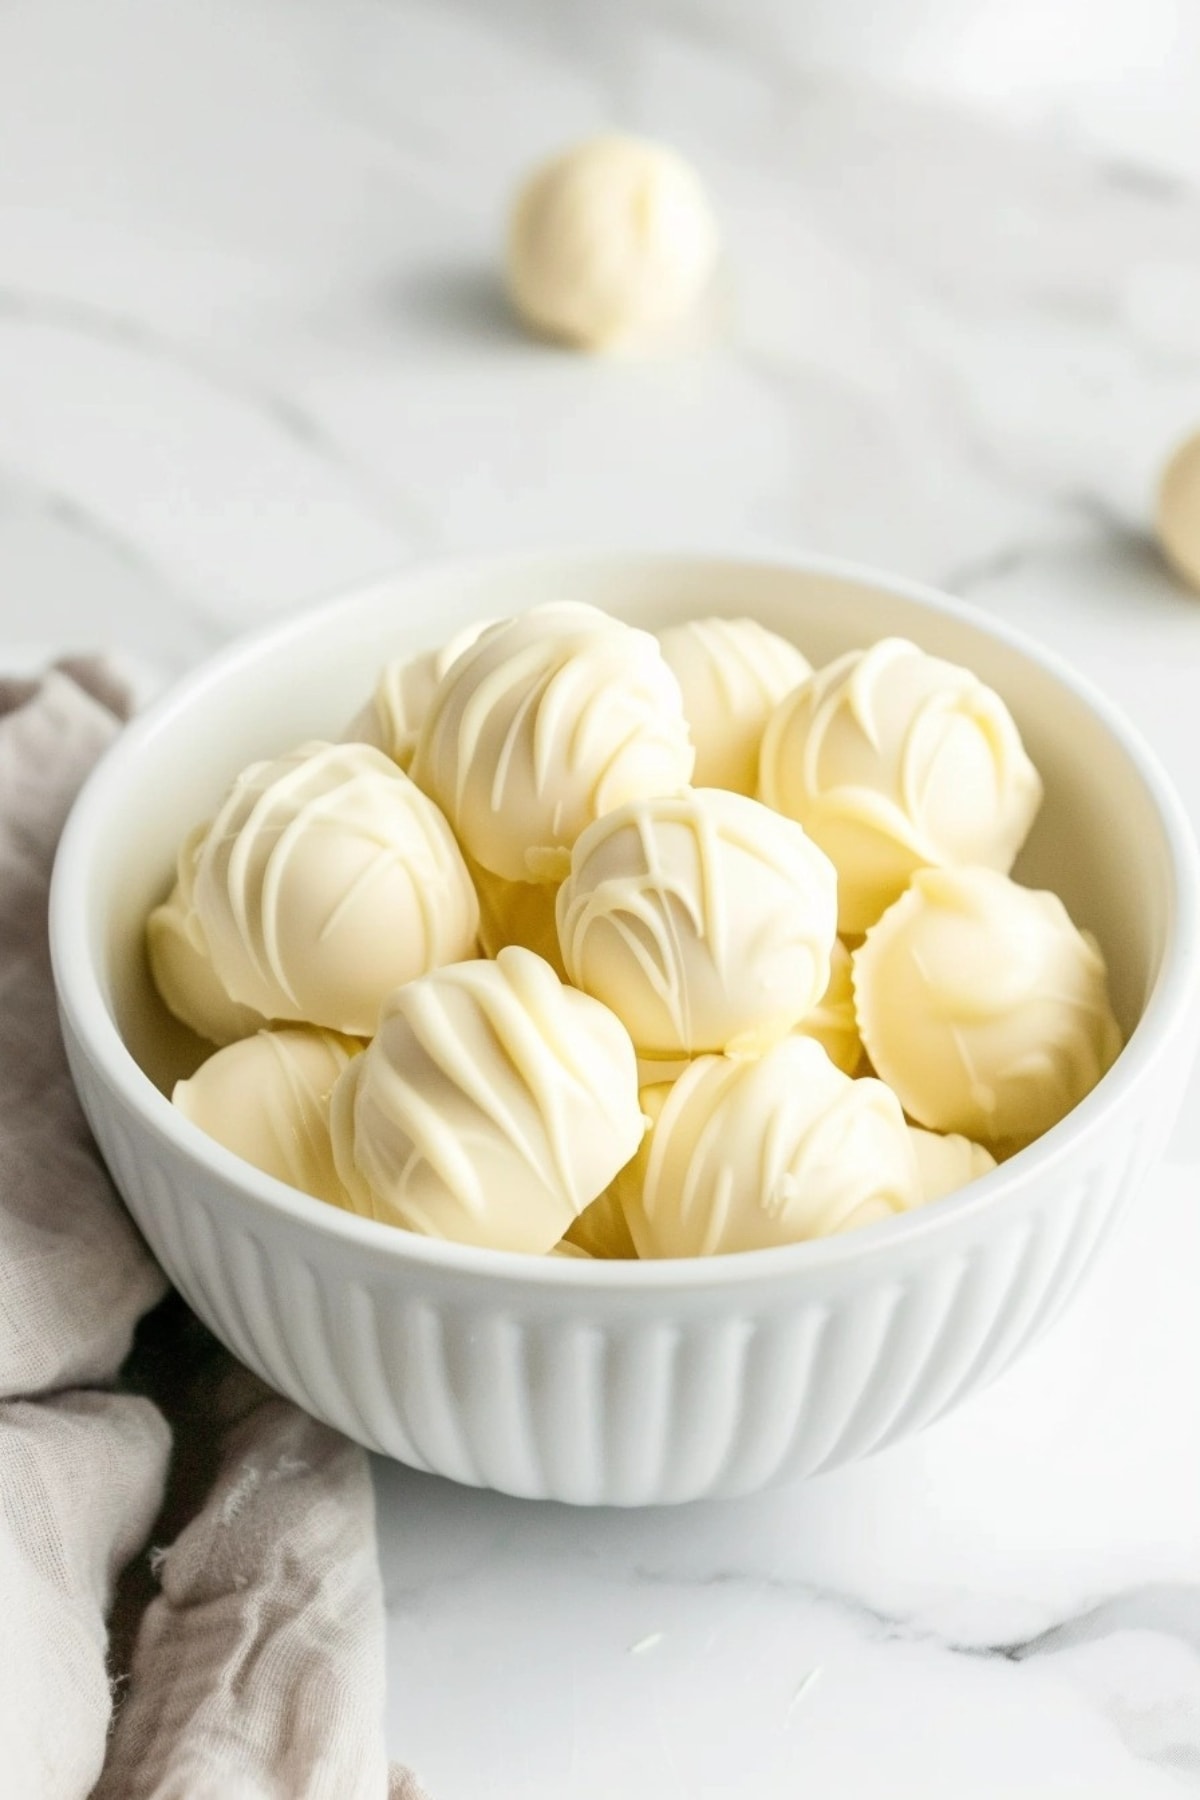
Why You’ll Love These White Chocolate Truffles
Wondering if these white chocolate truffles are worth it? Spoiler alert: they are. Here’s why they’ll steal your heart (and tastebuds).
- They’re smooth and creamy. Each bite is a smooth, creamy bliss. They melt in your mouth with an irresistible velvety texture.
- They’re easy to make. No fancy equipment is needed here! These truffles come together with minimal fuss. Even a beginner can nail this recipe.
- You can customize them. Get creative with these truffles! Roll them in nuts, spices, or even colorful sprinkles to match any occasion.
- They’re a perfect homemade gift! Wrapped up in a cute box, these truffles are the ideal homemade gift.
Ingredients
Like these white chocolate lemon truffles, this recipe only needs a few key ingredients.
Here’s a sneak peek of what you’ll need. The full list with measurements is waiting for you at the bottom of the page.
- White Chocolate – Opt for high-quality white chocolate for the best flavor. Finely chopping it ensures a smooth melt and a creamy texture.
- Heavy Cream – This brings richness and a velvety feel to your truffles. A high-fat cream works wonders here, adding to the luxurious taste.
- Unsalted Butter – Just a touch to add a bit of silkiness and enhance the truffles’ texture.
- Vanilla Extract – A teaspoon adds a subtle, sweet aroma that complements the white chocolate perfectly.
- Fine Sea Salt – A pinch is all you need. It’s like magic, subtly elevating all the other flavors.
How to Make White Chocolate Truffles
Making white chocolate truffles is easier than you think. Follow these steps to create these decadent treats!
1. Prepare the chocolate. Place half of your finely chopped white chocolate in a heatproof bowl. This is the base of your truffle mixture.
2. Heat the cream. Gently warm the heavy cream in a saucepan until it just starts to simmer. Be careful not to boil it. You want a gentle heat here.
3. Combine the ingredients. Pour the hot cream over the chocolate and wait a few minutes. This lets the chocolate melt without any extra help. Add the butter, vanilla, and salt.
4. Stir everything until smooth. If some chocolate bits are stubborn, use a double boiler method to fully melt them.
5. Chill the mixture. Cover your bowl and pop it in the fridge. You want the mixture firm enough to shape, which takes about 2 hours.
6. Shape the truffles. When chilled, scoop out and roll the mixture into balls. A melon baller or a small spoon works great. If it gets too soft, chill it again. Refrigerate them until you’re ready to coat.
7. Prepare the coating: Melt the remaining white chocolate using a double boiler or the microwave.
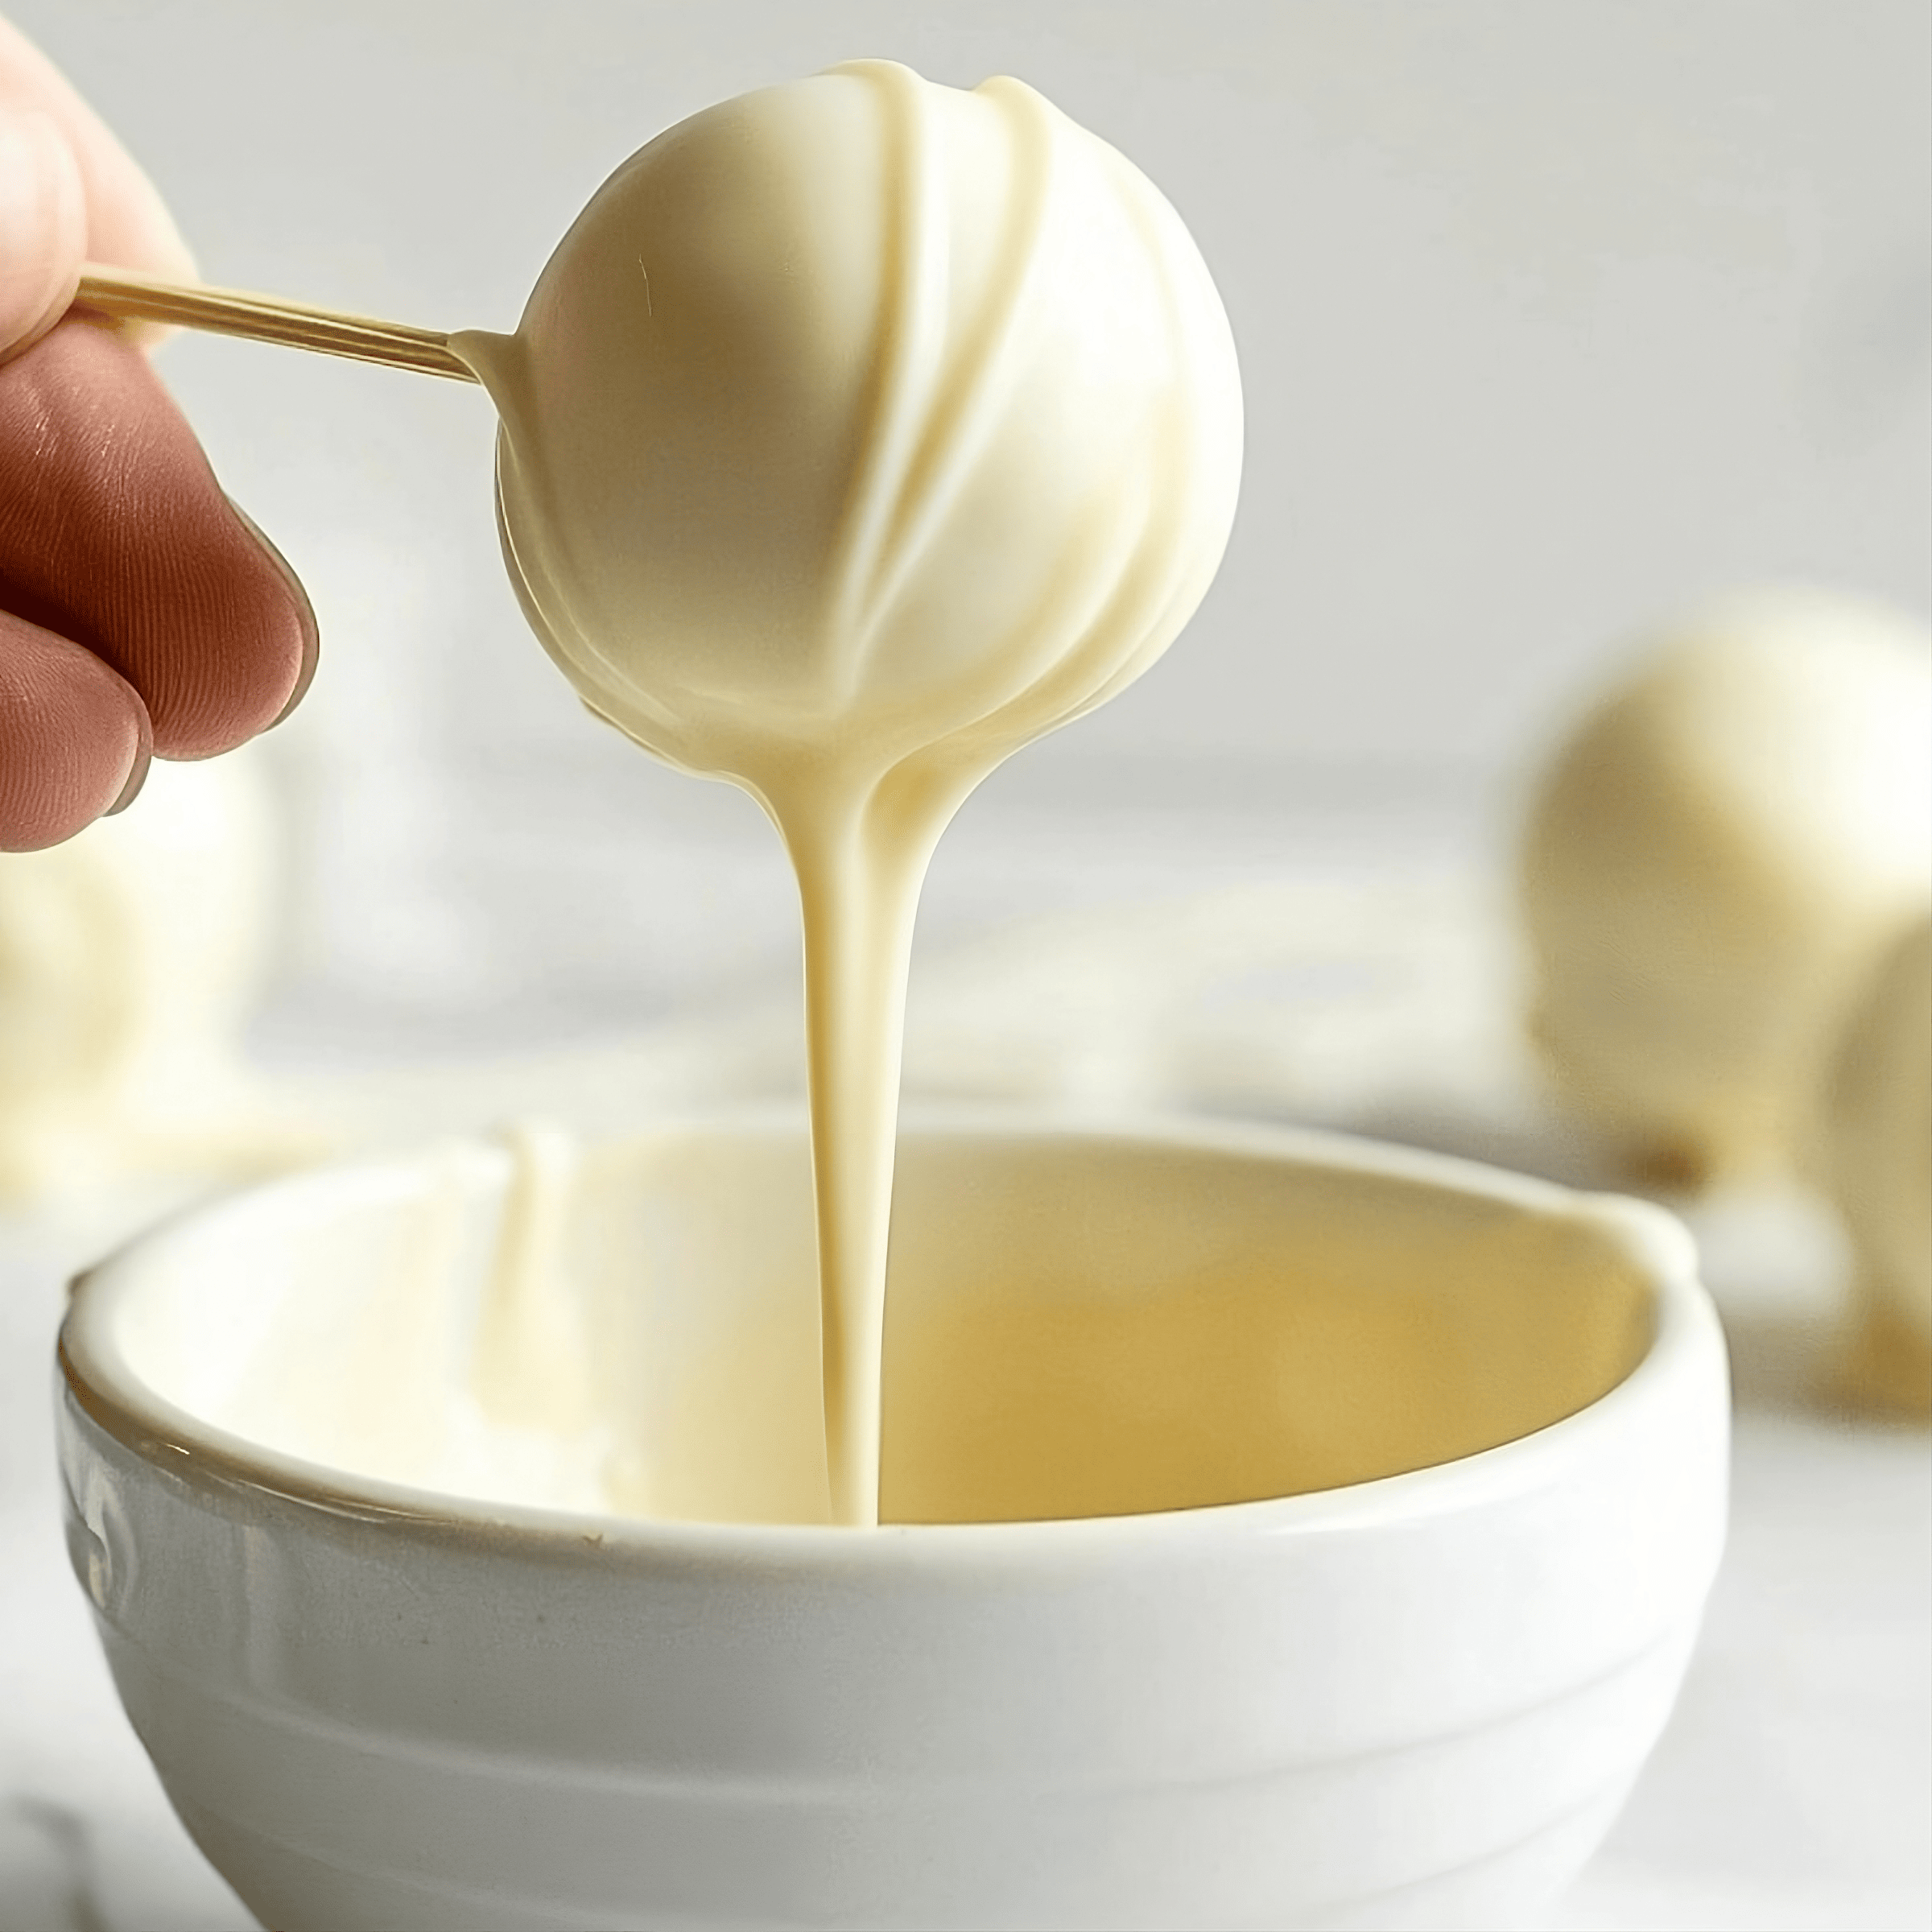
8. Coat and cool. Dip each ball into the melted chocolate with a fork or a toothpick. Let the excess drip off before placing them on a baking sheet. Chill them until the chocolate shell hardens.
9. Serve and enjoy!
Tips for the Best Truffles
Here’s a quick guide to nailing these white chocolate truffles every time.
- Treat yourself! Go for the good stuff, like Ghirardelli or Callebaut. The flavor of your truffles hinges on the quality of the chocolate you use.
- Take extra care. White chocolate has a lower melting point than other chocolates, so handle it with care.
- Avoid microwaving it, as this can cause it to seize. Instead, let the heat of the cream melt it.
- Chop it finely before adding the cream; this ensures an easier and more even melt.
- Avoid microwaving it, as this can cause it to seize. Instead, let the heat of the cream melt it.
- Watch your hands! Keep a pair of disposable gloves handy. They prevent the warmth of your hands from melting the truffles as you roll them.
- Keep ’em in uniform. For truffles that are uniform in size, use a small ice cream scoop. It makes portioning easy and consistent.
- Be patient! Patience is key here. Chill the mixture until it’s firm enough to roll. If it’s too soft, pop it back in the fridge or the freezer for a bit.
- Batches are best. If it’s hot inside, roll your truffles in small batches. Keep the rest of the mixture cool in the fridge.
- Set up an assembly line. This is ideal if you plan to roll your truffles in various coatings. It makes the process smoother and more fun.
- Adjust the chill time. Depending on your ingredients and climate, the chill time may vary. The mixture is ready when it’s firm enough to roll without sticking.
Recipe Variations
Spice up your white chocolate truffles with these fun and easy variations:
- Choose your chocolate. Coat your truffles in melted dark or milk chocolate for a delightful contrast.
- Try an elegant accent. For a simple yet elegant finish, roll your truffles in cocoa powder or powdered sugar.
- Make some colorful creations. Add a few drops of oil-based food coloring to your mixture for a seasonal splash. Think red for Valentine’s Day or green for St. Patrick’s.
- Get nutty and fruity. Coat your truffles in chopped dried fruit or nuts. This adds a lovely, chewy, crunchy texture and a burst of flavor.
- Try a tropical twist. – Roll the truffles in desiccated coconut. It gives a tropical flair to your creamy truffles.
- Give them a healthy spin. Swap out heavy cream with coconut milk for a lighter version. It’s a subtle change that makes a big difference.
- Have some Funfetti fun. Stir in some Funfetti cake mix and roll the truffles in sprinkles. These are a hit at parties and add a playful touch.
- Make an Irish cream delight. Adding Irish cream liqueur transforms your truffles into an adult indulgence.
Note: If you’re coating the truffles in something else other than chocolate, you can skip steps 5-7 of the recipe.
How to Store & Freeze
Keeping your white chocolate truffles fresh is easy with these storage tips.
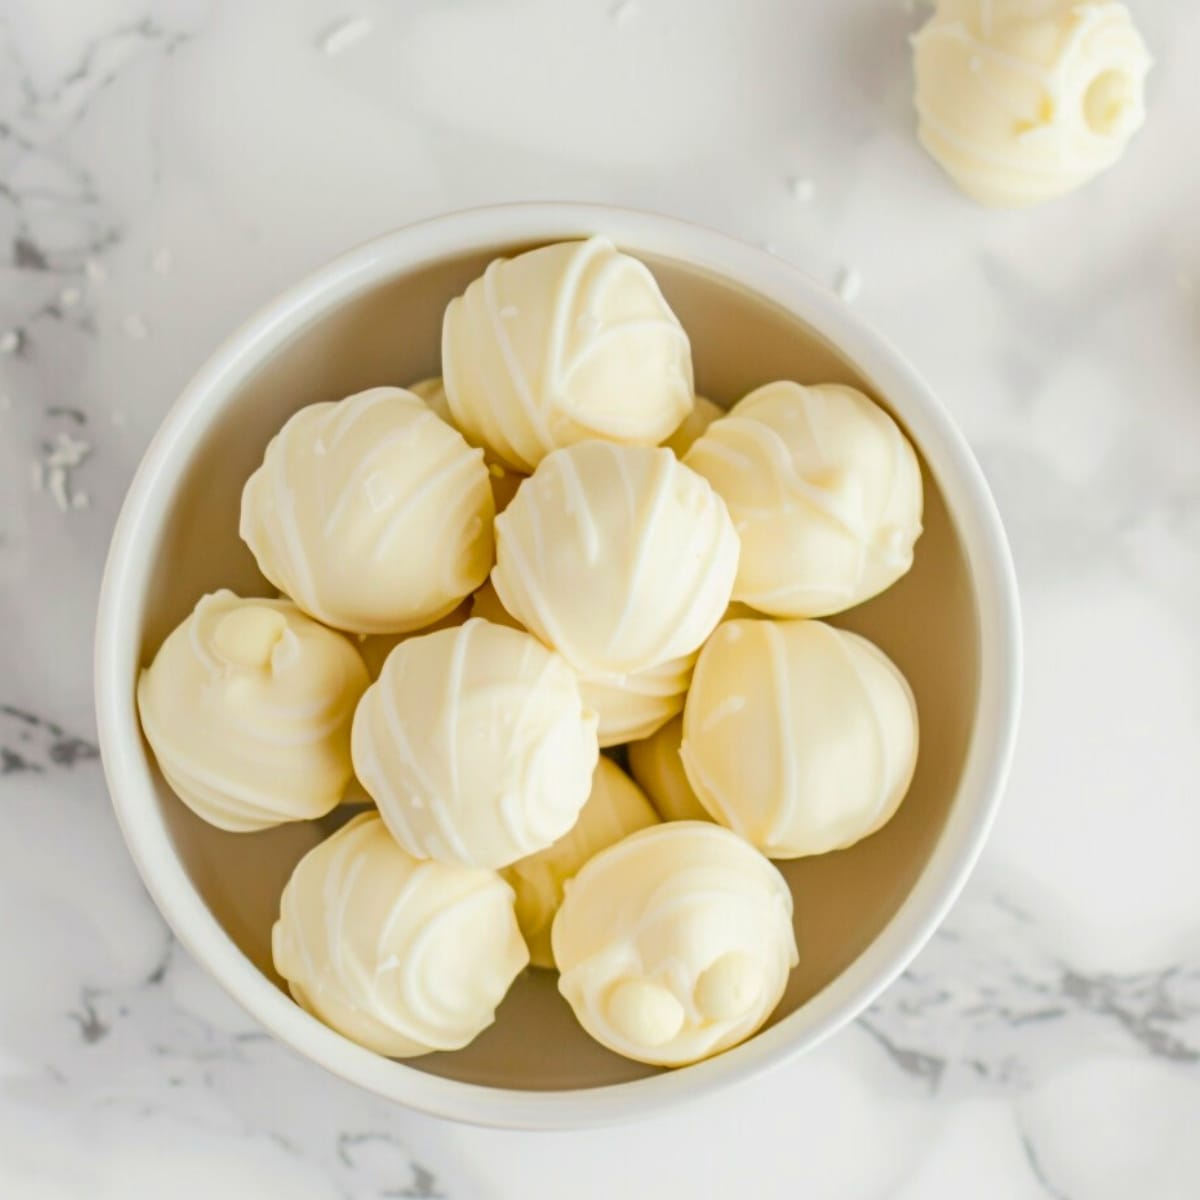
To Store: Place your truffles in an air-tight container and keep them in the fridge. They’ll stay fresh and delicious for up to 2 weeks. For the best flavor, let them come to room temperature before serving.
To Freeze: Put the truffles in an air-tight container, layering them with waxed or parchment paper. They can be frozen for up to 6 months.
To Thaw: When you’re ready to enjoy them, let them thaw in the fridge for a few hours or let them reach room temperature on the counter.
More Homemade Truffles You’ll Love
Brownie Truffles
Red Velvet Truffles
White Chocolate Lemon Truffles
Raspberry Truffles
