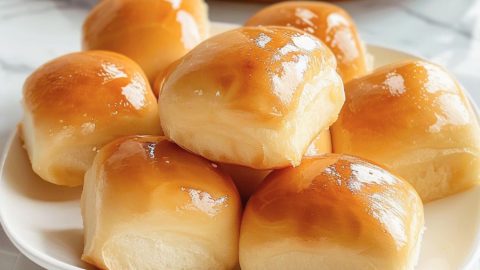


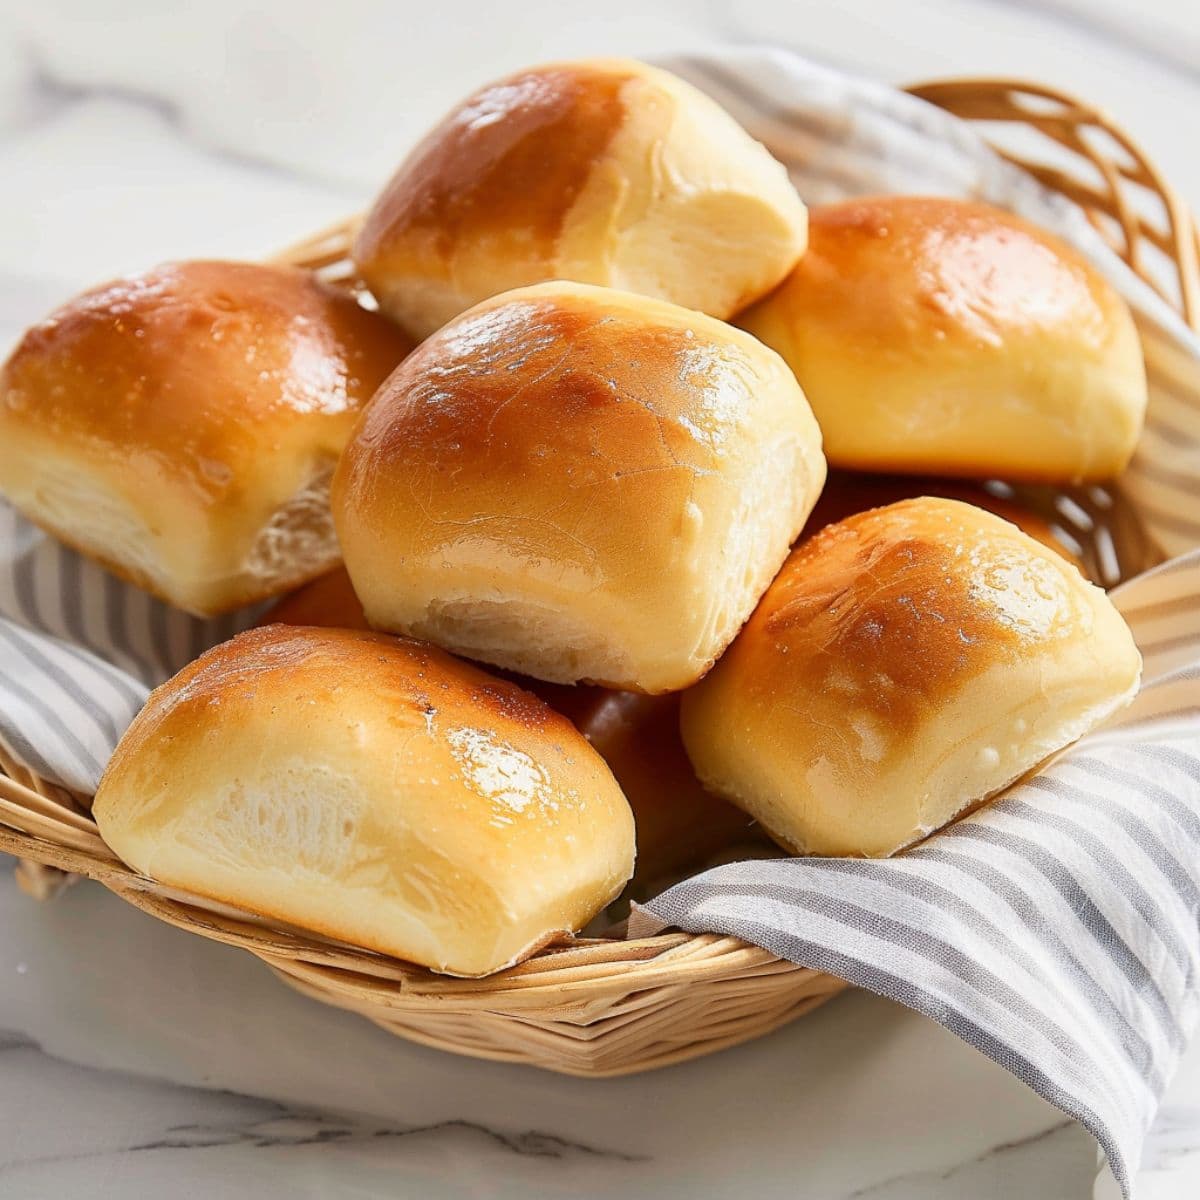
These Copycat Texas Roadhouse Rolls are pillowy soft, slightly sweet, and downright addictive—especially when slathered with homemade cinnamon honey butter.
I’ll admit it: I once drove 20 minutes just for a basket of these rolls (and yes, I ate three before the entrées even hit the table).
After testing countless versions at home, I’ve finally cracked the code for that signature bakery-style finish.
The dough is rich but easy to work with, and the rolls rise like a dream. They bake up golden brown with a melt-in-your-mouth texture that makes them completely irresistible.
WANT TO SAVE THIS RECIPE?
If you’re new to making homemade bread, don’t stress. I’ve packed this post with all my go-to tips and tricks so you can make soft, buttery rolls that taste just like the real deal—or maybe even better.
One bite, and you’ll see why my family asks for these on repeat!
Ingredients You'll Need
Texas Roadhouse Rolls
- Active Dry Yeast: This is what makes the rolls rise and turn pillowy soft. I always proof mine first in warm water to make sure it’s alive and ready to work. If it doesn't foam up after 10 minutes, it’s time for a fresh packet.
- Water: Helps activate the yeast. Make sure it’s between 100–105°F — too hot and you’ll kill the yeast, too cold and it won’t activate properly.
- Granulated Sugar: A little bit of sugar gives the yeast something to feed on. Then you'll add more to give the dough that subtle sweetness we all love.
- Scalded Milk: Softens the dough and adds a richer flavor. Let it cool to the same temp as the water before adding, or it could deactivate the yeast.
- Unsalted Butter: Adds buttery richness to the dough. Let it cool slightly so it doesn’t scramble the eggs. You'll also need some to brush over the rolls after baking.
- Eggs: Help create a tender, enriched dough. Make sure they’re at room temp so they incorporate evenly.
- Salt: Essential for flavor and balance. I add it after the yeast is mixed in, so it doesn’t interfere with the rise.
- All-Purpose Flour: The base of the dough. Start with less and add as needed — the dough should be soft but not overly sticky. I like King Arthur or Gold Medal for consistent results.
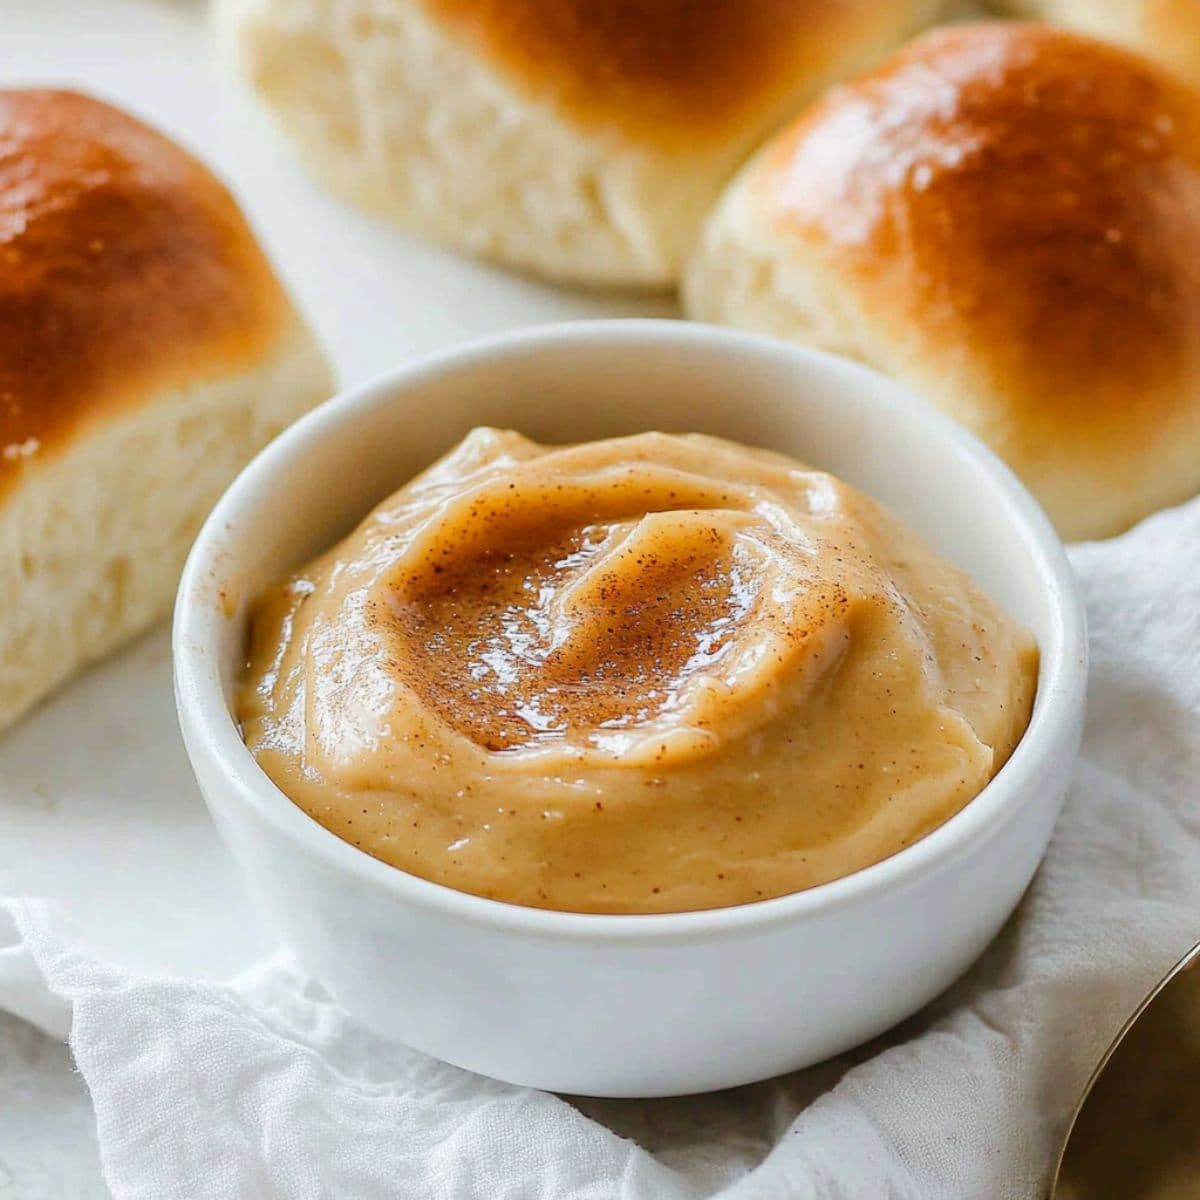
Cinnamon Honey Butter
- Salted Butter: The base of the spread — make sure it’s softened to room temp for easy mixing. I use salted butter to balance the sweetness, but feel free to use unsalted.
- Powdered Sugar: Adds a smooth, creamy texture to the butter. It melts right in without any grittiness.
- Honey: Brings that signature floral sweetness. I usually start with two tablespoons and taste as I go. My local farmer’s market honey is my secret weapon here—the flavor is so much richer than store-bought!
- Ground Cinnamon: The warm spice that ties it all together. Again, feel free to taste and add more if you think it's needed.
How To Make Texas Roadhouse Rolls
These buttery sweet rolls take a little time and patience, but they’re easier than you think to recreate at home!
Here’s a quick rundown of how they come together. Don’t worry, I’ll go into more detail in the recipe card at the bottom of this post.
1. Activate the Yeast: In the bowl of a stand mixer, mix the lukewarm water, yeast, and a teaspoon of sugar. Let it sit for 5–10 minutes until foamy and fragrant. If nothing happens, your yeast might be expired — I always keep a few extra packets on hand just in case. This step sets the foundation for homemade rolls, so don’t skip it!
2. Mix the Dough: Add the warm milk, melted butter, sugar, eggs, and salt to the yeast mixture. Use the dough hook to mix on low speed for a minute, then add the flour in batches (about 2 cups at a time). Keep mixing on medium speed until the dough is soft, slightly sticky, and pulling away from the sides of the bowl.
3. First Rise: Transfer the dough to a lightly greased bowl, turning it once to coat the top. Cover with a clean kitchen towel and set it in a warm spot to rise until doubled, about 1 to 1½ hours.
4. Make the Butter: In a bowl, beat the butter ingredients with 2 tablespoons honey until smooth. Taste and add more honey as needed. Set aside.
5. Shape the Rolls: Punch down the dough to release the air, then divide it into two equal portions. Roll one half into a rectangle about ½ to ¾ inch thick and cut into 3×3 inch squares*. I use a pizza cutter for clean lines. Arrange them on greased baking sheets with about 1 inch of space between each one. Repeat with the other half of dough.
6. Final Proof: Cover the trays with clean towels and let the rolls rise again until puffed and nearly doubled, about 30–45 minutes. After 20 minutes of rising, preheat your oven to 350°F (175°C) so it’s ready to go.
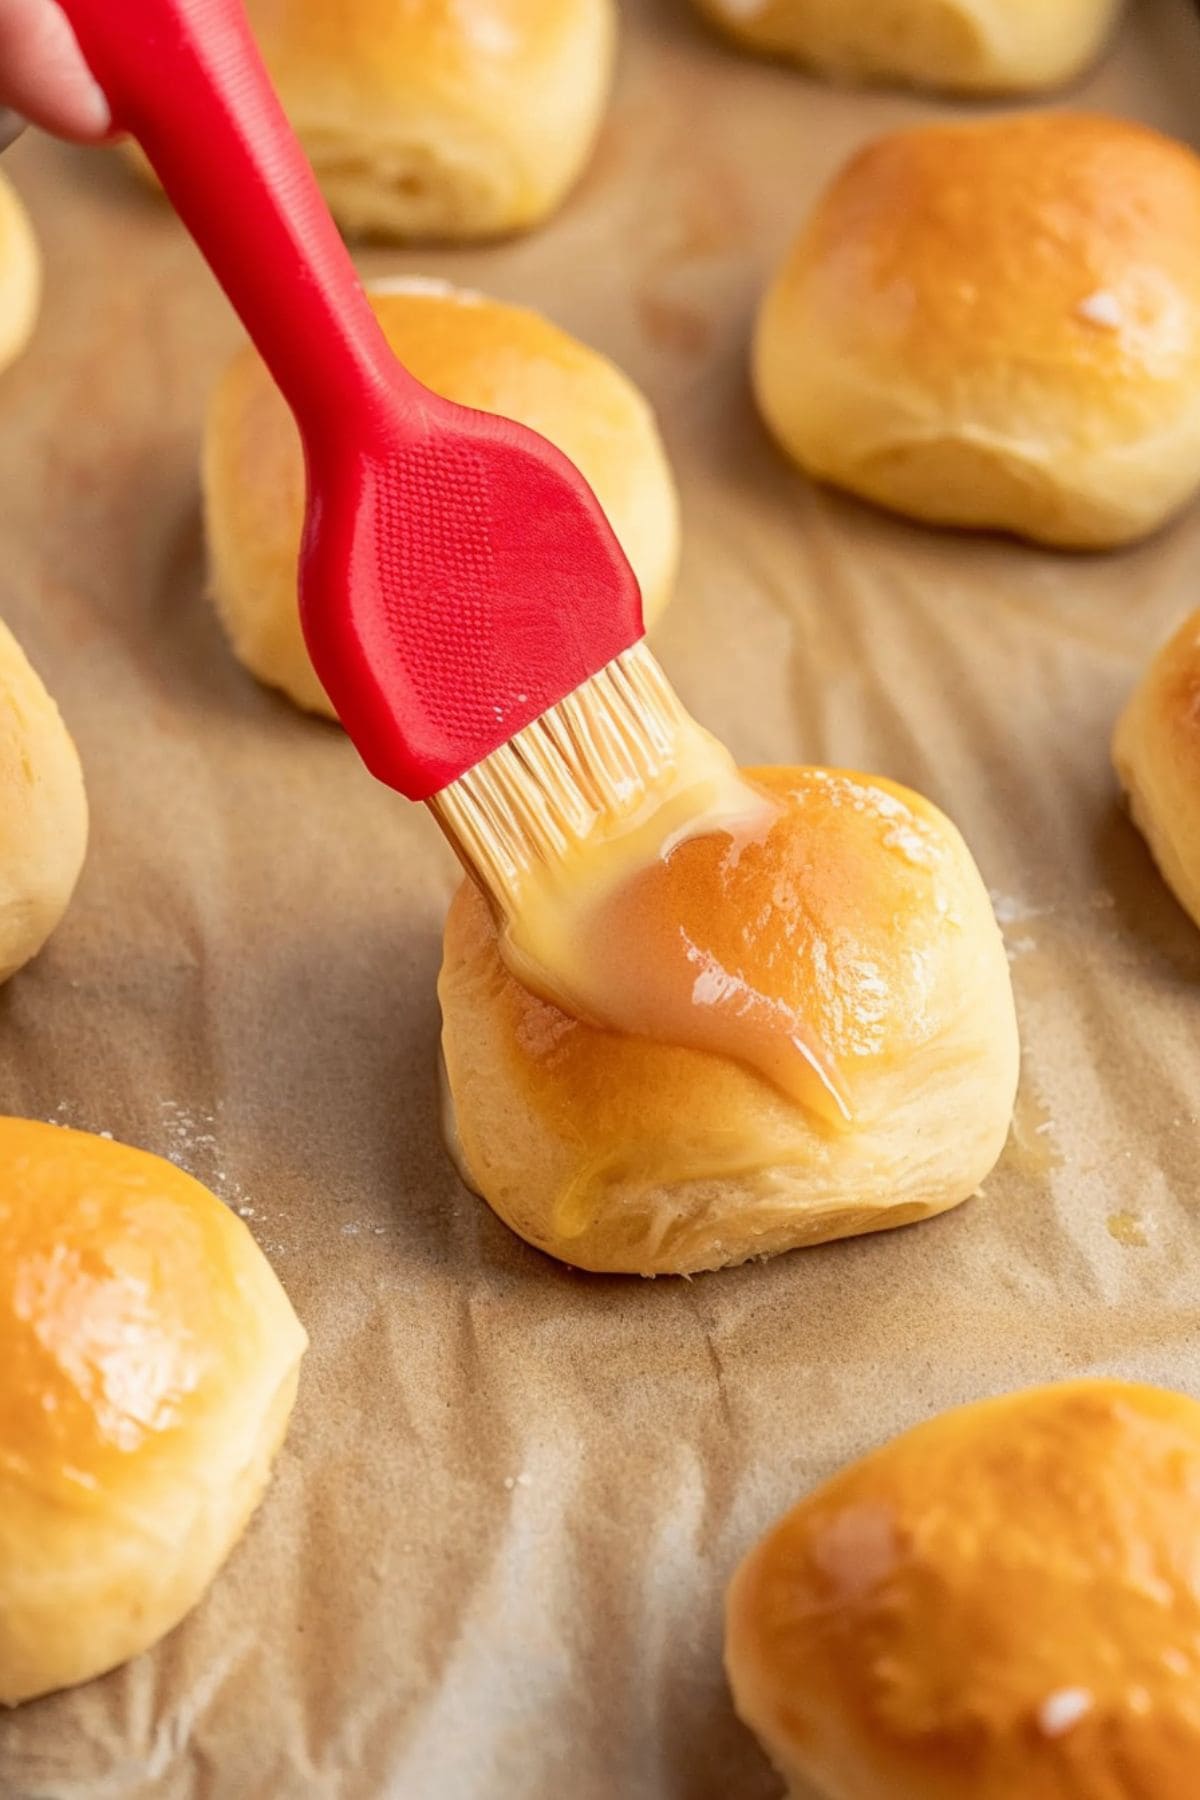
7. Bake and Serve: Bake in the preheated oven for 10–15 minutes or until golden brown on top. As soon as they come out of the oven, brush those fluffy rolls generously with melted butter.
*I sometimes make a few mini rolls—they’re the perfect size for little hands! Either way, serve warm with homemade cinnamon butter — and don’t be surprised if they disappear before dinner hits the table.
Tips for the Best Fluffy Dinner Rolls
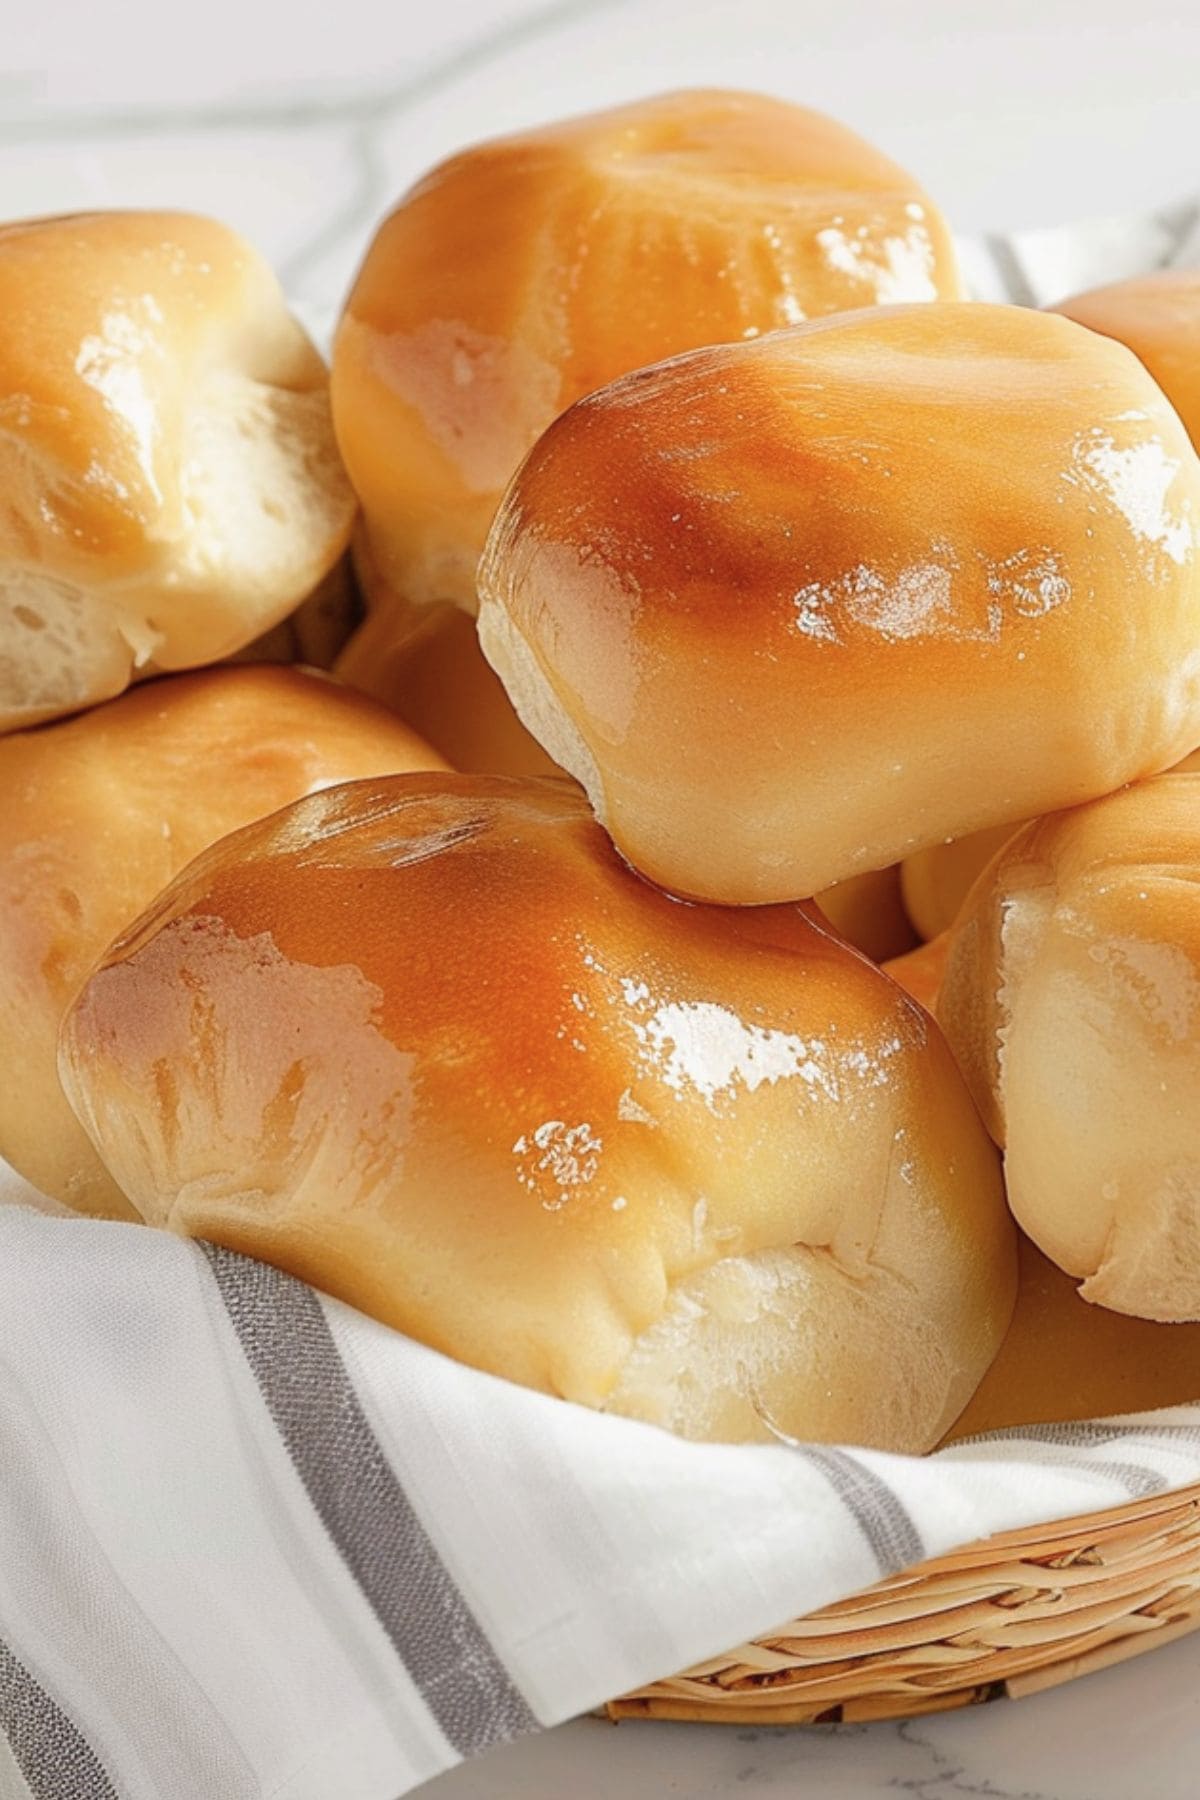
There’s a reason these signature bread rolls are so famous—they’re soft, fluffy, and totally crave-worthy. But getting that restaurant-quality texture at home takes just a little bit of know-how.
After lots of batches (and lots of taste-testing!), these are the tips I’ve found make the biggest difference.
- Measure the Flour Carefully: Too much flour = dry, dense rolls. After adding 6 cups, spoon the flour into the mixer a little at a time and then see how it mixes.
- Don’t Over-Knead: You want the dough to be smooth and slightly sticky—kneading too long can make the rolls tough. I made that mistake once, and the rolls turned out dense instead of fluffy—lesson learned!
- Rustic Squares: It really doesn't matter how neat these crave-worthy Roadhouse Rolls are, so don't stress too much about precision cutting!
- Make the Sweet Honey Cinnamon Butter Ahead: It's best served soft, so let it sit out for about 10-15 minutes if it's been in the fridge. You can even double the batch and keep some in the freezer if you like!
- Use Room-Temperature Eggs: Otherwise, your dough might not rise. If you weren’t able to take them out of the fridge on time, just submerge them in warm water for 2 minutes, and they will warm up nicely.
- Knead with Your Hands. No stand mixer? No worries! Knead the dough by pushing it down, then outward with your hands on a lightly floured surface. Fold it in half, press it down, then repeat the process until the dough is smooth and satiny.
Frequently Asked Questions
Yes, you can definitely use instant yeast to make these tender rolls. Use 25% less and skip the blooming. Just mix it in with the rest of the ingredients. Easy peasy.
You sure can! Follow the instructions right up to the second proof. After shaping and arranging on the trays, cover and place in the fridge for up to 15 hours before baking. When it’s time to serve, allow them to reach room temperature for 3 hours. Then, place them in the oven and bake.
The kneading step helps develop the gluten in the flour that gives your bread its fluffy structure. It makes all the difference between light and fluffy rolls and bread-flavored bricks.
Bread dough rises well in a warm environment, so you’ll want to let it sit in the warmest area of your house, such as near a window that gets a lot of sunlight.
Or, turn the oven on low for 5 minutes, then turn it off. Place the bowl inside to rise with the door slightly cracked.
Heat it in a saucepan over medium heat until small bubbles form around the edges — just before it boils. Stir frequently to prevent scorching, then let it cool to the needed temperature.
Dissolve the yeast with sugar and warm water. If it starts to bubble after 5-10 minutes, the yeast is still potent and usable. Otherwise, throw it out.
How to Store
Have some leftover rolls? Don’t worry, they stay fresh for longer than you think and are a cinch to freeze and reheat. Just steer clear of that microwave!
To Store. Place leftovers in an airtight container where they will stay fresh at room temperature for up to 5 days.
To Freeze. If you want them to last much longer, individually wrap them, then place them in a freezer-safe bag for up to three months. Thaw in the fridge overnight.
To Reheat. Never nuke your rolls! The microwave zaps moisture, making your rolls tough and dry. To properly reheat, pop them in the oven at 350 degrees for 5-10 minutes.
Top Tip: double the butter recipe and store it in the fridge in an airtight container. It'll be fine in the fridge for 2-3 weeks.
What to Serve with Texas Roadhouse Rolls
Warm rolls are the kind of side that goes with just about everything. I love serving them warm with hearty mains like meatloaf, pot roast, or grilled chicken. My ultimate comfort meal? These rolls with a big bowl of creamy ham and potato soup, chicken noodle, or a big bowl of chili for the ultimate comfort meal.
And don’t forget holiday dinners! They're always a hit on the Thanksgiving table or at Christmas with glazed ham or roast turkey. Honestly, I’ve even served them with a simple garden salad and called it dinner.
More Copycat Recipes
Texas Roadhouse Roadkill
Little Caesars Italian Cheese Bread
Chick-fil-A Mac and Cheese
Carrabba’s Bread Dip
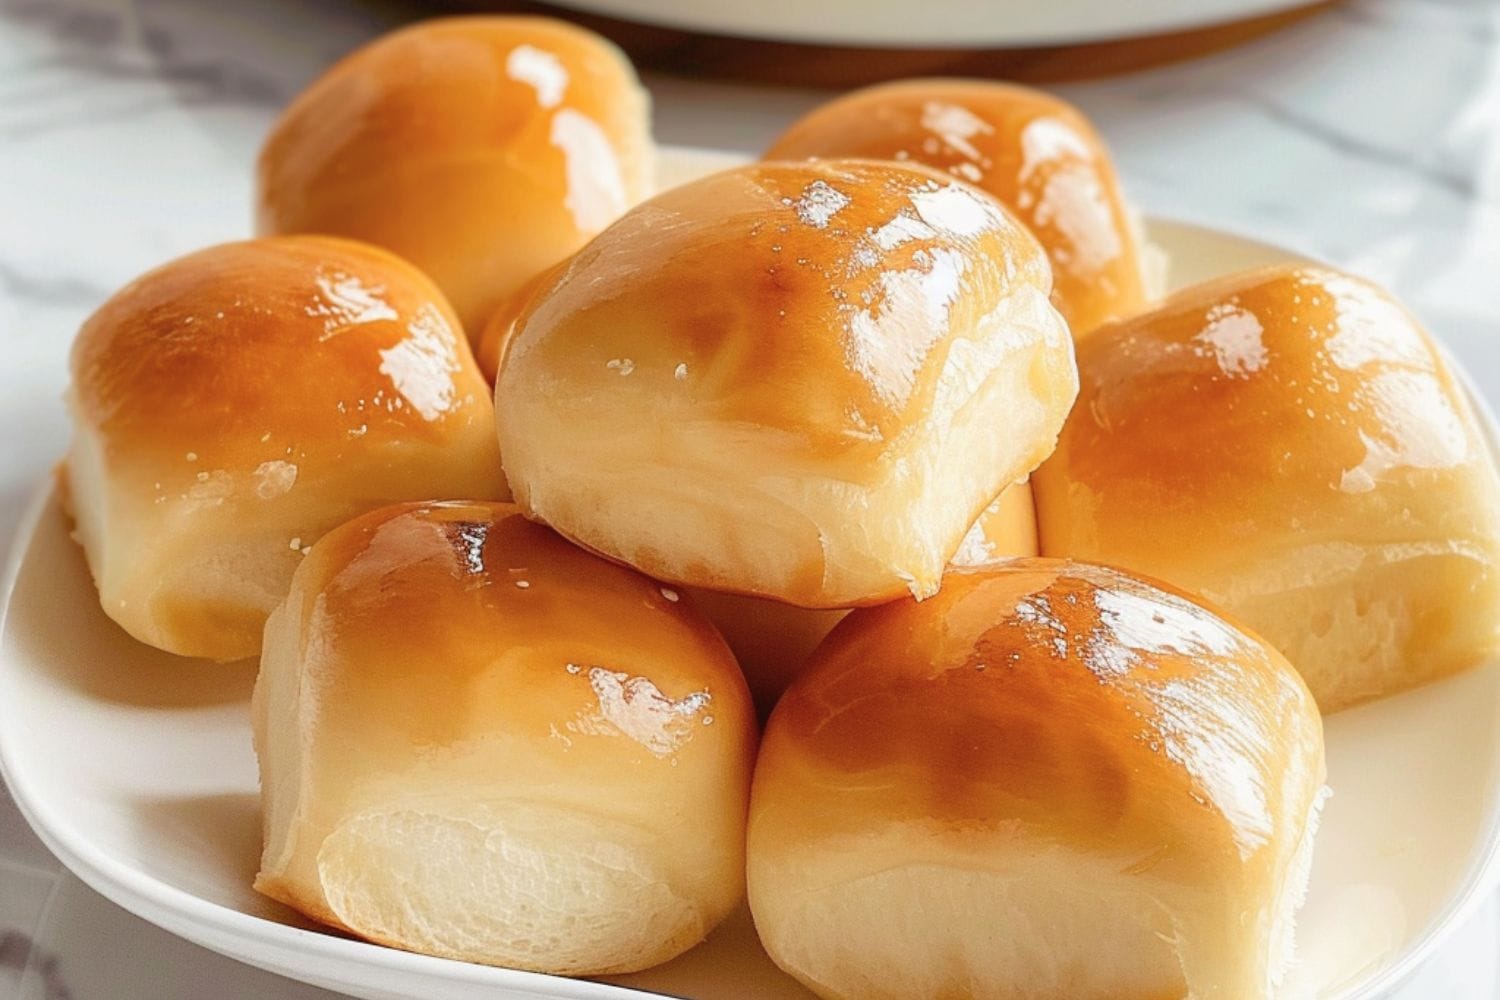
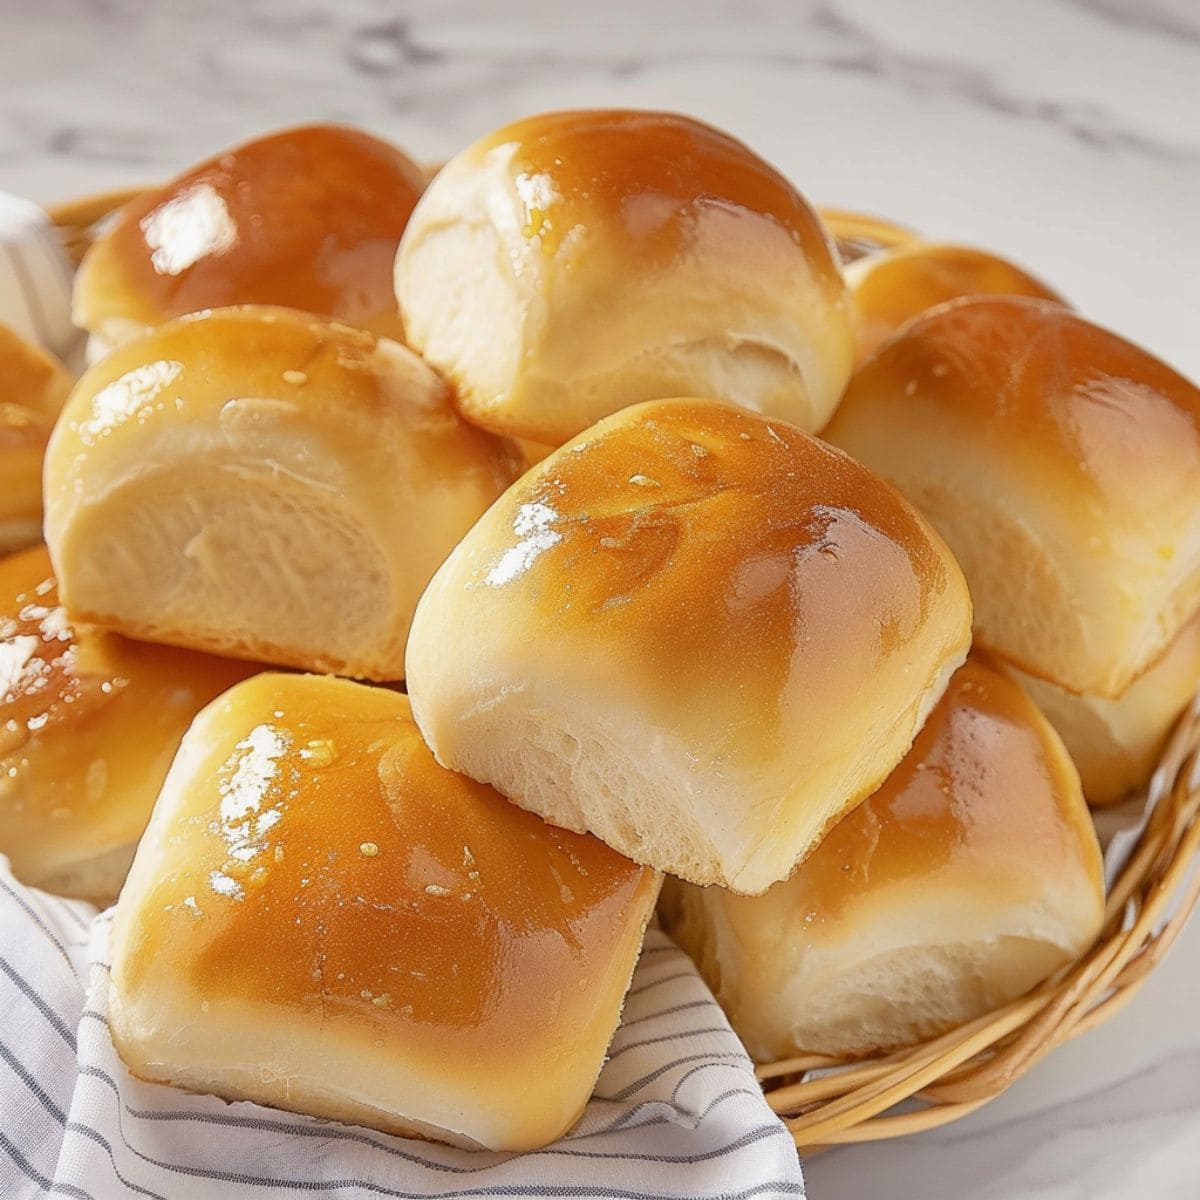
Texas Roadhouse Rolls
My copycat Texas Roadhouse rolls are soft, fluffy, and slightly sweet. They're the perfect side dish when paired with homemade cinnamon honey butter.
24
servings30
minutes15
minutes2
hoursIngredients
4 teaspoons active dry yeast
1/2 cup warm water (100-105 degrees Fahrenheit)
1 teaspoon sugar
2 cups milk, scalded and cooled (100-105 degrees Fahrenheit)
3 tablespoons melted butter, slightly cooled
1/2 cup sugar
2 eggs
2 teaspoons salt
7-8 cups all-purpose flour, plus more for dusting
2 tablespoons melted butter, for brushing
- Cinnamon Honey Butter
1/2 cup salted butter
1/4 cup powdered sugar
2-4 tablespoons honey, to taste
1 teaspoon ground cinnamon
Instructions
- Make the Dough: In the bowl of a stand mixer, stir the yeast, warm water, and 1 teaspoon sugar. Set aside until the mixture starts to foam, about 5-10 minutes. (If it doesn't foam, you'll need to start again with fresh yeast)
- Add the milk, butter, 1/2 cup of sugar, eggs, and salt to the bowl. Stir with a dough hook on low for 1 minute, then add the flour 2 cups at a time until a soft dough forms. Knead until it's smooth, slightly sticky, and pulls away from the bowl.
- Transfer the dough to a greased bowl and turn it over to coat the whole surface. Cover with a dry, clean towel and let rest in a warm area until it doubles in size, about 1 to 1 1/2 hours.
- Make the Butter: In a bowl, beat the butter, powdered sugar, 2 tablespoons honey, and ground cinnamon until smooth. Taste and add more honey as needed. Set aside.
- Shape and Proof: Lightly dust a clean, dry, and flat surface with flour. Punch down the dough to remove air bubbles and then cut it in half (so you have two equal-sized balls of dough).
- Roll one portion of the dough into a rectangle about 1/2-3/4 inch in thickness. Then, cut that rectangle into squares about 3×3 inches each. Place them on greased baking sheets with 1 inch between them. Repeat with the other half of the dough.
- Proof and Bake: Cover the baking sheets with clean towels and let rest until they double in size, about 30-45 minutes. After 20-25 minutes of resting, preheat the oven to 350 degrees Fahrenheit.
- When they're ready, bake for 10-15 minutes or until golden brown. Brush with melted butter right after baking and serve fresh from the oven with honey cinnamon butter. Enjoy!
Notes
- After adding 6 cups, spoon the flour into the mixer a little at a time and then see how it mixes. Too much will make them tough.
- Knead the dough by hand by pushing it down, then outward with your hands on a lightly floured surface. Fold it in half, press it down, then repeat the process until the dough is smooth and satiny.


14 Comments
What adjustments would need to be made to make these with fresh-milled whole wheat flour?
Can some of the dough be frozen. Alot of rolls for 2 people. Love the rolls.
These rolls were delicious! They were light and fluffy and the leftovers were toasted and tasted great with the honey cinnamon butter.
gotta love the carbs! I can’t resist bread and such..
Claire:
Can I cut the recipe in half?
Hi Yvonne!
Yes, you can easily cut the recipe in half.
The kneading and rise time will be a little shorter.
Other than that, the method stays the same 🙂
Sounds so yummy. I love these
How thick do you roll out the dough and how wide do you cut the strips?
Hi Karen!
I’ve clarified this in the recipe, but you should get about 24 rolls in total 🙂
They should be roughly 3 inches square
Kim,
Thanks for the Texas Roadhouse recipes. My husband loves that place. He would go every day if I would let him.
Dear Kim, I’m a recent widower who never learned to cook or bake but eating I’m good at. SIMPLE falls within my range of possibility, so your Rock Buns recipe caught my attention.
I have no idea what grease paper is but I looked it up and got an idea. However, “1 Tablespoon Mix Spice for Baking” has me (and all the bakers at church) stumped and at a standstill. I’ve searched the spice racks at Price Chopper several times with no result besides knee pain. If you tell me which spices, I’ll be glad to mix up a tablespoon all by myself! Then I can make the Rock Buns!
By the way, “Rock Buns” would make a great name for a gymnasium! Thanks so much! I love your posts! –John
Hi John. Firstly, I want to express my sincerest condolences for your loss. It’s heartwarming to hear you’re embracing new challenges in the kitchen!
I love rock cakes! They’re actually one of the first things I ever made. And I couldn’t agree more, “Rock Buns” does sound like a fantastic name for a gym!
The recipe here is for dinner rolls, and we don’t actually have specific rock cakes recipe on the site. Did you perhaps spot them in a roundup?
Either way, here’s a great recipe to try: https://www.bbc.co.uk/food/recipes/rock_cakes_03094
Also, “grease” paper is likely “greaseproof paper” which is what the Brits call parchment paper. And “Mix Spice for Baking” is a British spice blend. The closest thing in the US is pumpkin pie spice 🙂
Hope this helps, happy cooking, and please don’t hesitate to reach out with any more questions!
I really enjoy receiving recipes and tips from your website. thanks for all you do for us insane Foodies
Thanks so much! Us foodies have to stick together!!