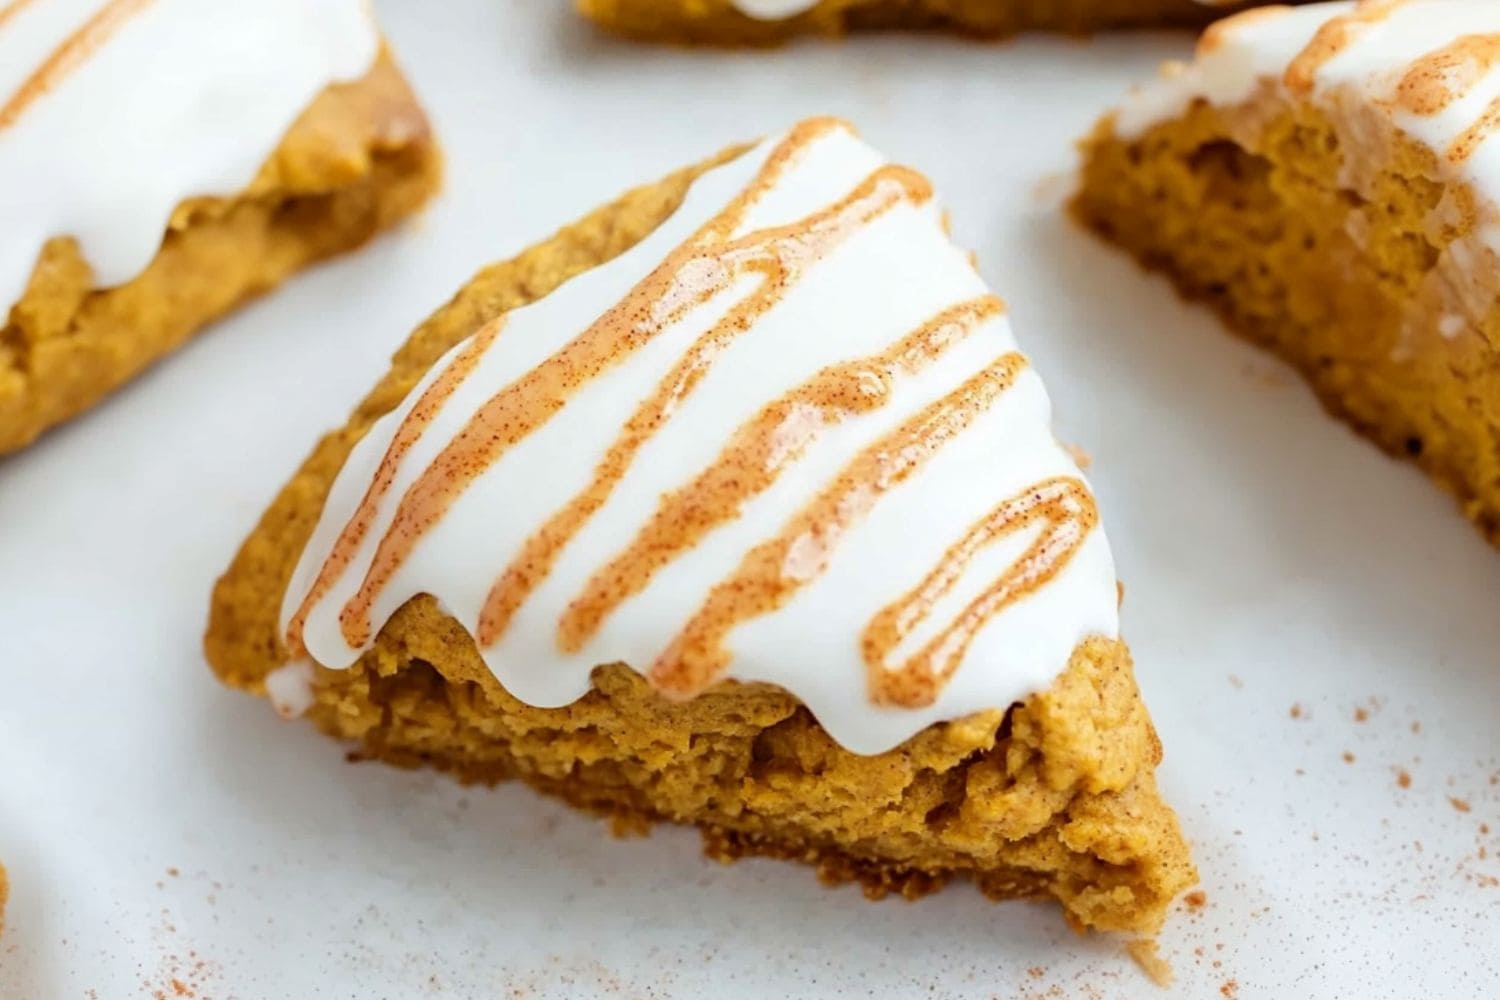


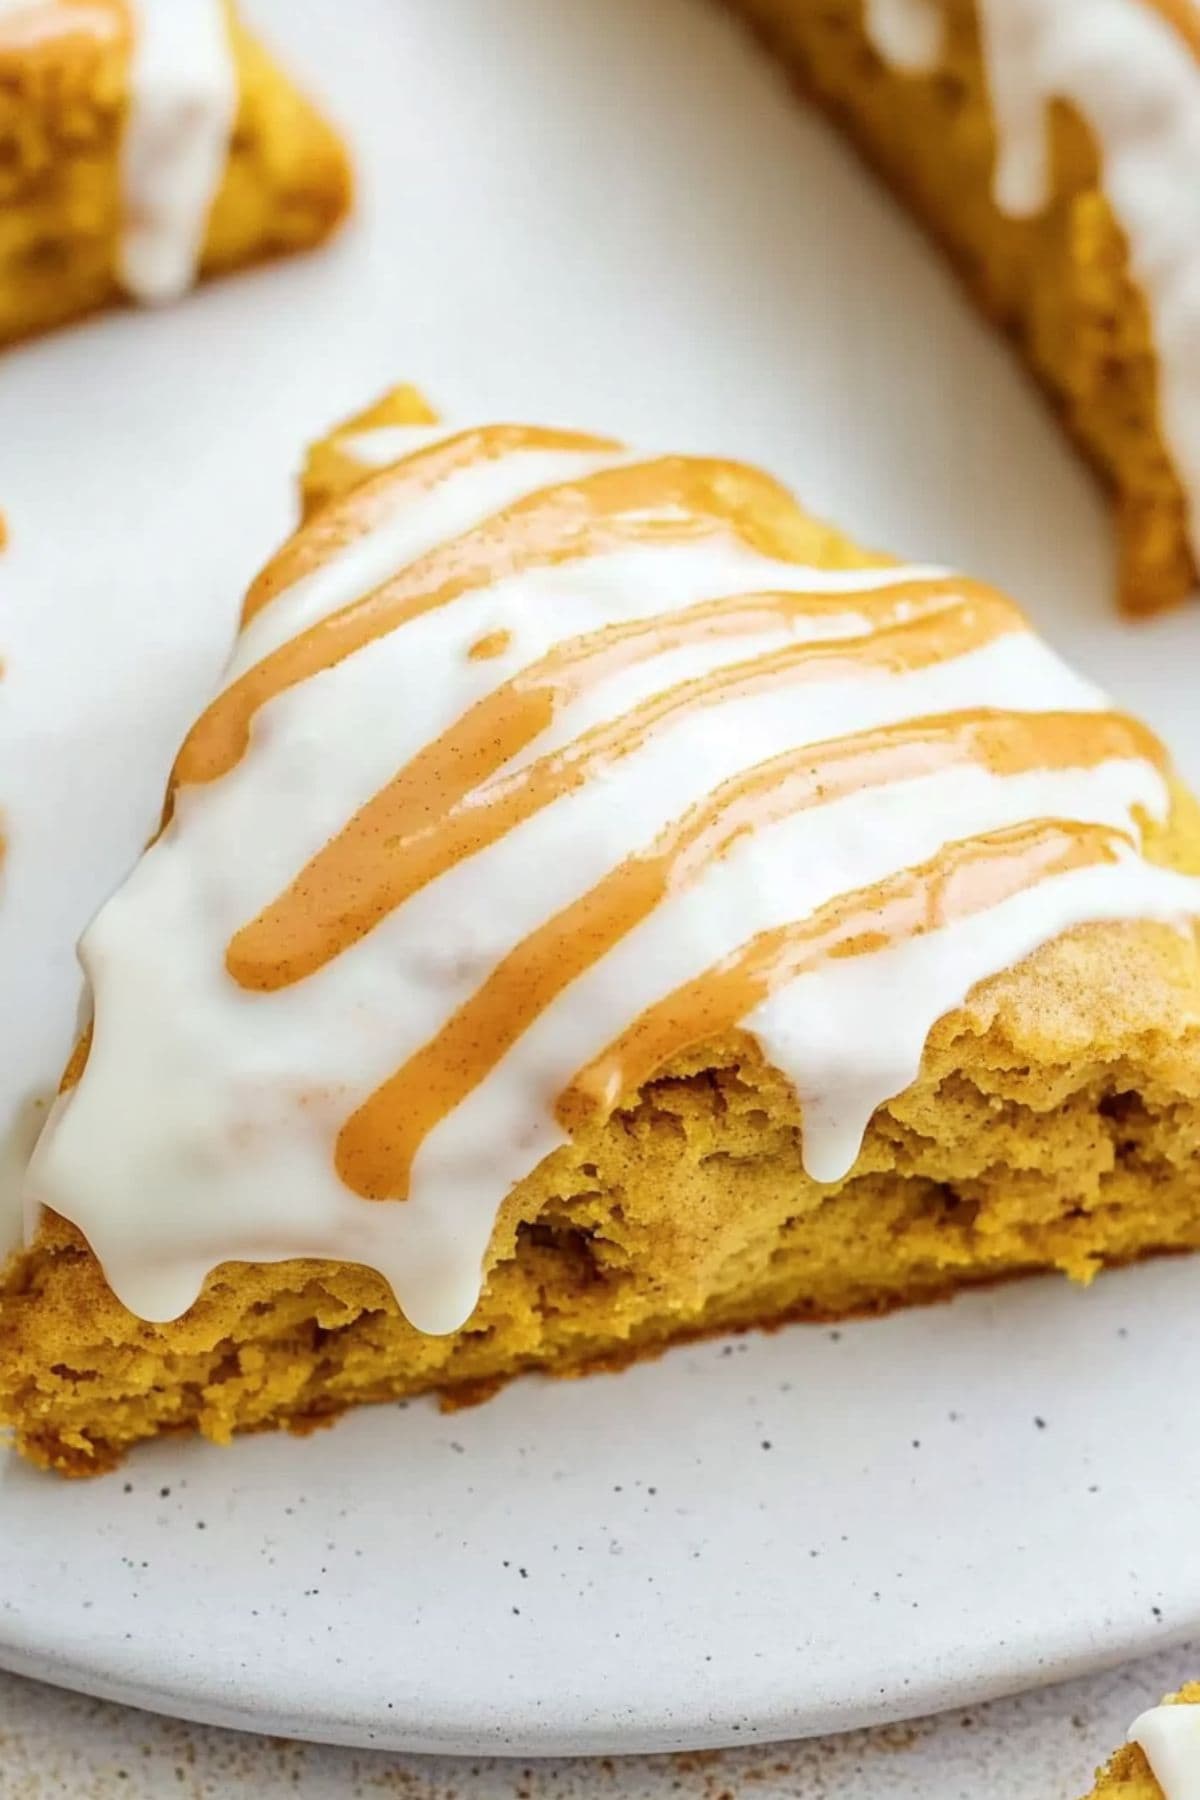
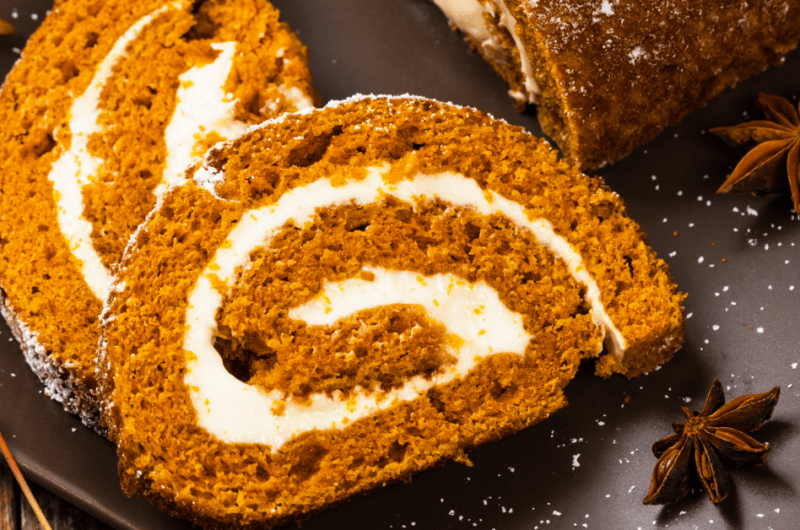
Nothing says cozy like these Starbucks pumpkin scones!
They're the perfect balance of flaky, tender, and warmly spiced, capturing all the best fall flavors in a single bite.
I love the double dose of sweetness on top, too! Because you can never have too much glaze, amirite?
Better yet, these golden-brown beauties are ready in under an hour and cost a fraction of the coffee shop price.
WANT TO SAVE THIS RECIPE?
Why You'll Love These Starbucks Pumpkin Scones
Perfectly Spiced: Thanks to the brown sugar, sweet glazes, and real pumpkin in the mix, you'll love every mouthful of these babies.
Year-Round Indulgence: While pumpkin treats are typically short-lived in stores, you can enjoy these scones any time of year.
Double Glaze Magic: The combination of vanilla and spiced glazes creates stunning visual appeal, making them totally Insta-worthy.
Make-Ahead Friendly: The scones can be shaped and frozen before baking, allowing you to have fresh-baked treats on demand – perfect for unexpected guests or early morning cravings.
Ingredients
- All-Purpose Flour: Forms the foundation of the scones, providing structure and a tender crumb.
- Brown & Granulated Sugar: Brown sugar adds moisture and a rich, caramel-like sweetness, while white sugar helps with structure.
- Baking Powder & Baking Soda: Help the scones rise and create a light, fluffy texture.
- Salt & Vanilla Extract: Enhance all the flavors and balance the sweetness.
- Spices: I used classic pumpkin pie spice to keep things simple. Feel free to use a mix of spices to suit your tastes.
- Unsalted Butter: Creates flaky layers and adds richness.
- Pumpkin Puree: Provides moisture, natural sweetness, and the quintessential pumpkin flavor. Be sure it's puree, not pie filling.
- Buttermilk: Adds richness and helps create a tender, moist texture.
- Egg: A binder that also provides structure and richness to the dough.
- Glazes: One is a simple mix of powdered sugar, vanilla, and cream. In the other, you'll add pumpkin puree and spices for flavor and visual appeal.
How to Make Starbucks Pumpkin Scones
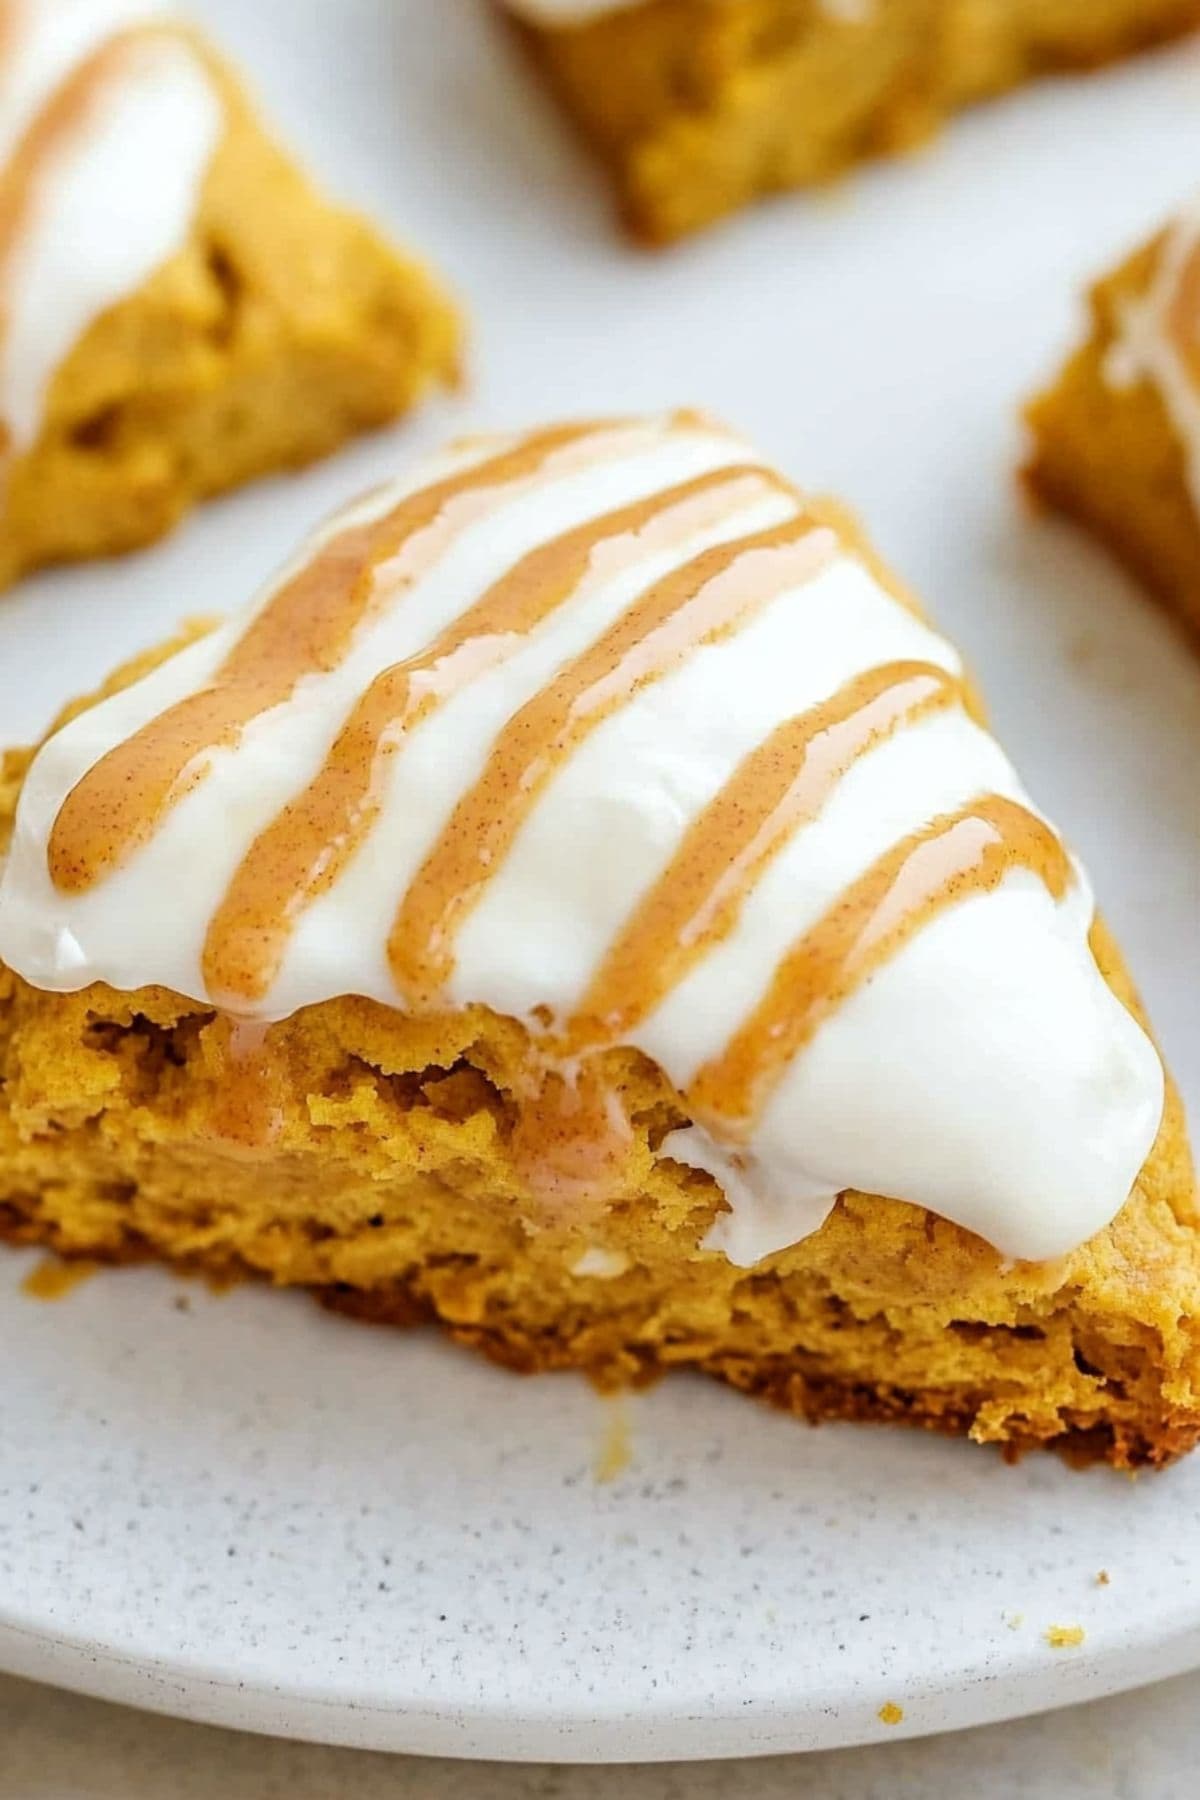
Enjoy these scones with your morning coffee or as an afternoon pick-me-up. Either way, they won't last long.
With a light, crisp exterior, a soft pumpkin-infused center, and two sweet glazes, they’re an irresistible blend of indulgence and seasonal warmth.
Here's how to make them:
1. LINE a baking sheet with parchment paper. Set aside.
2. WHISK the dry and wet ingredients in separate bowls. Cut the butter into the dry, then gently stir the two together to form a shaggy dough.
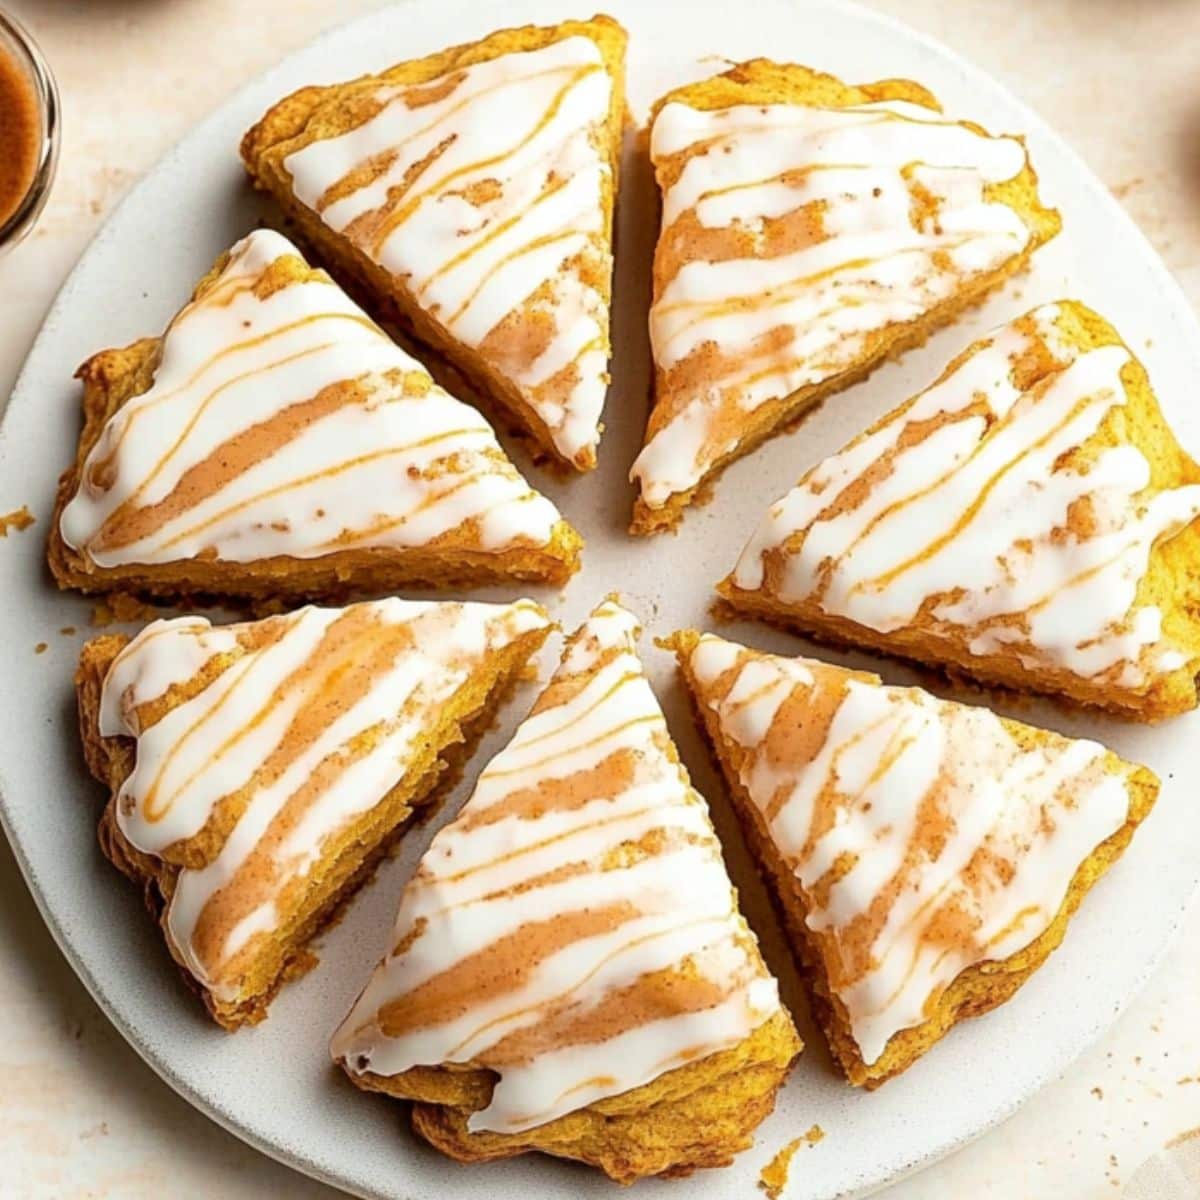
3. KNEAD the dough on a lightly floured surface until it just comes together. Pat into an 8-inch circle, 1 inch thick, and slice into 8 wedges.
4. FREEZE the scones on the prepared baking sheet for 15–20 minutes. Preheat the oven to 425°F.
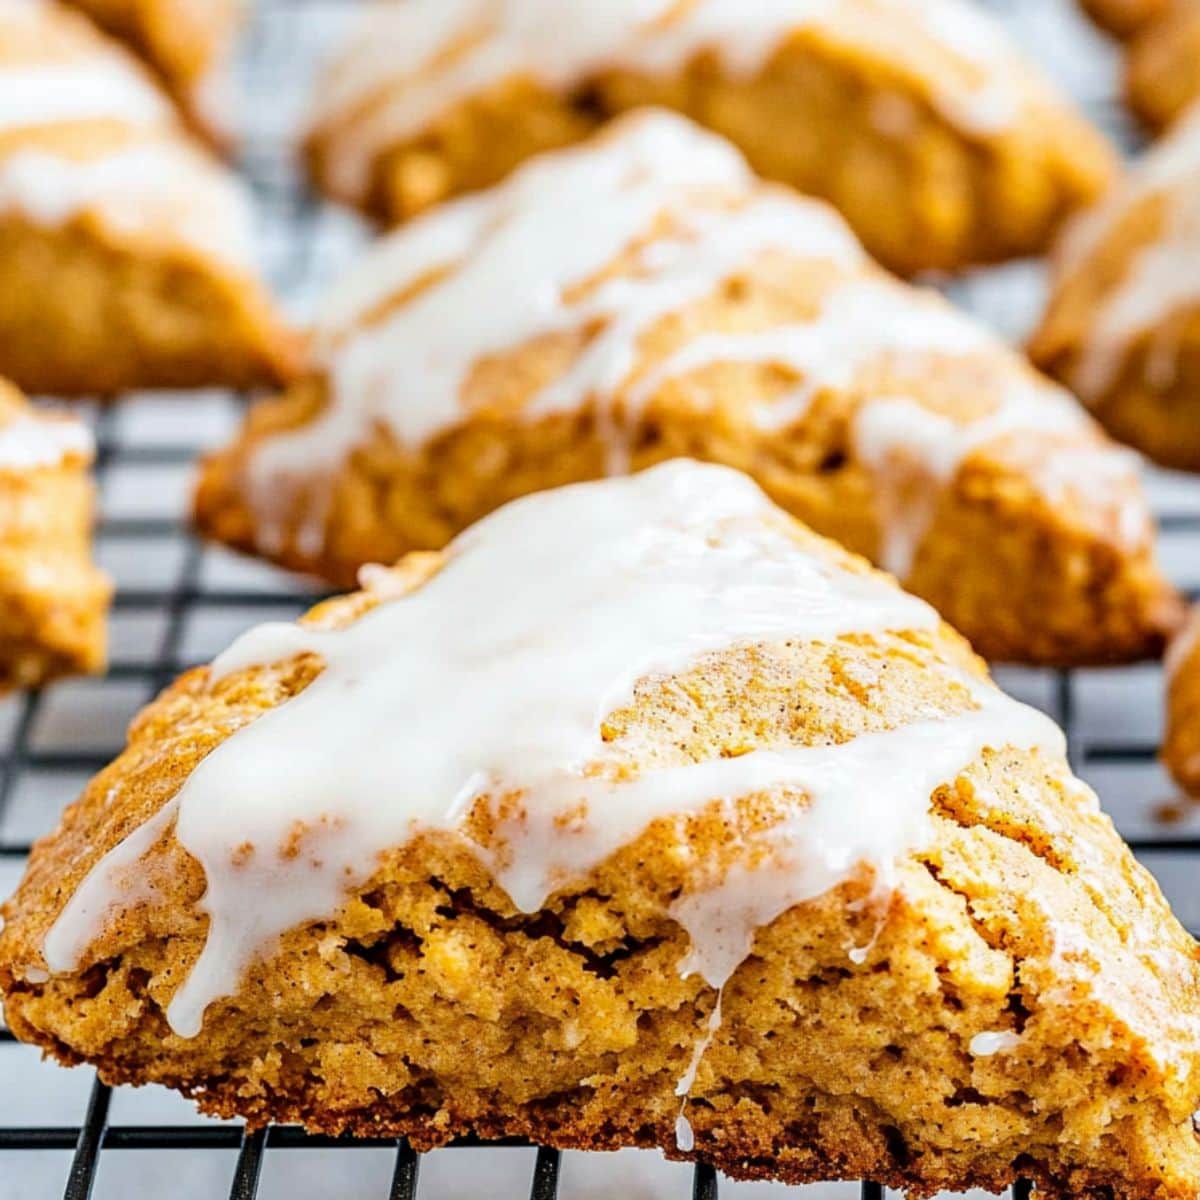
5. BRUSH the tops with heavy cream and bake for 14–16 minutes until golden. Cool on the sheet for 5 minutes, then transfer to a rack.
6. MAKE the glazes in separate bowls, adjusting the consistency with more powdered sugar or cream, as needed.
7. GLAZE the cooled scones, letting the first layer set before adding the next. Serve at room temperature and enjoy!
Tips For the Best Starbucks Pumpkin Scones
Everyone keeps telling me to wait until fall to make these copycat Starbucks pumpkin scones, but I firmly believe pumpkin season lives in our hearts year-round!
If you agree, check out these tips then get baking!
- Check your spices. Use spices less than 6 months old for the most vibrant flavor – older spices will produce bland results.
- DIY spice blend. Instead of pumpkin spice, use 1 tsp cinnamon, 1/2 tsp nutmeg, 1/4 tsp ginger, and 1/8 tsp cloves (all ground).
- Drain the pumpkin. Spread the pumpkin puree over a couple of thick paper towels and leave for 30 minutes to remove excess moisture. This is vital when using homemade puree.
- Measure precisely. Fluff the flour with a fork, then spoon it into the measuring cup before leveling it off with a knife. If you scoop from the bag, you'll use too much.
- Cold ingredients matter. Keep everything in the fridge until ready to mix. This ensures flaky, tender scones with perfect layers.
- Don't overwork dough. Handle the dough as little as possible when mixing and shaping – overworking leads to tough, dense scones.
- Thickness matters. 1-inch thickness is just right. Any thinner will result in dry scones; thicker ones may not bake through properly.
- Spacing is key. Place scones at least 2 inches apart on the baking sheet to allow proper air circulation and even baking.
How to Store
I made a batch of these yesterday, and let me tell you – it's all I can do to resist gobbling them all up.
If you happen to have more willpower than me, here's how to store them:
To Make Ahead: Make the dough and shape the scones. Flash freeze until solid, then store in a freezer bag for 2-3 months. Bake from frozen, adding 2-3 minutes to the baking time.
To Store: Store cooled scones in an airtight container (in a single layer when glazed) at room temperature for up to 2 days or in the fridge for up to 5 days.
To Freeze: Wrap unglazed scones in plastic and foil and place in a freezer bag for 2-3 months. Thaw at room temperature before glazing.
To Reheat: Warm unglazed scones at 300°F for 5 minutes or in the microwave for 30 seconds.
More Copycat Starbucks Recipes to Try
Starbucks Gingerbread Loaf
Starbucks Egg Bites
Starbucks Caramel Apple Cider
Starbucks Pumpkin Spice Latte
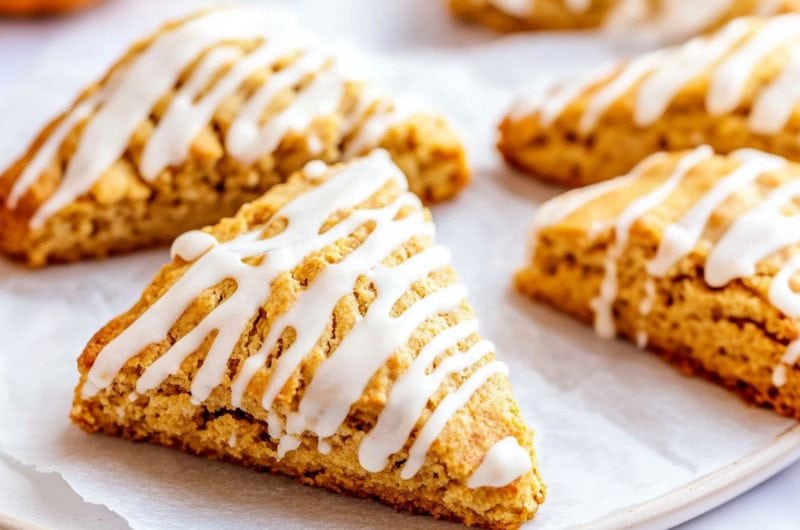
Starbucks Pumpkin Scones
These buttery Starbucks pumpkin scones feature pumpkin puree and plenty of spice, along with two types of sweet glaze. They're the perfect fall treat.
8
servings15
minutes15
minutes512
kcalIngredients
- Pumpkin Scones
2 1/2 cups all-purpose flour
1/3 cup brown sugar, packed
1/4 cup granulated sugar
2 1/2 teaspoons pumpkin pie spice
2 teaspoons baking powder
1/2 teaspoon baking soda
1/2 teaspoon salt
1/2 cup (1 stick) cold unsalted butter, cut into cubes
2/3 cup pumpkin puree
1/4 cup buttermilk
1 large egg
1 teaspoon vanilla extract
2 tablespoons heavy cream
- Vanilla Glaze
1 cup powdered sugar
2 tablespoons heavy cream
1/2 teaspoon vanilla extract
- Spiced Glaze
1 cup powdered sugar
1 tablespoon pumpkin puree
1/2 teaspoon pumpkin pie spice.
1-2 tablespoons heavy cream
Instructions
- Line a baking sheet with parchment paper and set aside.
- Make the Scones: In a large bowl, whisk the flour, brown sugar, granulated sugar, pumpkin pie spice, baking powder, baking soda, and salt.
- Add the cold butter and rub it into the flour with your fingers or cut it with a pastry cutter until the mixture resembles coarse crumbs.
- In a separate bowl, whisk the pumpkin puree, buttermilk, egg, and vanilla extract until smooth.
- Make a well in the center of the dry ingredients and pour in the pumpkin mixture. Stir gently with a spatula until a shaggy dough forms. If the dough is too sticky, add a tablespoon of flour at a time until it comes together.
- Transfer dough to a lightly floured surface. Knead it a few times just until it comes together (do not overwork). Pat the dough into an 8-inch circle, about 1 inch thick, then slice into 8 wedges with a sharp knife.
- Place the scones on the prepared baking sheet and freeze for 15-20 minutes. Then, preheat the oven to 425°F.
- Brush the tops of the scones with heavy cream and bake for 14–16 minutes or until lightly golden. Cool on the sheet for 5 minutes, then transfer to a wire rack to cool completely.
- Make the Glaze: In a small bowl, whisk the powdered sugar, heavy cream, and vanilla extract until smooth. Adjust with more sugar or cream as needed.
- In a separate bowl, whisk the powdered sugar, pumpkin puree, and pumpkin spice. Add the cream a little at a time until the desired consistency is reached.
- When the scones are cool, spread the vanilla glaze over the top. Allow to set, then drizzle the spiced glaze in stripes.
- Serve at room temperature and enjoy!
Notes
- Instead of pumpkin spice, use 1 tsp cinnamon, 1/2 tsp nutmeg, 1/4 tsp ginger, and 1/8 tsp cloves (all ground).
- Spread the pumpkin puree over a couple of thick paper towels and leave for 30 minutes to remove excess moisture. This is vital when using homemade puree.
- Fluff the flour with a fork, then spoon it into the measuring cup before leveling it off with a knife. If you scoop from the bag, you'll use too much.


1 Comments
You are right! Never too much frosting or glaze or drizzle!