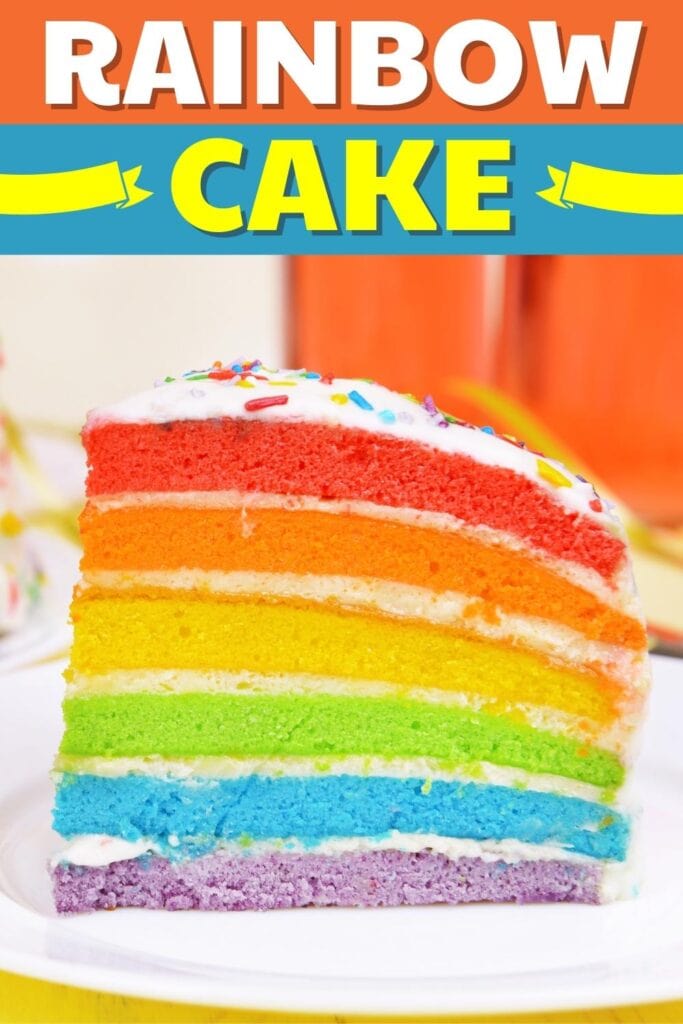
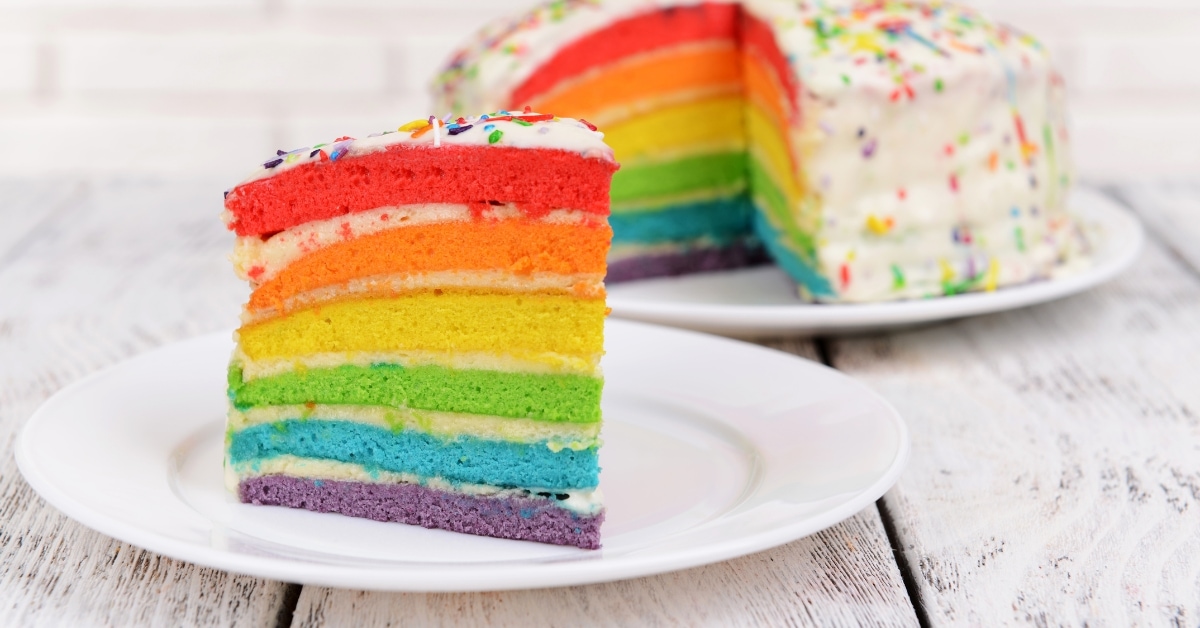
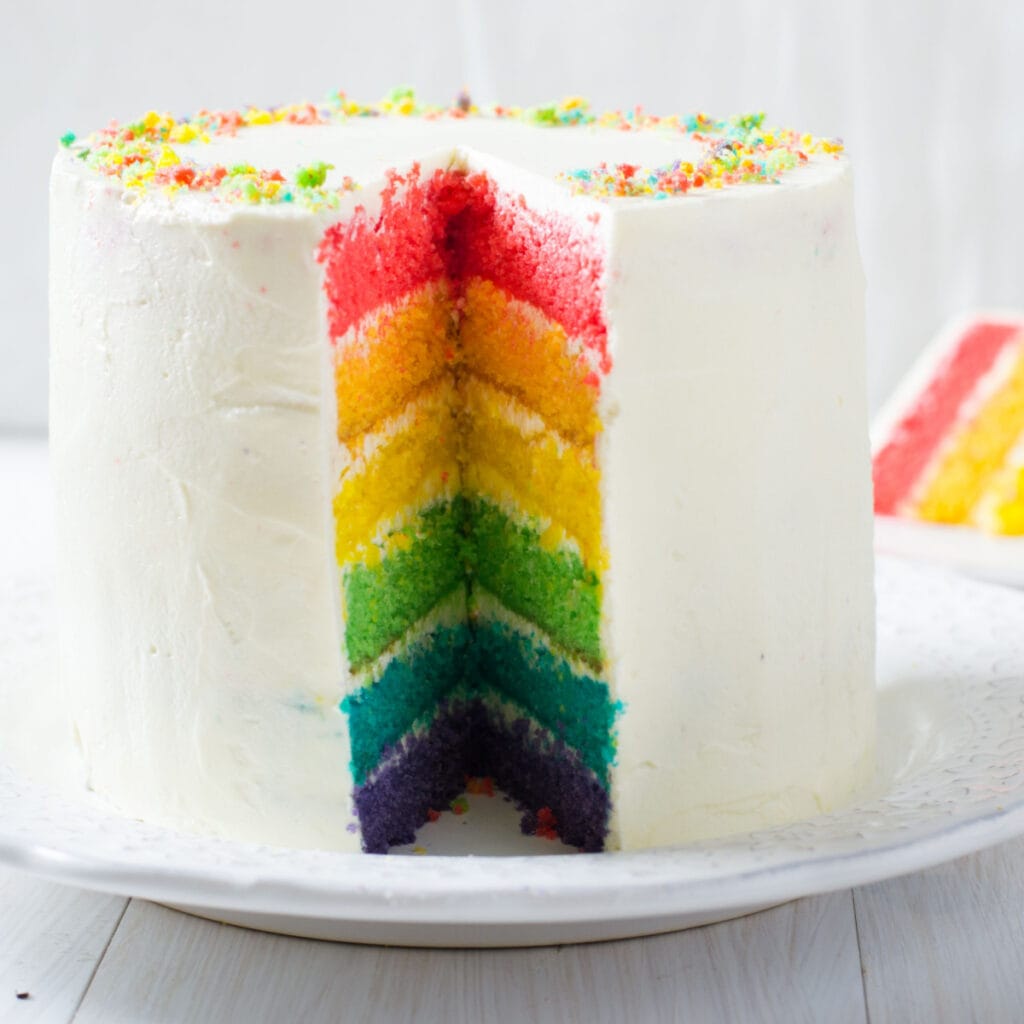
Whatever the occasion, this rainbow cake is the ultimate celebration dessert.
With its bright and cheerful colors and lightly sweet flavor, this fun cake is sure to put a smile on anyone’s face.
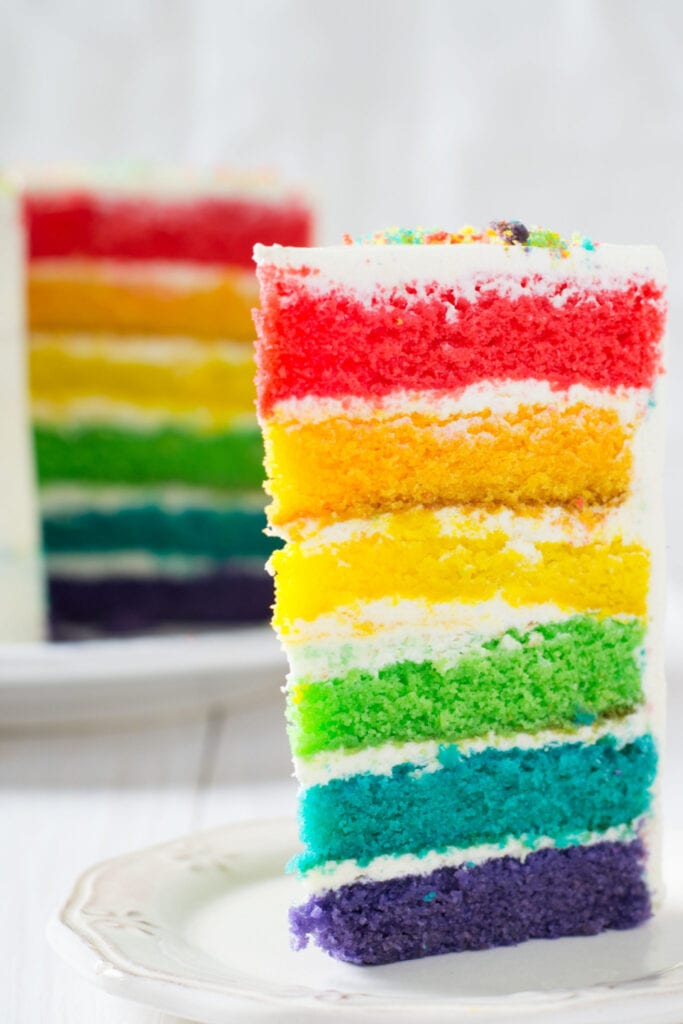
The fluffy, vanilla sponge is so light and fluffy, you won’t be able to resist going back for seconds (or thirds, I won’t judge).
And let’s not forget about that irresistible buttercream frosting!
It takes a bit of time to prep with all those colors, but it’s so worth it in the end.
So, grab some food coloring and a box of cake mix, and let’s bake a rainbow cake!
Easy Rainbow Layer Cake Recipe
As the name suggests, this rainbow cake is a super fun and colorful dessert that’s guaranteed to brighten up your day.
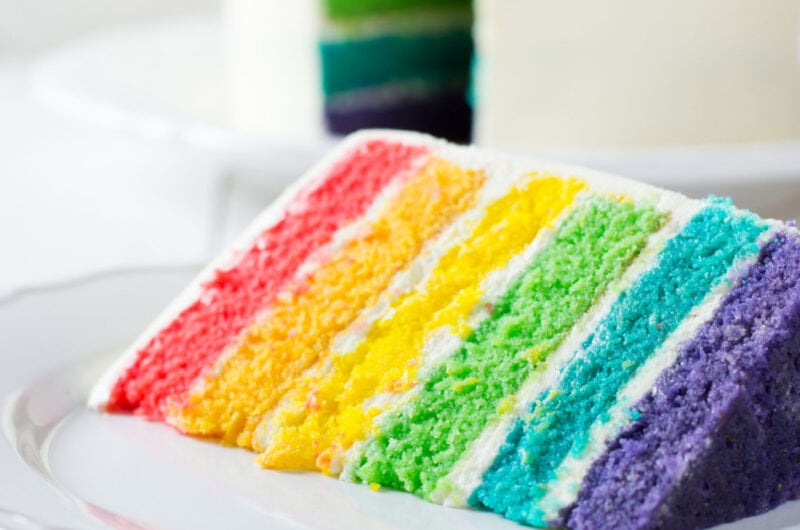
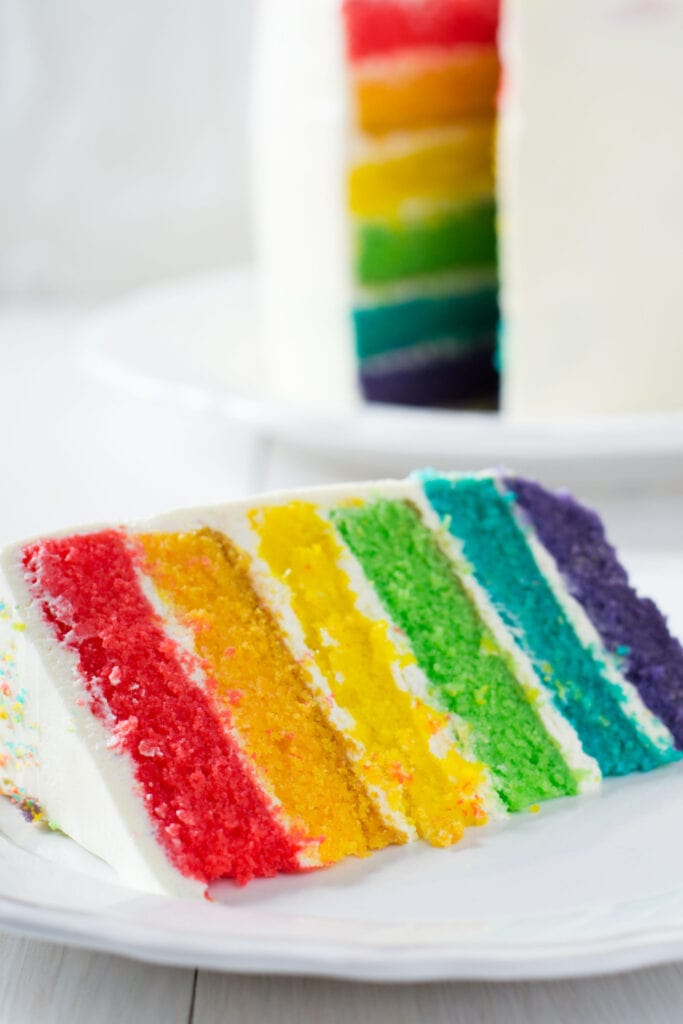
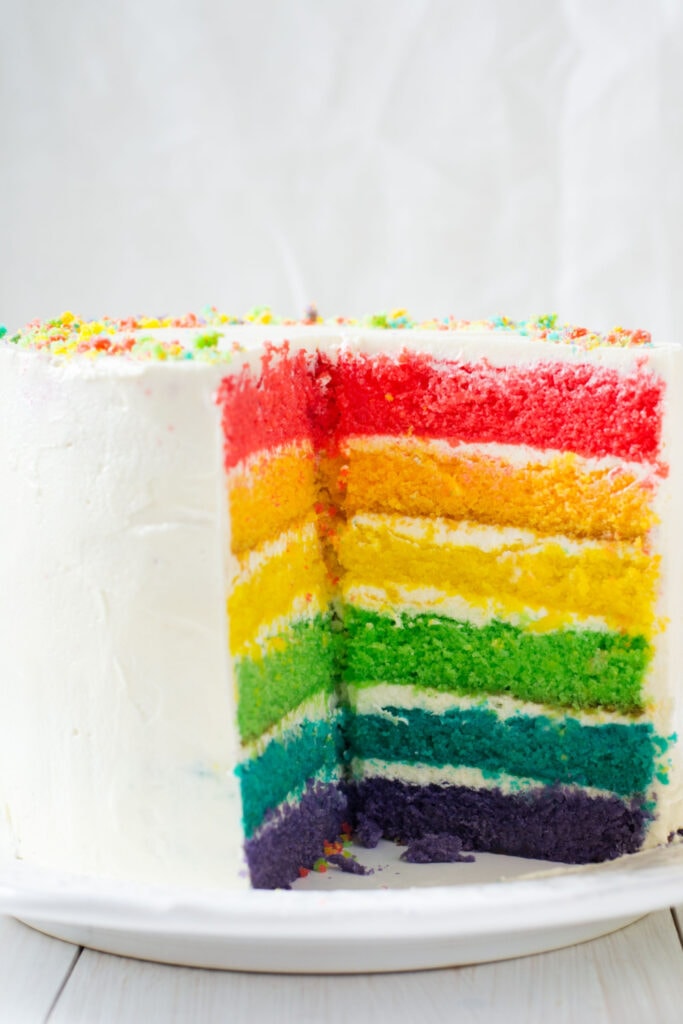
It’s made up of six layers, and each is a different color of the rainbow.
And while you will need to split the batter and add the colors, you’ll use boxed cake mix to speed up the process.
Oh, and feel free to change up the colors.
I think the rainbow looks amazing, but you could make it festive for any holiday.
I’m thinking pinks and reds for Valentine’s Day and vibrant purple and green for a spooky Halloween cake.
Ingredients
For the Cake:
- Betty Crocker Super Moist Vanilla Cake Mix: A boxed cake mix that saves time and effort while still producing a delicious cake.
- Water: Helps to bring the batter together and make it smoother.
- Vegetable Oil: Adds moisture to the cake and keeps it from becoming dry.
- Eggs: Opt for large and fresh eggs when baking. It’s a good idea to let them reach room temperature before adding them to the cake batter.
- Betty Crocker classic gel food colors: Red, orange, yellow, green, and blue.
For the Buttercream Frosting:
- Shortening: Shortening is the secret ingredient for creating frosting with a melt-in-your-mouth texture.
- Butter: Adds flavor and richness to the frosting. Be sure it’s nicely softened.
- Powdered Sugar: Sweetens the frosting and gives it a thick and smooth consistency. It’s best to use powdered sugar as it dissolves into the frosting easier.
- Vanilla: I like using pure vanilla extract, as it adds a subtle sweetness to the frosting.
- Milk: Use any milk you have. It helps to thin out the frosting and make it easier to spread on the cake.
How to Make Rainbow Cake
Follow these simple steps to make a fabulous rainbow cake:
For the Cake:
- Prep. Preheat the oven to 350 degrees Fahrenheit and grease three 8-inch round cake pans with cooking spray.
- Make the batter. In a large mixing bowl with an electric mixer, beat the cake mix, water, oil, and eggs on low speed for 30 seconds. Then, continue to beat the batter on medium speed for 2 minutes. Don’t forget to scrape the bowl occasionally.
- Divide the batter. Divide the batter equally among 6 small bowls, giving each bowl around 1 1/3 cups of batter.
- Color the batter. Grab the Betty Crocker classic gel food colors and start tinting the batter. One bowl for blue, one for red, one for green, one for yellow, one for orange (by using red and yellow), and one for purple (by using blue and red).
- Make the layers. Refrigerate three of the colored batters until you’re ready to bake them. Pour the remaining three colors of batter into the prepared cake pans.
- Bake. Bake the cakes for 18 to 20 minutes or until they spring back when lightly touched in the center and begin to pull away from the sides of the pan.
- Cool. Let them cool for 10 minutes before removing them from the pans and transferring them to cooling racks. Be patient and let them cool completely before moving on to the next step.
- Repeat. Clean the cake pans and repeat the baking and cooling process with the remaining three cake layers.
For the Buttercream Frosting:
- Make the frosting. In a large mixing bowl, beat the shortening and butter on medium speed with an electric mixer until it’s light yellow. Gradually beat in the powdered sugar on low speed, then add the vanilla.
- Perfect the consistency. Add the milk, one tablespoon at a time, and beat until the frosting is smooth. Now it’s time to crank up the speed and beat on high until the frosting is light and fluffy.
- Prep the cakes. Trim any rounded tops off the cakes to level them if needed.
- Add frosting to the layers. On a serving plate, place the purple cake layer and spread frosting to within 1/4 inch of the edge. Repeat this process with the blue, green, yellow, orange, and red cake layers.
- Frost the sides. Then spread a light coat of frosting on the top and sides of the cake to seal in the crumbs. Then, finish the cake with the remaining frosting.
- Serve and enjoy! Slice and serve.
Tips for the Best Rainbow Cake
Here are some tips to make the best rainbow cake possible:
- Grease and line the cake pans with parchment. This will make it super easy to pop them out to cool.
- Don’t overbake the cakes. Test for doneness by lightly touching the center to see if they spring back.
- Freeze the cakes before stacking them. Let them cool completely then wrap and freeze them. They’ll stack easier when they’re solid.
- Also, level the cakes before stacking them. Run a serrated knife over the bump in the middle (if there is one) so they lay flat.
- Crumb coat the stacked cake and chill. This will make the final product much neater.
- Just add a thin layer of frosting to the outside of the cake and let it set before decorating.
- Weigh the cake batter before coloring. This will ensure every cake is the same size.
- Use gel food colors, not liquid. Gel gives brighter colors and won’t affect the consistency of the batter.
- Make colorful cupcakes instead. Need a birthday cake alternative? Pipe a small amount of each colored batter into cupcake liners and bake for 15-18 minutes.
How to Store and Freeze
Storing: Once you’re done assembling and decorating your cake, pop it into the fridge until you’re ready to chow down.
This will help the buttercream stay firm and prevent it from melting all over the place, especially if you’re on the go.
Freezing: If you’re planning on saving some slices for later, I’ve got a nifty trick for you.
First, place your leftover slices on a plate or baking tray. Freeze them for 10-15 minutes until they’re nice and solid.
Then, wrap each slice twice in plastic wrap to keep them fresh.
These slices will keep in the fridge or freezer until you’re ready to indulge in some sweet cake.
Pro tip: Take them out a few hours before serving to let them thaw and reach room temperature for easy slicing.
