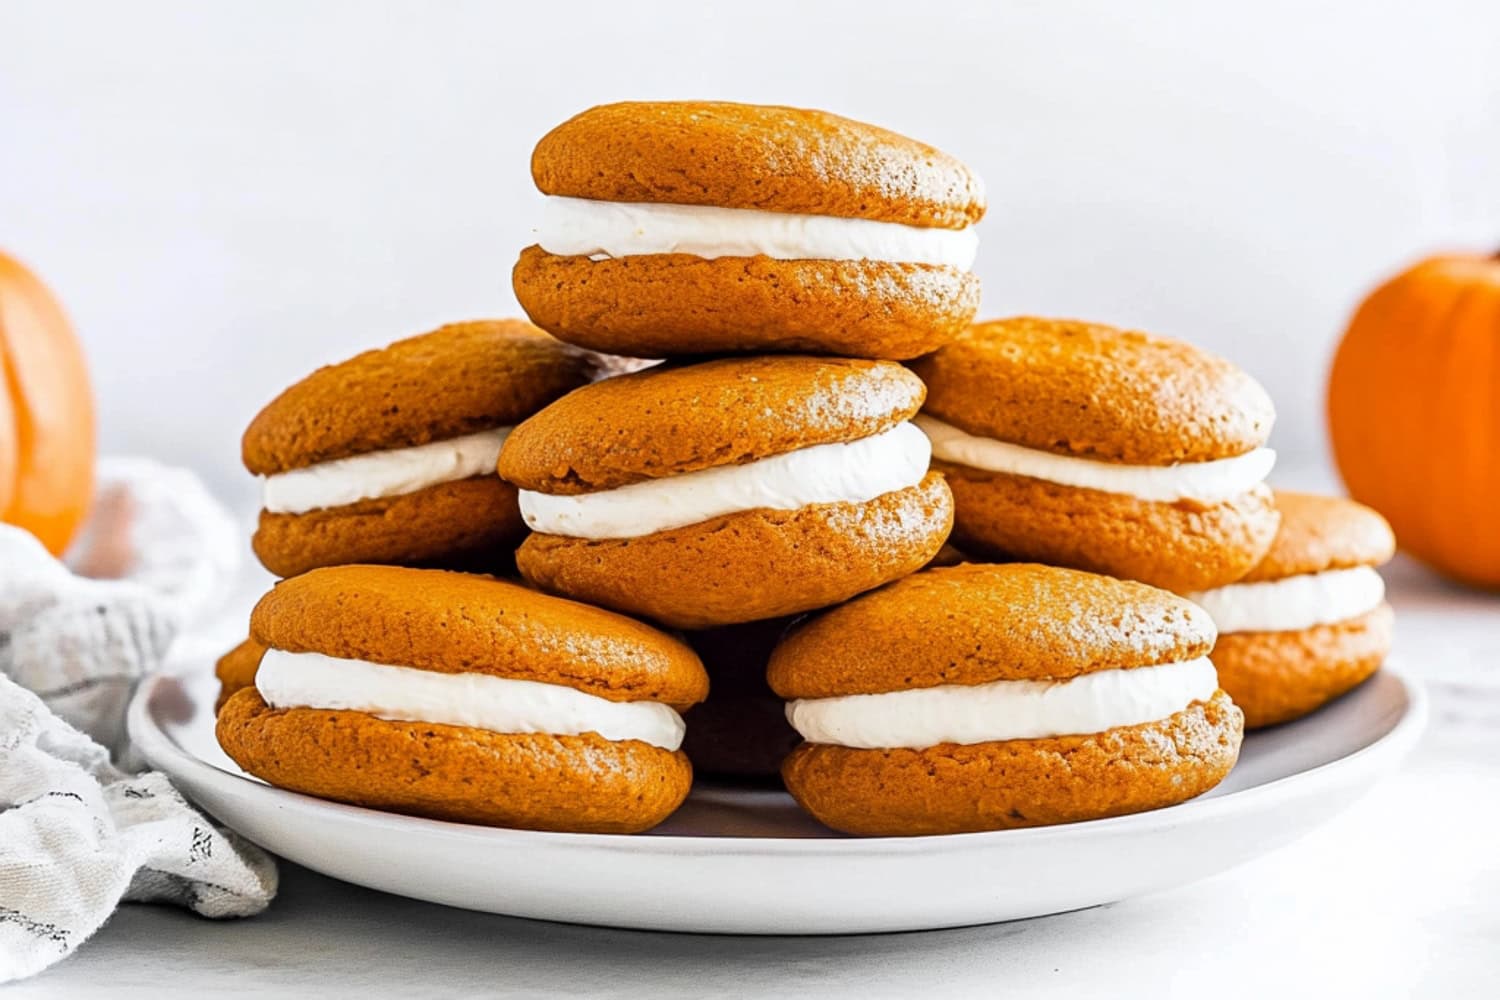

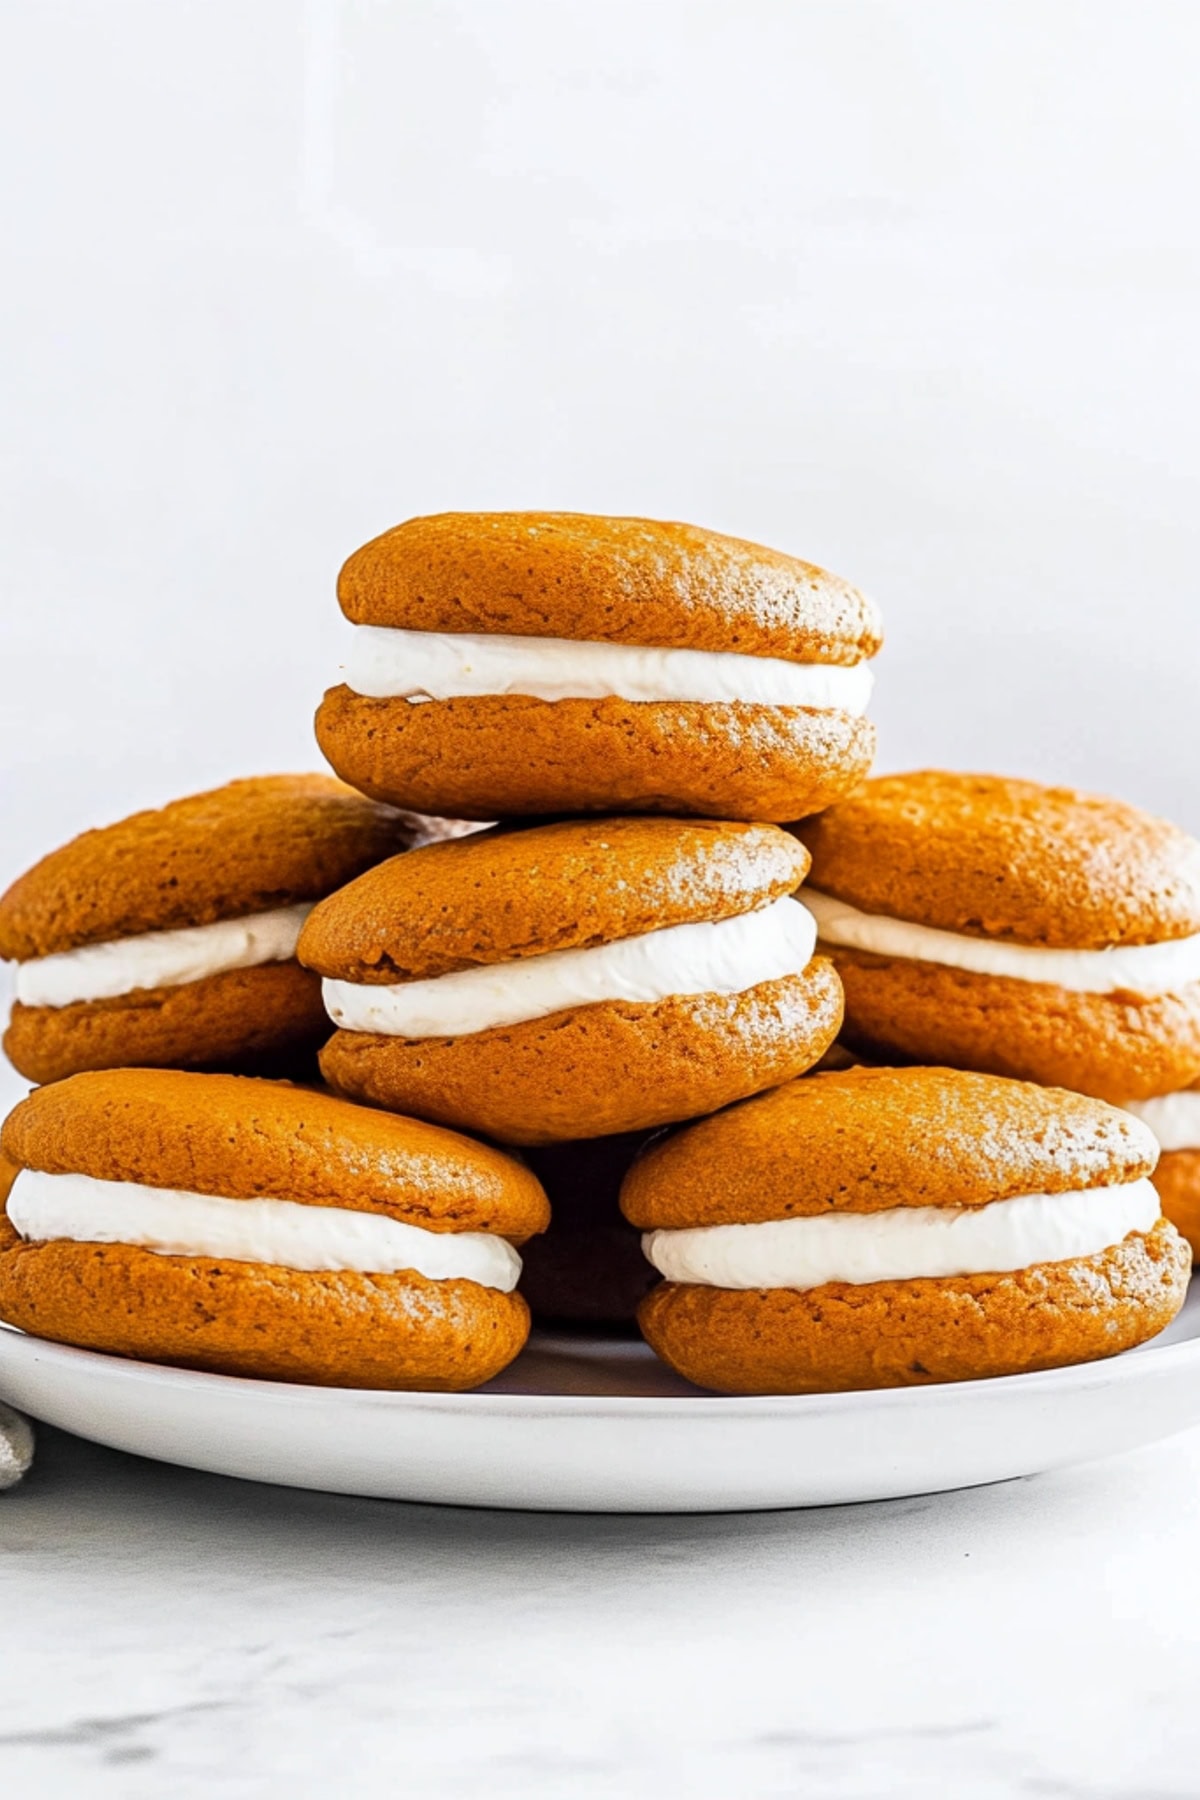
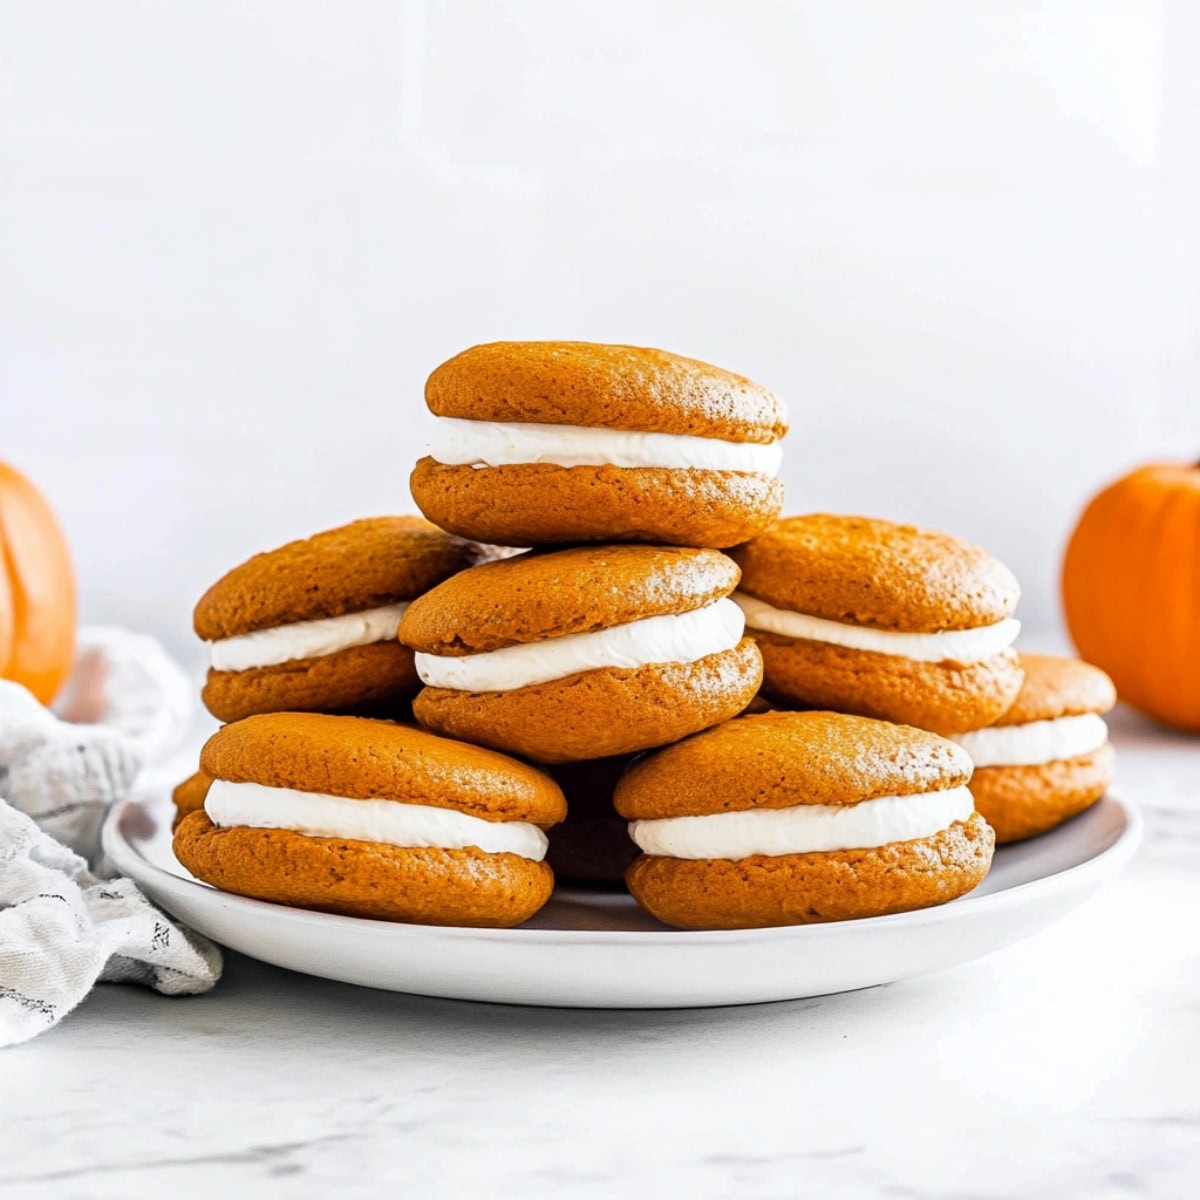
Introducing pumpkin whoopie pies – a dreamy blend of soft, spiced pumpkin cookies with a luscious cream cheese filling.
Each bite is a celebration of fall’s finest flavors wrapped up in a perfectly portable package.
Whether you’re cozying up with a good book or sharing with friends, they’re sure to become a seasonal favorite.
Who says you can’t hold happiness in your hands?
Why You’ll Love These Pumpkin Whoopie Pies
Seasonal Spices: Pumpkin whoopie pies capture the essence of fall with their warm spices and rich pumpkin flavor, making them the perfect autumn treat.
Easy to Make: The cookies come together in a snap, and the filling is just as easy. You don’t even need a mixer – you can do this all by hand if you don’t mind a bit of elbow grease.
Portable Perfection: Unlike traditional pies, these handheld treats are easy to transport and serve, making them ideal for picnics, bake sales, or on-the-go snacking.
Ingredients
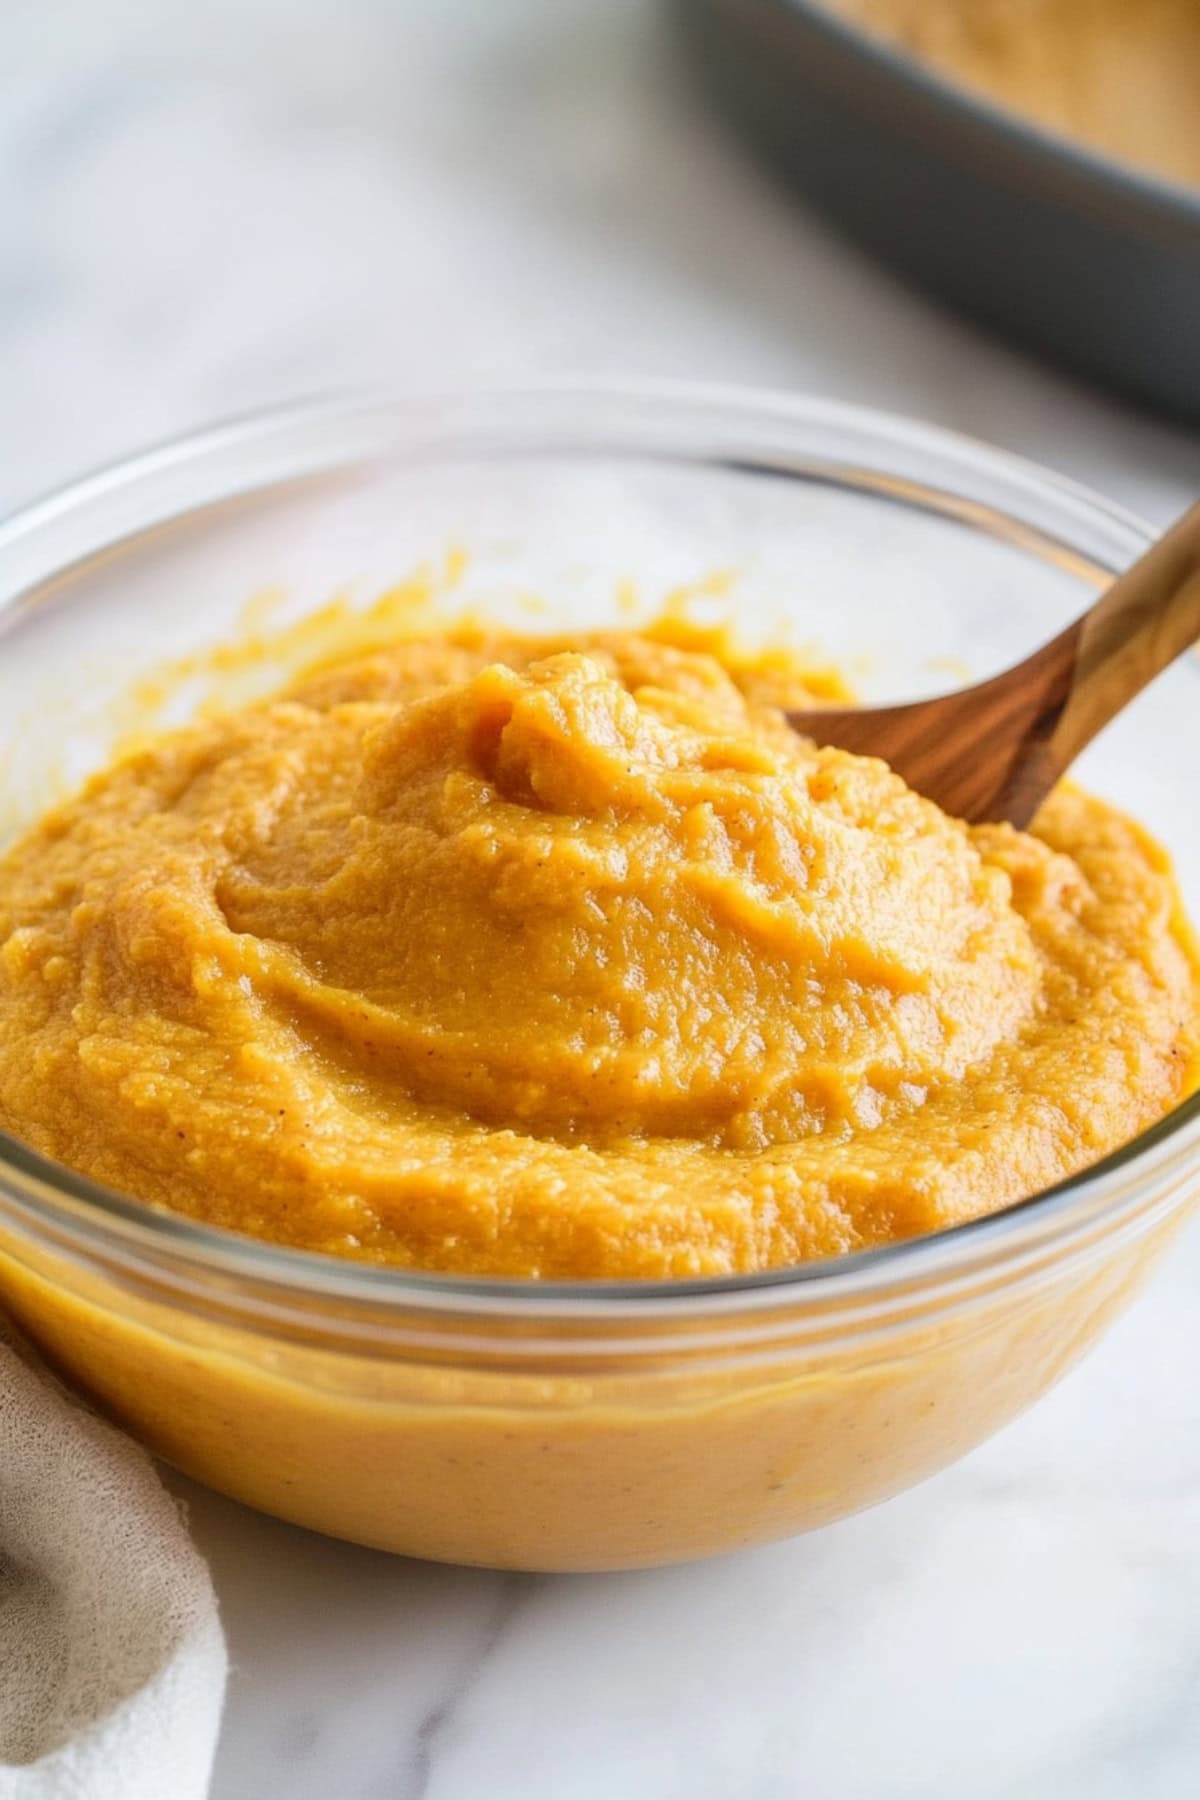
- Pumpkin Puree: Provides moisture and quintessential fall flavor.
- All-Purpose Flour: The foundation of the cookies, giving them structure and texture.
- Baking Soda & Baking Powder: The dynamic duo responsible for the cookies’ rise and fluffy finish.
- Salt: A pinch to balance and enhance all the flavors.
- Spices: A blend of ground cinnamon, ginger, nutmeg, and cloves that adds warm, aromatic depth.
- Butter: The secret to keeping the cookies moist and tender.
- Brown Sugar: Adds depth, richness, and a subtle molasses note.
- Large Eggs: The binder that holds it all together.
- Vanilla Extract: A splash of flavor to round out the pumpkin and spices.
- Cream Cheese Filling: A creamy blend of unsalted butter, cream cheese, vanilla extract, and powdered sugar that provides a tangy, sweet contrast to the spiced pumpkin cookies.
How to Make Pumpkin Whoopie Pies
These whoopie pies are not only incredibly delicious but also super fun to make.
I love getting my hands a little messy while assembling them. It’s all part of the experience, right?
Here are the simple steps:
1. PREP. Preheat oven to 350°F. Line two baking sheets with parchment paper.
2. MIX: In a large bowl, whisk the flour, baking soda, baking powder, salt, cinnamon, ginger, nutmeg, and cloves. Set aside.
3. CREAM: In a separate bowl, beat the sugar and butter until light and fluffy. Add the eggs, yolk, pumpkin, and vanilla, mixing until smooth.
4. COMBINE: Gradually stir the dry ingredients into the pumpkin mixture until just combined. Do not overmix.
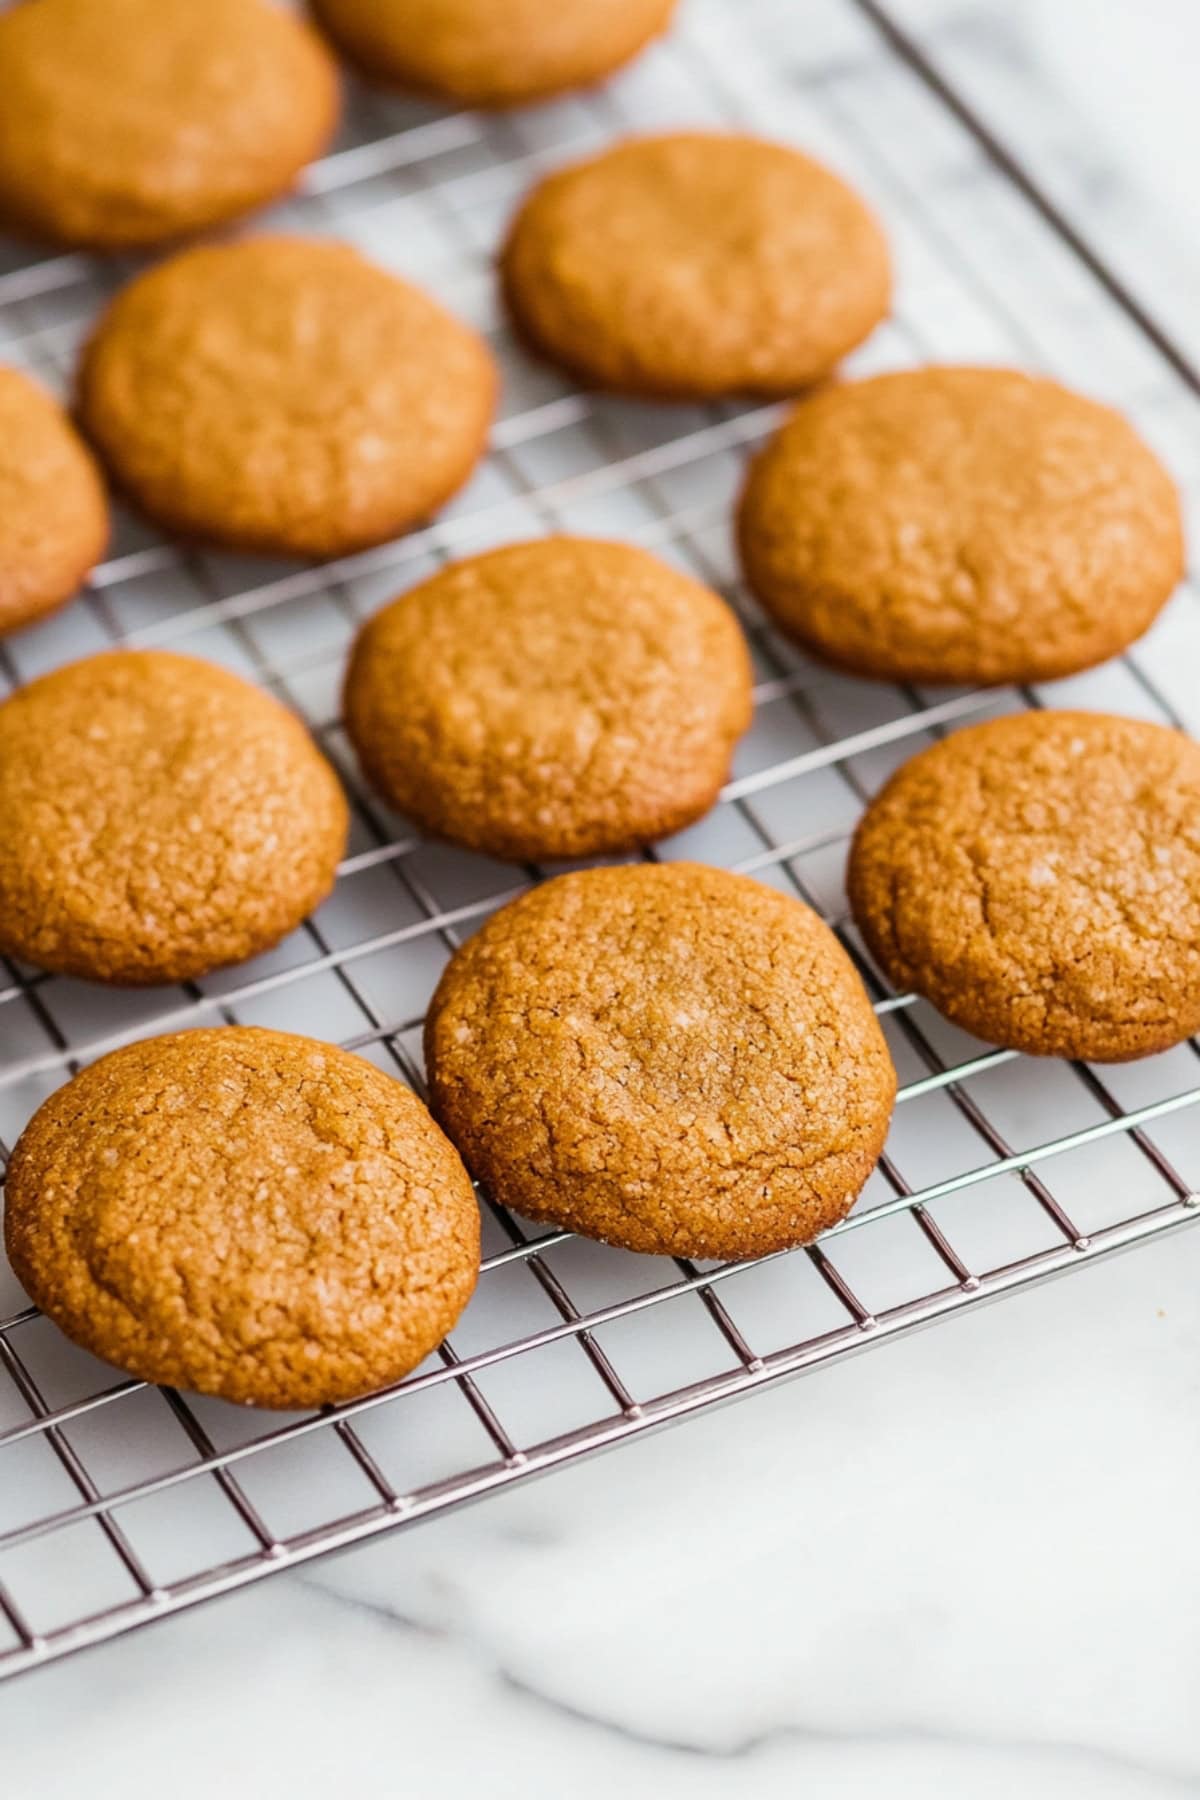
5. BAKE: Drop 2-tablespoon mounds of batter onto the baking sheets, spacing them 2 inches apart. Bake for 10-12 minutes, until the tops are set. Cool.
6. FILLING: Beat the butter, cream cheese, and vanilla until creamy. Gradually add powdered sugar, then beat until fluffy.
7. ASSEMBLE: Pipe or spread the filling on the flat side of half the cookies. Top with the remaining cookies and press gently.
8. ENJOY: Refrigerate for 30 minutes to set the filling. Serve and enjoy!
Tips For the Best Pumpkin Whoopie Pies
Soft, spiced, and perfectly nice – I can’t wait for you to try these pumpkin whoopie pies!
But before you get mixing, be sure to read these tips!
- Chill the pumpkin. For best results, use chilled pumpkin puree, as it helps create a fluffier texture in the cookies.
- Room temperature ingredients. Ensure the eggs, butter, and cream cheese are at room temperature for smooth mixing.
- Spice balance. Adjust spices to your taste or use a pumpkin spice mix for convenience.
- Avoid overmixing. To keep the cookies soft and cakey, do not overmix the batter once you add the dry ingredients. Mix gently by hand just until you no longer see streaks of flour.
- Cool completely. Let the cookies cool completely on a wire rack before assembling the whoopie pies to prevent the filling from melting.
- Pipe filling. Use a piping bag to evenly distribute the cream cheese filling onto the flat side of the cookies for a neater presentation.
- Chill pies. Let the assembled whoopie pies chill in the refrigerator for at least 30 minutes before serving to allow the flavors to meld. They taste even better the next day!

How to Store
Not only do these store well in the fridge, but you can even make them ahead if needed!
To Make Ahead: Bake and cool the cookies and mix up the frosting. Store separately in airtight containers in the fridge for 1-2 days before assembling.
To Store: Place the assembled whoopie pies in an airtight container, separating the layers with parchment paper. Refrigerate for up to 5 days. For the best flavor and texture, let them come to room temperature before serving.
To Freeze: Flash freeze the cookies (without the frosting) until solid, then transfer to an airtight container for 2-3 months. Thaw overnight and fill with fresh frosting.
Note: I don’t recommend freezing the frosting as it can become watery or grainy after thawing.
More Pumpkin Desserts You’ll Love This Fall
Pumpkin Pudding
Pumpkin Bread Pudding
Pumpkin Bundt Cake
Pumpkin Cake
Pumpkin Whoopie Pies
18
servings20
minutes12
minutes361
kcalThese soft, perfectly spiced pumpkin whoopie pies filled with tangy cream cheese frosting are the ultimate fall dessert!
Ingredients
- For the Pumpkin Cookies
3 cups (360g) all-purpose flour
1 teaspoon baking soda
1 teaspoon baking powder
1 teaspoon salt
2 teaspoons ground cinnamon
1 teaspoon ground ginger
1/2 teaspoon ground nutmeg
1/4 teaspoon ground cloves
2 cups light brown sugar, packed
1/2 cup butter
2 large eggs + 1 egg yolk, room temperature
1 (15 ounce) can pumpkin puree
1 1/2 teaspoons vanilla extract
- For the Cream Cheese Filling
1/2 cup unsalted butter, softened
8 ounces cream cheese, room temperature
1/2 teaspoon vanilla extract
3 cups powdered sugar
Instructions
- Preheat oven to 350°F and line two baking sheets with parchment paper.
- Make the cookies: In a large bowl, whisk the flour, baking soda, baking powder, salt, cinnamon, ginger, nutmeg, and cloves. Set aside.
- In a separate large bowl, beat the sugar and butter with an electric mixer on medium speed until light and fluffy. Blend in the eggs and yolk on low, followed by the pumpkin and vanilla, until smooth and well combined.
- Gradually stir the dry ingredients into the pumpkin mixture until just combined. Do not overmix.
- Using a small cookie scoop (about 2 tablespoons), drop mounds of batter onto the prepared baking sheets, spacing them about 2 inches apart.
- Bake for 10 to 12 minutes, until the tops are set and a toothpick inserted into the center comes out clean. Let cool on the baking sheets for 5 minutes before transferring to a wire rack to cool completely.
- Make the cream cheese filling: In a large bowl, beat the butter, cream cheese and vanilla with an electric mixer on medium speed until smooth and creamy, about 1 minute. Gradually beat in the powdered sugar on low speed until combined. Increase the speed to medium and beat until fluffy, about 2 minutes.
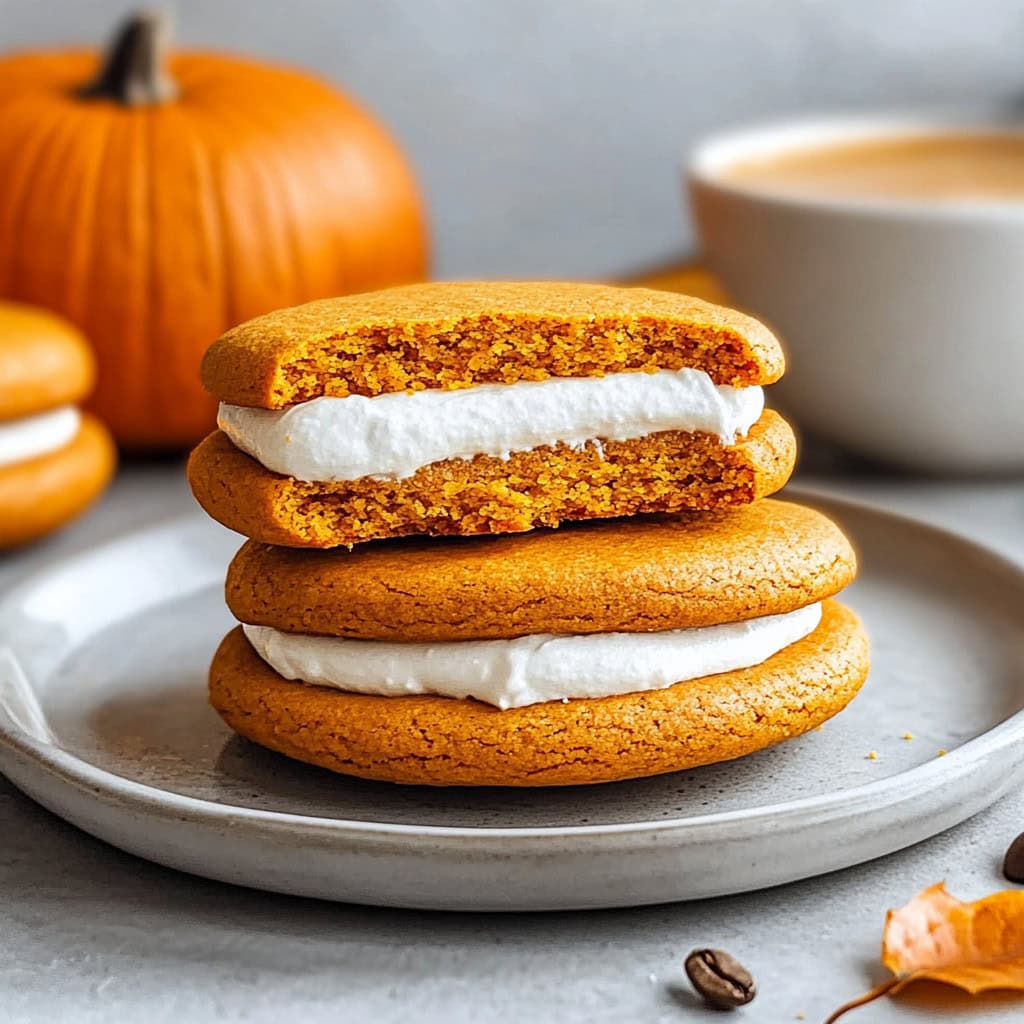
- Assemble: Pipe or spread the cream cheese filling on the flat side of half of the cooled pumpkin cookies. Top with the remaining cookies, flat side down, and gently press together.
- Refrigerate the whoopie pies for at least 30 minutes to allow the filling to set. Serve and enjoy!
Notes
- Use chilled pumpkin puree for the fluffiest cookies.
- Do not overmix the batter once you add the dry ingredients to keep the cookies soft and cakey.
- Let the whoopie pies chill before serving to allow the flavors to meld. They taste even better the next day!