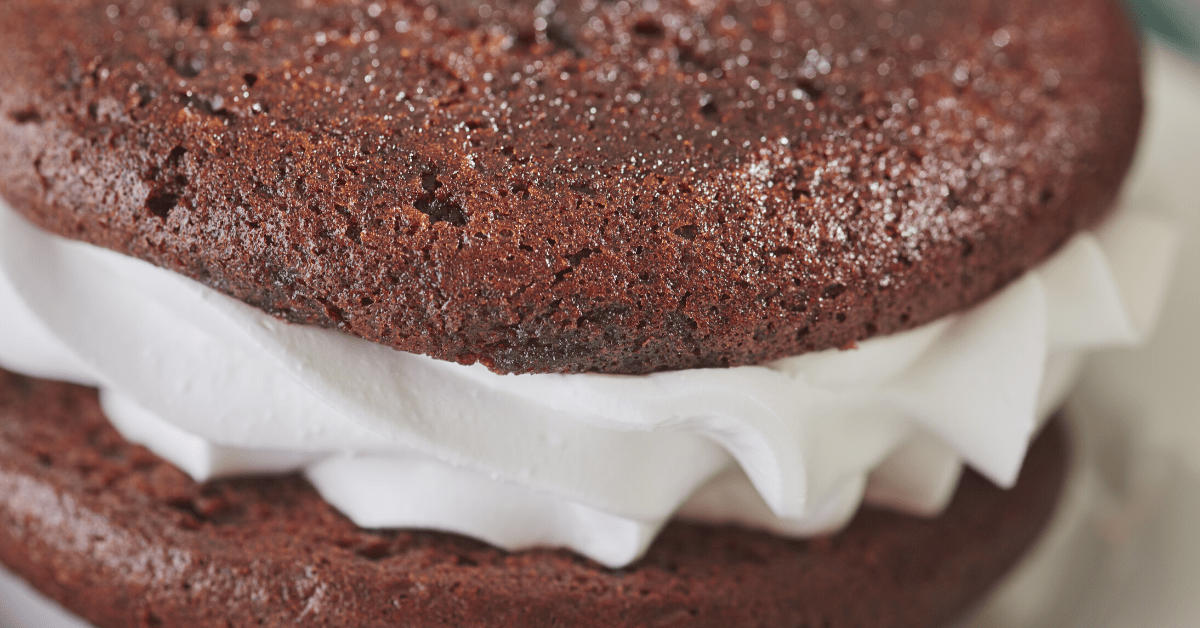

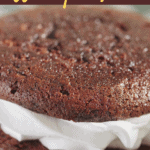
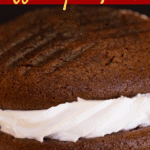
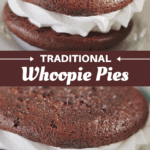

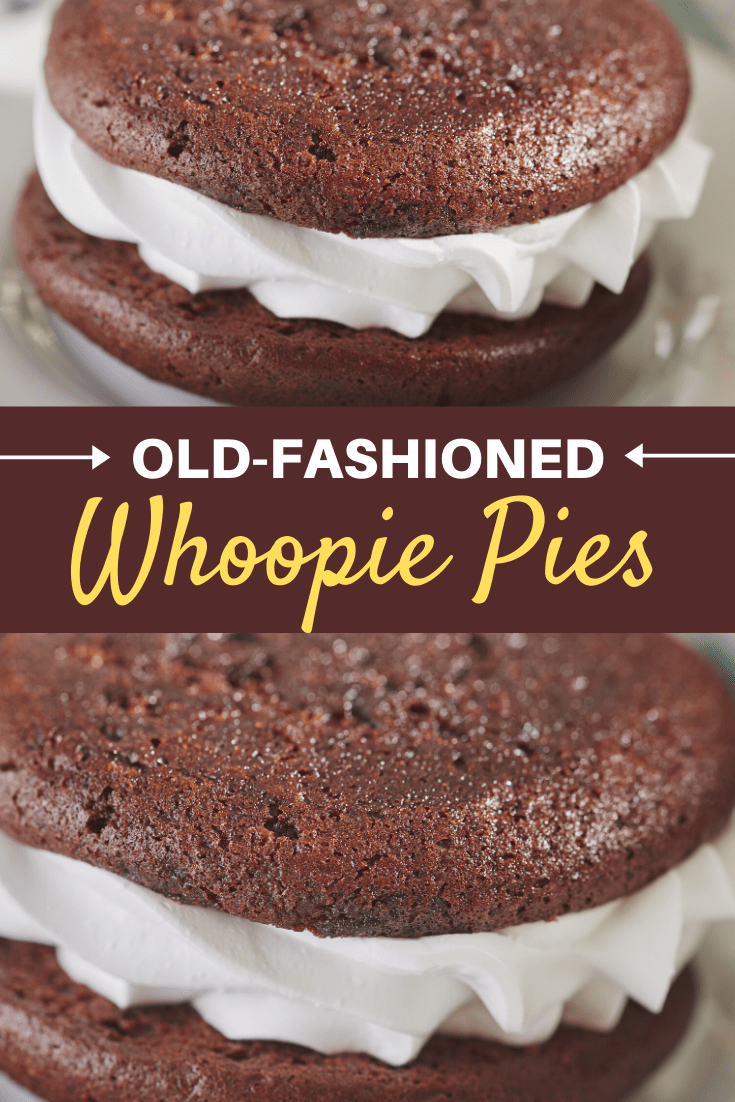
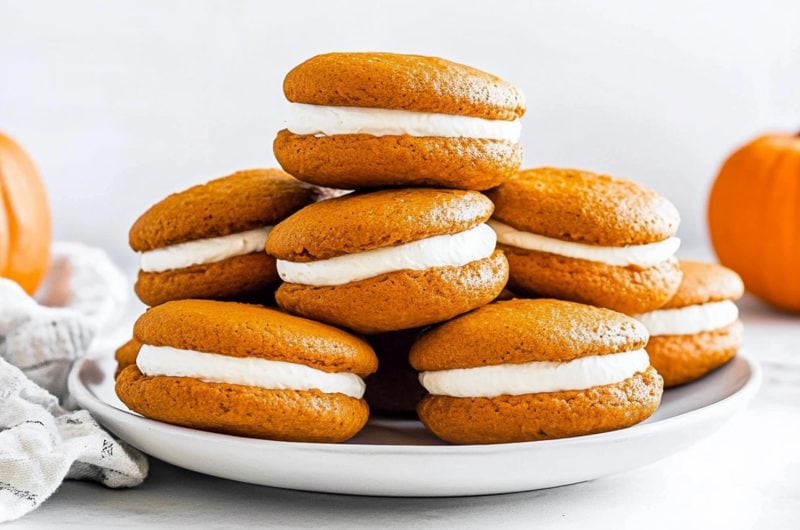
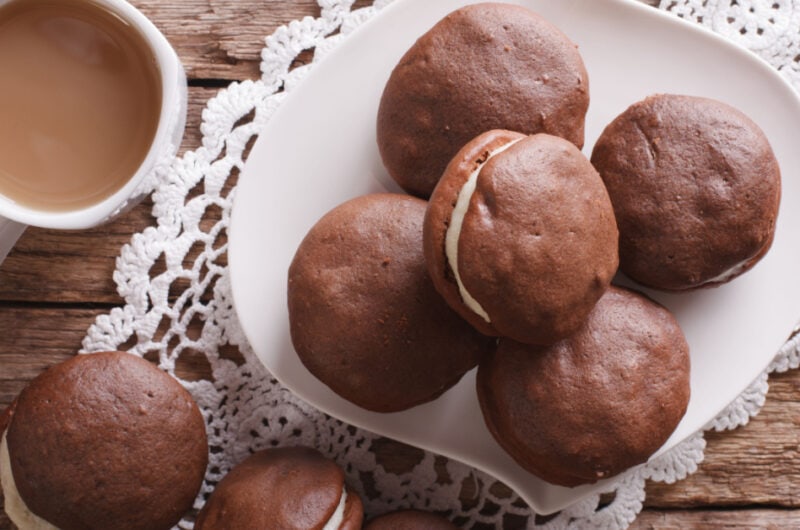
These Old-Fashioned Whoopie pies are soft, chocolaty sandwiches with a sweet fluffy filling. They're the perfect combination between a cake and a cookie. So you get the best of both worlds!
The cake is so pillowy and soft and that frosting filling is to die for. It's hard to stop at just one.
So, enough talk. Let's dive into this recipe for old-fashioned whoopie pies!
WANT TO SAVE THIS RECIPE?
What is a Whoopie Pie?
A whoopie pie is a sandwich composed of two round cookies and a sweet, creamy, and fluffy white filling. The cookies are so soft and moist that they’re almost cake-like consistency-wise.
If you think about it, a whoopie pie is like an inside-out cupcake, with frosting in the center instead of the top.
So, where did its unique name come from, anyway?
Amish legend says the name came from how kids reacted to seeing the delicious cookie sandwich. Whenever kids found them in their lunch box, they’d shout “Whoopie!”.
When you bite into one of these pies, I think you’ll share the same sentiment. I know I do.
Ingredients
Almost all the ingredients in this recipe are pantry staples. That means nothing is stopping you from making these right now! Here’s a list of everything you need.
- Shortening. It’s not an old-fashioned recipe without shortening! Shortening has a higher fat content than butter or oil, which makes these cakes irresistibly moist.
- White sugar. White sugar is all you need for the perfect amount of sweetness.
- Eggs. Adding eggs helps give these cakes their perfect rise in the oven.
- Vanilla extract. No tasty dessert is complete without a dash of vanilla extract.
- Buttermilk. Adding sour milk (like buttermilk) adds a unique tang and flavor to these whoopie pies. It also ensures they're super tender.
- Baking soda. Along with eggs, a touch of baking soda gives your cakes a rise in the oven.
- All-purpose flour. Simple all-purpose flour works best for these ultra-moist cakes.
- Unsweetened cocoa powder. For the best chocolatey flavor, be sure to reach for good-quality cocoa. I love using Dutch-process cocoa.
- Salt. A pinch of salt helps draw out the sweetness in these pies.
- Powdered sugar. The filling needs to be light, soft, and sweet. That’s where powdered sugar comes in.
How to Make Whoopie Pie
Apart from being fun to say, a whoopie pie is also fun to make. Here’s how.
1. Preheat and Prepare: Preheat your oven to 400°F and grease two cookie sheets with cooking spray. Set them aside. (Pro tip: I like to use parchment paper too for extra easy cleanup!)
2. Cream the Base: In a large bowl, beat the shortening and sugar with an electric mixer on medium speed until light and fluffy. Scrape down the bottom and sides of the bowl, then beat again until smooth. (I always give it one extra mix — smooth batter makes for better cookies!)
3. Add Wet Ingredients: Reduce the mixer speed to low and gradually blend in the eggs, buttermilk, and vanilla — one at a time — until the mixture is smooth. (I love this step; the vanilla makes the whole kitchen smell amazing!)
4. Mix Dry Ingredients: Sift the flour, cocoa powder, and salt into the bowl. Stir gently with a spatula until almost fully combined — a few streaks of flour should still be visible. (Don’t overmix here — this step is where soft cookies are made or broken!)
5. Activate the Soda: In a small bowl, stir the hot water and baking soda together. Add this mixture to your batter and stir very gently until just combined. (This step is like magic — the baking soda helps those cookies puff up beautifully!)
6. Scoop and Bake: Scoop tablespoonfuls of batter onto the prepared cookie sheets, leaving about 2 inches between each. (Trust me, they’ll spread more than you think!) Bake for about 8 minutes, or until the tops spring back when gently pressed. Let them cool for a few minutes on the trays before transferring to a wire rack. (I always sneak a warm cookie at this point — chef’s reward!)
7. Make the Filling: In a separate mixing bowl, beat the shortening, powdered sugar, and flour on low until combined. Increase the speed to medium and beat in the milk, egg whites, and vanilla until the filling is thick and smooth. (Taste test here is mandatory — no regrets!)
8. Assemble and Enjoy: Once the cookies are cool, spoon or pipe about a tablespoon of filling onto the bottom of half of the cookies. Sandwich the remaining cookies on top, pressing gently so the filling reaches the edges. (I like to dust mine with a little powdered sugar for a fancy finish!)
Now grab a glass of milk and enjoy your homemade treats — you earned it!
Tips & Tricks For Making the Best Whoopie Pies
I've gathered some of my favorite tips and tricks to make the absolute best Whoopie pies.
- No sour milk? No problem! You can substitute it with a cup of milk mixed with a teaspoon of vinegar.
- Add warming spices. You can add a bit of cinnamon and all-spice to the whoopie pie filling. It’s perfect for the holidays.
- Try them chilled. While it is tempting to eat your whoopie pies right after cooking, try to wait a little longer. Trust me, they taste so much better when chilled! Refrigerate overnight for best results. Some even prefer them frozen!
- Swap out shortening. I know that not everyone has shortening on hand. That’s perfectly fine! You can use butter and a half teaspoon of baking powder instead.
- Use an ice cream scoop. While you can use a spoon to scoop the batter, it is better to use an ice cream or cookie scoop. This way you’ll end up with uniform-sized cookies.
- Take a filling shortcut. Instead of making the filling, you can just use Marshmallow Fluff instead. Another alternative is Marshmallow Creme if you want a thinner consistency.
- Give them a coffee kick. Want a nice coffee kick to your cookie sandwich? Add three tablespoons of espresso powder for that delicious mocha flavor. It pairs so well with chocolate.
- Stick with cocoa powder. Don’t use chocolate when making the cookies. Real chocolate makes the cookies too moist and fudgy, and we don’t want that for this recipe. We want light and fluffy.
How to Store
These old-fashioned Whoopie pies stay fresh for a few days, as long as you keep them chilled. But that’s okay because they taste so much better chilled anyway! Here are a few tips on storing leftovers.
- To Store. Always store assembled pies in the fridge where they will stay fresh for up to 4 days.
- To Freeze. You can freeze these sweet treats as long as you keep the filling and cakes separate. The filling and cakes will stay fresh in the freezer for up to 3 months. Allow them to thaw in the fridge overnight, then assemble.
Old-Fashioned Whoopie Pies Recipe
These old-fashioned Whoopie pies have a light and fluffy marshmallow cream filling sandwiched between pillowy chocolate cake. It's like all the best parts of a cupcake!
36
servings20
minutes8
minutes292
kcalIngredients
1 cup shortening
2 cups white sugar
2 eggs
1 cup buttermilk
2 teaspoon vanilla extract
4 cups all-purpose flour
1 cup unsweetened cocoa powder
1 teaspoon salt
1 cup hot water
2 teaspoons baking soda
- For the Filling
1 1/2 cups shortening
4 cups powdered sugar
1/4 cup all-purpose flour
1/4 cup milk
1 1/2 tablespoons vanilla extract
2 egg whites
Instructions
- Preheat oven to 400 degrees Fahrenheit and grease two cookie sheets with cooking spray. Set aside.
- In a large bowl, beat the shortening and sugar with an electric mixer on medium speed until light and fluffy. Scrape the bottom and sides of the bowl and beat again until smooth.
- Reduce the speed to low and gradually blend in the eggs, buttermilk, and vanilla (one at a time) until smooth.
- Sift the flour, cocoa powder, and salt into the bowl and stir gently with a spatula until almost fully combined. There should be some streaks of flour visible.
- In a small bowl, stir the hot water and baking soda. Add to the batter and stir very gently until just combined.
- Scoop tablespoonfuls of batter onto the greased cookie sheets, leaving about 2 inches between each portion.
- Bake for 8 minutes or until the tops spring back when gently pressed. Let the cookies cool for a few minutes on the trays, then transfer to a wire rack to cool completely.
- In a separate mixing bowl, beat the shortening, powdered sugar, and flour on low until the sugar is combined. Turn the speed to medium and beat in the milk, egg whites, and vanilla until thick and smooth.
- When the cookies are cool, spoon or pipe about a tablespoon of the filling onto the bottom of half of the cookies. Sandwich the other half on top, pressing gently so the filling reaches the edges. Enjoy!


10 Comments
Love love love Whoopie pies!!
Every one of your recipes I’ve tried have been nothing less than ‘spectacular’ but I’m still looking for a recipe for a “REESES CUP”. Know of any you could recommend?
Hi, Ellana!
Here’s Kim’s recipe for homemade peanut butter cups. 🙂
https://insanelygoodrecipes.com/homemade-peanut-butter-cups/
Where can you find sour milk ?
Buttermilk works fine for the sour milk ingredient, Judy. 🙂
by Buttermilk in the dairy case.
To make sour milk, combine 1 Tbs lemon juice or white vinegar with milk to make 1 cup. Stir and let stand at least 5 minutes.
You can put a couple of teaspoons in milk and let it curdle.
I love your recipes, thanks for sharing!
I have to say – AGAIN- you have the GREATEST cooking and recipe SITE. We just love your recipes — sooo delicious and sooo easy to make! I am 81 yrs old and often forget how to make, what spices to use, etc. with you and your site – it is fantastic ! Thank you soo very much – Mrs. Carole Scott…xxxx