Light, fluffy, tender, and moist, these easy mini chocolate chip muffins practically explode with gooey chocolatey goodness.
And trust me when I say, one just isn’t enough!
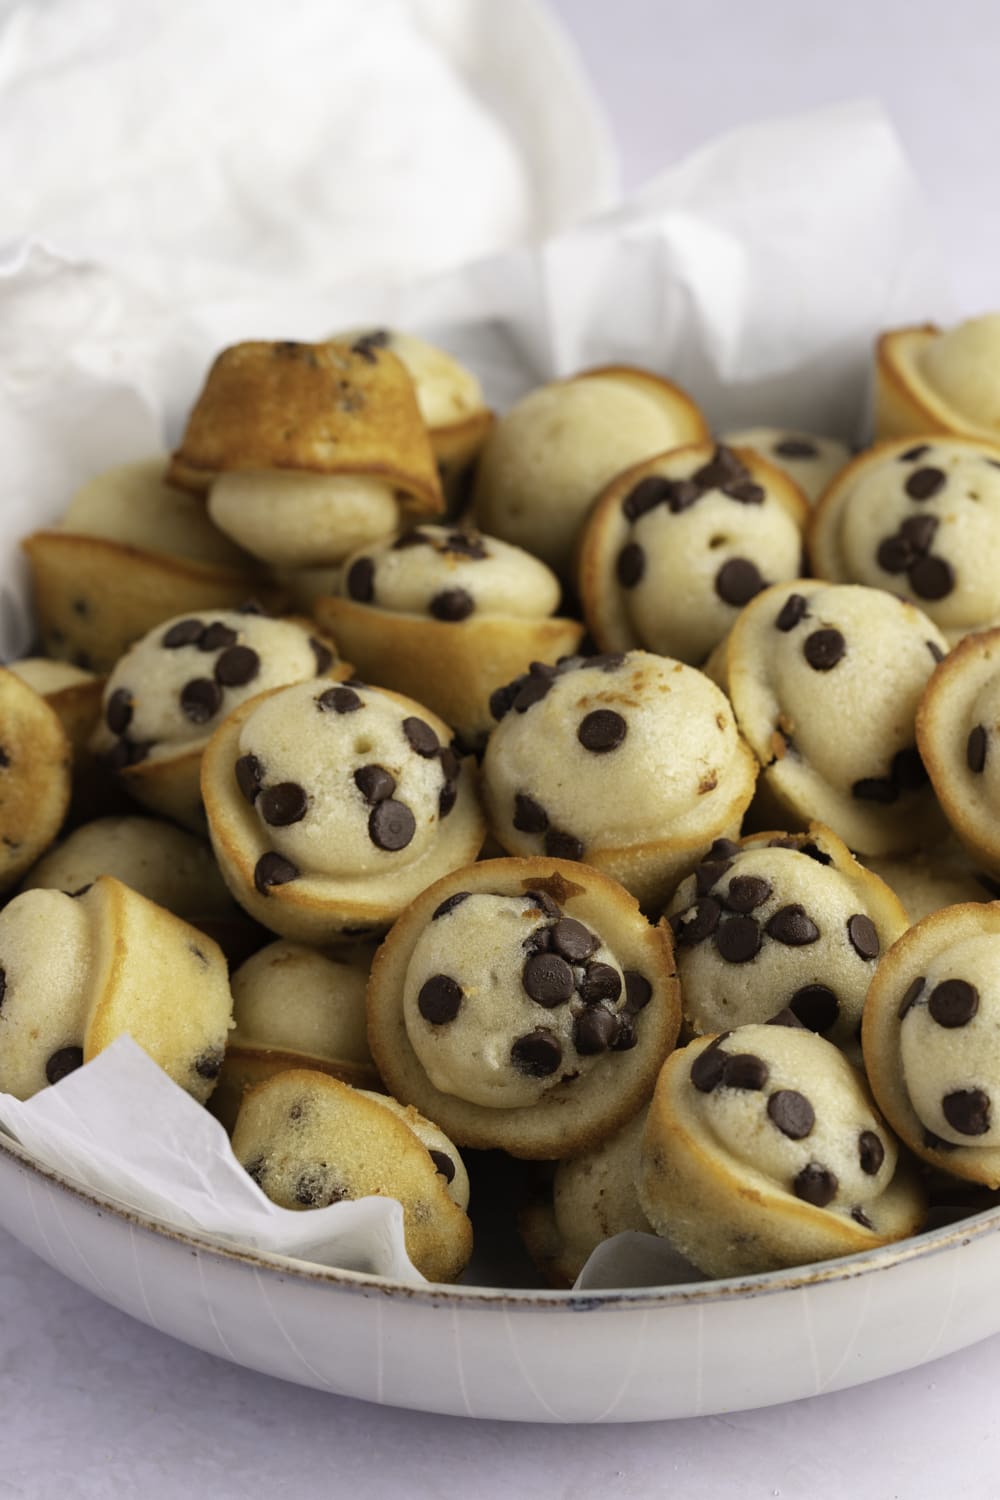
The next you need something sweet and bite-sized for a party or get-together, try these chocolate chip mini muffins.
They’re sweet, light, and ideal for breakfast on the go. Plus, they look freakin’ adorable, to boot!
And if you’ve got little kids or hungry teens, you can’t go wrong with these mini chocolate chip muffins as a satisfying snack.
Ready to bake? Let’s get to it!
Easy Chocolate Chip Mini Muffins Recipe
This recipe makes the best mini chocolate chip muffins!
Am I biased? Maybe. But I’ve made this recipe countless times, and they’re always a hit.
These cuties are perfect for parties – especially if there are lots of little hands reaching for dessert.
And they’re small enough for a little snack with your mid-morning coffee.
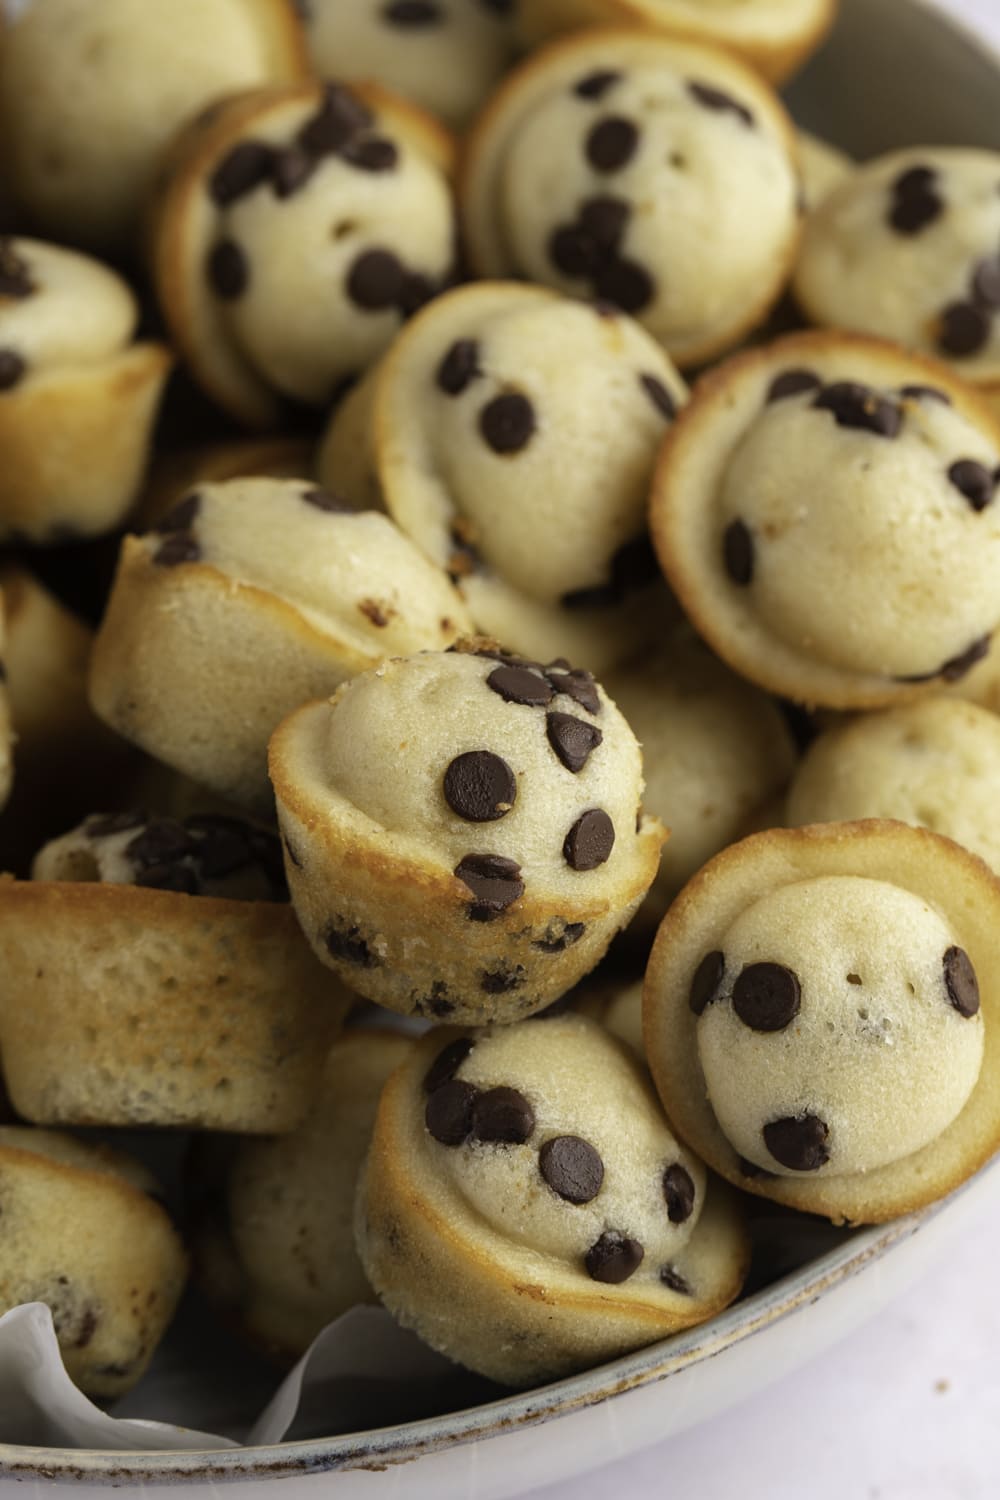
You’ll love that they’re slightly dense but still super light. They’re tender and moist, with the perfect balance of sweet, chocolatey goodness.
The only downside is you’ll crave more than one.
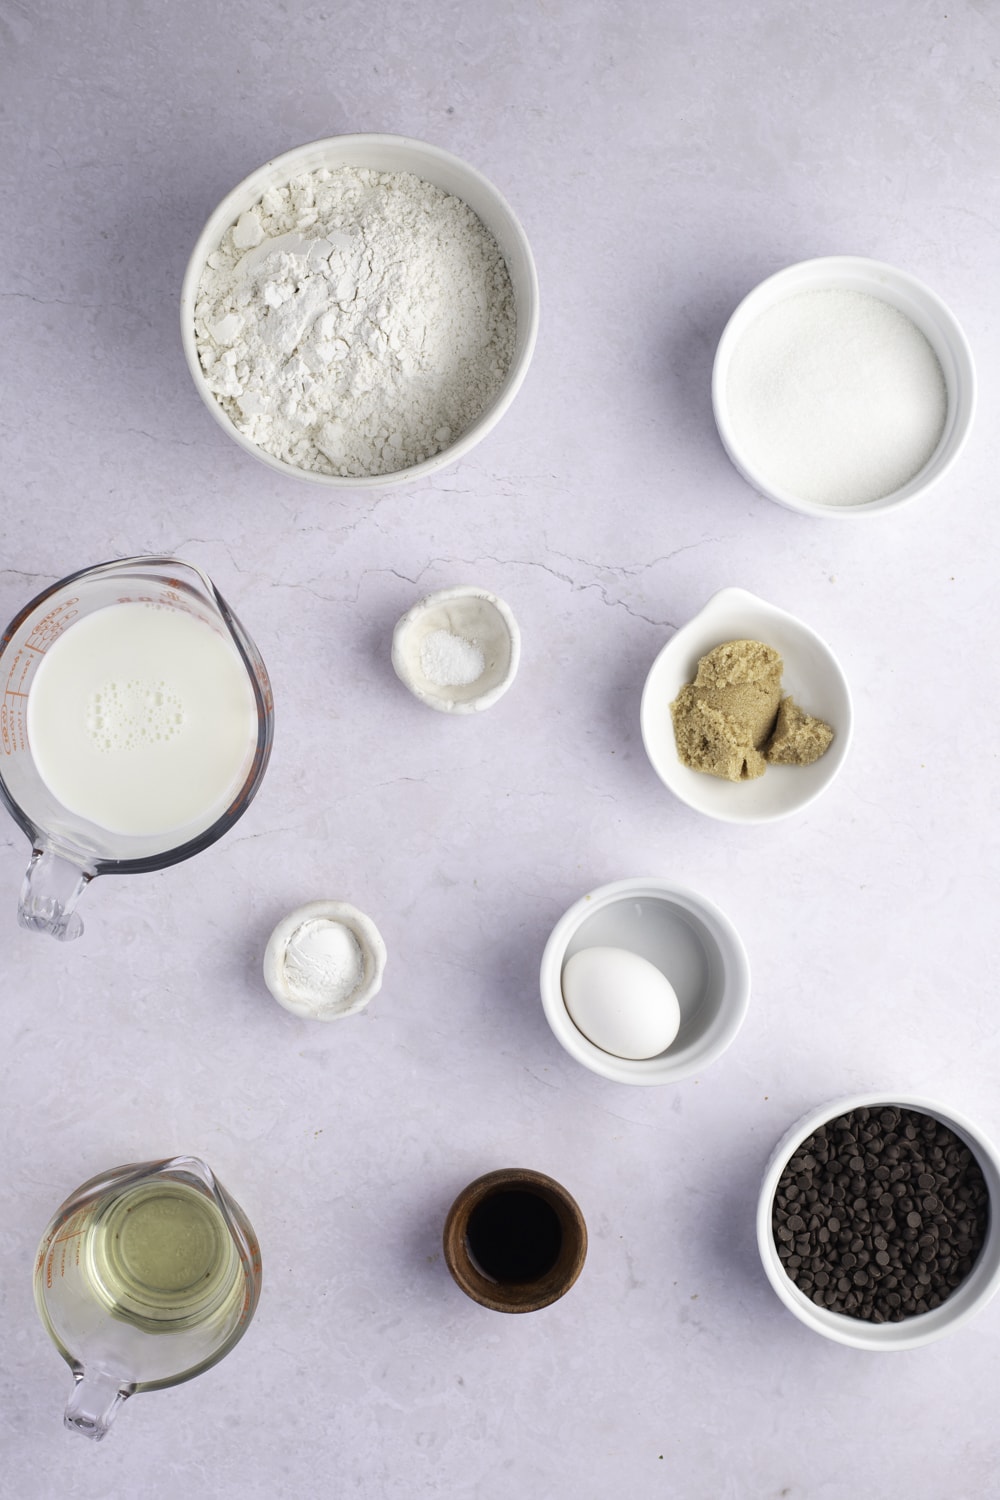
Ingredients
- All-Purpose Flour – the base of any baked good recipe.
- Granulated Sugar – for sweetness.
- Brown Sugar – it adds a deep, caramel-like flavor to the muffins. It also adds moisture.
- Baking Powder – responsible for making the muffins rise.
- Salt – a bit of saltiness to contrast the sugars.
- Egg – for binding the ingredients and adding a rich flavor.
- Milk – for saturating the dry ingredients. It also adds richness.
- Vegetable Oil – it makes the muffins extra moist.
- Vanilla Extract – the best flavor enhancer when it comes to baked goods.
- Mini Chocolate Chips – Since they’re the star of the recipe, be sure to use premium-quality mini chocolate chips. And don’t use regular chocolate chips – they’ll only sink to the bottom.
Note: use room-temperature eggs and milk, so they incorporate well with the rest of the ingredients.

How to Make Mini Chocolate Chip Muffins
1. Preheat the oven and get your baking tin ready.
Preheat the oven to 400 degrees Fahrenheit (200°C) and grease mini muffin tins with cooking spray or butter.
If you have liners, use those instead of greasing the tins. But since these are so small, you don’t really need them.
2. Combine the dry ingredients.
Whisk the flour, granulated and brown sugars, baking powder, and salt in a large bowl.
You want to mix until everything looks even. This will prevent any lumps from forming in the batter.
3. Combine the wet ingredients.
Beat the egg, milk, vegetable oil, and vanilla extract in a separate bowl. Whisk until the eggs are smooth and the oil is distributed.
Keep in mind that the oil will separate if you leave the bowl to sit. That’s okay! This step is more about mixing the eggs.
If you don’t do this, you’ll likely overmix the batter because you’ll have streaks of egg whites stuck in the flour.
4. Combine the wet and dry ingredients.
Pour the egg mixture into the flour mixture and gently stir with a spatula until it’s about half combined.
That means you should still see streaks of flour in the batter.
5. Fold in the chocolate chips.
Add the chocolate chips and finish stirring the batter just until you no longer see streaks of flour.
6. Bake the muffins.
Spoon the batter into the prepared muffin tins – use a cookie scoop or ice cream scoop to ensure the sizes are even.
Sprinkle more chocolate chips on top and bake for 10 minutes.
Pull the trays from the oven and allow the muffins to cool slightly in the tins. Then, place them on a wire rack to cool completely.
7. Serve and enjoy!
How Long To Bake Mini Muffins
Mini muffins need no longer than 10 minutes at 400 degrees Fahrenheit. But to be sure, test for doneness at around eight minutes.
To test for doneness, gently press the tops of the middle muffins. If they bounce back, they’re ready to go.

Tips and Tricks for The Best Mini Muffins
- Use a kitchen scale to measure the flour. If you scoop the flour right into the measuring cup, it compacts, adding more flour than you need. Therefore, a kitchen scale is the most accurate method.
- Don’t overmix the batter, or the muffins will be dry. There’s no need for a stand or hand mixer here – it’s safer to use a good old rubber spatula. Stop as soon as your batter is incorporated. Small lumps are fine.
- If you want high muffin tops, fill the muffin cups to the brim. This method works best without muffin liners. And remember to spray the whole tray, including the areas between the cups.
- Don’t overbake the muffins. Since they’re smaller than traditional muffins, they only need 10 minutes in the oven. Any longer, and they’ll dry out.
- Get an oven thermometer to ensure you’re cooking and baking at the right temperatures. Some ovens, especially older ones, run hotter than others. But with a thermometer, you can be sure it’s at 400°F/200°C when the tray goes in.
Mini Chocolate Chip Muffin Variations
Another great thing about these mini muffins is how easy they are to customize.
You can make completely different tastes and textures with just a few swaps and additions.
Try some of these ideas and let me know how they turn out:
- Use other baking chips, like milk chocolate, white chocolate, butterscotch, peanut butter, lemon, etc.
- Add more toppings, such as chopped nuts, almond slivers, dried fruit, or a sprinkling of sugar for crunch.
- To make double chocolate muffins, whisk 1-2 tablespoons of cocoa powder into the batter.
- No mini muffin tins? No problem. Just use regular-sized muffin tins and bake for 20 minutes.
How to Store and Freeze Mini Chocolate Chip Muffins
To Store
Keep completely cooled mini muffins in an airtight container and store them at room temperature for up to 5 days.
Add a slice of white bread to the container to keep them from turning soggy. Bread absorbs moisture, so they don’t become wet.
Replace the bread every day for the best results. The bread gets stale the longer it stays there!
You can also refrigerate the muffins to keep them around longer – about one week.
If you want to enjoy the leftovers as if they were freshly baked, pop them in the microwave for 8 to 10 seconds or in the toaster oven for 1 minute.
To Freeze
First, allow the mini muffins to cool completely. Once cooled, wrap each muffin in plastic wrap and place them in a freezer-safe bag.
Squeeze out as much air as you can before sealing the bag. Label accordingly and freeze.
Frozen mini muffins will keep well for 3-4 months.
Thaw the muffins on the counter for about 1-2 hours. Warm in the microwave or the toaster oven, if desired.
More Muffin Recipes You’ll Love
Lemon Poppy Seed Muffins
Otis Spunkmeyer’s Blueberry Muffins
Applesauce Muffins
Two-Ingredient Pumpkin Muffins
Monkey Bread Muffins
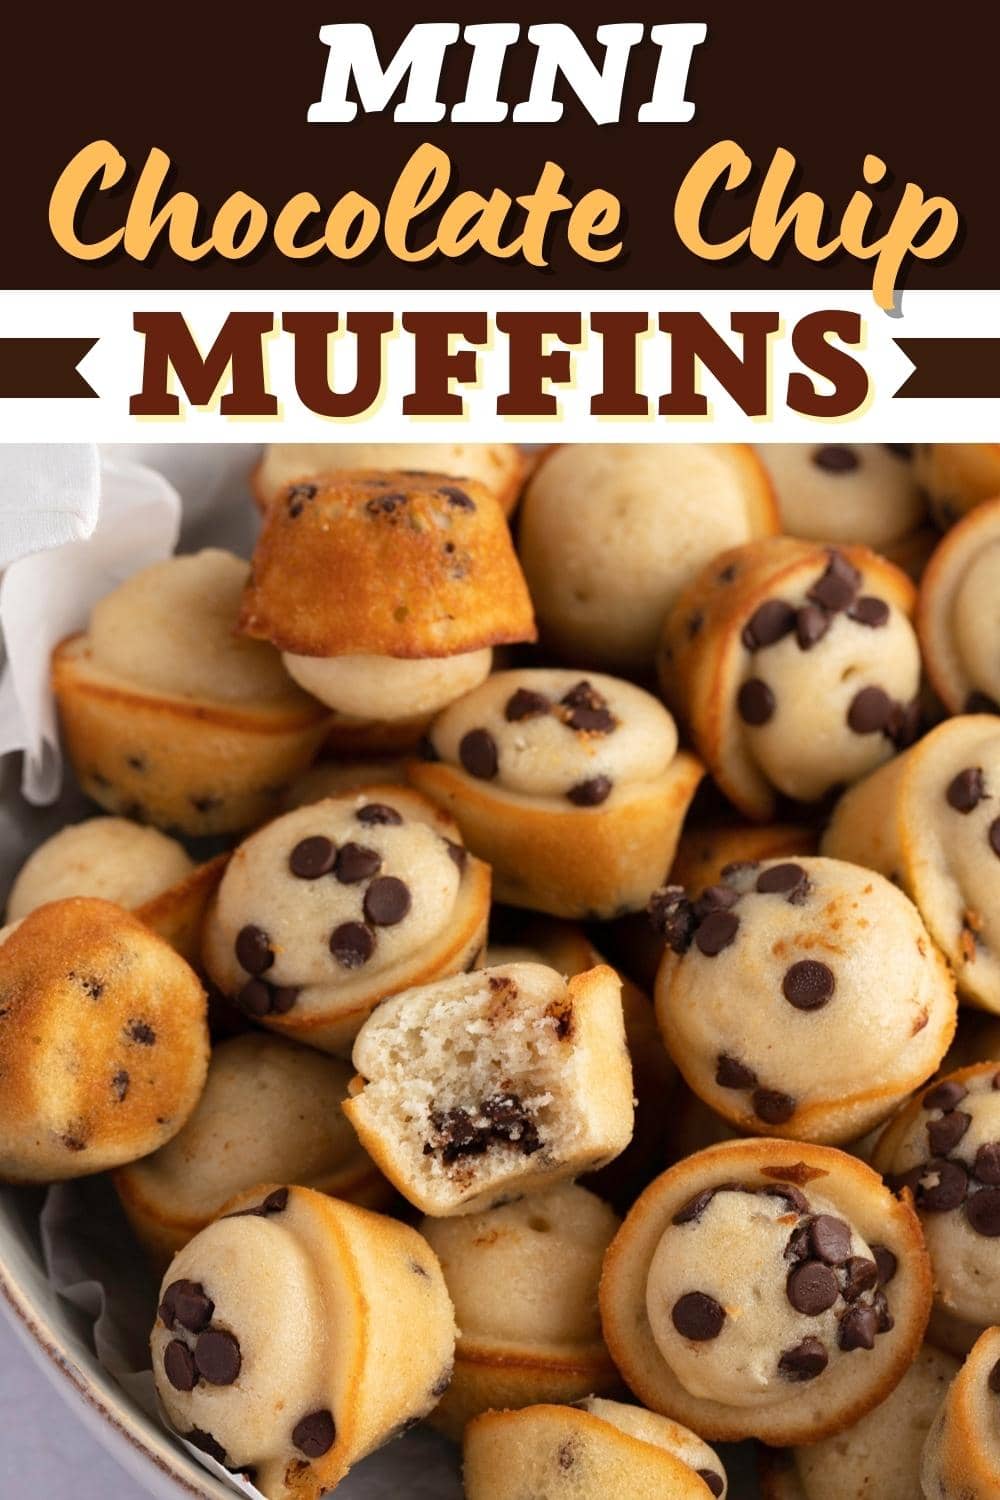

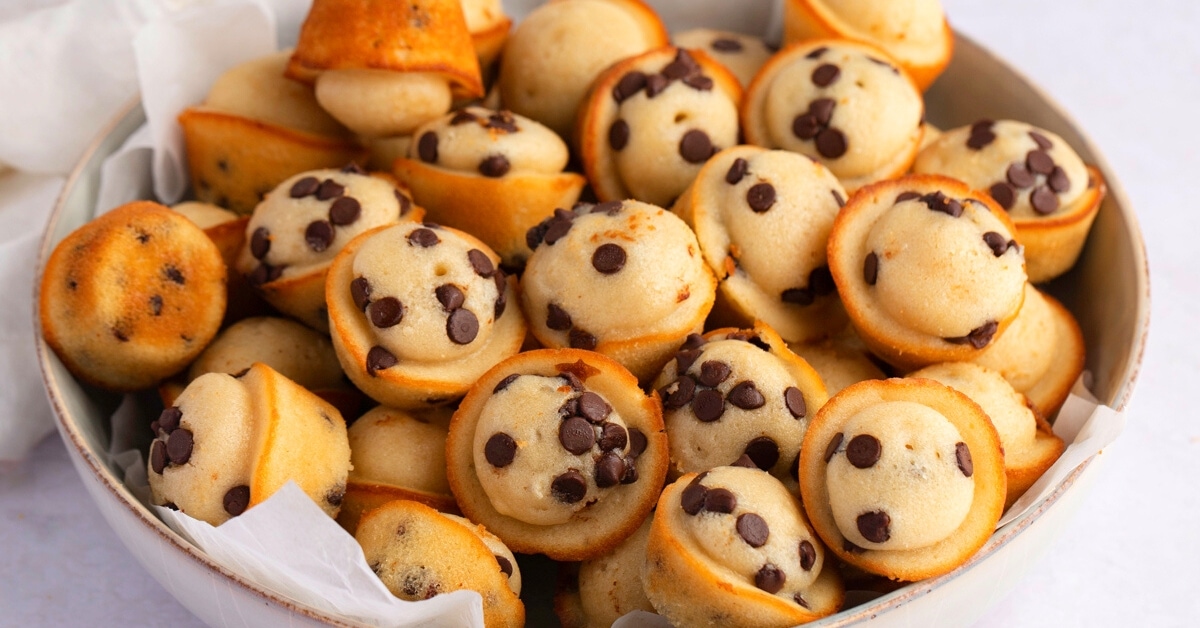






But yours are pictured without paper cups. I want that nice crispy looking , smooth sided on my mini muffins like the ones pictured.
Hi Stacey!
As mentioned in the post, you’ll need to spray the mini muffin tin with cooking spray to keep them from sticking.
You can use liners, if you like, but since they’re so small, you don’t need them. It’s just an option for those who would prefer it 🙂