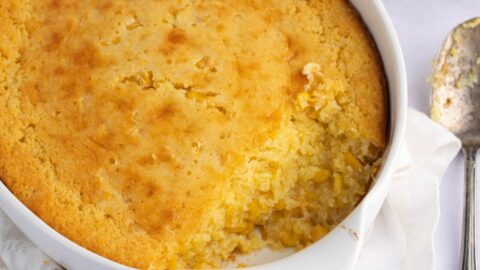

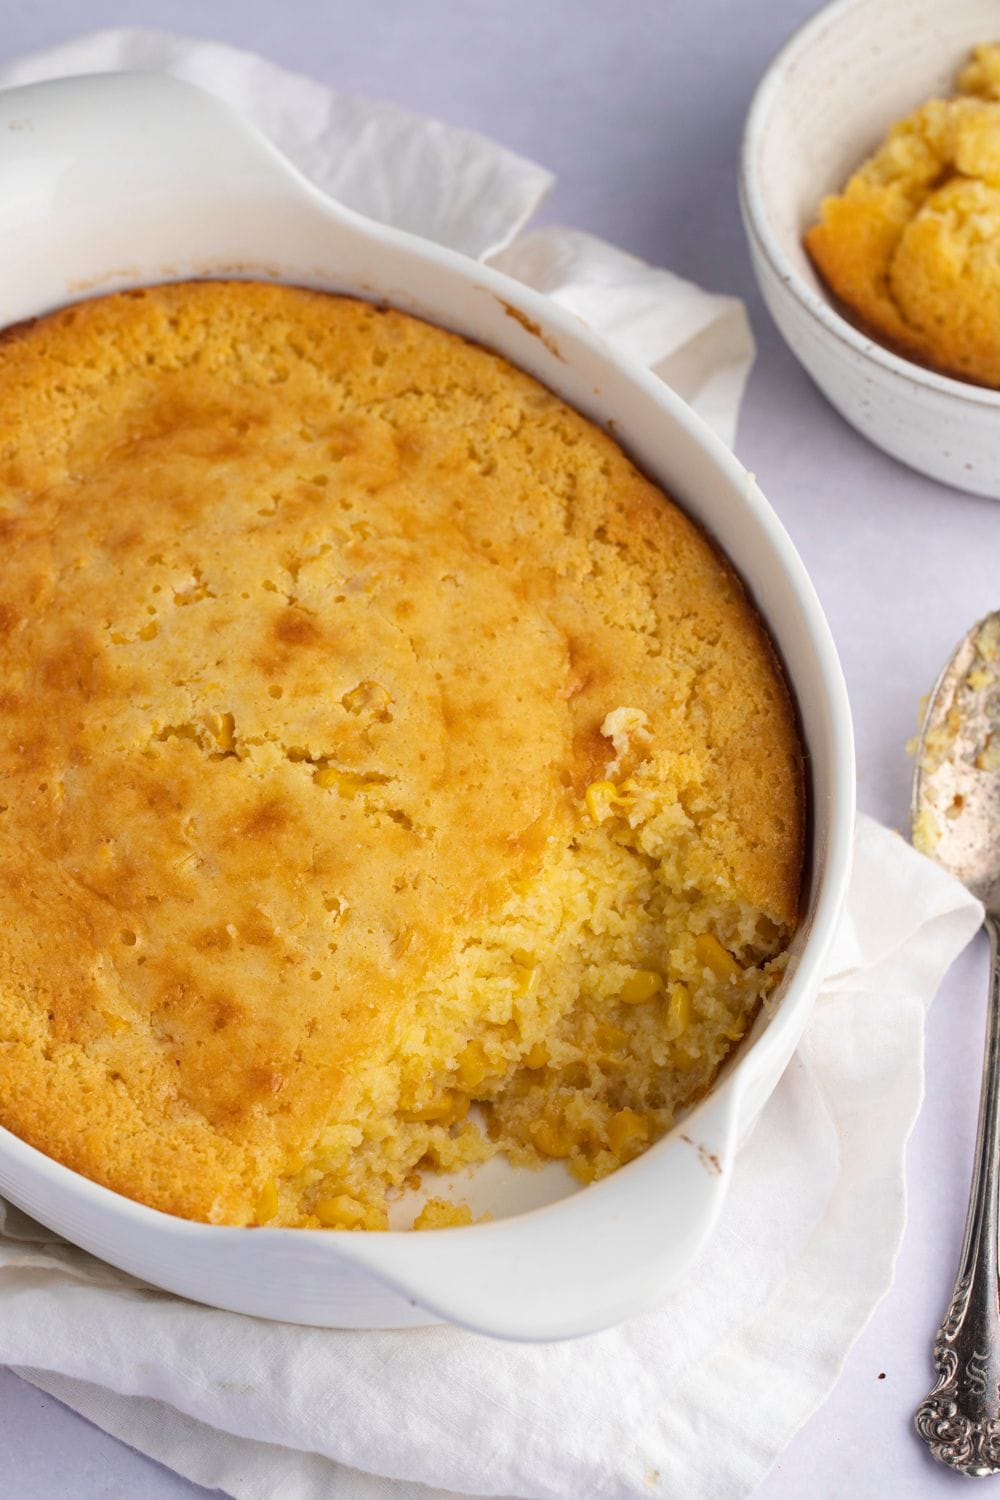
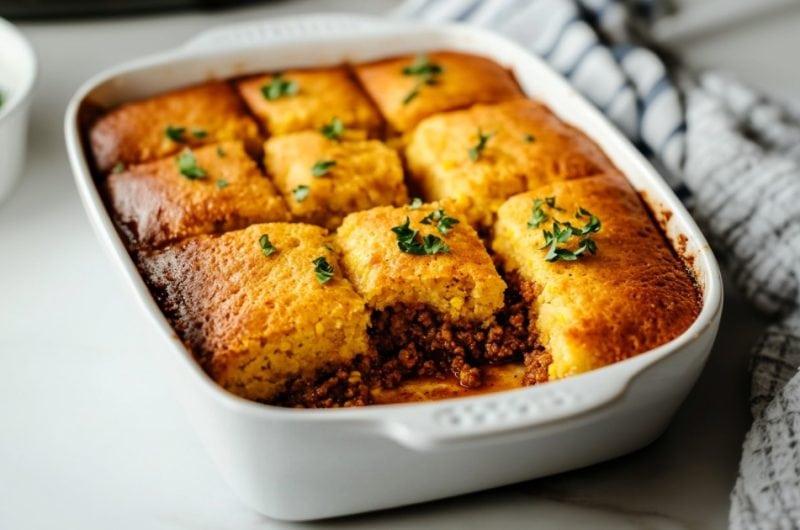
This Jiffy cornbread casserole is the love child of corn pudding and corn souffle, and it's beautiful.
If you love all things corny, this casserole is a must-try!
You just throw all the ingredients in a baking dish and let the oven do the work! It’s a no-fail recipe that can feed a crowd – perfect for the holidays.
WANT TO SAVE THIS RECIPE?
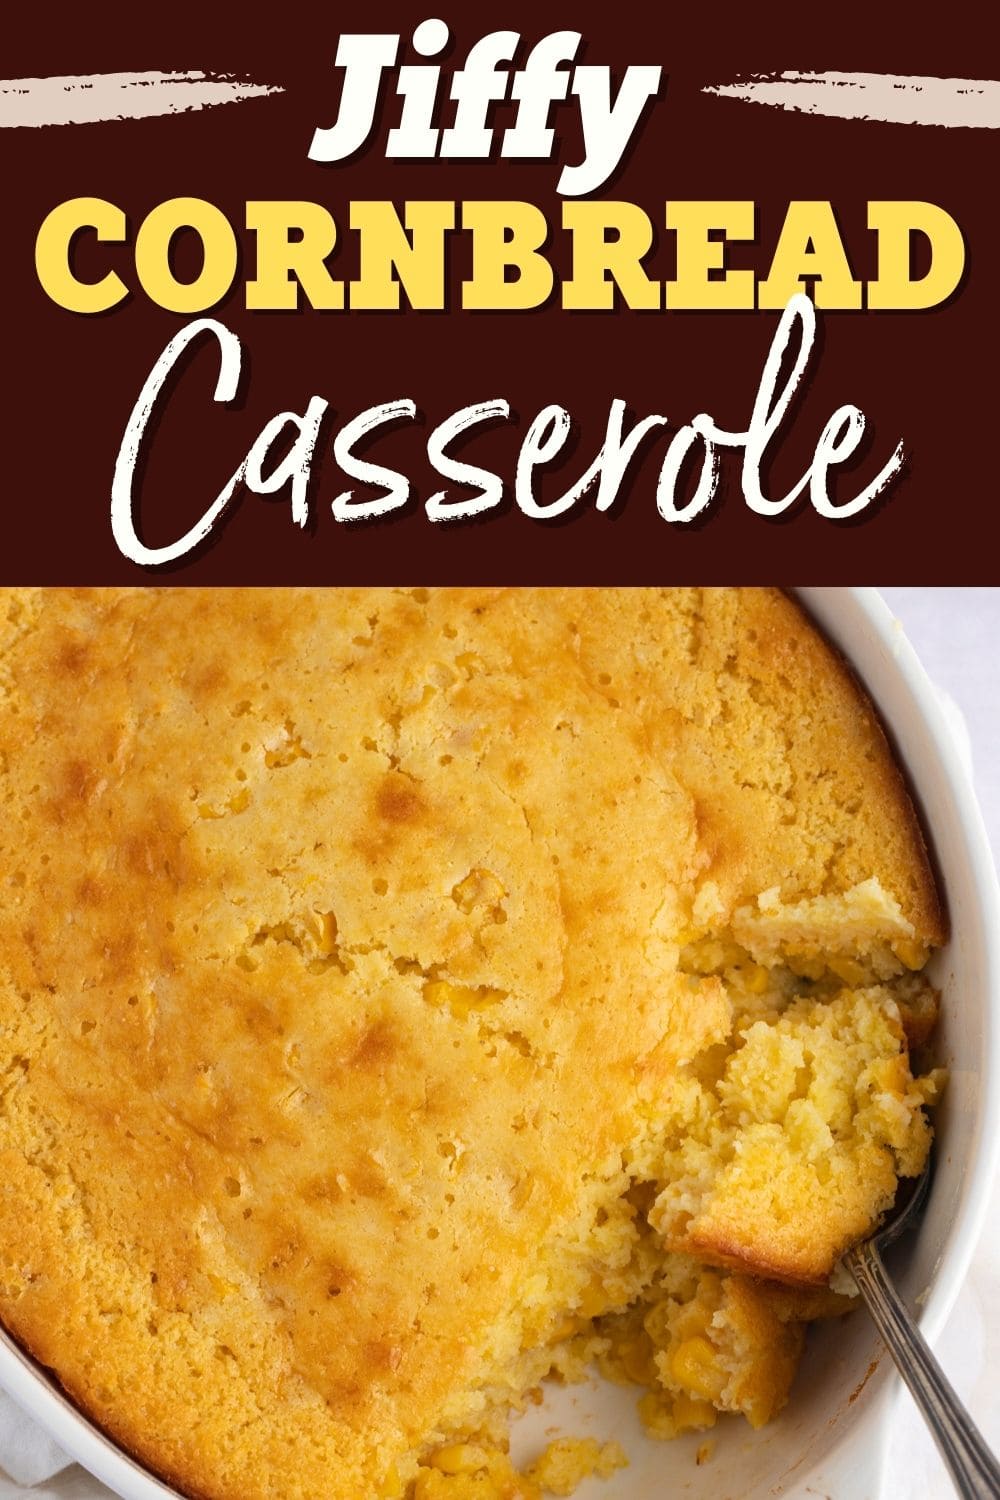
Jiffy Cornbread Casserole
Looking for an effortless way to show your family how much you care? Whip up this Jiffy cornbread casserole!
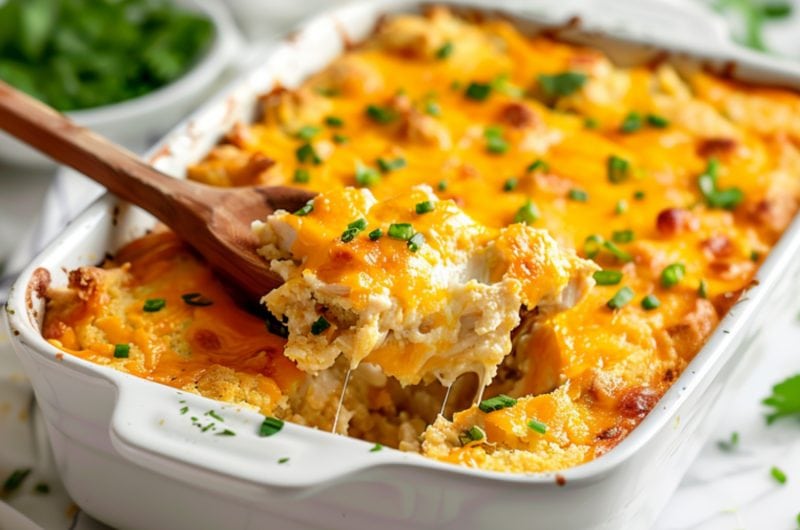
Cornbread casserole is a popular Thanksgiving side dish. It’s wonderfully rich, buttery, and packed with corn flavor!
Turkey might be the main course, but cornbread casserole is the star!
The original recipe first appeared on the back of the Jiffy cornbread muffin box.
Over the years, it has been modified in various ways to create the ultimate casserole recipe.
Out of all the recipes out there, this one is my absolute favorite.
Ready to eat? Let's dive in!
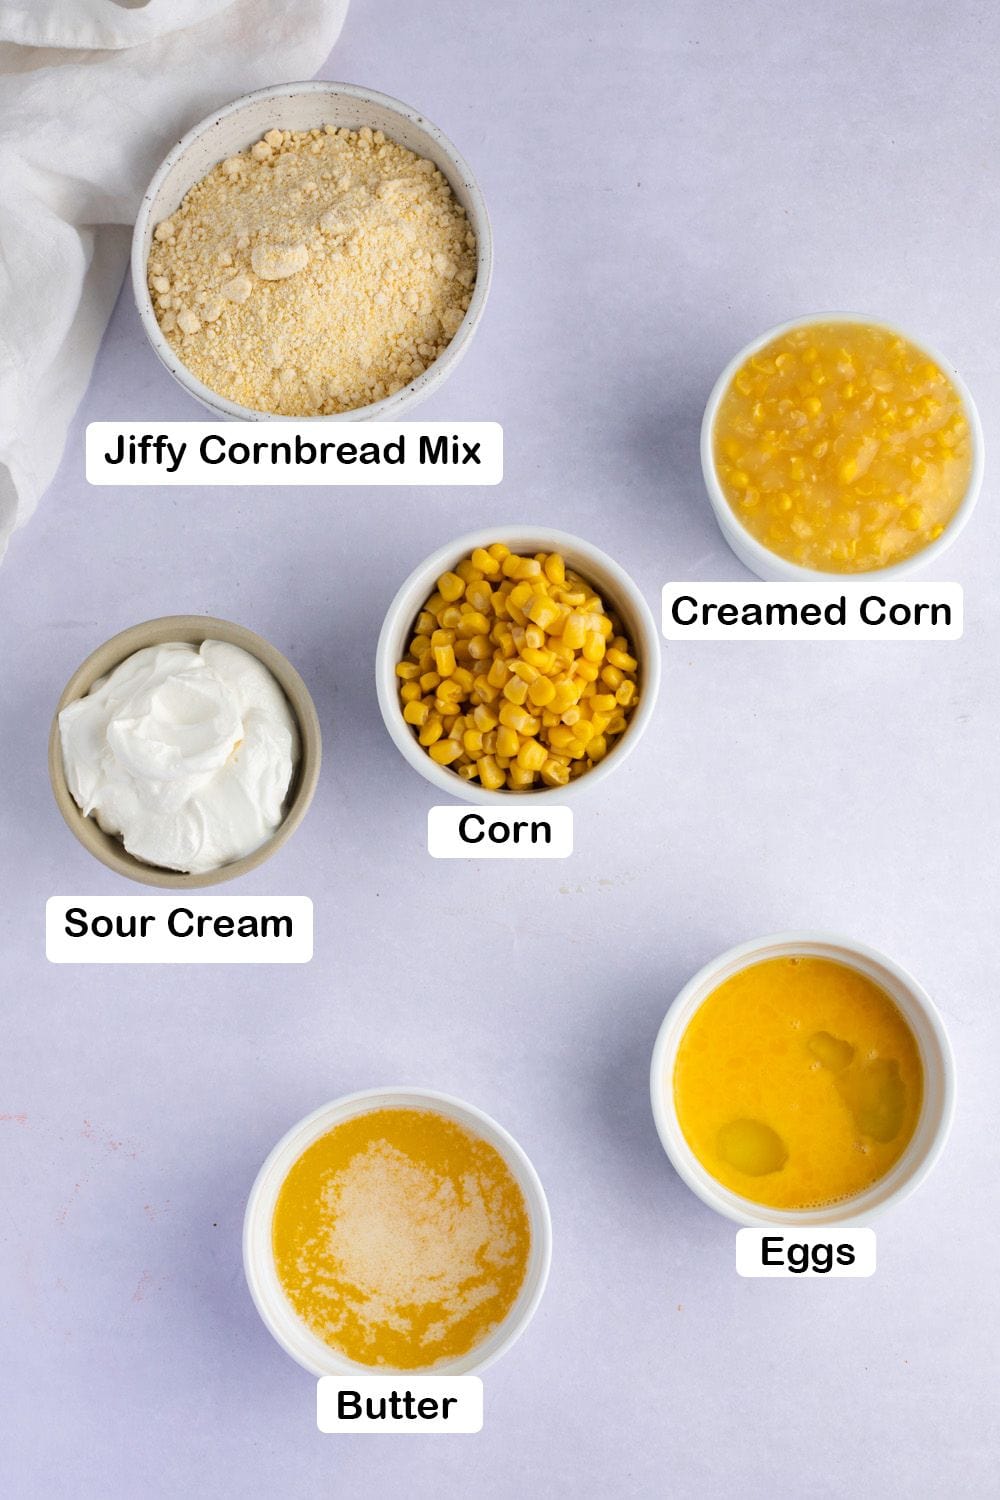
Ingredients for Jiffy Cornbread Casserole
The best thing about this recipe is how easily it comes together. You only need a few pantry staples, and it's ready in a flash!
- Butter – For an insanely rich, moist, and buttery casserole. Plus, you really can’t go wrong with corn and butter. It’s a classic combo!
- Eggs – They bind all the ingredients together. There's a debate about whether to use eggs when making cornbread casserole, which I will answer shortly.
- Jiffy Corn Muffin Mix – It’s called Jiffy cornbread casserole, after all. Cornbread mix is the key ingredient to making this cornbread casserole a success. You can use other brands, sure, but I find that Jiffy makes the best casserole, and that’s not a paid advertisement.
- Canned Corn – You'll need both whole and creamed corn for this recipe. The whole kernels add that nice pop of texture, while the creamed corn adds sweetness, moisture, and, well, creaminess, to the casserole.
- Sour Cream – It also adds moisture and a bit of tang to the casserole.
Tips for the Best Casserole
Never made cornbread casserole before? Don't worry, it's a breeze!
But if you're nervous, here's a few handy tips:
- Use room-temperature eggs. Cold eggs will keep the casserole from being smooth and creamy.
- Combine wet ingredients first for a moist casserole. Mix the sour cream, eggs, corn, and butter before adding the corn muffin mix. This guarantees a moist and tender casserole.
- Skip the eggs for a more pudding-like casserole. This recipe calls for them, but it’s okay to leave them out, too. It'll be more of a pudding, though, instead of a firm casserole.
- Use flax or chia mixture instead of eggs. To make, combine 2 tablespoons of flax or chia seeds and 6 tablespoons of water, and chill for 10-15 minutes.
- Make cornbread casserole in advance. Combine all the ingredients in a baking dish, cover with plastic wrap, and refrigerate until ready to use.
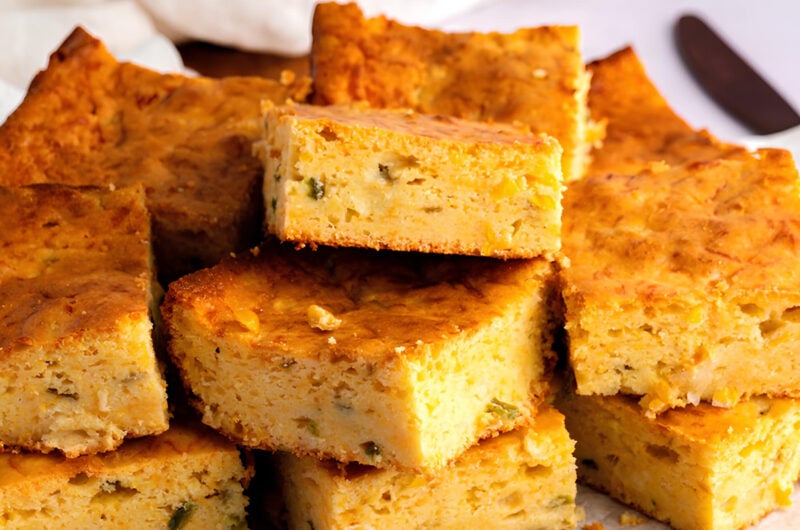
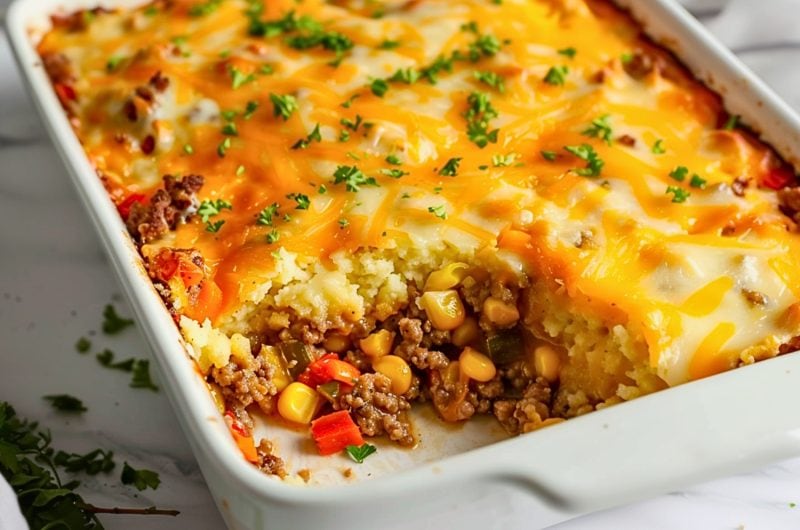
- Get creative with add-ins! Load it with cheese and jalapenos for a savory casserole. For something sweeter, just add more sugar!
- Store leftovers for up to 7 days. Place them in an air-tight container and refrigerate. Reheat for 30 minutes at 350 degrees Fahrenheit or toast in a warm skillet.
- Reheat quickly in the microwave when in a rush. Warm up the casserole in the microwave for 2 minutes, or until warmed through.
Is There a Difference Between Corn Casserole and Corn Pudding?
They’re very similar, and they’re both amazing, but yes, there is a difference.
Corn pudding is slightly looser, while corn casserole is fluffy and more compact.
When you dig your spoon into a corn pudding, it will fall apart right away like custard.
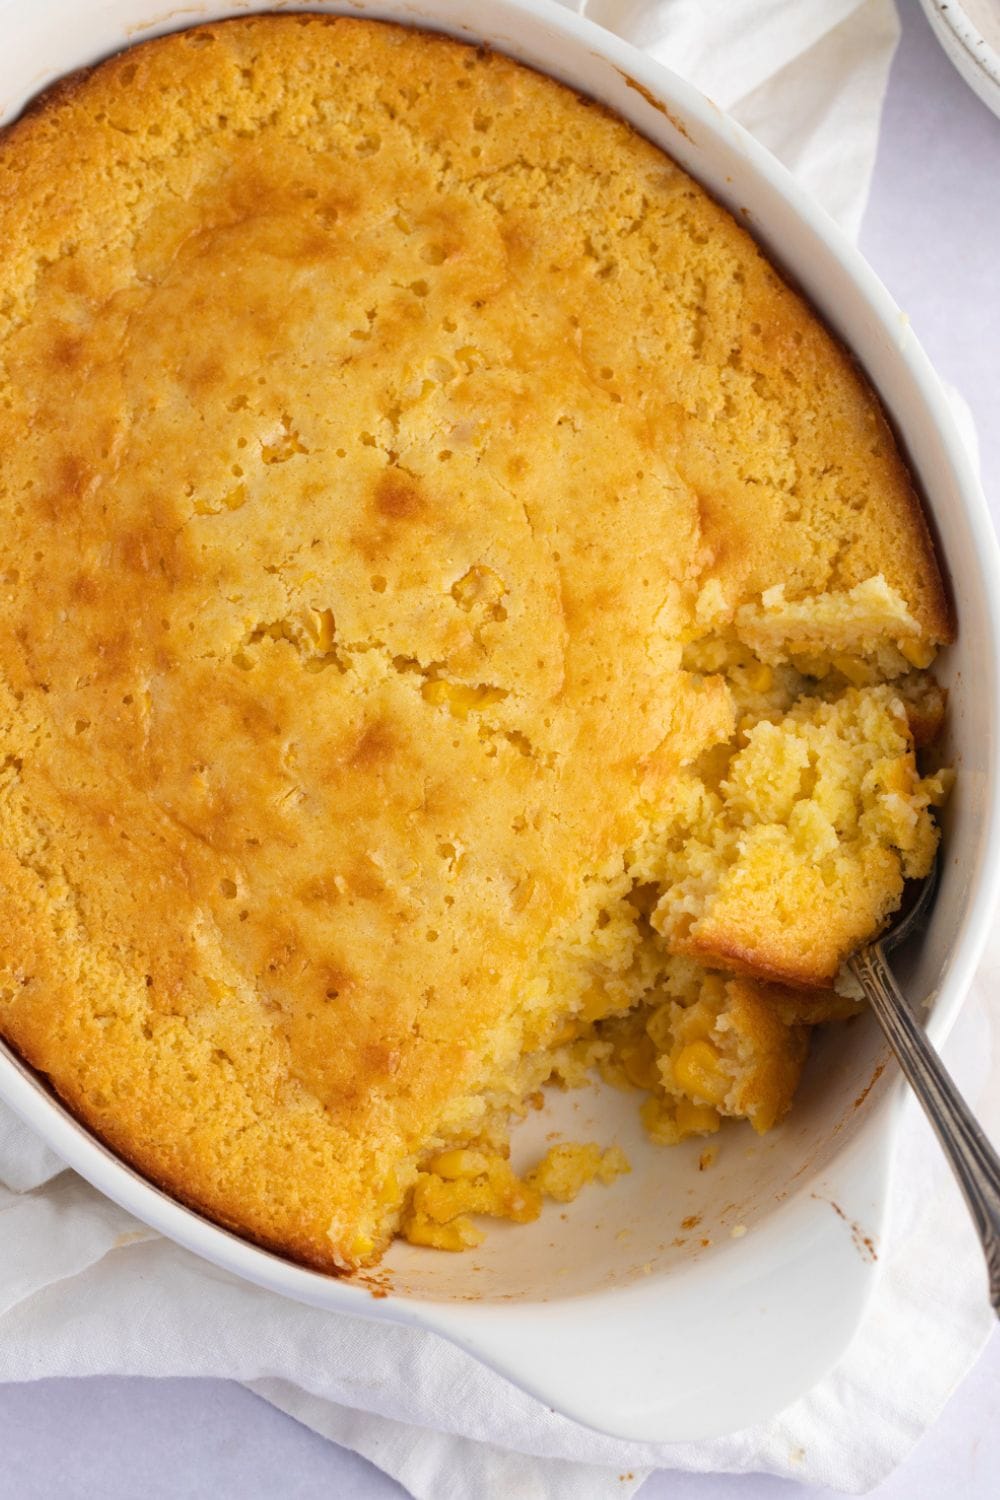
Corn casserole, on the other hand, is firm enough to hold its shape. It’s still super moist and creamy, though!
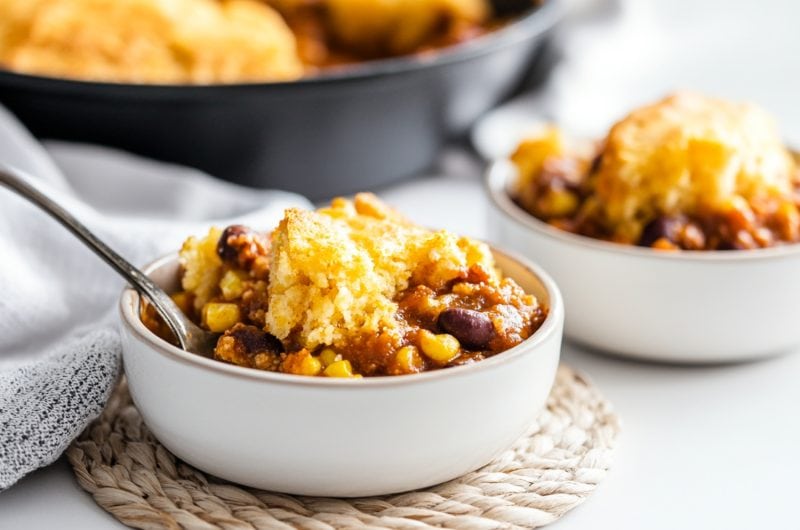
What to Serve with This Easy Cornbread Casserole
Cornbread casserole is the ultimate southern holiday side dish.
So naturally, it pairs wonderfully with other Thanksgiving dishes. I’m talking turkey, stuffing, potatoes, and more.
But if you want it outside of the holidays, here are a few terrific serving suggestions:
- Honey Mustard Chicken – this sweet and creamy side pairs perfectly with juicy, tangy chicken.
- Carolina BBQ Chicken – speaking of chicken, corn pudding is ideal for anything at a BBQ.
- Pork Cutlets – you'll love the contrast of creamy corn casserole with crunchy, breaded pork!
There are no wrong answers here. So serve it with chicken, steak, salmon, tofu, and more!
Jiffy Cornbread Casserole
8
servings5
minutes45
minutes376
kcalIngredients
1/2 cup butter, melted
2 eggs, beaten
1 (8.5-ounce) box Jiffy Corn Muffin Mix
1 (15-ounce) can whole kernel corn, drained
1 (14.75-ounce) can creamed corn
1 cup sour cream
Instructions
- Preheat the oven to 350 degrees Fahrenheit. Lightly grease a 9×9-inch baking dish with oil or butter.
- In a medium bowl, stir together the butter, eggs, kernel and creamed corn, and sour cream. Mix in the corn muffin mix until well-combined.
- Pour the mixture into the greased dish.
- Bake for 45 minutes or until the top is golden brown. Enjoy!
Notes
- To double the recipe: double the ingredients and bake in a 9×13-inch dish. Bake for 45-55 minutes.


66 Comments
Very good made it for the weekend. Will make it again. Thanks 😊
Very very good! Big hit wi the brisket!!
I made this recipe using a can of sweet corn, a can of sweet cream corn, and added a few squirts of honey. The added sweetness was perfect! I also used butter to grease my 9×9 aluminum pan. Will definitely make again!
I made this 2 years in a row & it was a hit. I put sharp cheddar in it. Might try a different cheese this year.
How far in advance can you make this recipe?
How far in advance can you make this?
I added pepper jack cheese and a small can of drained, diced green chilies; my family devoured it, and all that was left was an empty pan and crumbs.
Love the Jiffy Cornbread. I have made this recipe for years and it’s always a hit. One year my husband and I took a trip to Minnesota and a friend of my husband’s let us stay at his cabin. I wanted to show my appreciations so I invited him and his wife to dinner. I went shopping at a local store and bought all the ingredients for dinner. Roast, potatoes, vegetables dessert and the ingredients to make the Jiffy cornbread. Well, it turned out great and the couple had never had the Jiffy cornbread before. Well, the couple couldn’t say enough how good the dinner was, but especially the Jiffy Cornbread. Made my day.
I’ve been making this for at least 40 years. I got the recipe from my cousin’s grandmother(on the other side of her family). It’s so easy and it’s so good that everyone always asked for the recipe. I make it every holiday.
I made this recipe and it was so good. It is easy to make but tastes like it too much longer!!!
This is the easiest, most tasteful side dish there ever was! Cornbread Casserole belongs on every Thanksgiving table…..it makes the meal complete. Happy Fall, y’all!
Love the corn casserole, like eating dessert.
Cornbread was a staple dish. We always added onion, garlic and jalapenos to the recipe and it had to be Jiffy brand. It was always on the camping menu too.
Very good and VERY easy. I made the 9×9 dish size and it was perfect. It’s something that I think my Grandkids will like as well—-but that will have to be a double batch. Yummy. 🙂
Love the cornbread casserole. Make it for the holidays
Thanks Kathy! Jiffy cornbread casserole and corn pudding are two of my favorites for Thanksgiving.
love it
As I am a Southern gal, this recipe has showed up on many of my family’s Thanksgiving dinners! I love this recipe and would not change a thing!
Hi Debbie! Me too. Corn casserole is definitely a staple here in the Midwest 🙂
Excellent side dish for the holidays! Easy to make and the kids love it!
my family always likes a little spice to their food so I add a can of green HATCH Chiles and 1/2 top paprika. delish.
Hi Sandi! Love this idea!
I have made this recipe for decades! I never used eggs, but will try next time. This is my go-to for every holiday meal. It goes with everything!
So easy and incredibly delicious!